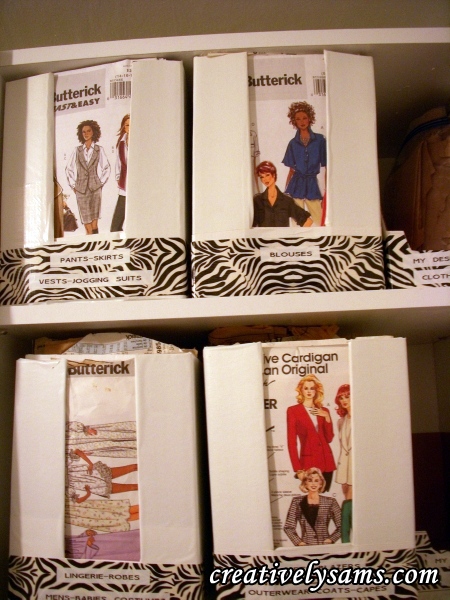
Sewing/Craft Room Bookcase (fabric organization)

The new sewing/craft room is tiny.  It’s only 6′ x 7′.  In order for me to get everything into this room, it had to be organized.  I’d originally had all of my fabric in plastic drawers.  There were 11 drawers stuffed full of fabric.  In fact, this is what started the whole room ‘re-do’.  It got to the point where I couldn’t get the drawers opened.  Any time I wanted to make something new, I’d have to fight with the drawers to get out the fabric I needed.

I’m a very visual person.  So the drawers were good for that.  They were clear plastic, so I could see what I had.  But the frustration that I would feel when I had to get to the fabric, made me not want to sew.  And my sewing machine is never put away.  I love to create, and I get new ideas all the time.   But when it’s too frustrating to get to the supplies that you need, it becomes a chore.  Not the pleasure that I usually feel when I’m making or decorating something new. Continue reading

DIY Memo Boards

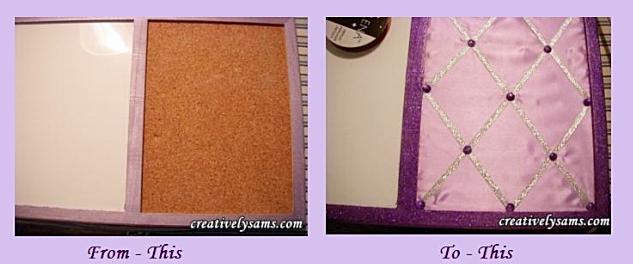
As I’ve said before, I’m a very visual person.  And I’m always getting ideas for new projects.  I have a huge stack of index cards, full of ideas.  But they’re filed away in a file box.  I’ve found that when I have an idea that I want to get started on right away, putting the index card on a memo board keeps me on track.  When the idea is filed away in it’s ‘proper place’, I can forget about it. Because of that, I’ve made 2 memo boards.  One by the sewing machine, (this one has a side that is metal to use magnets & the right hand side is cork)  and one by the crafting area of my room (all cork).  Besides that, plain brown cork just doesn’t go in my sewing room. 

And I’m not a fan of brown.  Purple or lilac is what it had to be to go in my sewing room. (Remember, this is for my room.  You can chose any color that goes in your home)

This is how I made them. Continue reading

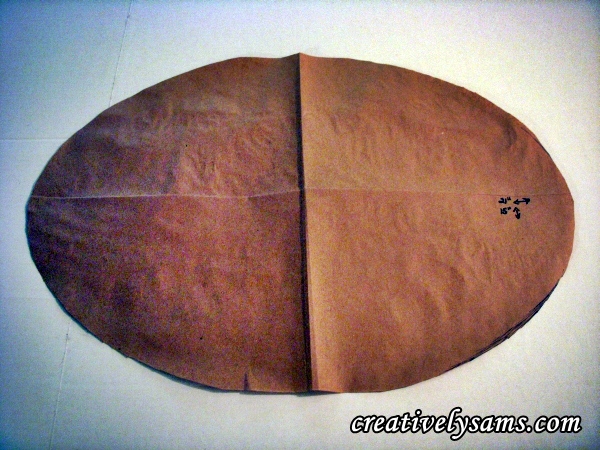
How to Make an Elongated Oval Placemat Pattern

DIY Place Mat Pattern

I really like dressing the table, whether it’s for a holiday or for every day.  For some reason, it always seems to make the room look more pulled together.  I love what a clean table cloth & place mats can do for the room.  But I can never find what I want. The colors are either off or the place mats looked ‘store bought’.  A trip to a fabric store can spark your imagination & you can usually find exactly what goes with your decor.  That’s how I started making my own place mats.  But I get bored very easily.  I like to change things up.  Making my own place mat patterns gives me a broader outlet to make my home, ‘my own’.  You can make unique items for your home too!

Here’s what you’ll need:

brown craft paper (a quick tip:  I use a pony tail elastic to hold the roll instead of a rubber band.  It seems to last longer & doesn’t mark the paper) 
ruler

plate

marker

scissors

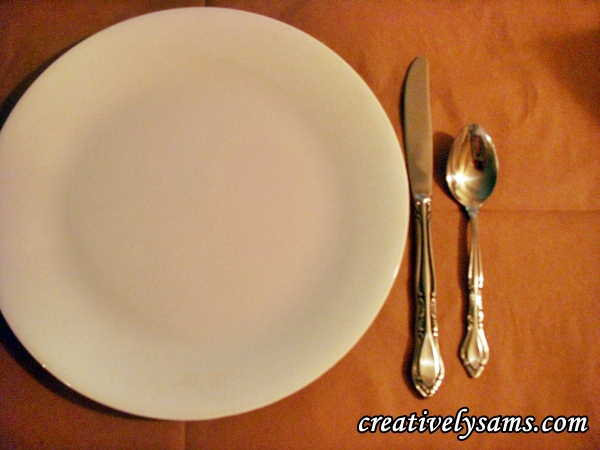
I got out the brown craft paper & put a dinner plate on it to judge the amount of paper I’d need.

Use a plate to judge the amount of paper needed

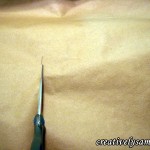
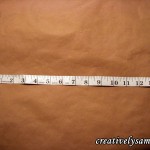
For mine, I needed about 15″.  I measured 15″ across the bottom of the roll of paper, making marks to make sure it would be straight.  After I marked the paper, I cut the paper across at the marks.
               

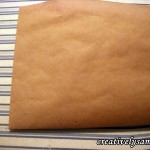
Then I folded the paper into quarters, to mark the center of the paper. Open the paper up. The center point where the folds cross.

                       

Next you’ll have to judge the width that you’ll need for the place mat. I put the dinner plate on the center fold & added the knife & spoon to the paper.  I needed about 10 1/2″ from the center.  So my pattern had to be 21″ wide by 15″ high.
Cut off excess paper after you’ve found your ideal size.  Push the plate to the far right side of the paper.  Draw around the outside of the plate at the fold.
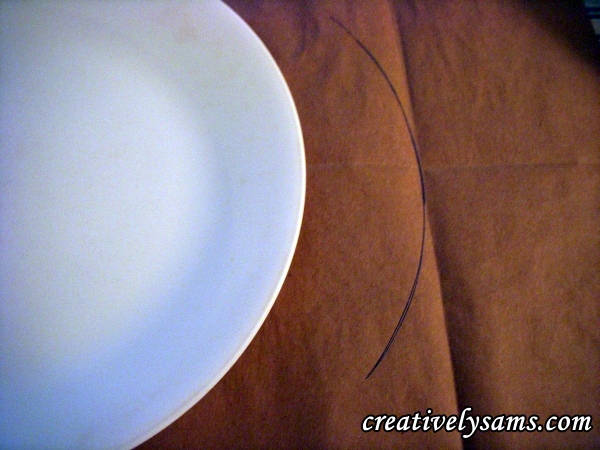
Sketch in a curve from the line you’ve just made to the center bottom of the paper.  You’ll do this free-hand.  As you can see, it took me several times to find a curve that I liked.

Fold the paper in half, from top to bottom, with the line that you just made on top.  Cut out the curve along the line.  (first half made)

Open the paper back up.  The curve is made for the right side of the pattern.
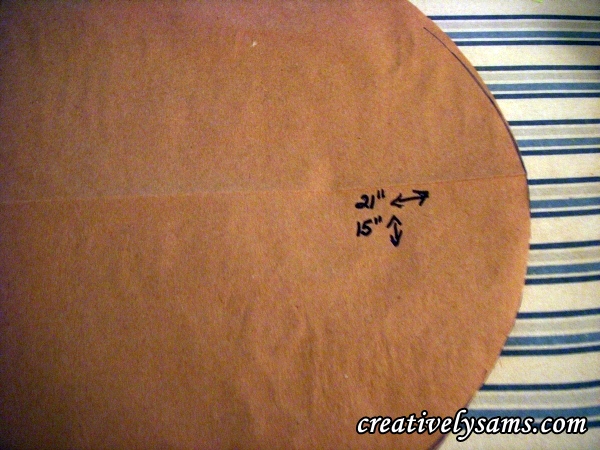
Fold the paper in half, side to side.  Draw around the curve to mark the cutting line for the left side of the pattern.
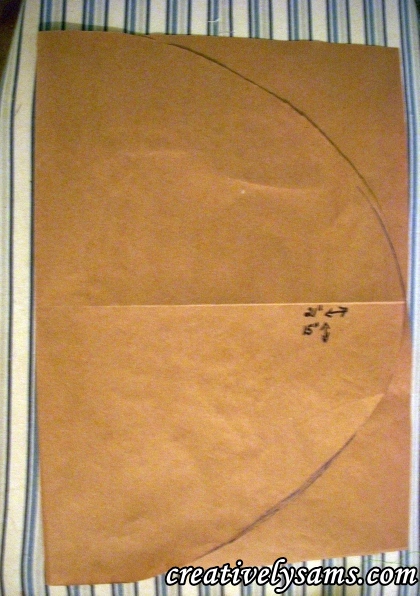
Cut along the line you’ve just made.  And you’re done!  You now have an elongated oval place mat pattern. This pattern gives a completely different look to your table, and I think you’ll like it.


Sewing/Craft Room – Pattern Organization

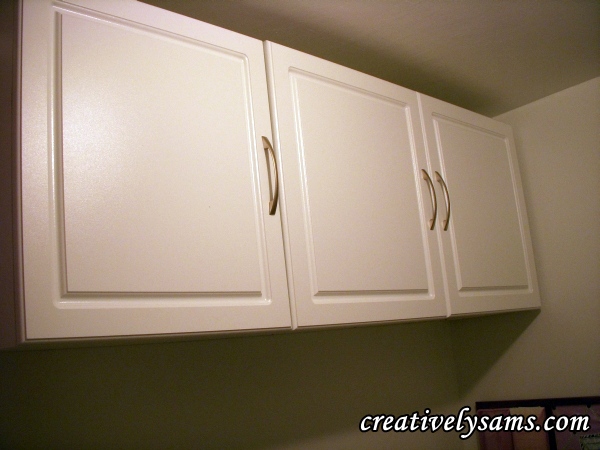
I love these cabinets.  They hold so much & keep the sewing area of the sewing/craft room organized.  We searched for a long time for a  54″ overhead cabinet, but they were either too expensive or didn’t come in white or the size we wanted.  We went to home improvement stores, IKEA, and searched on line for several months. We actually found exactly what we wanted at Walmart.com http://www.walmart.com/ip/SystemBuild-54-Wall-Cabinet-White/17470884

We had it delivered to our home for a very small fee. When it arrived it came in a large, flat box.

It only took a couple of hours to put it together.  Much faster than I thought it would.  Getting the doors on was probably the most frustrating for me, since they rely on pictures, rather than words to explain what to do.  I fought with those doors like crazy.  Then hubby came in, took one look at what I was doing, and fixed it in about a minute.  Now they’re hanging over my sewing desk & they hold more than I thought they would.  I’m so happy with them!

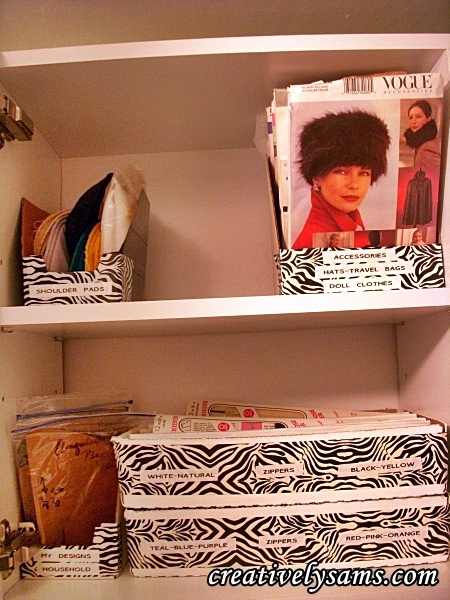
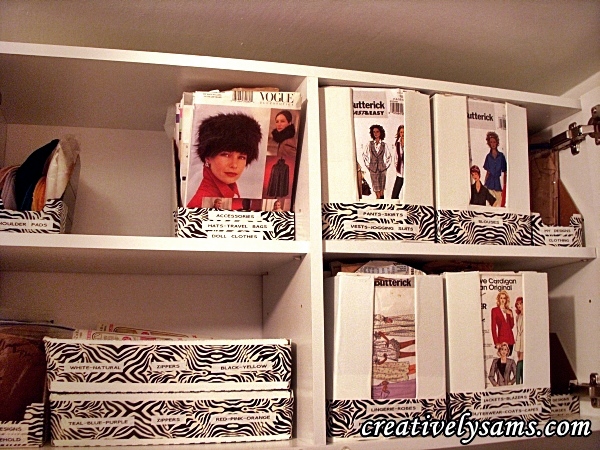
What’s inside tells the whole story.  The far right hand cabinet holds most of my patterns, both bought & my own.

The middle part of the cabinet holds the rest of my patterns, shoulder pads, & all of my zippers.

It’s so nice being able to open up two doors & see all of my patterns at a glance.

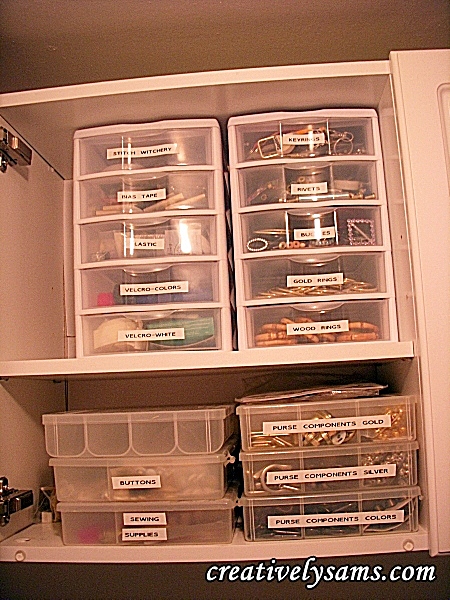
And finally, the left hand side of the cabinet holds all of my little drawers & boxes for sewing.

And there’s still some room for another box or two!

The cabinet is organized, easy to see & get to.

We still have to add a shelf underneath to hold my DVDs, but that will come a little later.

Hope you enjoyed my organized sewing/craft room cabinet!

Sewing/Craft Room Desk Organization

I’ve had this desk for years.  It used to be my daughter’s when she was little.  It’s the perfect size for my sewing machine and all the things that I need while sewing.  (Including my purple TV)  Now that the Sewing/Craft room is almost complete, I’ve been spending lots of time organizing everything.  The desk was no exception.

Continue reading

Thumb Tacks for a Memo or Bulletin Board

I was playing around with thumb tacks today.  Since I’ve recently made a couple of new memo boards (tutorial coming soon) I wanted to make the thumb tacks match them rather than the plain white ones available in the stores.  Since the theme to the new sewing/craft room is in white, lilac & purple, I wanted the thumb tacks to blend in.  And naturally, they had to have some sparkle. These could be used in a home office or kitchen as well. Continue reading

The Sewing/Craft Room Window

My sewing/craft room is very small.  It’s only 6′ x 7′.  Everything in the room is small, including the window.  But it’s one of the first things that I see when I walk into the room.  The walls are white, but because of that little window, when the sun shines in, I have a lilac glow through the whole room.  And on a sunny day, I have rainbows dancing on the walls.  I thought I’d invite you in to my little sanctuary to see part of my little piece of Heaven.

Welcome to Creatively Sam’s:

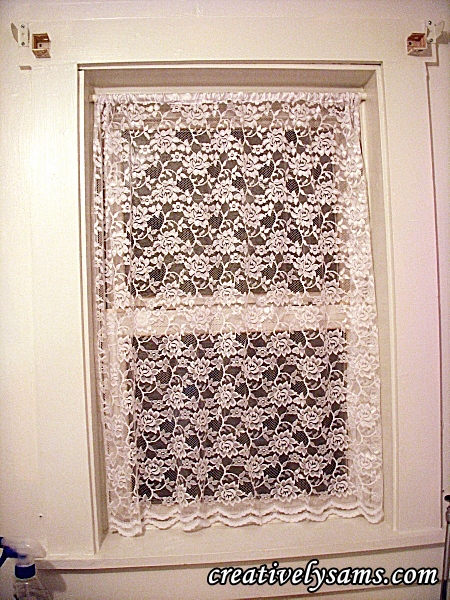
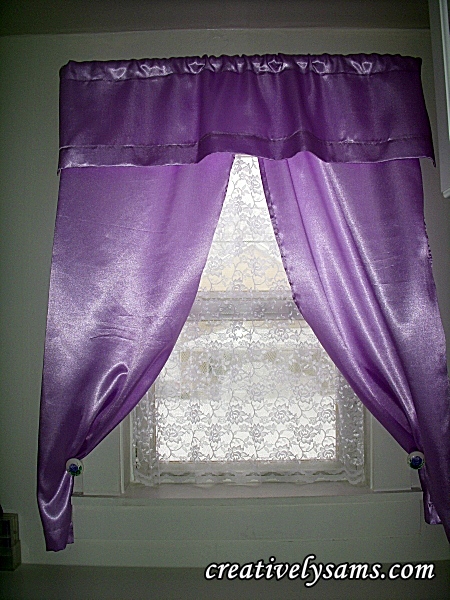
This is the tiny window in my sewing/craft room.

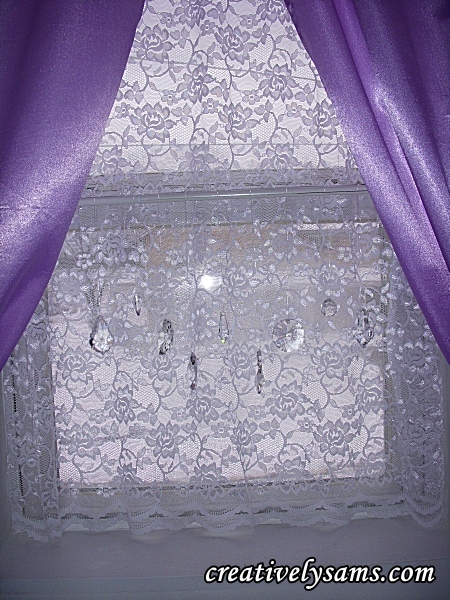
I wanted to add some privacy, but I needed the sun to shine in.  I chose to make a lace curtain with an open pattern.  I only used one panel because I didn’t want folds to block the sunlight.

Then I made curtains and a valance from Lilac Satin.

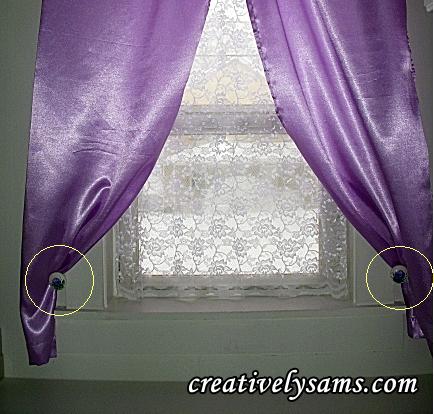
I added Curtain Tie Backs to keep the curtains open so the sun can shine through.  (I’ll be doing a tutorial on how I made them)

So that I could have the rainbows dancing in the room, I added a white tension bar. (I painted the brass that was on it with acrylic paint)  From the tension bar, I strung crystals from fishing line.  They seem to hang in mid-air.

I been fascinated by the rainbows that come from crystals since I was a kid & saw the Disney movie Pollyanna. (that movie had a great impact on me)  They put me in a creative mood & bring me such an inner peace.

Hope you enjoyed the first glimpse into my new Sewing/Craft Room.


Repainting Shelves

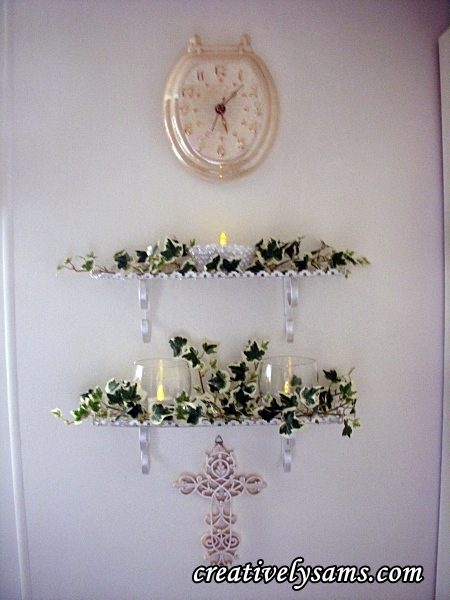
I’ve had these shelves for years.  They were originally black, and eventually they were spray painted white.  They are mostly used in the bathroom now.  The steam & moisture make them rust in spots sometimes.  Because of that, they usually get a facelift once a year.  Recently, I’ve been obsessed with a pearl finish. I thought I’d try this with the shelves.

Continue reading

Update to St. Patrick’s Day T-Shirt

I’m so excited to share this.  My dear friend followed the directions for the St. Patrick’s Day T-Shirt and made her first hand painted T-Shirt for her first granddaughter.  She is on her way to being a crafter!  I’m so happy that she was able to make this.  Congratulations. “Grandma Terry”!

First hand painted T-Shirt using my tutorial

Christmas Wedding Couple Figurine

I know that Christmas is several months away, but I’ve always got Christmas on my mind.  When I was out shopping the After Christmas Sales, I found this little ‘Just Married’ figurine.  I didn’t have one for my Christmas Village, so naturally, I grabbed it up in a hurry.

When I got it home, I looked closely at it.  There were a few things about it that really bothered me.  Firstly, the hand of the Bride on the back of the Groom wasn’t painted.  (I could fix that)  Secondly, I wanted it to go with our wedding colors.  (if it was going in our home, why not personalize it?)  I learned a long time ago, that if it can be changed to go in our home, then why not?  That’s the beauty of crafting.  You can make it your own!  I did, you can too.

Continue reading