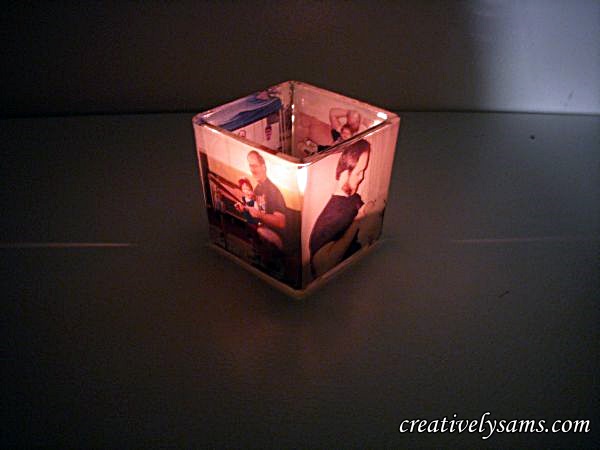
Father’s Day is just around the corner. I’ll be doing one of my usual tablescapes. But I needed a centerpiece for it. I could have put flowers on the table, but I thought that was too girly for a man. I could have used a cake as a centerpiece, but that idea bored me. I needed something special for a man who is not only the glue that holds this family together, but a wonderful father. It had to be unique. Then the light bulb went off in my head. And by now, you know that when I get an idea in my head, I’ll find a way to make it work. This is the idea that I came up with:
And this is how I did it:
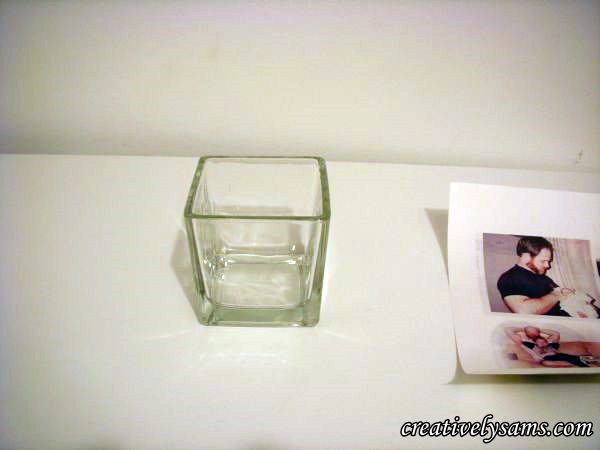
I started off with a 3″ square glass candle holder from the Dollar Tree
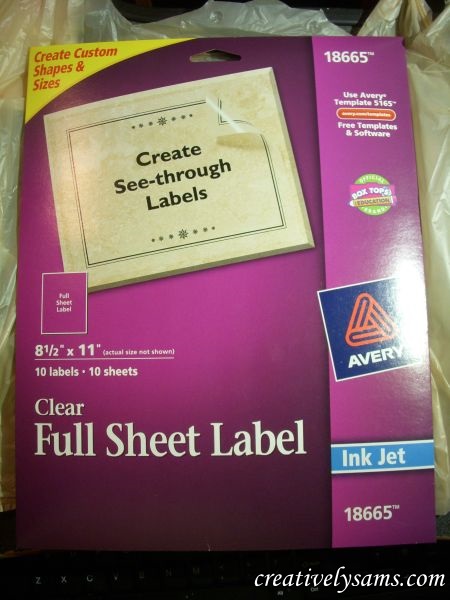
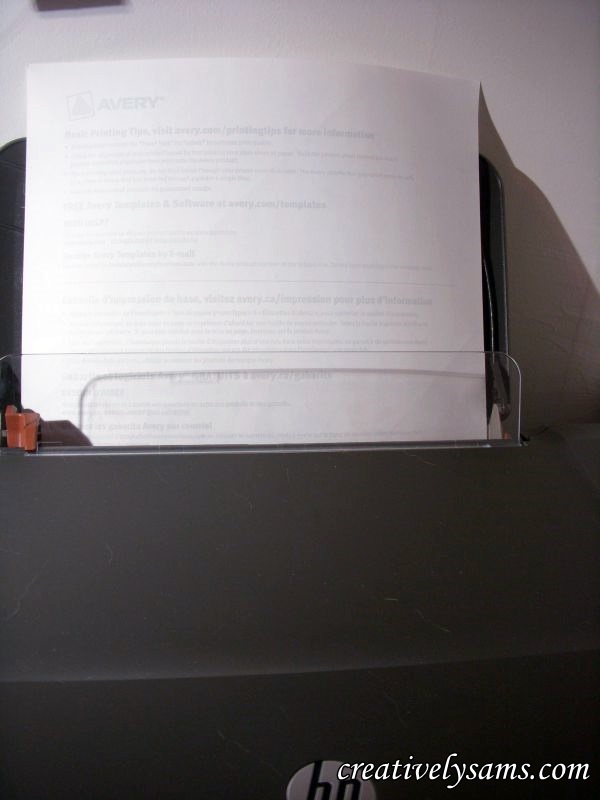
I had originally wanted to use transparency paper, but Walmart was out of it. I tried Office Max, but they only had packages of 50 for $48.95! That was way too expensive for one project. (if you have transparency paper, you can use it, and use double sided tape to apply the pics) But I finally found some Avery Clear Full Sheet Label paper #18665. This I knew would work, and I wouldn’t have to play around with the tape. Office Max is a bit pricey. This package costs $13.79 plus tax. I really wish Walmart had some. Their prices are always better.
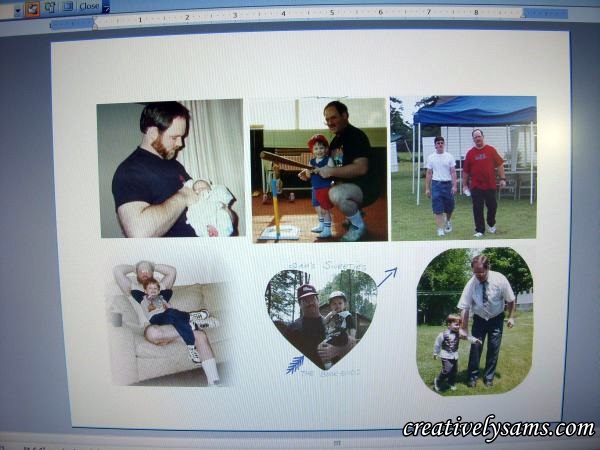
Then I chose pictures of my husband with our son, as he was growing up. Then I scanned them into the computer and saved them as jpeg photos. I set up a word document in ‘landscape’ and inserted the pictures. I had to re-size them to 3′ wide by 3″ high. Some needed cropped to fit. And I used the text wrapping feature ‘tight’, so they could be moved around on the page.
These were my favorites, and trying to choose only 4 of them was hard. When I chose the ones that I wanted to use, I printed them out.
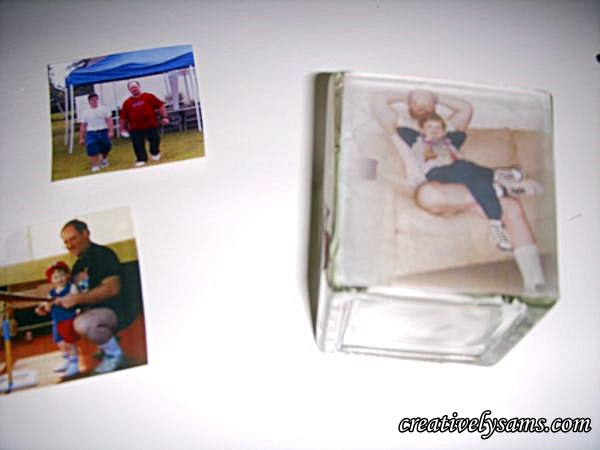
I cut the photos out, trimming them to fit the candle. The candle holder is 3″ at the top, but gets slightly smaller at the bottom.
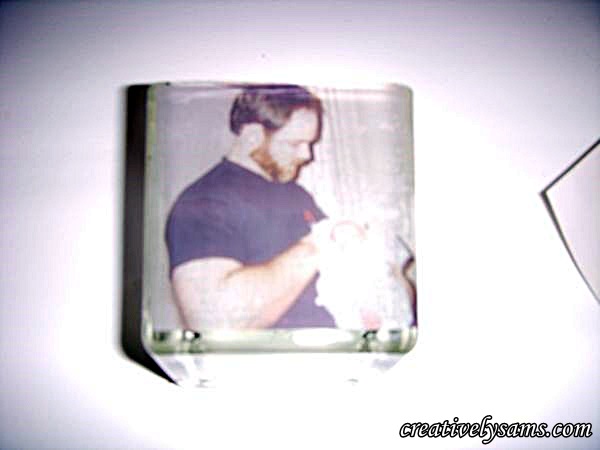
Once I had the pictures trimmed, I peeled off the paper backing and pressed them onto the glass. Take your time with this step. The pictures can be repositioned, but they really stick to the glass.
Smooth out any air bubbles, which can happen if you’re in a hurry.
Two down, two to go,
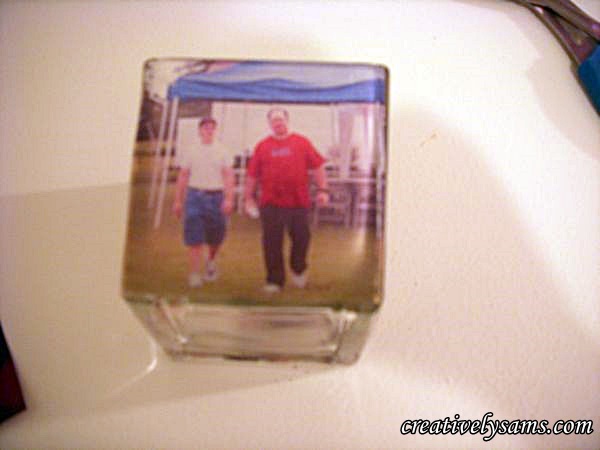
3rd done, one more to go!
Final picture done:
Add a candle
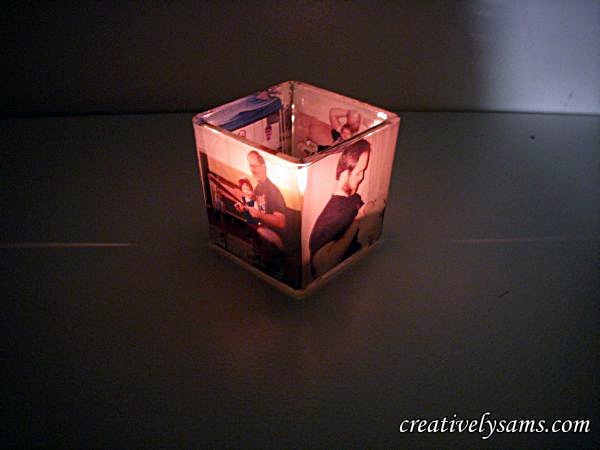
And this is how it looks all lit up at night: (you could use a battery operated candle to use the photo candle holder on a bookcase or other closed in spaces)
I love the way this turned out! But like I said, it’s a 3″ square glass candle holder. I wanted to add something to make it stand out on the table! Here’s what I came up with. A small glass candle stick, also purchased at the Dollar Tree, and some E-6000!
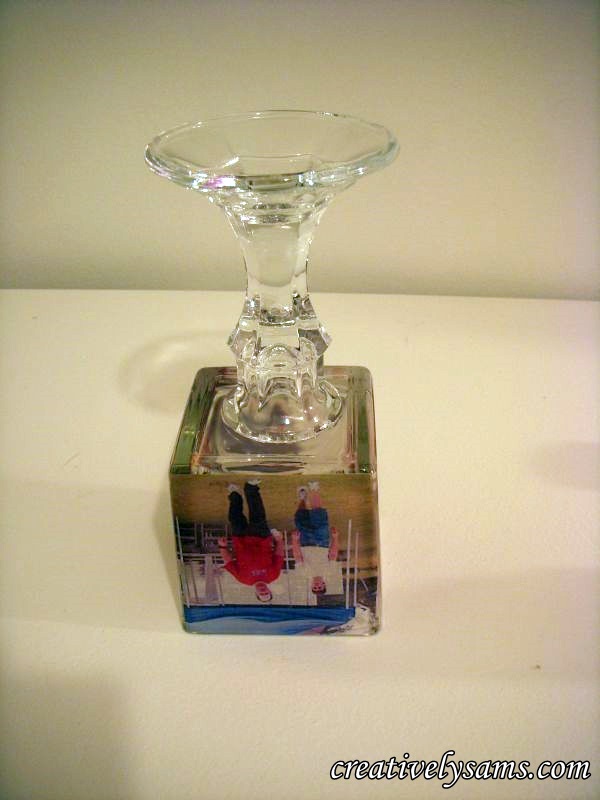
I applied the E-6000 to the rim of the small glass candle stick,
and glued to candle stick to the bottom of the square candle holder. I let it set up over night.
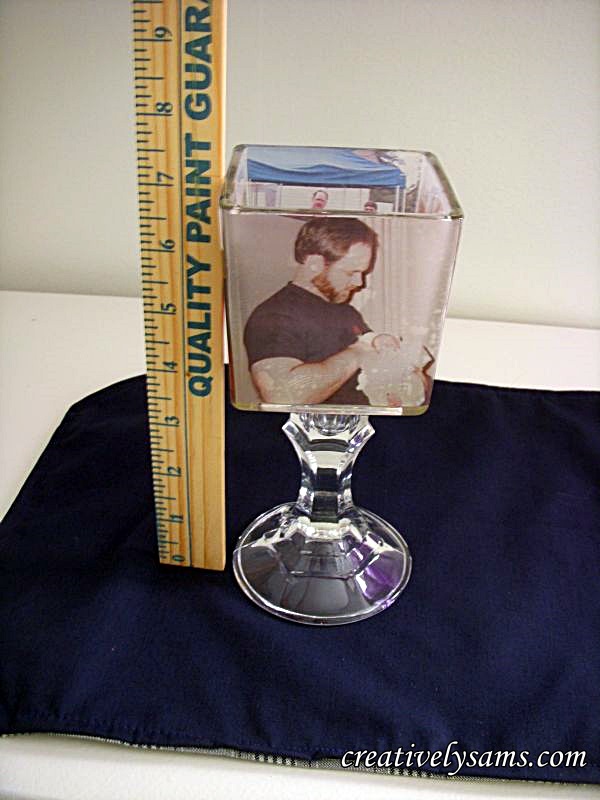
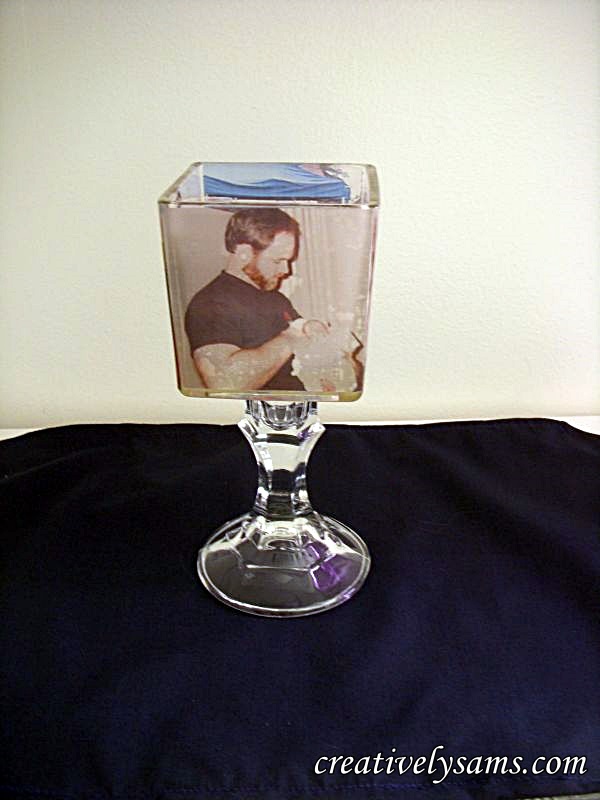
And in the morning, it was dried securely. The little candle centerpiece is now 7″ high instead of 3″ high. The base gives it height & makes it more noticeable.
And it’s done!
This could be used in so many different ways. For Mother’s Day (pictures of you & your Mom), Holidays (holiday pictures), Weddings (the bride & groom as they grow up or their time together that led up to the special day), Birthdays (pictures of birthdays through the years)! I can see it as a gift for Grandparents, or Anniversaries. The possibilities are endless. I had fun with this one. I hope you’ll give it a try and add your own special memories.
Happy Creating everyone!







Pingback: Father's Day Tablescape,Father's Day,Father's Day Centerpiece,Father's Day Table Setting,Shirt Fold NapkinCreatively Sam's