
This was actually a very difficult project for me to make. Why? Because in order to make it, I had to cut up books. I’ve had a deep love and respect for books since the first time I walked into a library when I was very young. Books have not only taught me so much, but they have taken me to worlds I may never have even imagined.
This was a project that was requested by a friend of mine, who wanted this to be used at a baby shower as well as a decoration for the baby’s room. I did a lot of research for this project and this is my version of it. I hope you enjoy it.
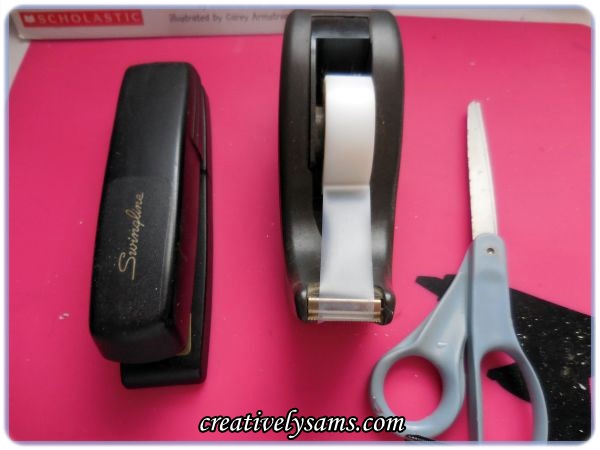
I gathered up the supplies that I needed. From what I’d read I needed a stapler, tape, scissors & a hot glue gun. Although my tape didn’t want to stick so I eventually ended up hot gluing all of the cones needed for this project. And you’ll need a lot of hot glue sticks. I can’t remember how many glue sticks I went through, but it was a lot.
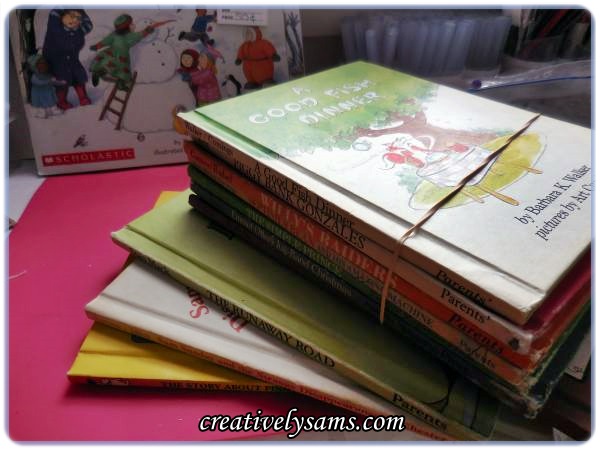
And I needed books. Lots and lots of books. These were provided by my friend and purchased at a second hand store.
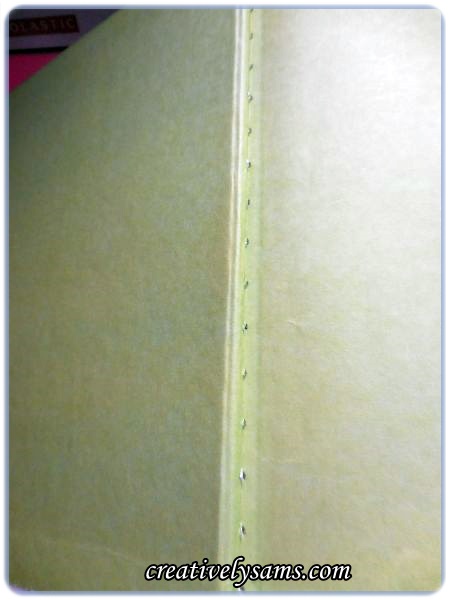
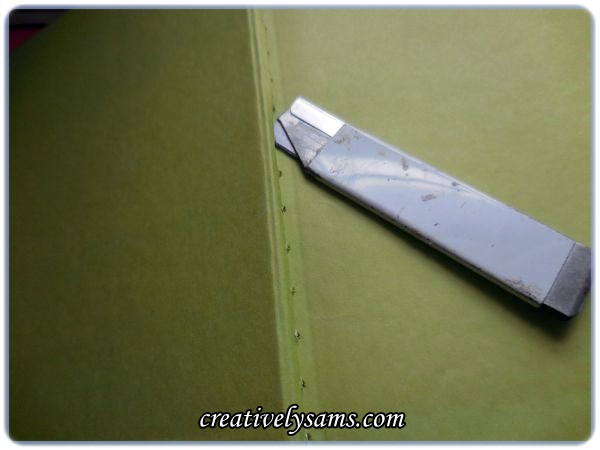
I opened up each book to reveal the book’s spine threads. I used a razor to cut the threads.

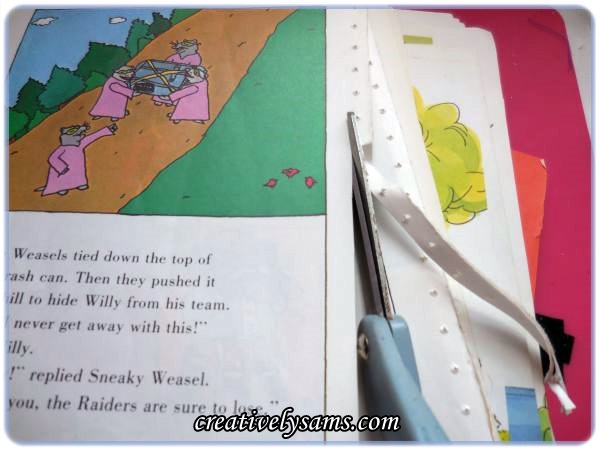
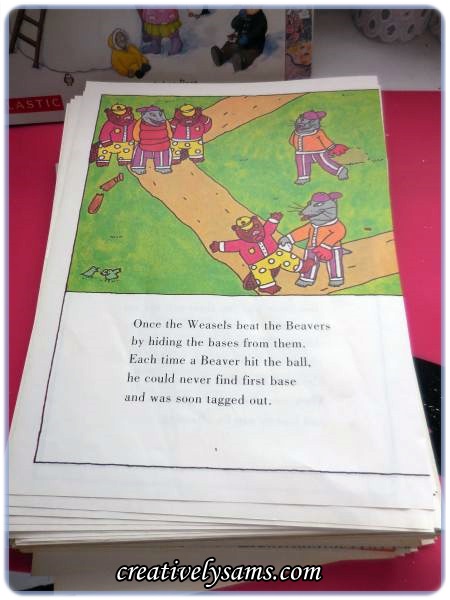
Once the threads were removed, I cut out the pages. Once the pages were removed, I used the scissors to trim each page.
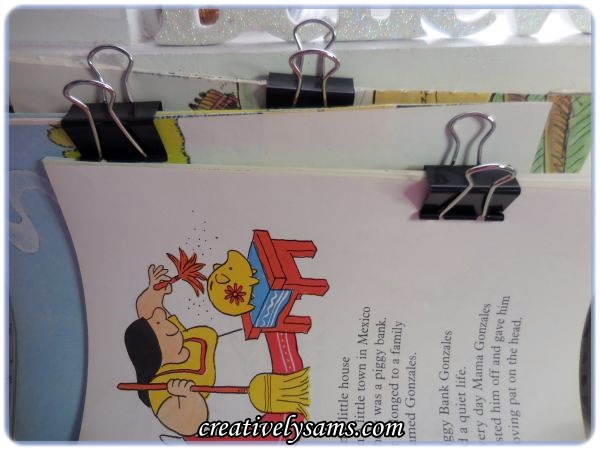
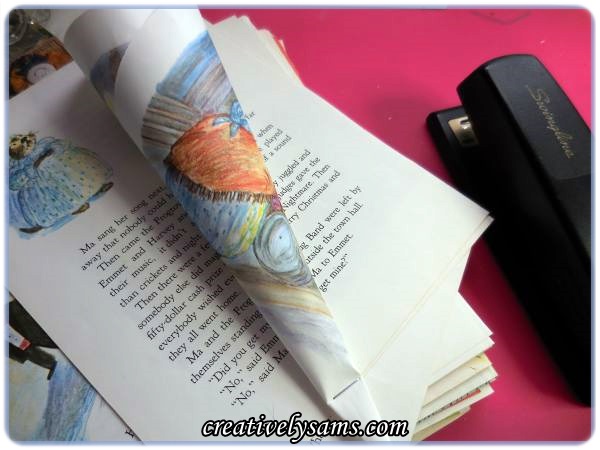
I had so many piles of pages that I lost count, so I grouped the pages into groups of 25. I just used binder clips to hold the groups together.
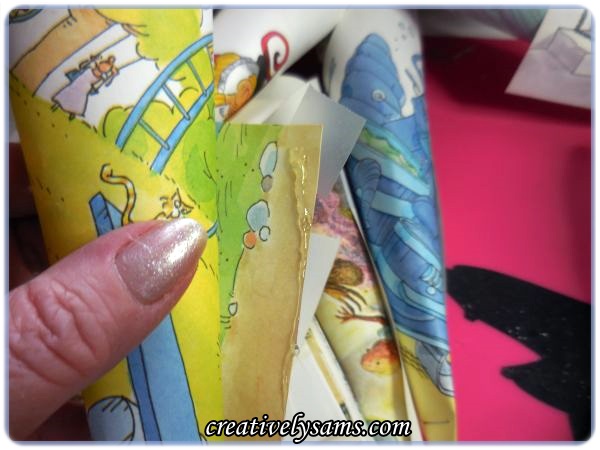
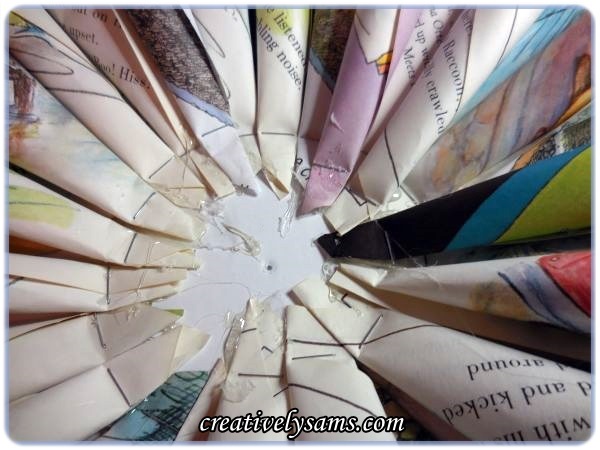
Next, I started to roll each page into a cone shape. Like I said, taping the cones together just didn’t hold for me, so I put some hot glue on the corner & rolled the cone into the glue.
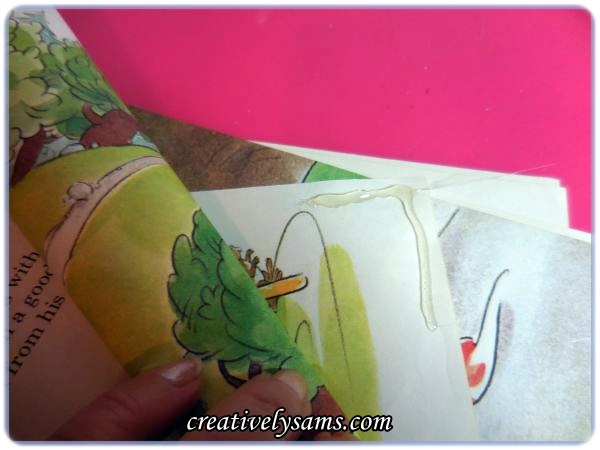
And the first one was done. Then I stapled the cone about 1″ up from the point.

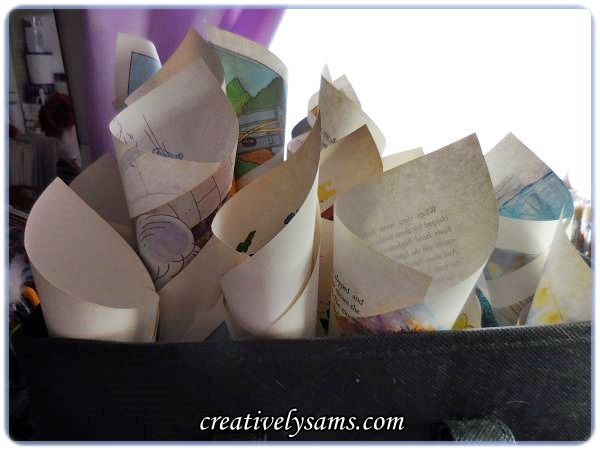
One down, tons to do. I was rolling these cones for hours and they started to take over the craft room. I made over 100 cones.
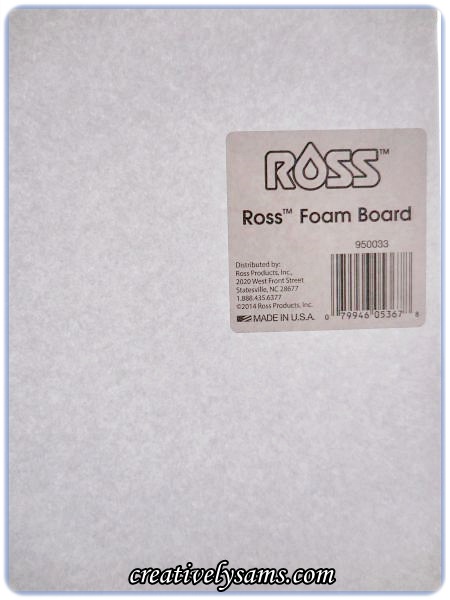
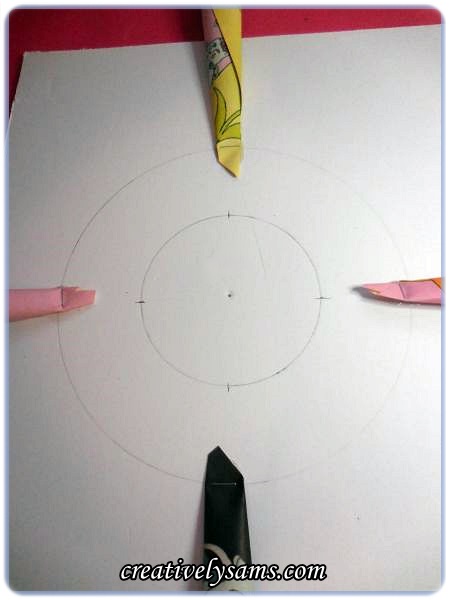
Okay, cones done, now I needed something to put them on. I used foam board because it’s easy to work with & is light weight so hanging it on the wall doesn’t require any special nails. I cut the foam board into a 12″ x 14″ shape.
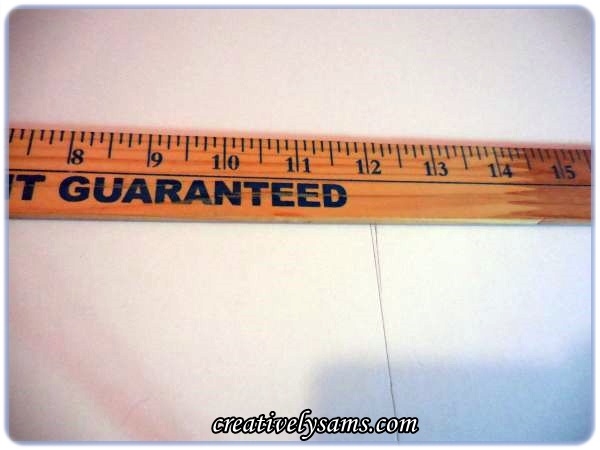
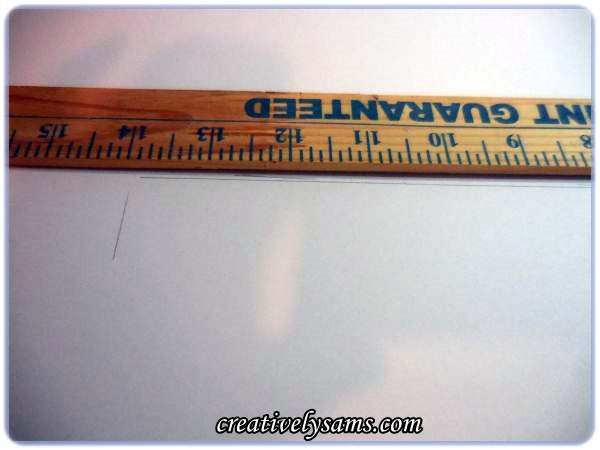
Then I drew 2 circles in the center of the board. One that was 4″ in diameter & one that was 8″ in diameter. I used an old fashioned compass to make the circles. Then I marked the circles at quarter marks. (12 o’clock, 3 o’clock, 6 o’clock & 9 o’clock)
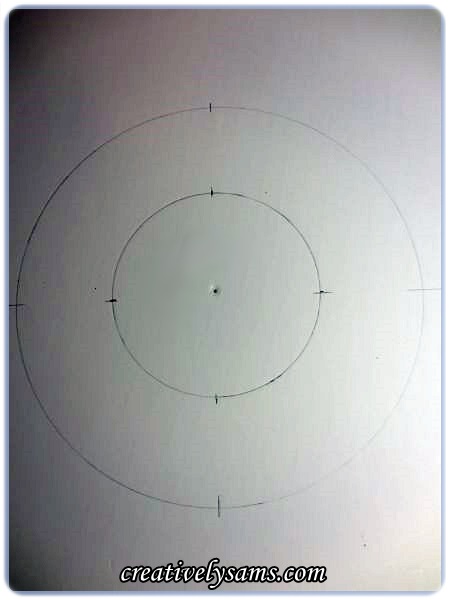
I started at the outer circle & glued a cone to each of the 4 marks on the circle. This is to make sure that the cones are placed evenly & aren’t bunched up in one area. I pretty much lined up the staples on the cones with circles on the foam board.
Then I just filled in the areas between the quarter marks evenly.
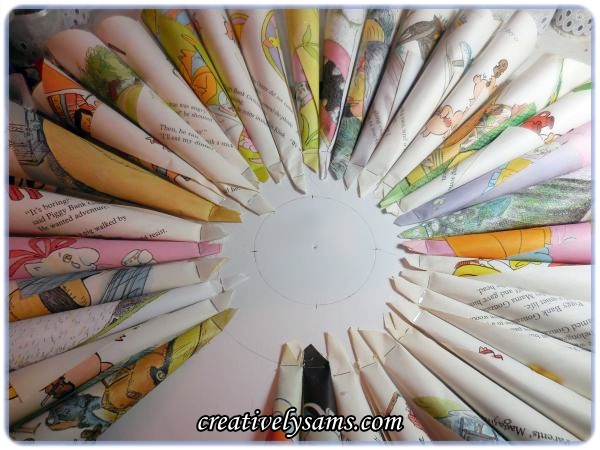
And I used a lot of glue to hold them in place securely.
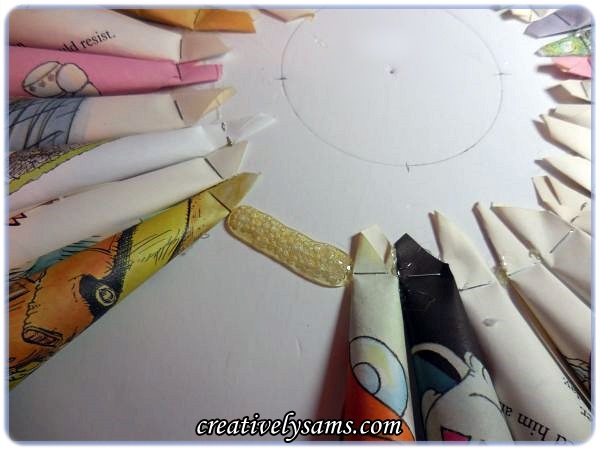
Once the first row was done, I started on the second row, lining up the cones with the smaller circle the same way that I did the first row.
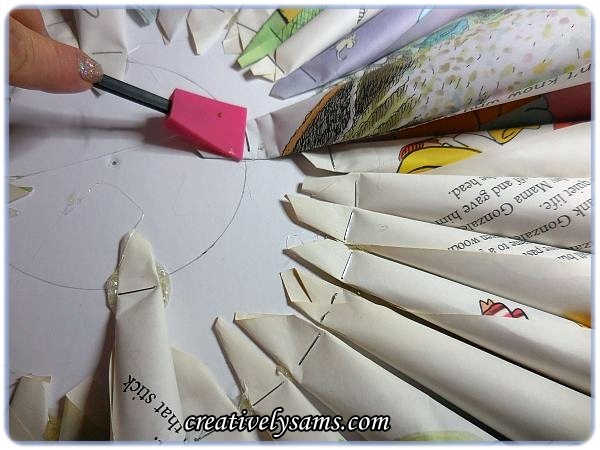
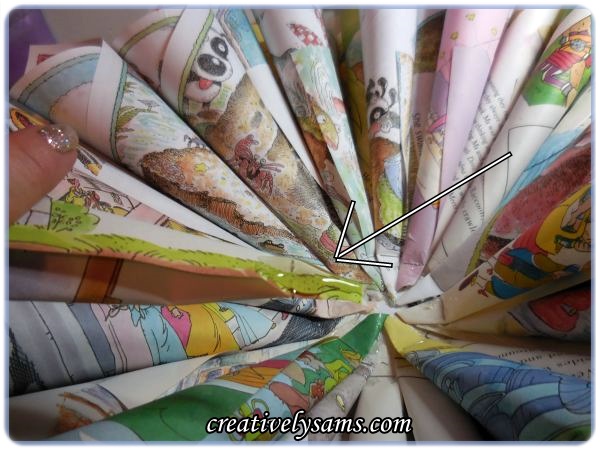
Next was the final row. By this time, it was so big that I had trouble getting the glue gun into the center with out the glue gun’s cord trying to get tangled up in the cones. I found that applying glue to the back side of the cone first & then gluing it into place was the easiest.
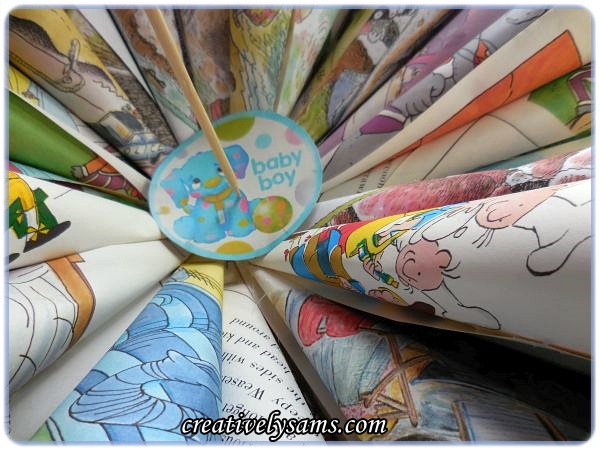
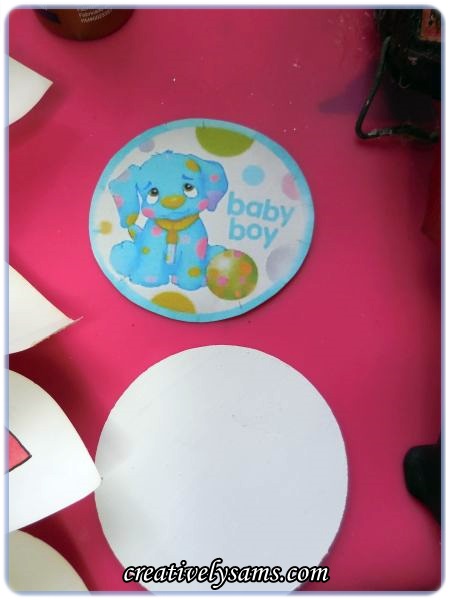
Now for the center piece of the wreath to cover the staples & give it a finished look. I knew that they wanted a puppy & that they were having a boy, so I went online to find an image that fit the bill. I found one that was actually a balloon. To give credit to where I found the image, I found it here. I copied it & printed it out in a word document on to cardstock. I made several sizes because I wasn’t sure how big I’d need it to be.
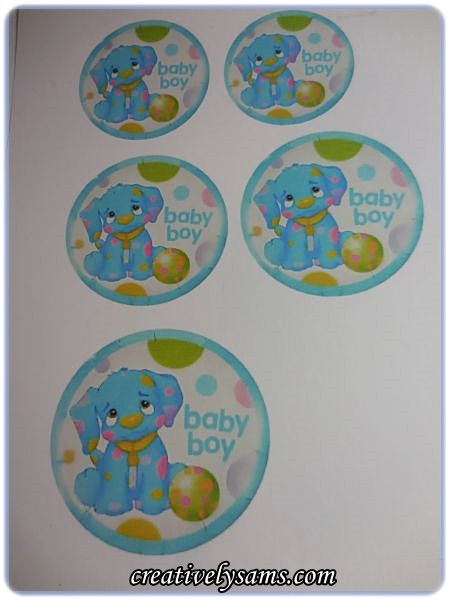
I measured the center of the wreath. It was roughly 2 1/2″ wide, but I needed it bigger to cover all of the staples. I chose the 3″ size.

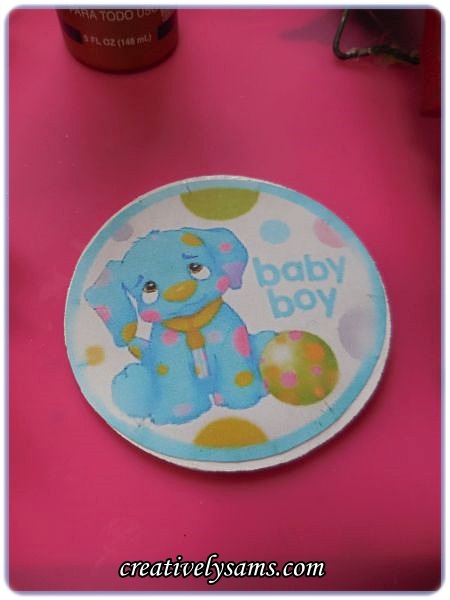
The cardstock was too flimsy, so I got a 3″ round wooden disk & painted it white.
To apply the cardstock to the wood disk, I used Aileen’s tacky glue & applied it with a paint brush.


I glued the cardstock to the wood disk, smoothing out any wrinkles.
I put a lot of hot glue on to the back of the wood disk & then pressed it into place. I held it down tightly until the glue had cooled.
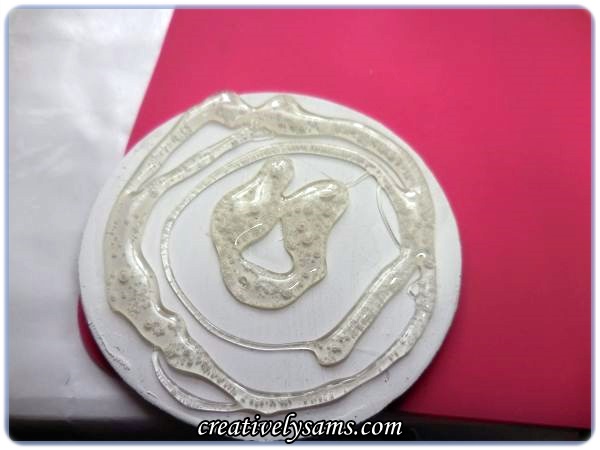
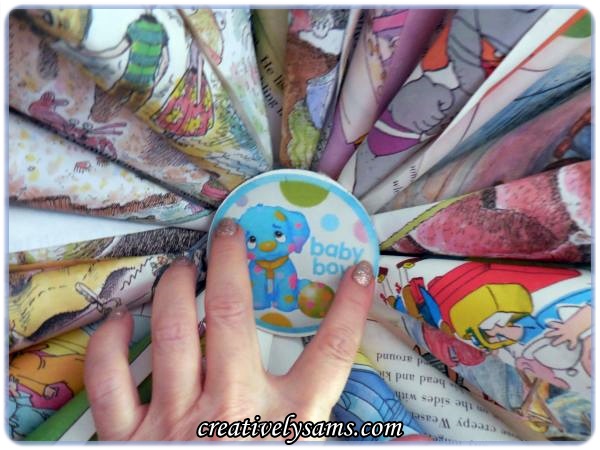
Once it had cooled, it was finished.

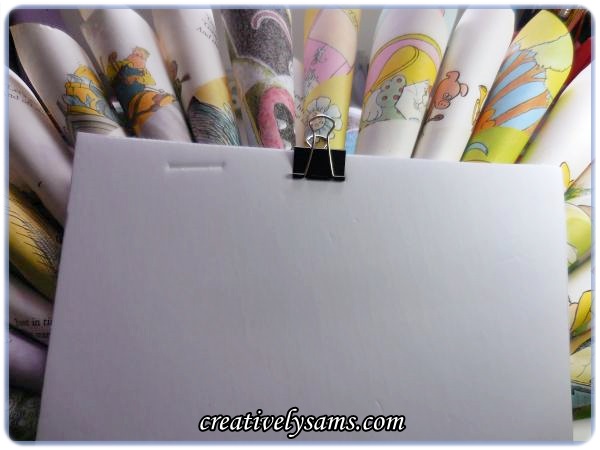
Now to add something to hang it. I just used a binder clip, clipped onto the back. But don’t do what I did… Center the binder clip before you attach it. It marks the foam board. (sorry)
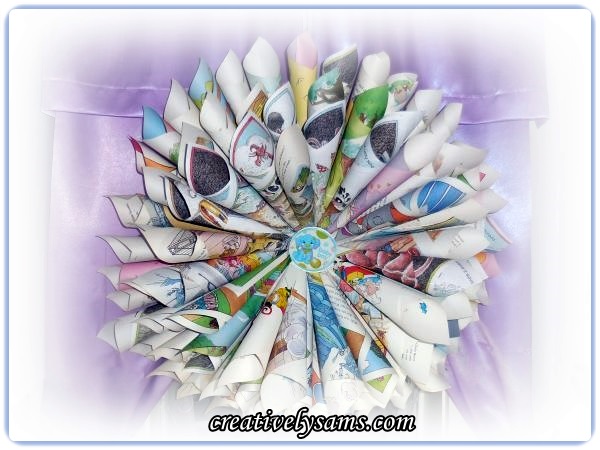
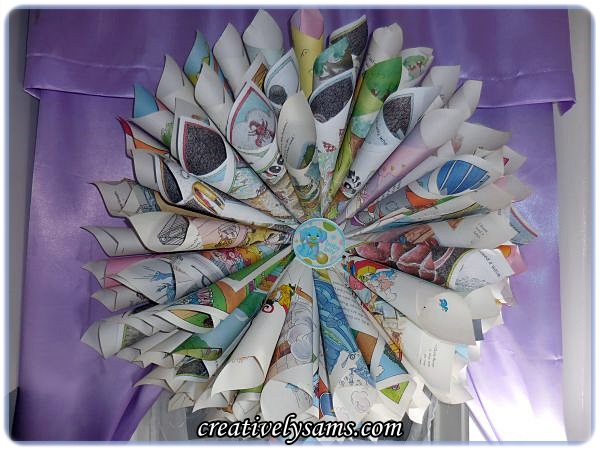
Now it’s finished & ready to hang in baby’s room.

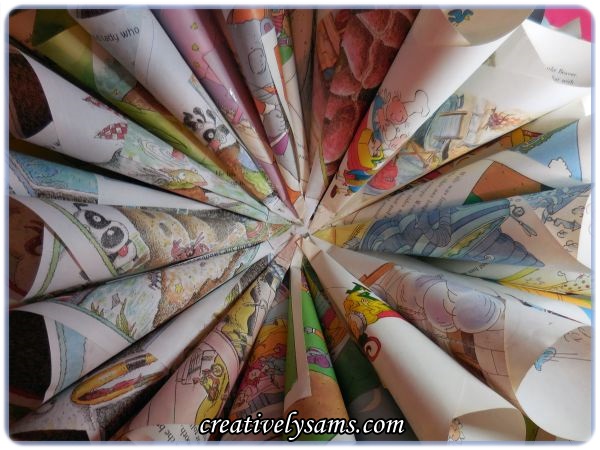
It’s so colorful because of all of the different pages.
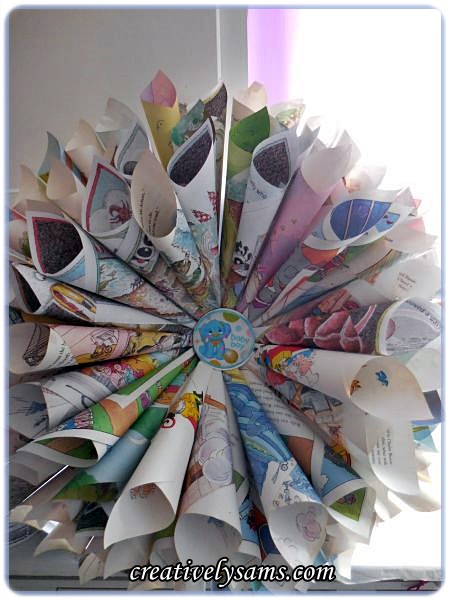
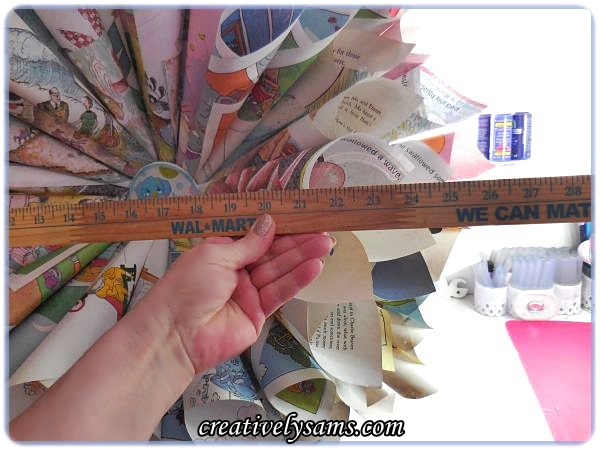
The finished project was close to 30″ wide.
I think it will show up nicely in the baby’s room.
So, if you don’t mind cutting up books & have a few hours on your hands, this project will make a very nice addition to a baby’s nursery.
In hindsight, I guess you could use scrapbook paper, but it would cost a small fortune.
Happy Creating everyone!