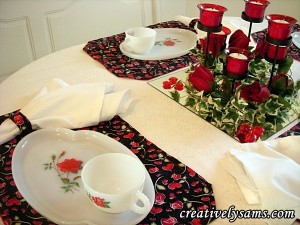
St. Patrick’s Day Tablescape

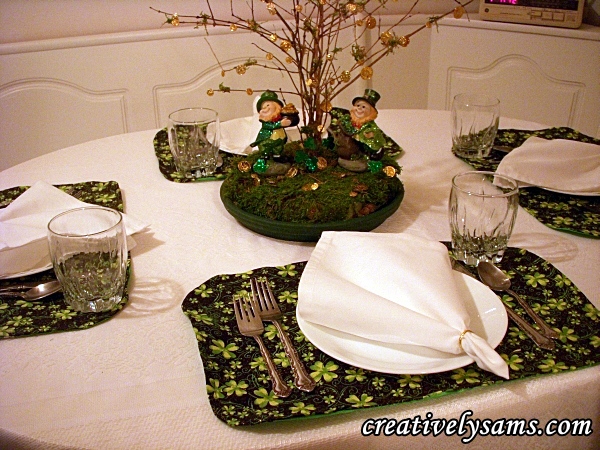
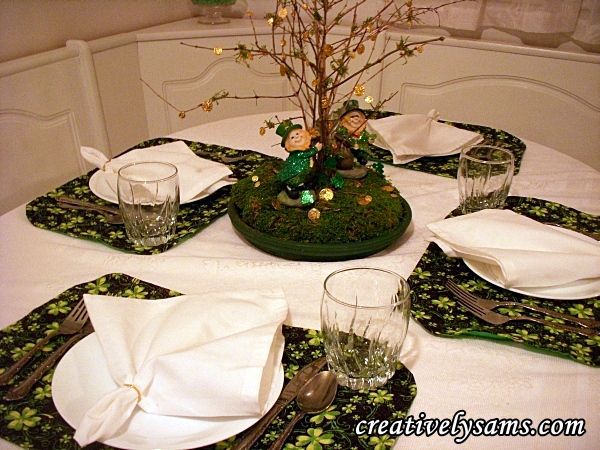
St. Patrick’s Day is almost here.  It’s time to decorate for another holiday!  I love decorating for the holidays.  This tablescape was so much fun to make.  Like I’ve said before, I can see a project finished in my mind’s eye.  This one took me on a search for a Leprechaun.  It all came together when I stopped at Michaels Arts & Crafts store.

It was so much fun searching for the fabrics that I wanted.  (I found these at JoAnn Fabrics)  Naturally, since I’m a sewer, I had to make some reversible placemats (which I’ll show you how to make in the next post).  And the St. Patrick’s Day Centerpiece is one that I just fell in love with.

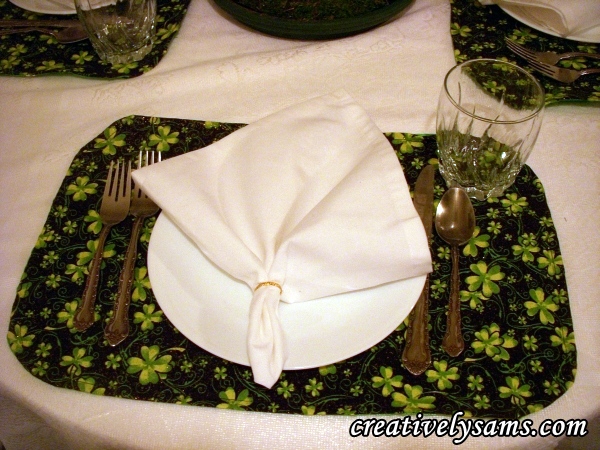
I like having two looks,  a patterned side & a solid side.

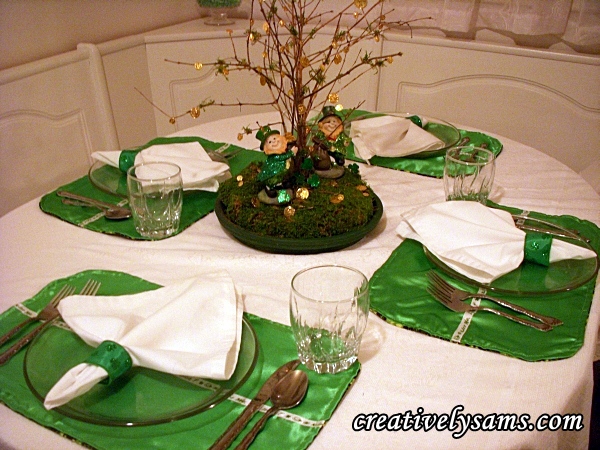
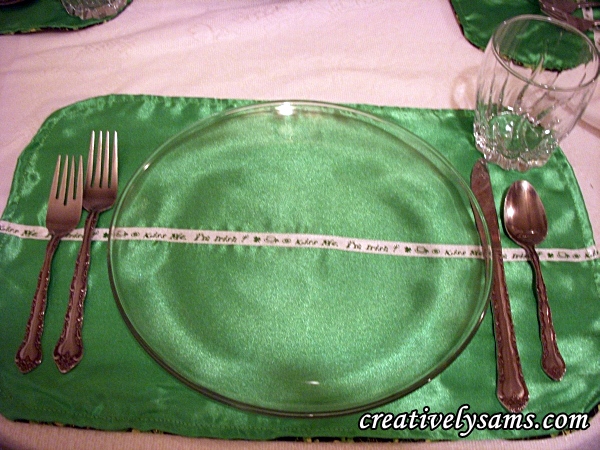
I chose clear plates for this side so the ‘Kiss Me, I’m Irish’ ribbon would show through.

Add some favors for fun.


Add some ‘coin’ scatter to finish it off.

As usual, I’ll be showing you how to make the placemats, the centerpiece & the candle that’s in the background.

Hope you enjoyed seeing this as much as I enjoyed making it.

Happy St. Patrick’s Day everyone!

How to Make an Oval Placemat Pattern

When you’re creating a tablescape, it’s usual to have placemats to add color to your table.  I’ve found that I can never find what I’m looking for in the conventional stores.  I’ve been making my own placemats for years.  They are always unique & colorful. And once you know how to make your own, you can save a lot of money.

What you’ll need:

Brown Craft Paper:  (I always use this kind of paper because it is sturdier than other paper & is very inexpensive.  If you make a mistake, it doesn’t hurt so much to throw it out and start over. You’ll need a sturdier paper if you’re going to reuse the pattern many times.) I find this paper in the stationary section of Walmart or at the Dollar store.

Ruler

Scissors

Saucer or Plate

Pencil/Pen/Marker

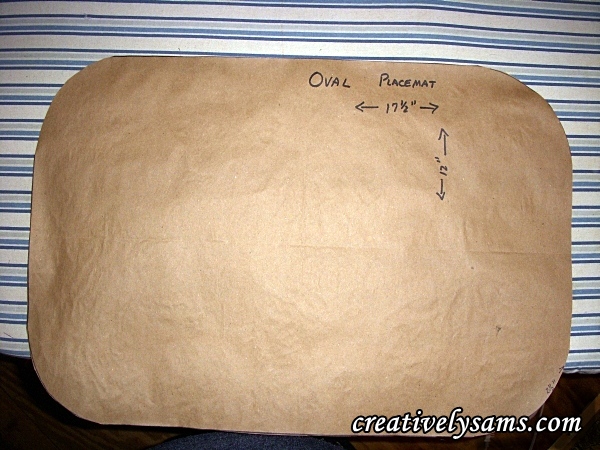
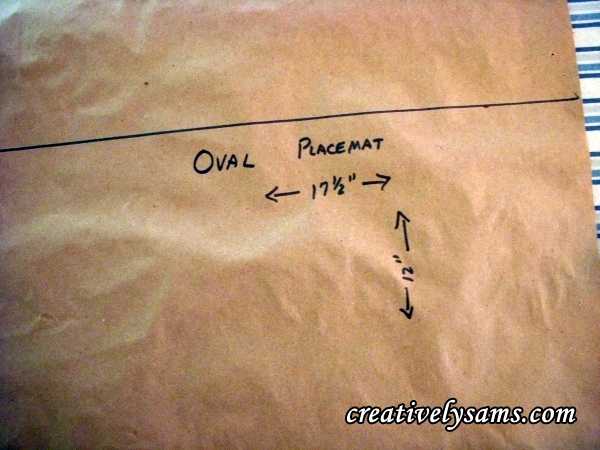
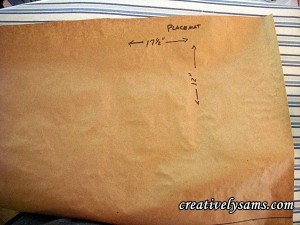
On the craft paper, measure 17 1/2″ wide by 12″ deep. This is the size that works for me.  Adjust it as you like it. This placemat pattern is  for your table.

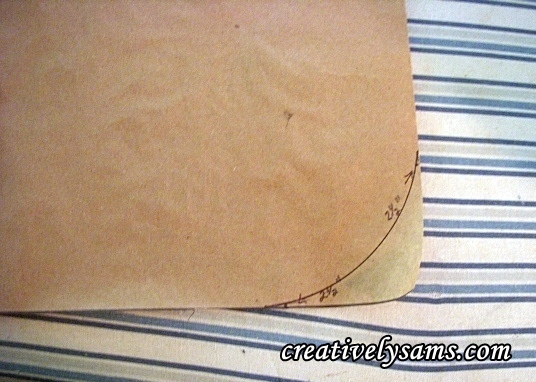
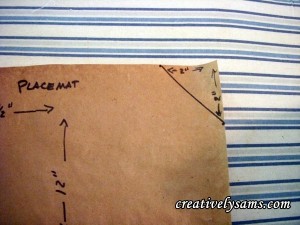
Cut out your pattern.  Measure up from each corner 2 1/2″ & mark. (You’ll have 2 marks at each corner).

Place your saucer or plate on the corner of your pattern.  Draw around the plate, joining the marks that you made at the corners.

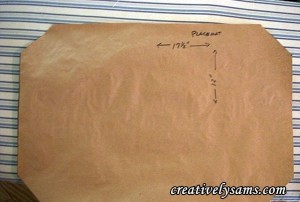
Cut along the curved line that you’ve just made.  That’s all there is to making your own oval placemat.


Valentine’s Day Napkin Rings Alternative

Not enough time to make your own napkin rings?  No problem. Even if you have no time at all to cut, measure or sew, you can still use napkin rings to finish off your Tablescapes.

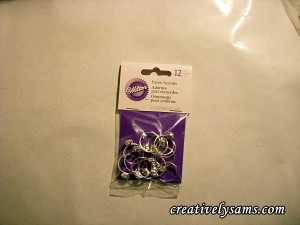
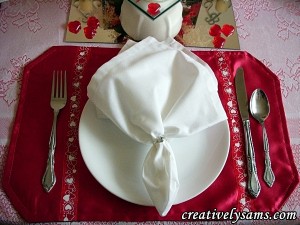
I found these Wilton ‘engagement ring’ Party Favors at Michael’s in the wedding section. (It seemed fitting, since that’s the day that my husband proposed to me.)

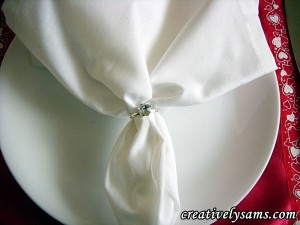
Just slip them onto the napkins to add a little bling!

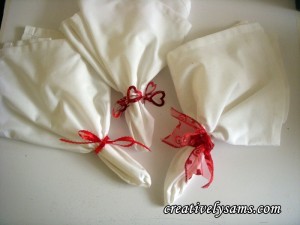
Still no time to go out and purchase the Wilton Party Favors?  No problem. Tie some ribbon around your napkins.  Or wrap your napkins with some holiday garland.  It’s not hard to create a pretty tablescape. Just use your imagination!

Now, that was easy!

Quick Centerpiece Alternatives

If you made the Valentine’s Day Candle, but you just don’t have the time to make the centerpiece, I have a couple of easy alternatives for you.

How about some garland?  Just wrap the bottom of the candle with some Valentine’s Day garland.  Adds some bling, and balances out the candle with some weight to the bottom.

Or how about a boa?  Wrap the base of the candle with a red boa.

Not enough ‘bling’?  Add some glitter heart shaped stickers to the boa.

Have fun with it!  Valentine’s Day is not only a romantic holiday, but it’s a fun & sweet holiday.  Make it your own. You’re only limited by your imagination!

Valentine’s Day Centerpiece

Now that you know how to make a decorated candle, let’s make a centerpiece to put the candle in.

What you’ll need:

Something to hold your centerpiece.  Mine was 3″ high by 5″ high.  You don’t want it too wide.

Floral Foam for dry arrangements

Bread Knife  (it make cutting foam easy)

Sheet Moss

3″ x 6″ Pillar Candle

6 roses with leaves (cut stems 3″ to 4″ long)

1 spool of Wire edge Ribbon (2 1/2″ wide x 9′ long)

Paddle Wire (6 – 9 or 10″ lengths)

Wire Cutters

Scissors

Baby Breath (I used Glitter Baby Breath, but then again, I can never have enough glitter)

Wooden Floral Picks with attached wires.

Continue reading

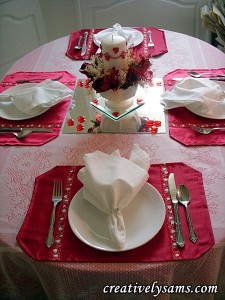
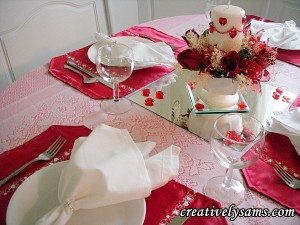
Valentine’s Day Place Setting

I love to decorate for the holidays. Especially the dinner table.  Making the items makes it unique.  I’ll show you how to do it too!

A diy place setting

Items you will need:

1 yard of patterned fabric

1 yard of solid colored fabric

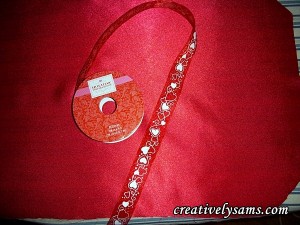
1 spool of ribbon (my spool was 7/8″ wide by 9 feet long)

measuring tape

sewing machine  & thread & pins

scissors

brown craft/packing paper (to make the pattern)

I start all of my patterns using brown craft/packing paper.  It’s better to make a mistake on paper than on your fabric.

starting your pattern

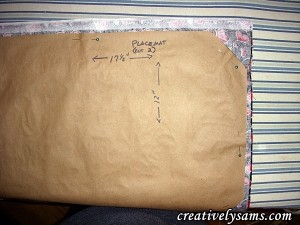
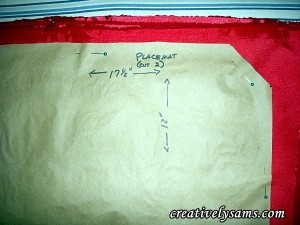
Measure 17 1/2″ by 12″.  That’s the size that works for me, but you can adjust it to fit your needs.

Then measure 2″ from the corners and mark.  Draw a line to connect the marks.

Repeat on all 4 corners.  Cut off the triangle pieces that were your corners.

I used 2 yards of fabric for 4 place mats. One yard of patterned fabric & one yard of solid fabric.

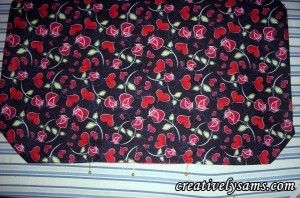
Cut out 4 place mats from the patterned fabric:

Cut out 4 place mats from the solid colored fabric:

Add some decorative ribbon to the solid side of the place mat piece:

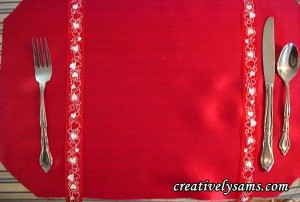
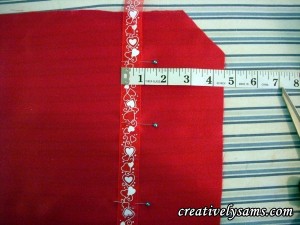
To get an idea of where I wanted the ribbon placement, I laid the silverware out on it:

Then I added 1/4″ inward form the side to allow for the seam allowance. Mine was 4 1/2″ in from both sides.

Pin the ribbon in place & sew in place.

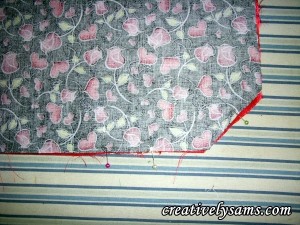
After sewing the ribbon in place on all 4 place mat pieces, pin the right side (good side) of the solid fabric to the right side (good side) of the patterned fabric together.

Stitch around the place mat pieces, leaving an opening large enough to insert your hand to turn the place mat right side out.

Turn place mat right side out.  Press & pin the opening (that you left opened to turn).  Top stitch about 1/4″ all the way around. That will keep the edges crisp & the opening closed. Clip your threads off.  It’s now ready to use!

That’s all there is to it!  Have fun & choose the fabric that will match your decor.