
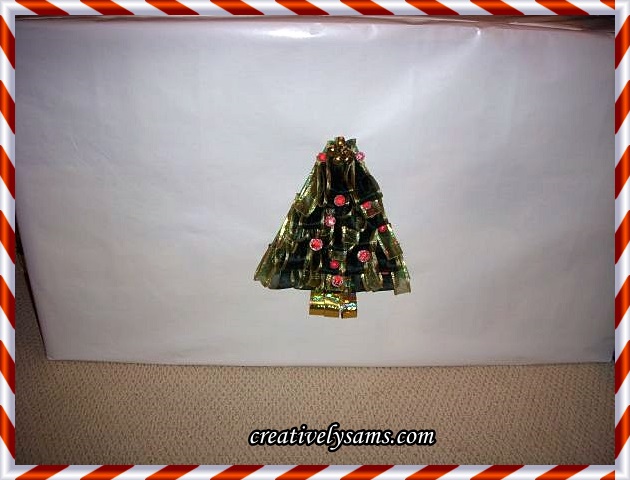
I have a large package that needed to be decorated. I could have made a big bow for it, but I wanted something a little different, something not quite as feminine as bows can tend to be. I came up with a Christmas Tree that is made from ribbon loops. It was very easy to make, and as I looked at the finished project, I thought about how it could be used in other ways, too! This is one of my Christmas Package Embellishments:

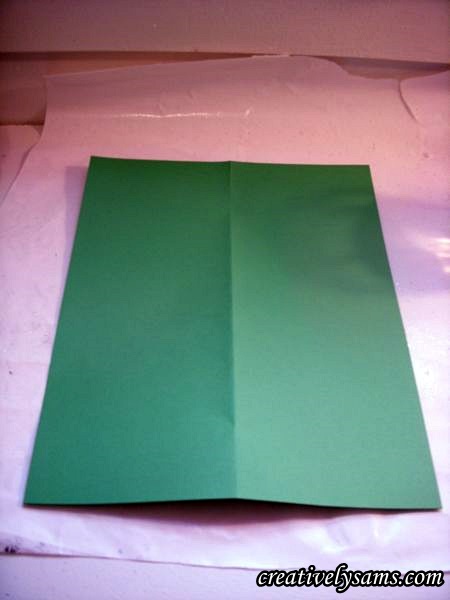
I started with some green card stock, which I folded in half, lengthwise.
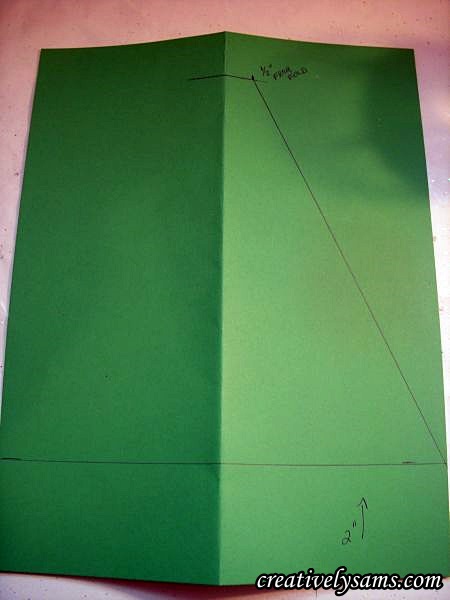
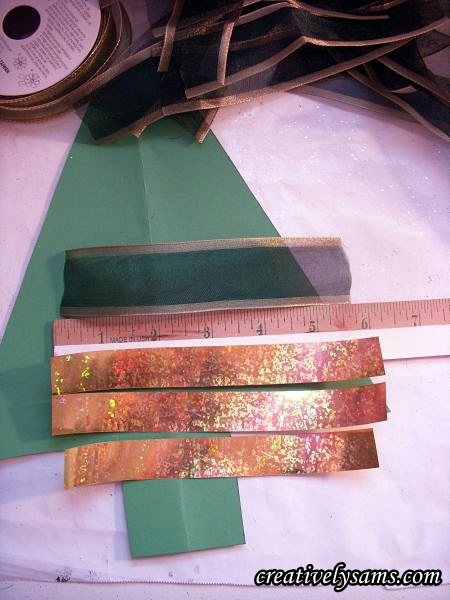
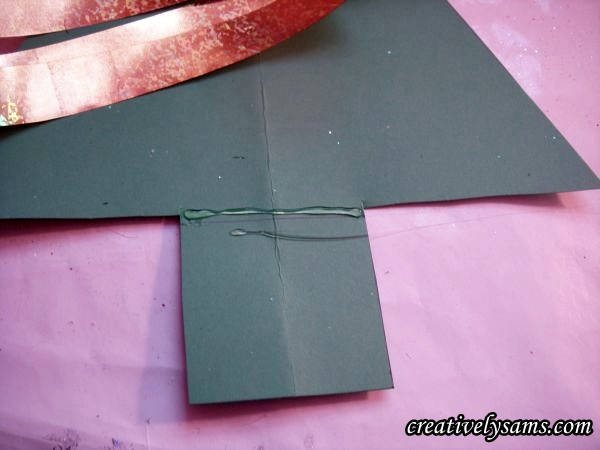
I measured down from the top of the card stock 1″. Then from that mark, I measured 1/2″ from the fold & 2″ up from the bottom on the far right side. I drew a line from the 1/2″ mark to the 2″ mark and a line across the bottom at the 2″ mark. This is the base of the Christmas tree.
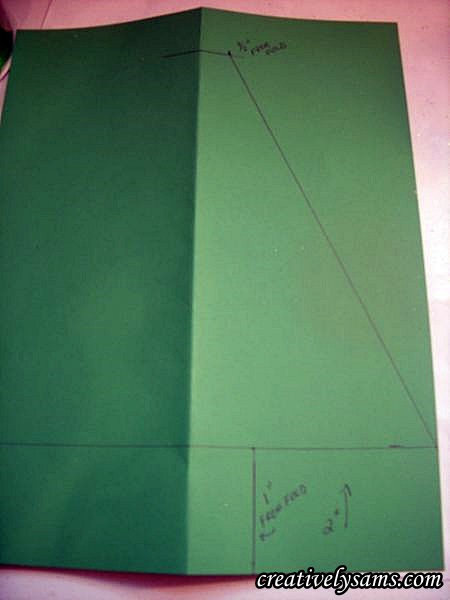
For the trunk, I measured 1″ from the fold & drew a line from the tree base to the bottom of the page.
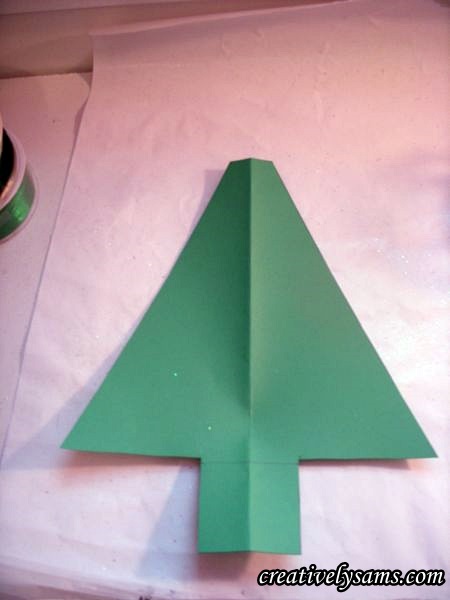
I folded the card stock in half & cut out the basic tree shape.
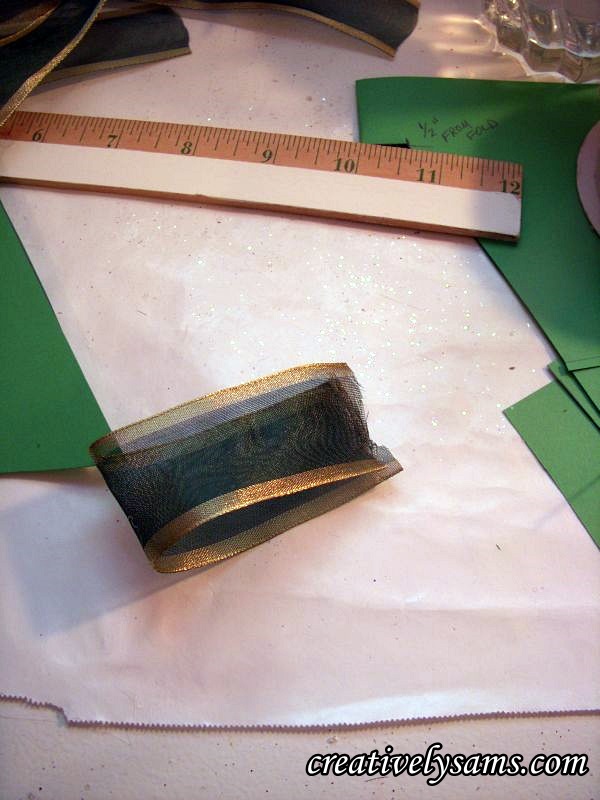
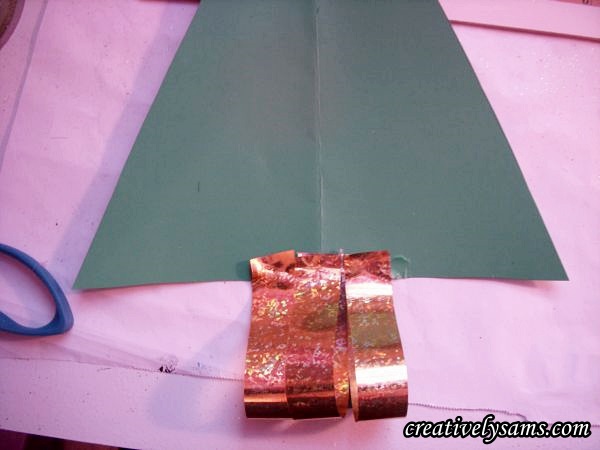
Then I cut ribbon… lots & lots of ribbon. The amount of ribbon that you’ll have to cut will depend on the width of ribbon that you use. The gold ribbon that I used for the trunk was 3/4″ wide, so I only needed 3 pieces to fit across the trunk. I cut all of the ribbon 6″ long. I used 2 shades of green for this project, one wider than the other.
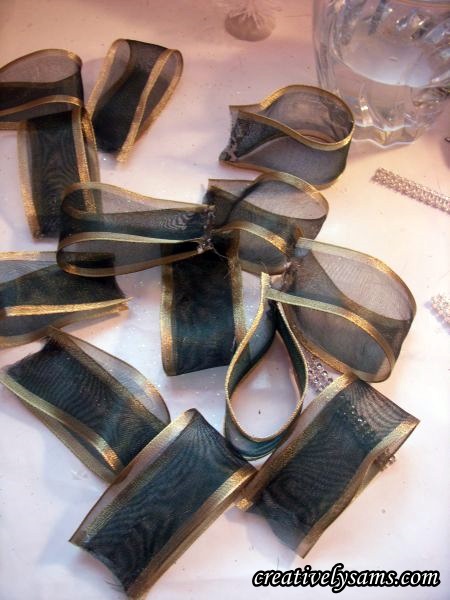
Then I made loops out of the ribbon.

I ran a line of hot glue along the top of the trunk and then added the gold ribbon loops to fill in the trunk:
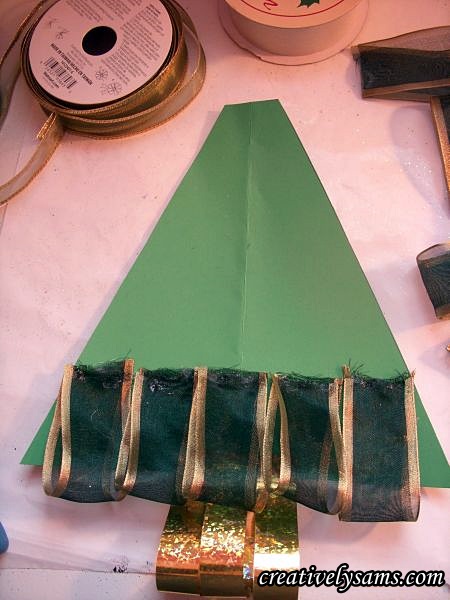
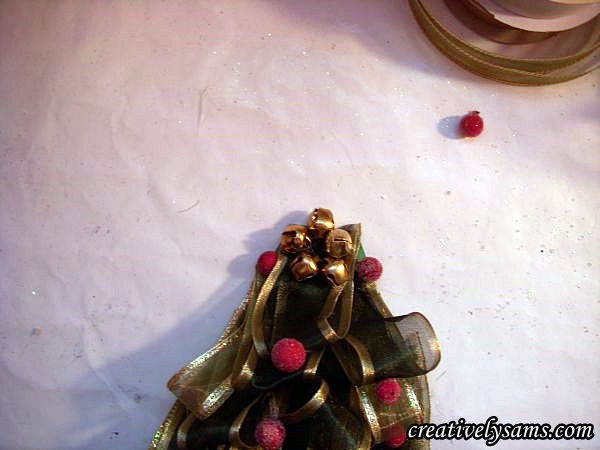
Then, using the wider dark green ribbon, I glued on the first layer of ribbon loops, making sure that the bottom of the loops covered the top of the gold ribbon loops and went slightly below the tree base. I repeated with the dark ribbon the same way until the tree was covered.
Once the tree was covered with the wider ribbon loops, I filled in between the rows with the thinner green ribbon loops. I also made sure to add some glue along the outside edge of the tree base to make sure that the loops covered the card stock. (they had a tendency to show the edge of the card stock)
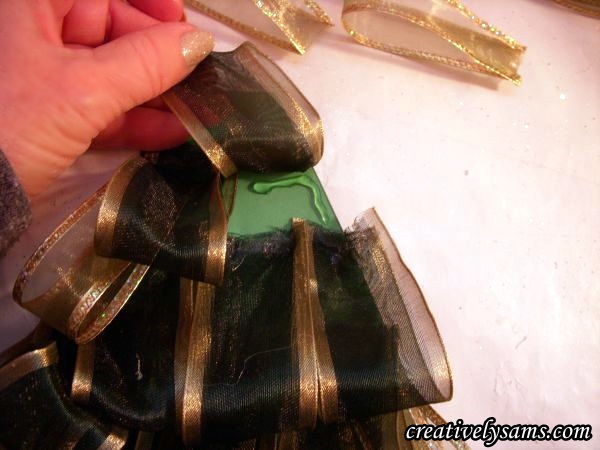
Continue to add the thinner loops to fill in the tree.
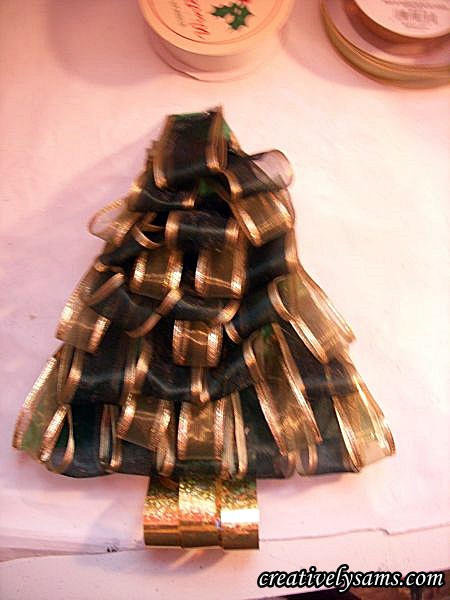
Then I added some berries to the tree to add some more color to it. You could add anything to it, like small ornaments, bells, gem stones or even small pieces of jewelry.

For the tree topper, I went simple. I used 5 small bells that I threaded on to some floral wire.
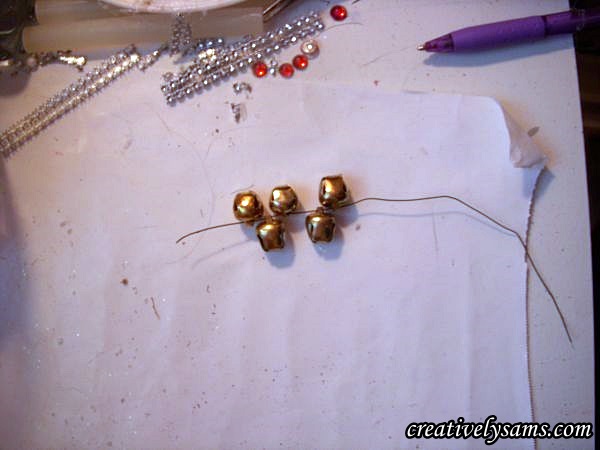
I twisted the wire together & clipped off the excess wire. Don’t pull the wire too tight, you want to be able to have the bells lay flat when you’re done.

After the excess wire was clipped off, I glued the bells in a star shape to the top of the tree.

Turn the tree over & add several strips of double sided tape to the back of the tree.
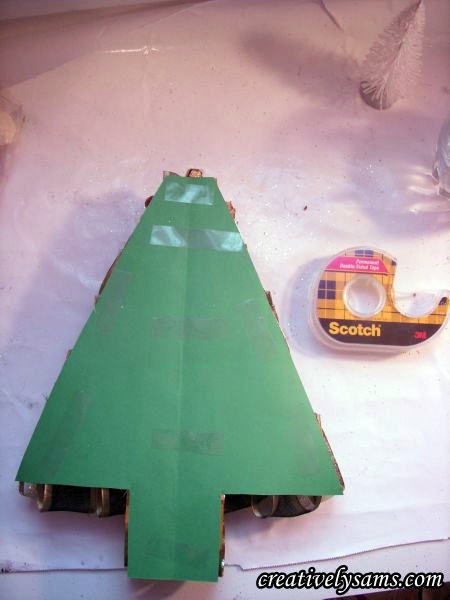
Press the tree on to the package & it’s done. For as big as this package is, I think it still needs more, but I’ll figure that out later. 🙂
If this were made on cardboard or foam board, it could be made to any size & hung on a wall.
Happy Creating everyone!
I’ll be joining: