
I’m still playing around with birdhouses. I wanted to make a special birdhouse for my sister. She has a wonderful garden that makes me feel peaceful when I go there.
I know that she’s partial to green & daises. So it was only natural for me to make a green birdhouse & paint some daises on it for her.
I started with this little birdhouse that I base coated with white acrylic paint.

Then I added an eye to the top of the bird house for hanging & then two coats of light sage green paint.
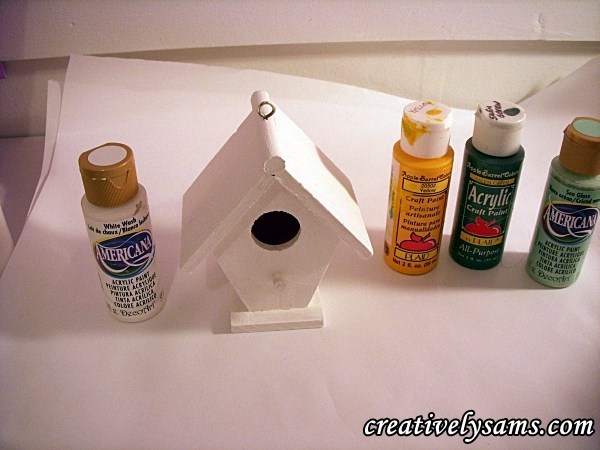
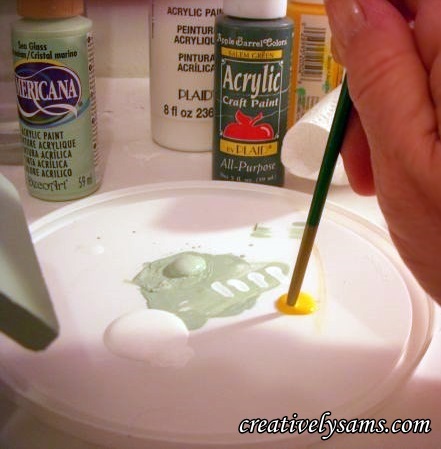
Once the paint had dried, I started to paint on the daises. Painting a daisy is easy. It only takes 3 colors of paint and a flat brush. White, for the flower, yellow for the center, and a medium to dark shade of green for the leaves.
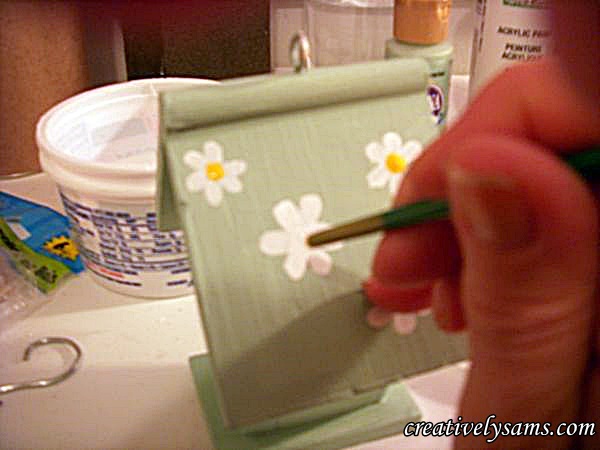
Since it is a small birdhouse, I used small paint brushes. I dipped the brush into the white paint & then I touched the tip of the brush flat on the surface of the birdhouse, then gently angled the brush as I was painting towards the center of the flower. One petal at a time.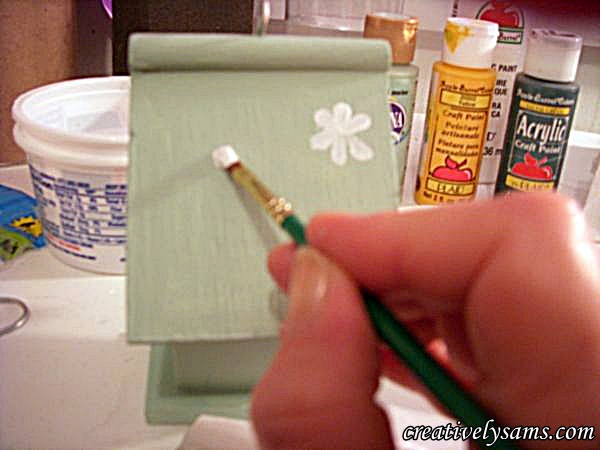
Then using the handle end of the brush, I dipped it into the yellow paint & added a dot of paint to the center of the petals.
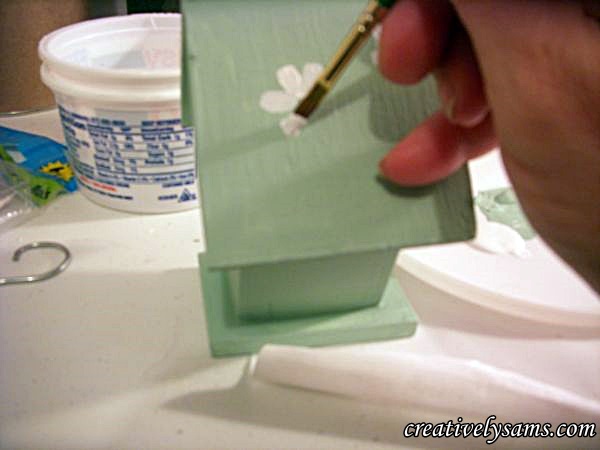
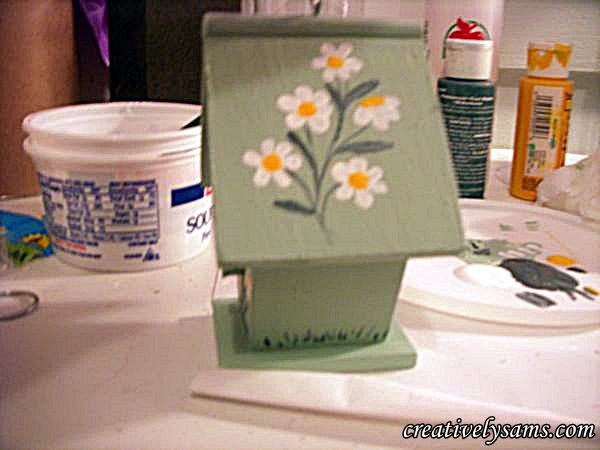
Then using the green paint and a thin brush, I wiggled in some leaves. Wiggling the paint on gives the leaves a slightly more realistic look. (this is not “art” by any means)

After I finished adding all the leaves that I wanted, I added stems and some grass, using a very thin paint brush. Some were straight, and some looked slightly like vines. The vine looking stems gave the stems a little movement.

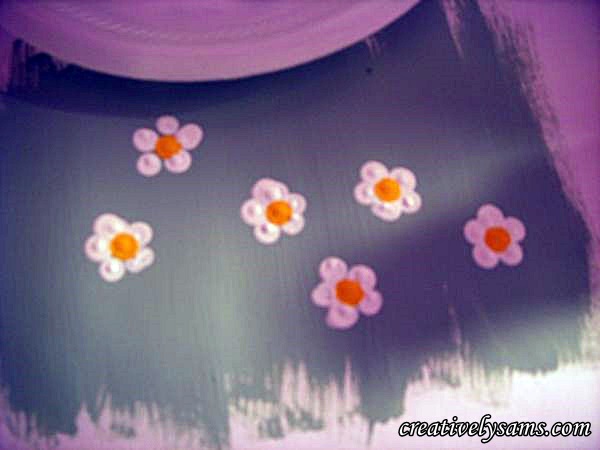
If you don’t want to try your hand at daisy petals, you can always make Dot Flowers. They’re the easiest to make & you’ll see them in a lot of hand painted items. They’re made by dipping the end of a larger brush handle into paint, and dotting the petals on:

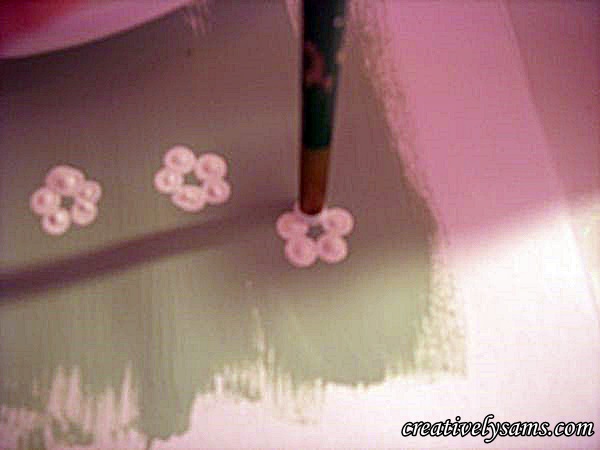
Then using the same brush handle, dip it into some yellow paint for the center of your flowers.
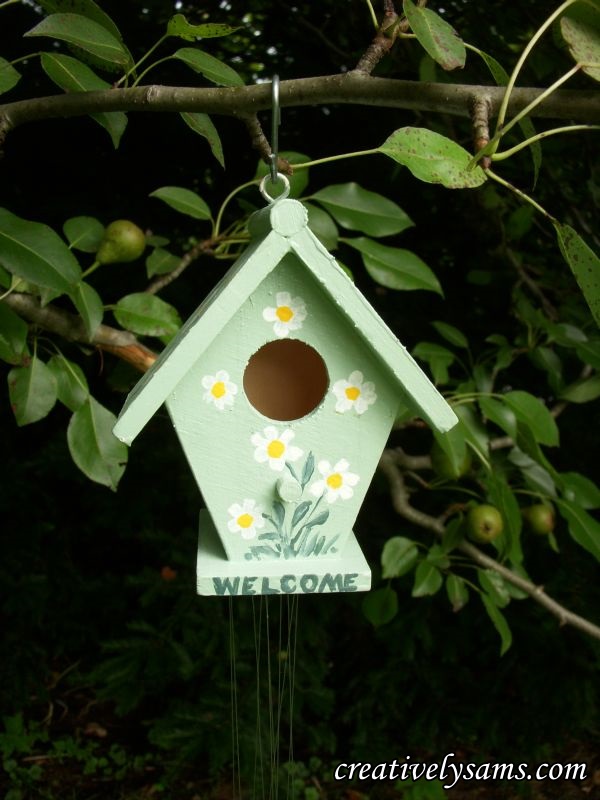
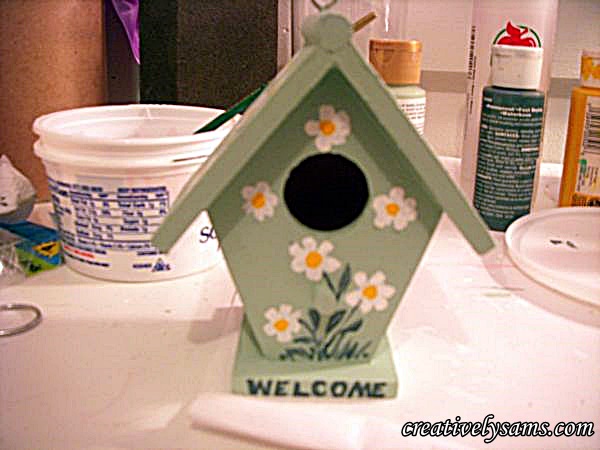
After I’d finished the painting, I added the word, Welcome. It finished the look that I was going for and I thought it was fitting since her garden is so welcoming.
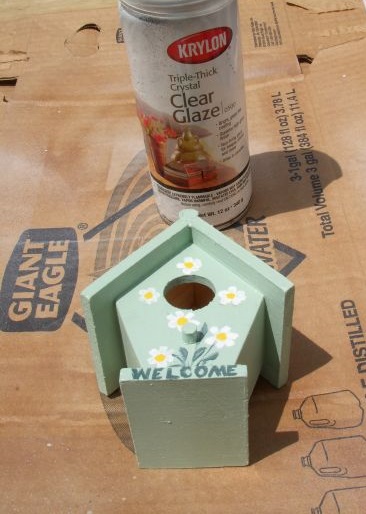
When everything had dried, I took it outside and gave it a good coat of clear spray paint to seal the wood against the elements.
It was cute & I thought it would look nice in her garden, but I decided to add some wind chimes to it to bring more music to her garden.
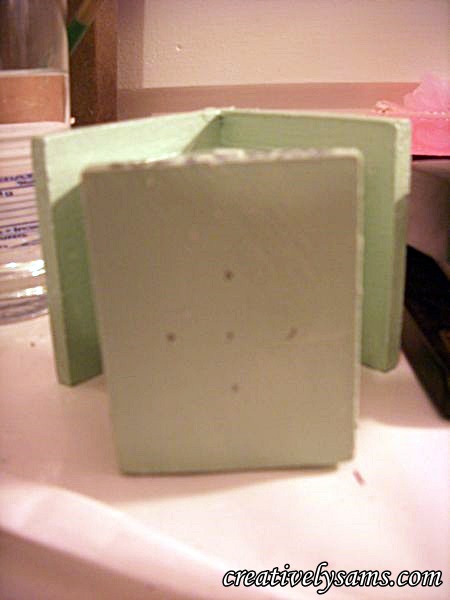
I marked 5 areas on the base with pencil.
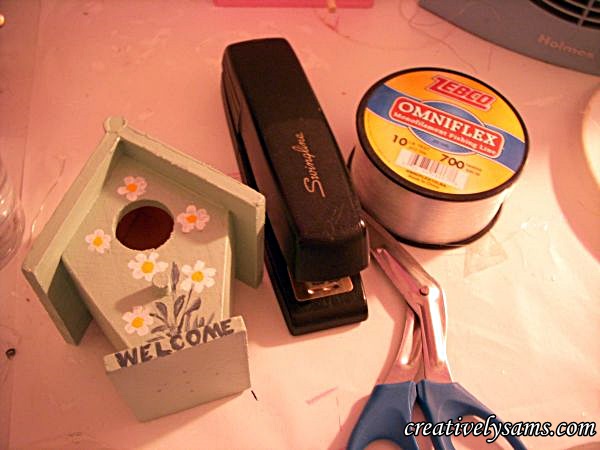
Then I gathered up the wind chime supplies, fishing line, stapler & staples.
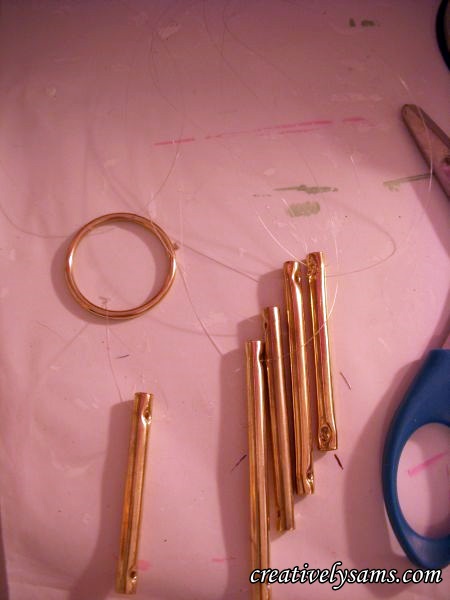
One at a time, I threaded the fishing line through the chimes & tied them off. I added a brass ring to the center chime so it would make a little more music.

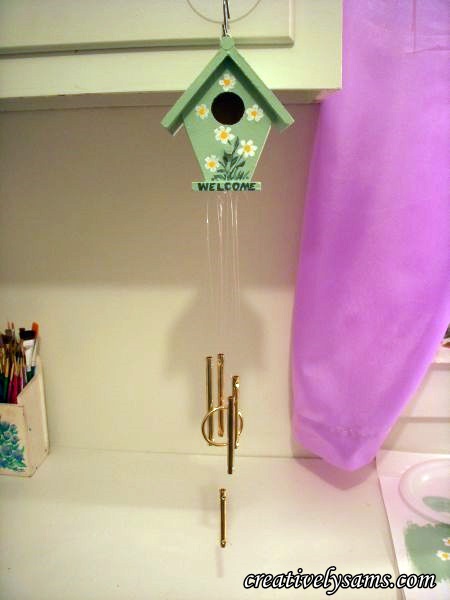
I started to staple the ends of the fishing line to the bottom of the birdhouse, one at a time, making sure that the chime with the brass ring was in the center.

I have to admit, the wood on this birdhouse was a little more dense than the other birdhouse that I did. I had to use a hammer on some of the staples to get them all the way into the wood. Once the staples were finished, and all of the chimes were on the bottom, I clipped off the excess fishing line that was sticking out of the ends (after the knot) & it was done! I used an “S” hook in the eye to hang it.
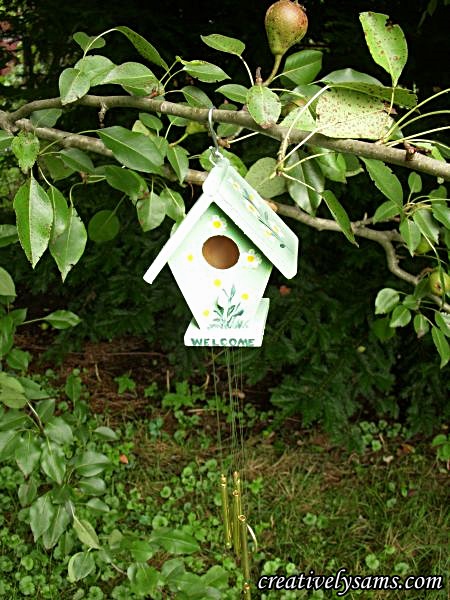
I hope she likes it. I can’t wait to see it in her garden.
Happy Creating everyone!
I’m linking up with:
Chic on a Shoestring Decorating