
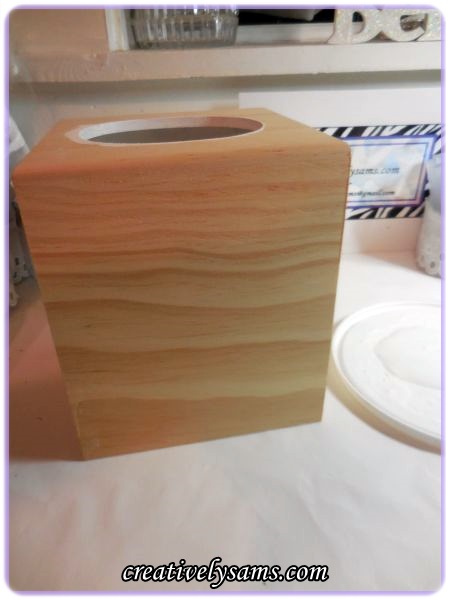
It never fails, when I need a tissue, they’re in the other room. And they’re always hidden under a tissue box cover because I can’t stand the patterns that are on those boxes. The craft room is no exception. Since I’ve been working on redoing the craft room, (that’s a whole story in itself that I’ll tell when it’s completed) I decided to make something pretty to hold the tissues. This could be used in any room & done in any color of your choice.

I had everything that I needed except for the wooden tissue box cover. I prefer the wooden ones over the paper mache ones because they hold up so well. I got it at Joann Fabrics. the original price was $7.99 but with a 40% off coupon, it only cost $4.79!
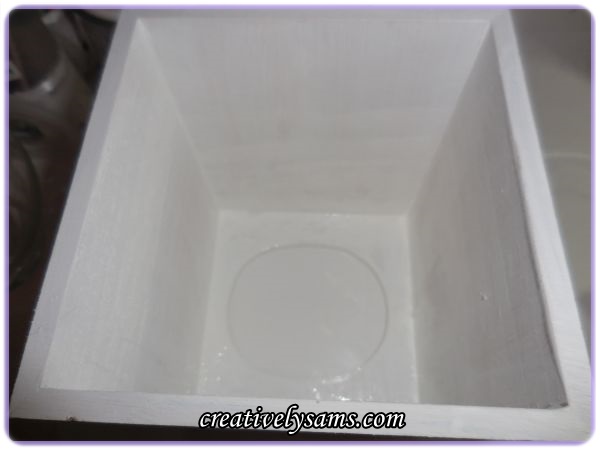
I used 3 coats of white acrylic paint on the inside of the box.
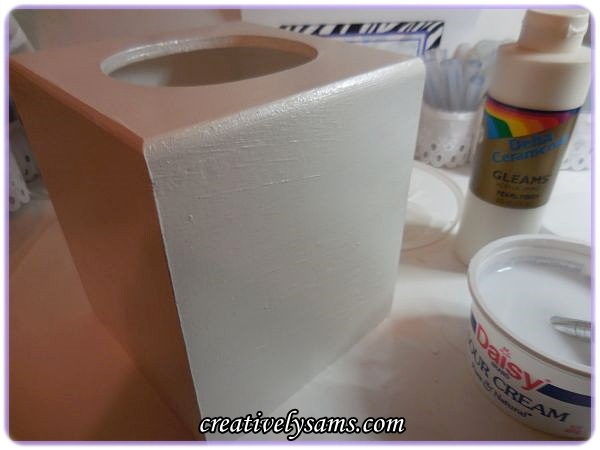
After each coat had dried, I turned it over and gave the outside 3 coats of the white acrylic paint.

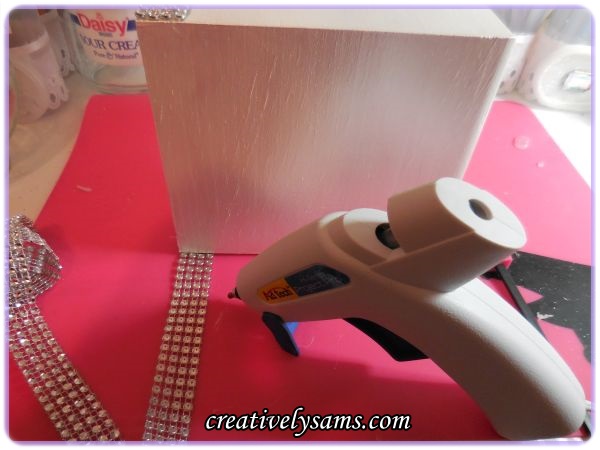
Since the acrylic paint has a matte finish, I gave it a coat of white pearl paint & let that dry for about an hour to make sure that it was cured.
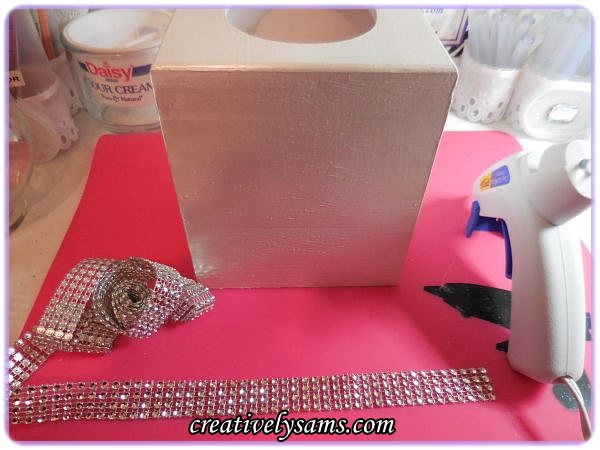
Then I got out my stash of rhinestone mesh. I love this stuff. It comes in a rainbow of colors and isn’t very expensive. I’ve been using my roll of rhinestone mesh for about a year now, and I still have plenty left over.
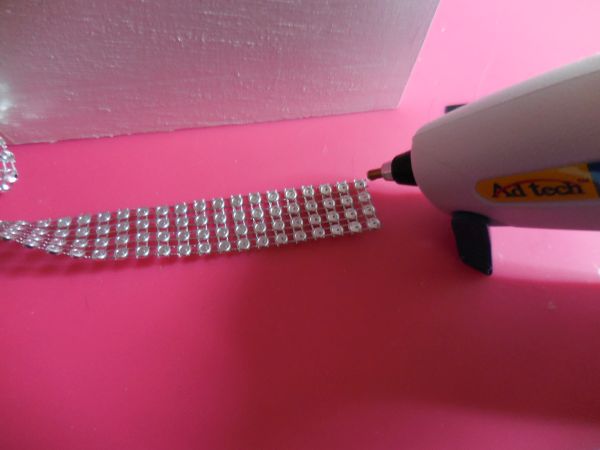
I cut the mesh 4 rows wide:
I used a hot glue gun to anchor the mesh at a corner of the box, lining it up with the bottom.
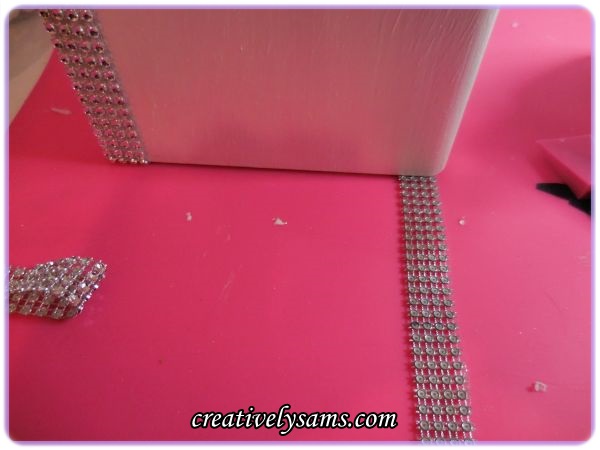
I glued a little at a time to make sure that it stayed even with the bottom of the box.
I actually found it easier, once the first side was done, to lay the box on its side and continued to glue. It made holding the rows of mesh in place easier.
Once I finished all 4 sides, I used my crafting scissors to cut off the excess mesh.

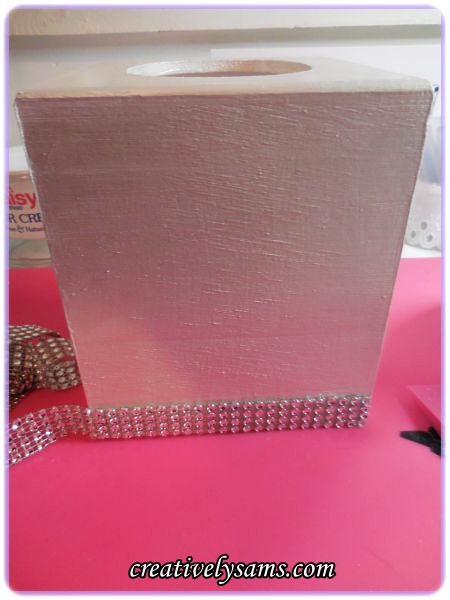
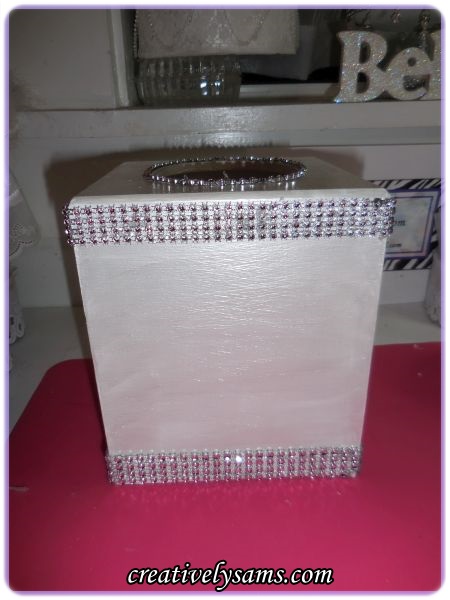
Once the bottom was finished, I repeated the same steps at the top.
To finish it off, I added a single row of rhinestone mesh around the opening, gluing small sections at a time.

And it’s done!
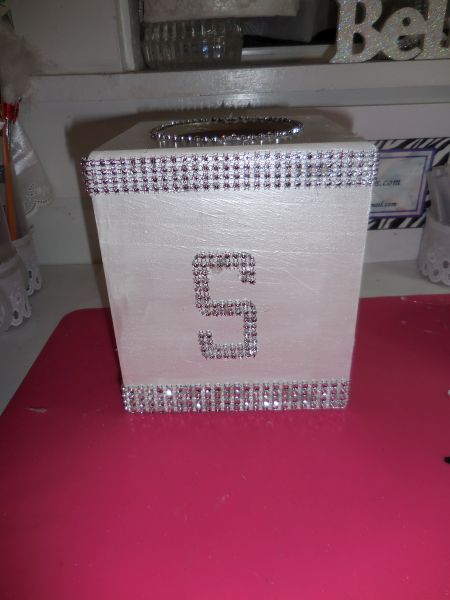
You could add a decoration to the center of the box if you want to, but it’s just as pretty plain.
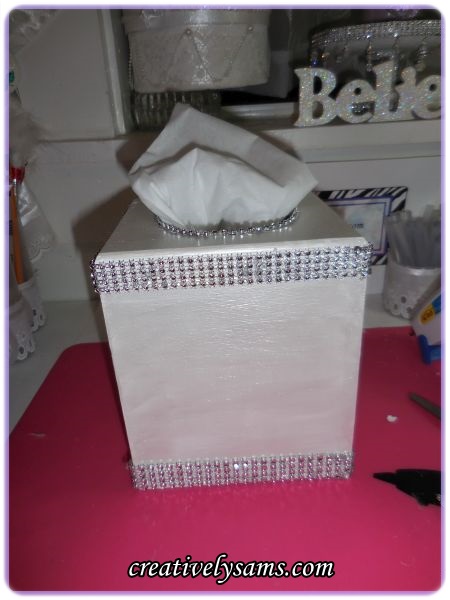
Add tissues:

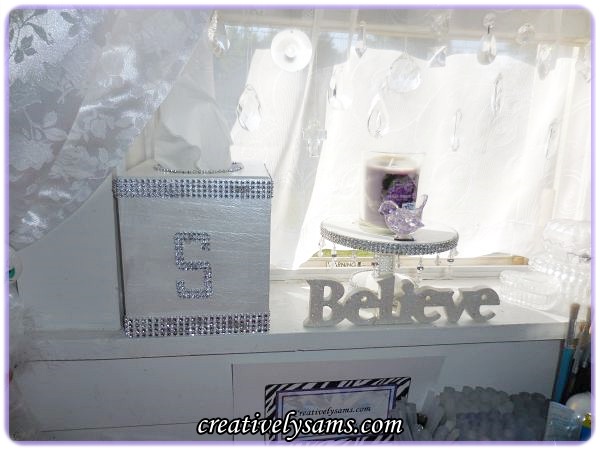
It’s now in place in my craft room.
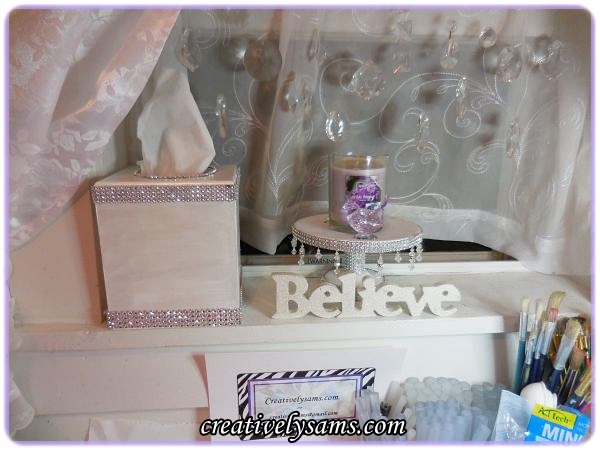
I love the way it sparkles in the sunlight along with my crystals.
It always amazes me to see how easily you can customize something as simple as a wooden tissue box into something that fits right in to your room’s decor.
Happy Creating everyone!