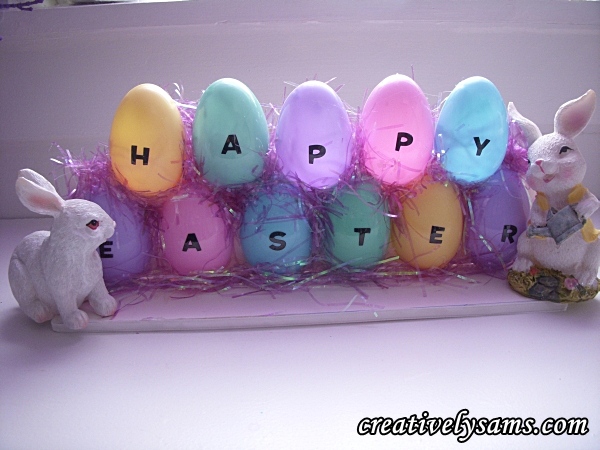
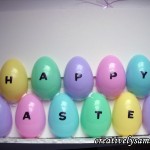
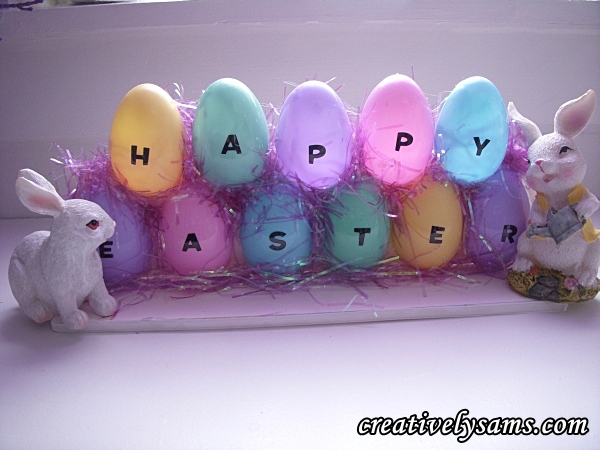
I’d seen something similar to this on-line & thought I’d make a much less expensive version. It was a little time consuming, but the results were worth it. This little display adds a pop of bright colors to where ever you place it.
Here’s what I used:
Resin bunnies (found at the Dollar Tree)
Foam core board
cutter
ruler
glue
5 small nails
hot glue & glue sticks
Easter grass
Plastic Easter Eggs (the kind that opens up lengthwise)
Alphabet stickers
Iridescent Shreds of Easter Grass
Vacuum cleaner (this gets a little messy)
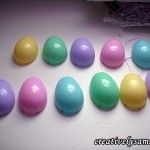
First thing was to measure out the foam core board that you’ll need to place the items on. I laid out the opened egg halves on the board to get the length of the board. Mine was about 12 1/2″ long. Then I placed the bunny on the board to find the width of the first board. Mine was 5 1/2″. Then I measured how high I’d need the second board to be. This is the board that would be used for the back. Mine was 4 1/2″. After I’d drawn the lines for the measurements, I used a box cutter to cut the boards along those lines.
To get the boards together, I used 5 small nails, pushed into the back of the top board & into the back of the bottom/base board.
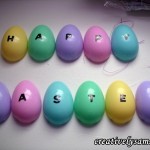
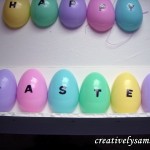
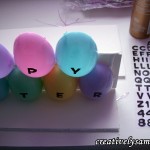
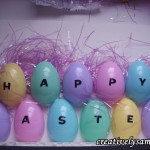
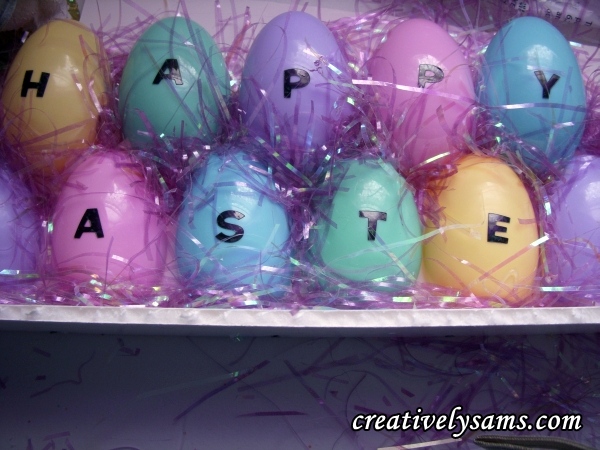
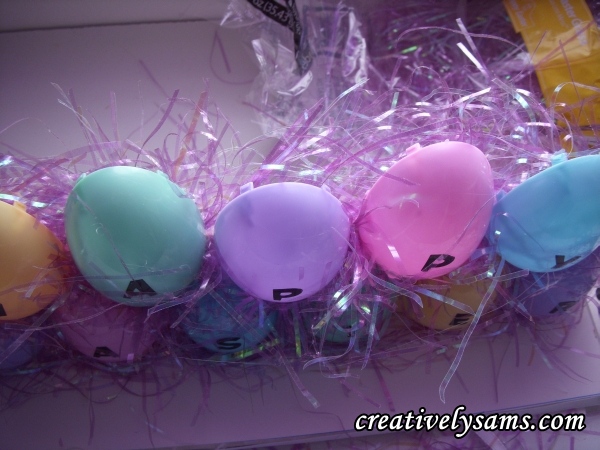
Then I lined up the eggs that were opened in half. After I’d lined them up the way I wanted them, I added stickers to the eggs, spelling out HAPPY EASTER.
Once the stickers were on the eggs, I glued the bottom eggs that said Easter, to the back board.
After they were glued on, I added the top eggs, that said Happy. The top of the egg stands above the board, so to keep them straight, I laid a scrap piece of foam core board behind them.
And then you wait for the glue to dry. You can omit this step if you used the hot glue gun.
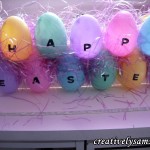
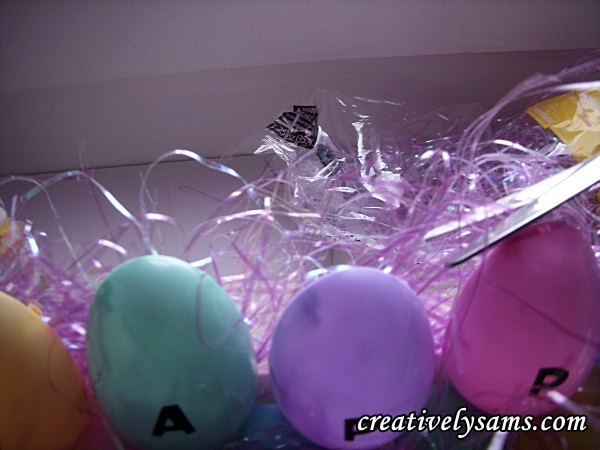
Next you’ll add some glue for the Easter grass. Once you have the glue in place, add the Easter grass. Put the grass at the top of the back board behind the eggs & then fill in between the eggs. Keep adding the Easter grass until all of the spaces are filled.
Once all of the Easter grass is added, put glue on the edge of the bottom board & add ribbon to the cut edge. This will conceal the raw edge.
Now comes the messy part. You need to give your little display a ‘hair cut’. And you’ll cut a lot. Cutting around the eggs made me think of cutting bangs. The Easter grass has a lot of static electricity, so it goes everywhere. That’s why I said it’s the messy part. And why you’ll need a vacuum cleaner.
Just when you think you’re done, you’ll cut some more, and more,
Once you have finished giving your display its hair cut, you can glue on the bunnies, one on either side.
And you’re done! Like I said, it’s a time consuming project, but well worth it. I hope you enjoyed this little tutorial to add a little whimsy to your Easter decorations.
Happy Easter from Creatively Sam’s!

