
Back in August, I did a tutorial on how to make a Table Garland Centerpiece. It was a beautiful, simple and very easy centerpiece to make. I thought I’d show you how to make the centerpiece in Fall colors using florals & foliage from Walmart.

And here is how I made it.
(Click on the thumbnail pictures to see an enlarged picture. Use the back button to return to the post)
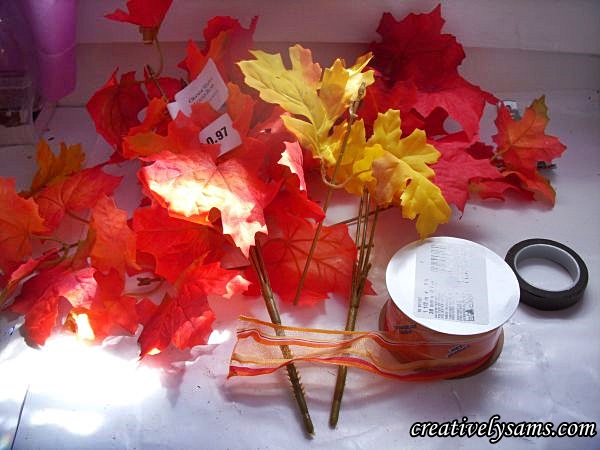
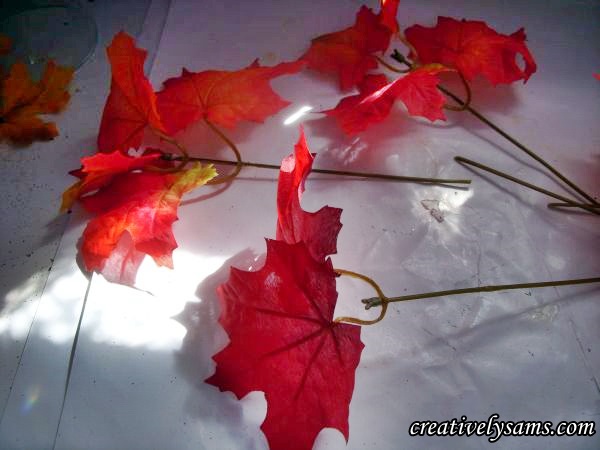
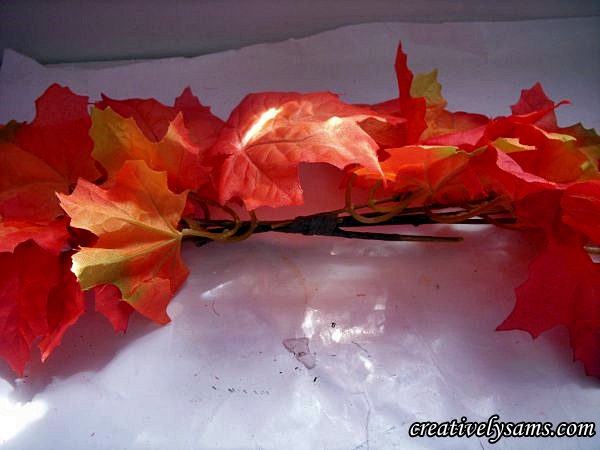
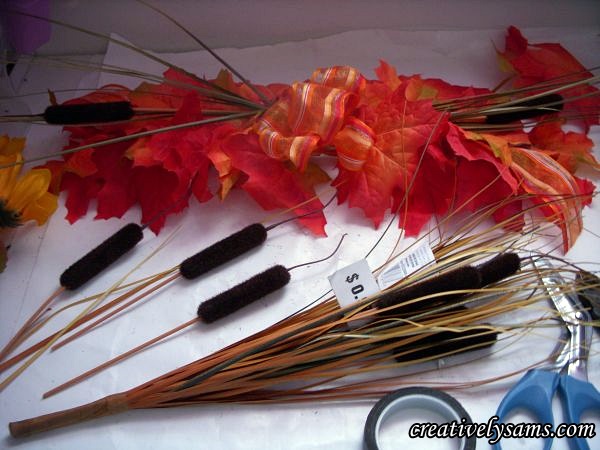
I got some bushes of Fall leaves, some cat tails (with onion grass) and some sunflowers. I cut the stems off of the bushes.
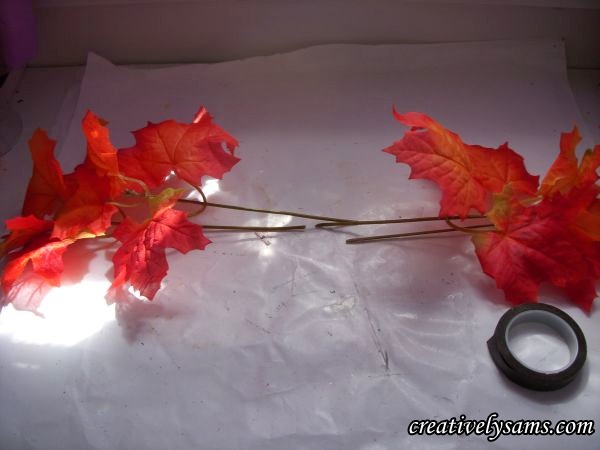
As in the other post, I joined the ends of two stems of the Fall leaves with some floral tape. I repeated the same thing for the other side of the garland. Then join the end pieces together with the floral tape. Then I took some stems to form the center of the garland. (This is where you can add more stems to lengthen the garland as you like it.)
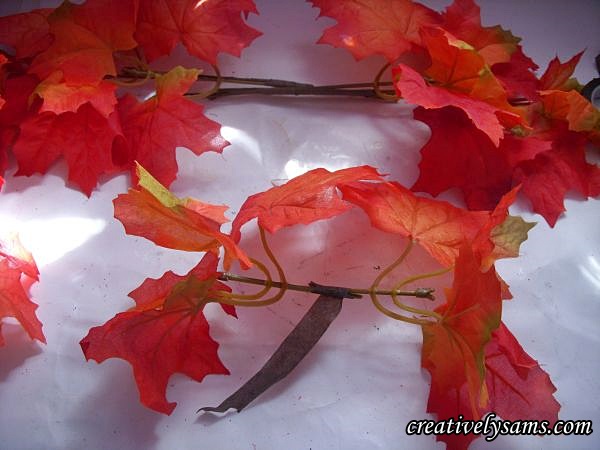
Once you have the pieces joined together, using the floral tape, join the center piece to the end pieces.
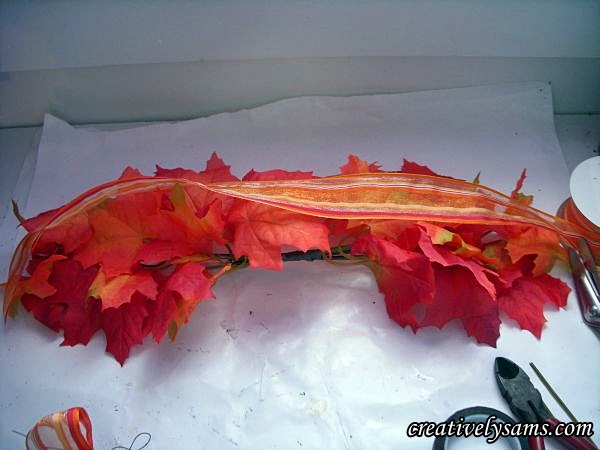
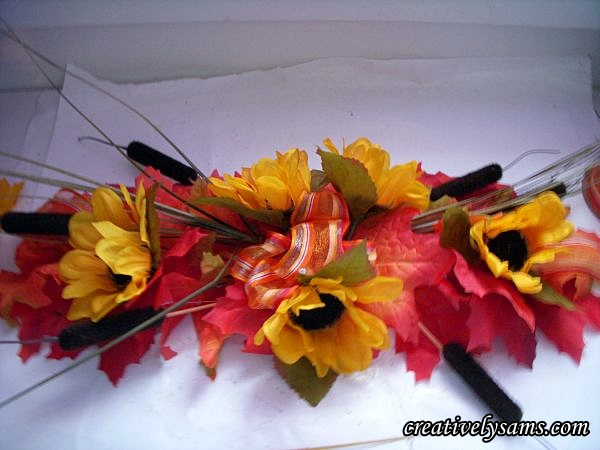
Once the pieces were joined together, I cut a piece of wire edge ribbon slightly longer than the garland. I laid the ribbon on top of the garland and set it aside.
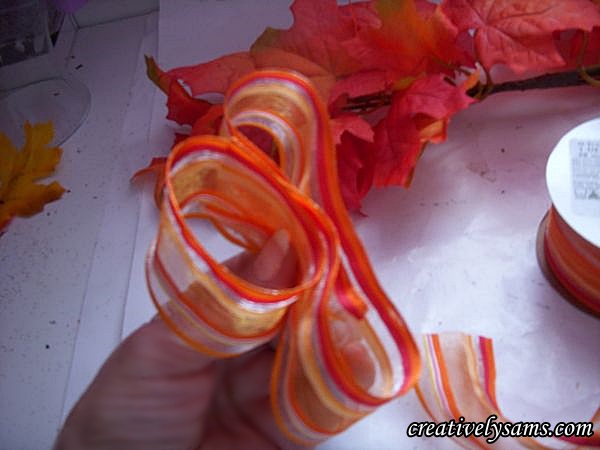
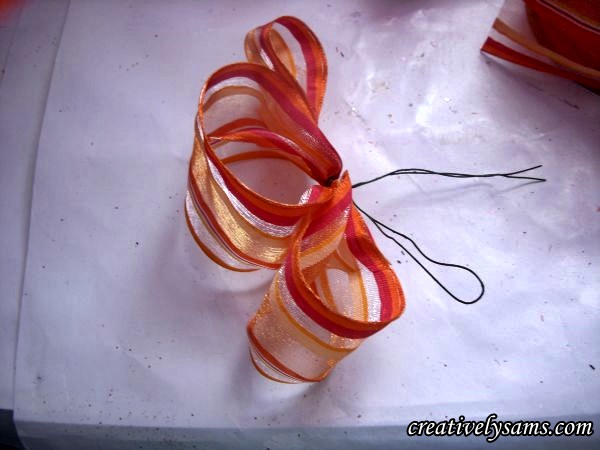
Then to make the bow, I cut two pieces of ribbon 12″ long. I shaped the ribbon into a loop with a second smaller loop on top. Gather the bottom part of the loop together with some floral wire.

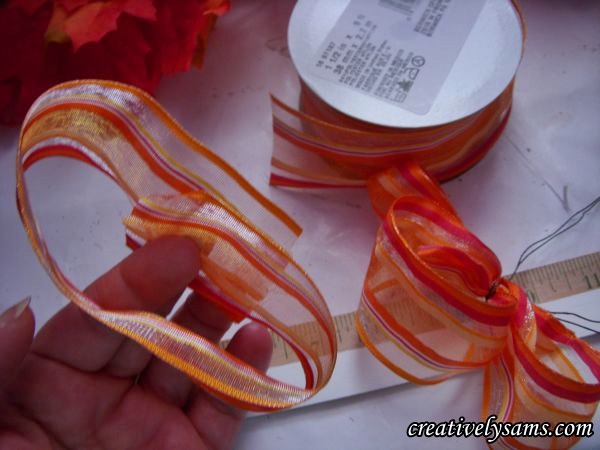
Once you’ve made both sections, join them together with floral wire, leaving enough wire to attach it to the garland.

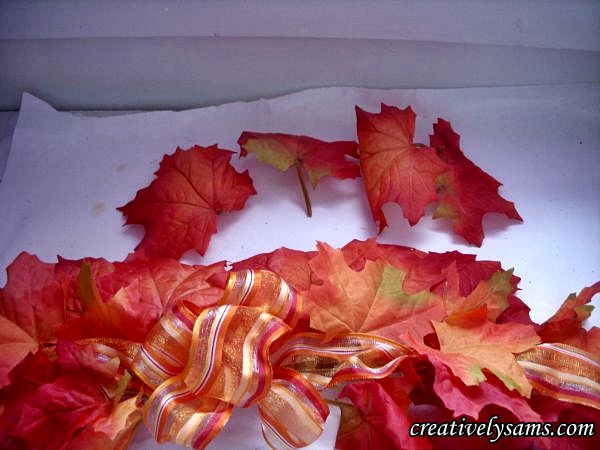
Using the wire, attach the bow to the center of the garland. Clip off any excess wire.

As you can see by the above picture, there is a bare space under the bow… no problem. Just cut some extra leaves from a stem & hot glue the leaves into the bare spots.
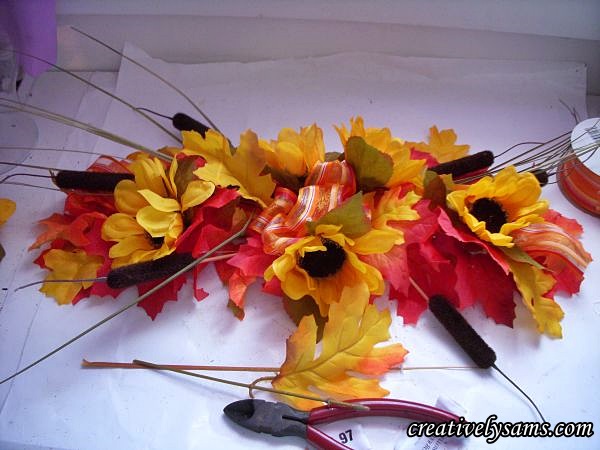
I cut the cat tails from their bush, and did the same with the sunflowers. I put 3 cat tails on each side of the garland using hot glue.
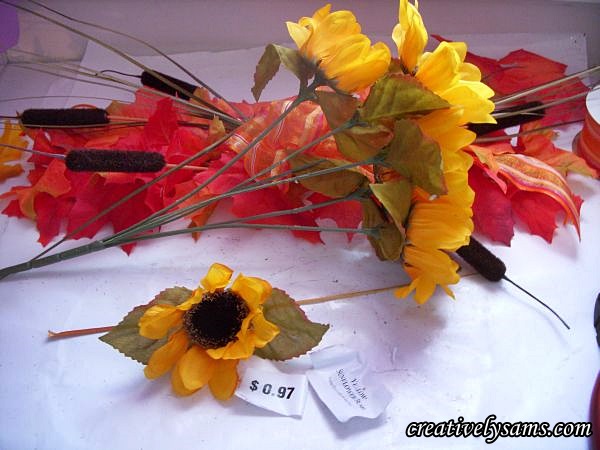
Using hot glue, I added 5 of the sunflowers around the bow and some outward towards the ends.
I felt that the garland was being overpowered by the reds & oranges, so I added some yellow maple leaves.
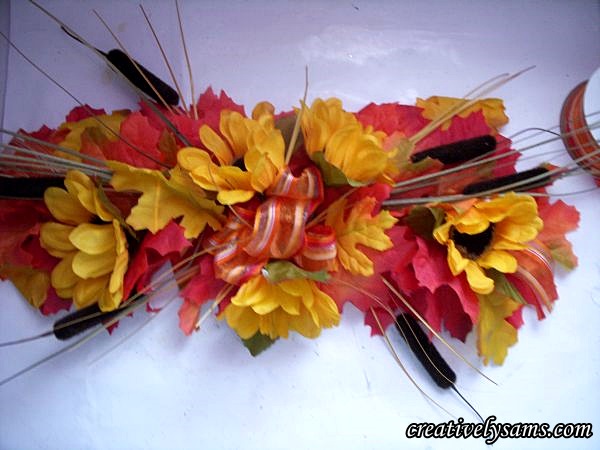
There were still some bare spots so I added some extra onion grass from the cat tail bush to the areas that were a little bare.
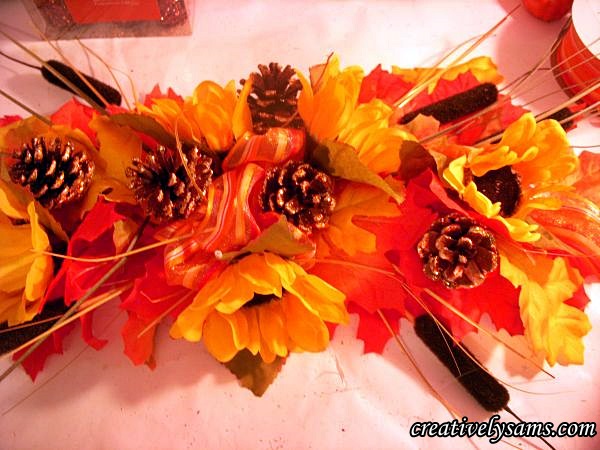
Anyone who knows me, knows that although the centerpiece looks finished, it still needed something. So I added some small glittered pine cones. (glitter always makes things better)
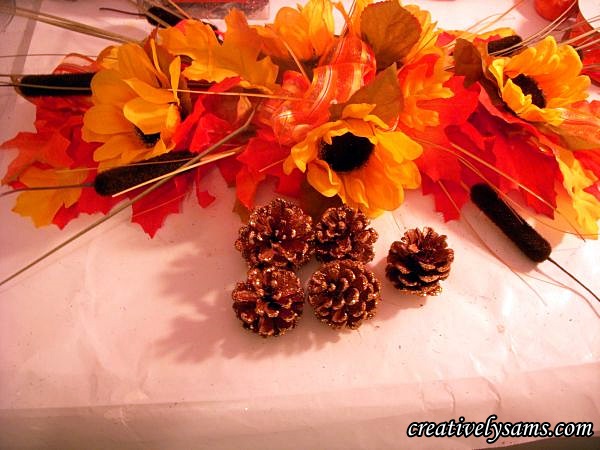
I really like the addition the glitter gave the centerpiece.
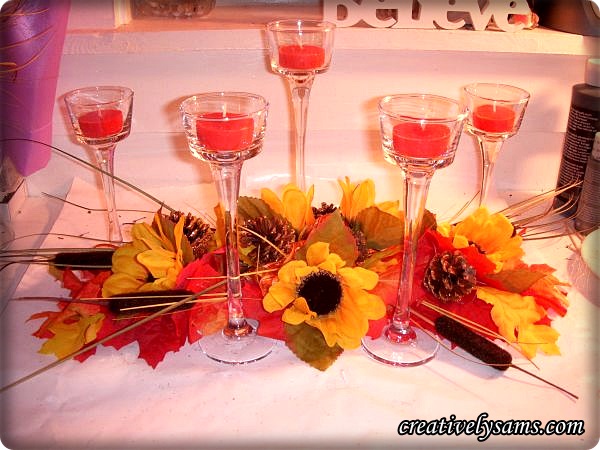
All it still needed was some candle light. I used 5 candle holders that I’d gotten from the Dollar Tree, and popped in some reddish orange tea lights. It’s all ready for a beautiful tablescape.
Something that I didn’t mention before is that these garlands can be hung on a wall, or over a doorway. Just make the bow wire long enough to form a loop on the back as a hanger
You could also make it part of a vignette on a mantle.
Happy Creating everyone!
I’ll be joining:
Susan @ Between Naps on the Porch
Show Me What You Got Linky Party 86