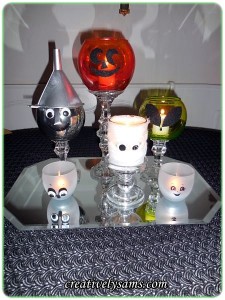
This is the 4th and final tutorial for making the Halloween Candle Holder Centerpiece.
Today’s tutorial is the Ghost Candle Holders and I think the easiest one.
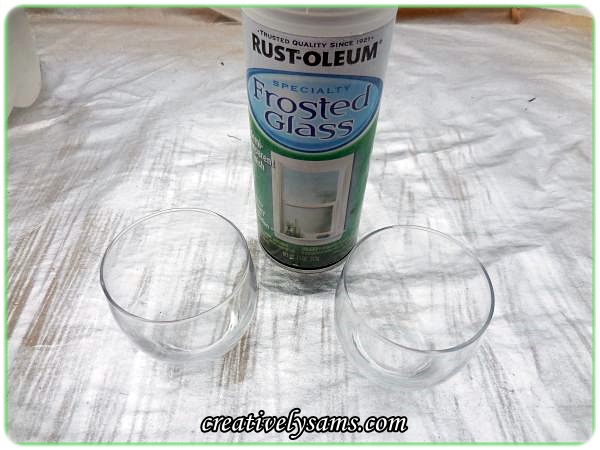
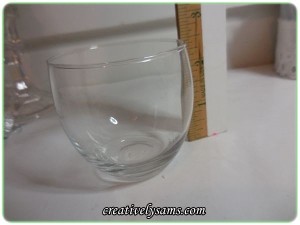
The supplies you’ll need are some tiny glass candle cups (I found mine at Walmart in the candle section) and some Rust-oleum Frosted Glass spray paint.
All of the other candles in the series are medium & large sized and they’re sitting on glass candle stick holders. I wanted something to be towards the bottom of the other candles, so I went with these tiny ones.
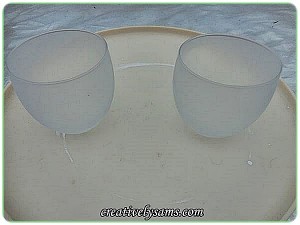
I washed & dried them to make sure there weren’t any fingerprints on them. Then I took them outside, put them on a Lazy Susan and gave them a light coat of the Frosted Glass paint. The Lazy Susan just made it easier to get all sides at once.
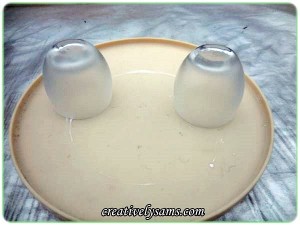
After the first coat of paint had dried, I turned them upside down on the Lazy Susan and gave them 2 more coats of paint, until they were covered well.
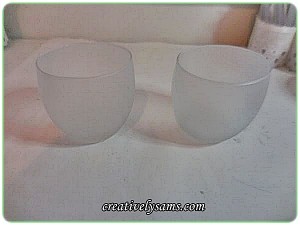
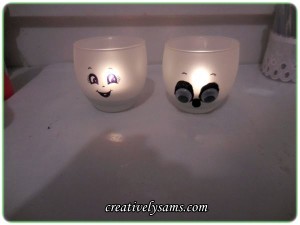
This is what they look like when they’re dried and have 3 coats of paint on. They are very frosted which gives them a white look and still being able to have candle light show through.
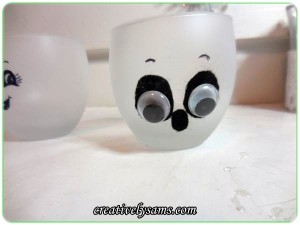
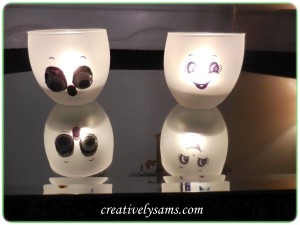
For the first Ghost Candle, I cut out some black felt for the eyes & mouth to make the face.
I played around until the felt showed around the wiggle eyes.
Then I glued the finished eyes on to the candle cups and added some eyebrows with a black Sharpie.
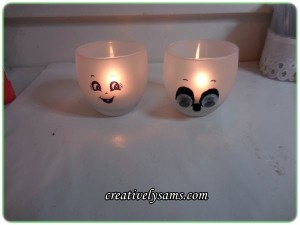
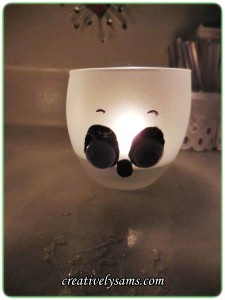
This one is cuter when not lit, because you can’t see the eyes very well.
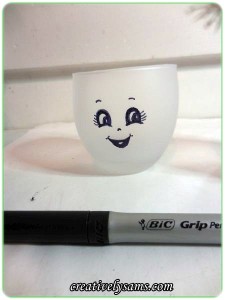
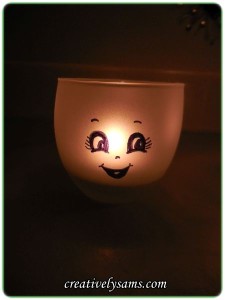
The second one is drawn on with a Black Sharpie. You don’t have to be as elaborate as I was. You could just make black circles or ovals with the Sharpie. Any way you do them will look adorable. I just like to draw.
Add a candle and they’re done.
Easy, huh?
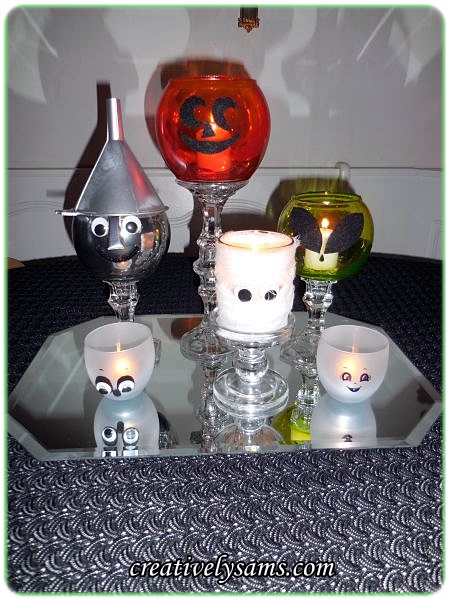
Put them all together on a mirror base to reflect the light & you’ve created the Halloween Candle Holder Centerpiece.
If you missed any of the tutorials, you can find them here, here, & here.
Happy Creating everyone!

