
I love the look of glitter. There’s no way around it. The sparkle of glitter will catch my eye every time. I collect it, I organize it, I use it every time I get a chance. (my poor husband) I love what the addition of glitter to an ordinary item does. So this is what I’m up to this time. Glittered Shell Ornaments
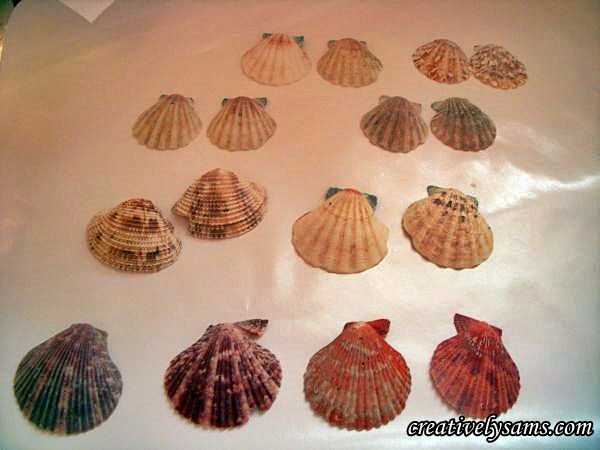
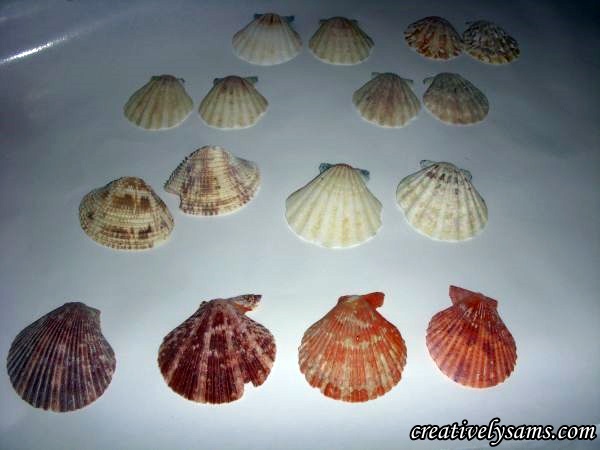
Glitter sea shells. I had to purchase most of the shells that I’ve used in this project. They can be purchased at Michaels, Walmart, The Dollar Tree, or if you’re lucky, you might have some from a vacation or a friend might bring some back for you. No matter how you acquire them, they’re fun to work with. I like Scallop Shells, so I went with them. I went through all of my shells & found pairs of them. (pairs meaning that they were a pretty close fit)
For these ornaments, I wanted to add some more color to some of them. I thought that dry brushing metallic paint on them would work well with all of the natural ridges on the shells. So I got out all of my acrylic metallic paints:

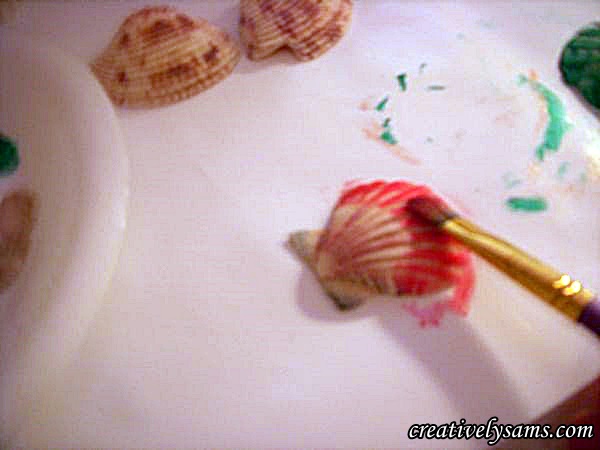
Dry brushing is easy, once you get the hang of it. The first thing you need to do is load your paint brush with paint:

Then on a paper towel (I folded mine 4 times so the paint wouldn’t go through to the work surface) wipe off most of the paint. I know, it sounds like an extra step, but it’s what makes dry brushing work.

And you do have to get most of the paint off of the brush.
Then with the almost emptied brush, and the paint brush at a sideways angle, gently brush the paint onto the ridges. Do a little at a time. You can always add more, but it’s a pain to wash it off.
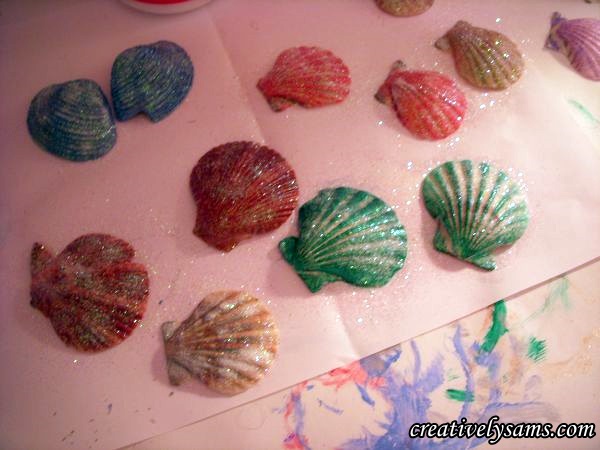
I dry brushed the rest of the shells in the different metallic colors:

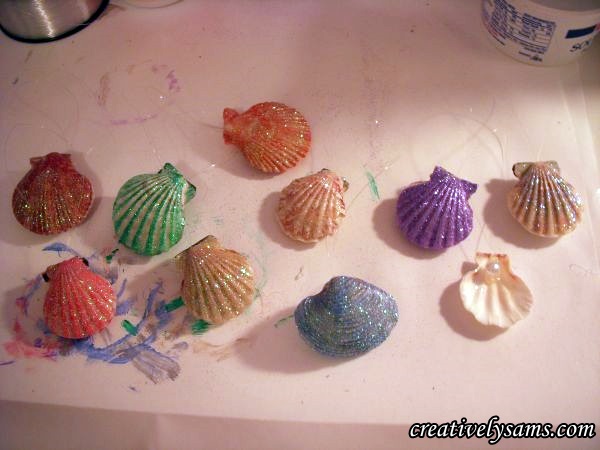
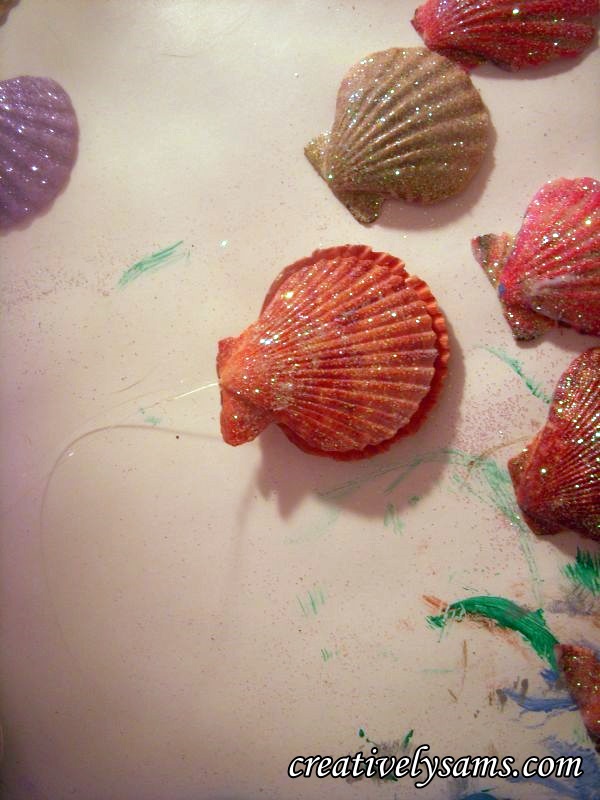
Then came my favorite part, adding the glitter! I painted the dried shells with Mod Podge and sprinkled white iridescent glitter on them. I set them aside to dry, then shook off the excess glitter.
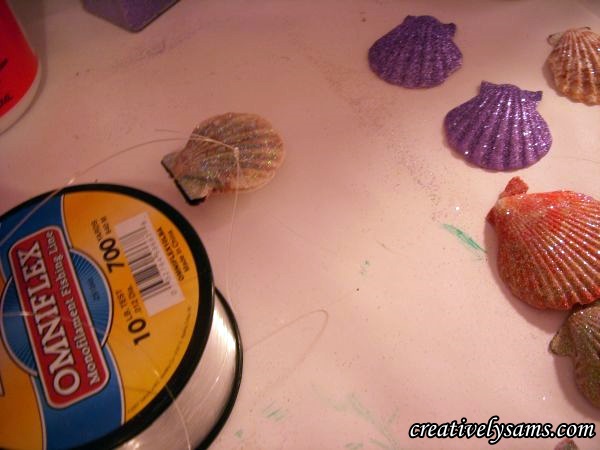
After you’ve shaken off the excess glitter, you want to turn over one shell of the pairs. Cut a piece of fishing line about 10″ long & knot the end.
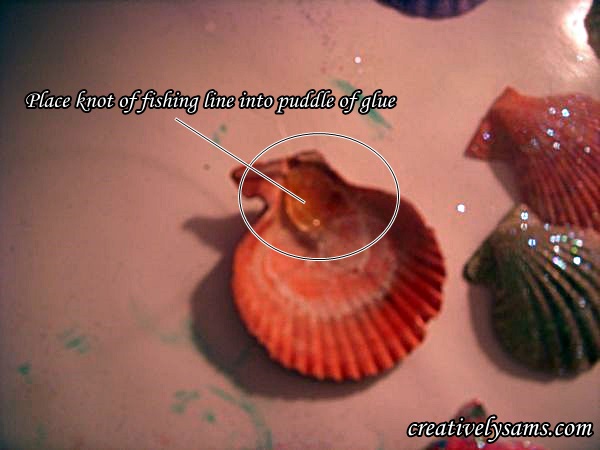
Hot glue the knot of the fishing line to the top of the shell, making sure that the loop is facing up.
Next, put a bead of glue around the edges of the shell.
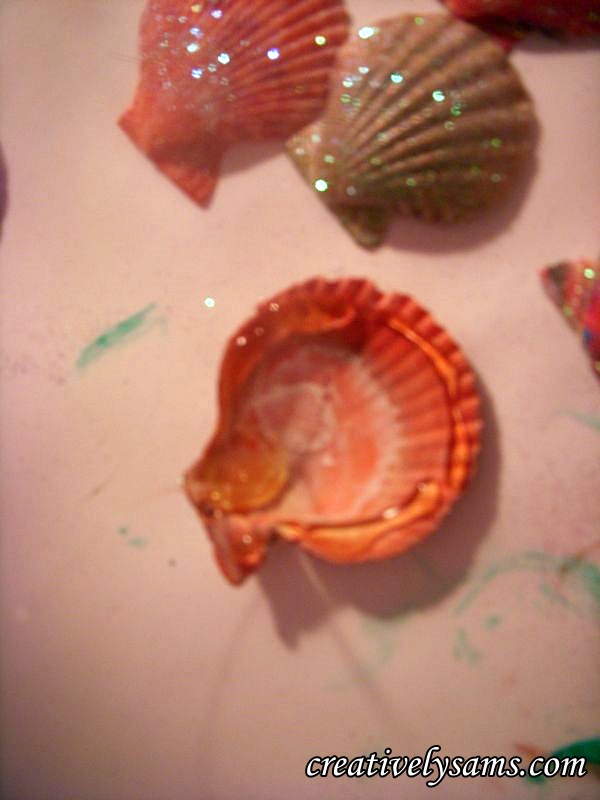
And sandwich the pair together. (make sure the loop of the fishing line isn’t stuck in the glue and is facing up.) Ask me why I keep saying that, 😉
And you’re done! They’re really easy to make and really sparkle no matter where you put them!

If you’ve noticed, there’s one that doesn’t have a ‘mate’. I couldn’t find one that fit well. So I glittered the front of the shell, put a drop of glue on the back to where I pushed in the knot of the fishing line & used a pearl to hide the knot.
And what do you do with the sea shells once they’re glittered? There are so many ideas. Christmas ornaments, centerpieces, (tuck them into flower arrangements) or use them as a filler around a candle holder….
Happy Creating everyone!