
I’ve been planning a Shabby Chic Tablescape for quite some time now. I’ve had the idea bouncing around in my head, and when a very dear friend gave me a lace bed skirt that she couldn’t use, it all came together. The bed skirt was still in its original packaging! Yards of beautiful lace. She thought that maybe I could use the fabric. Well, use it I did!
The bottom part of the bed skirt was just long enough to add to place mats that I wanted to make for a Shabby Chic, Pretty in Pink Tablescape.
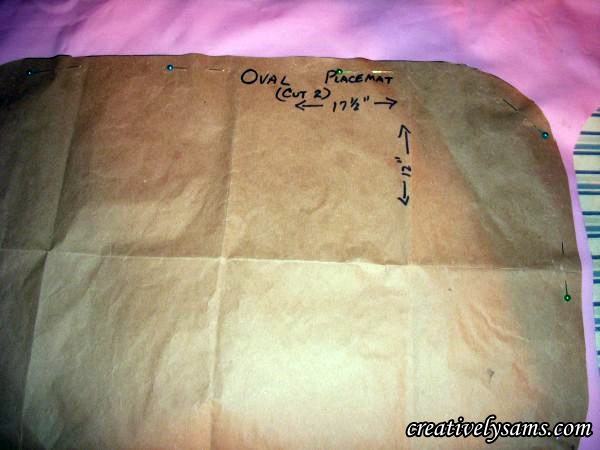
I used the oval place mat pattern from a previous post to make the place mats.
To make 4 reversible place mats, I cut 8 place mat pieces from pink fabric. (4 for each side)
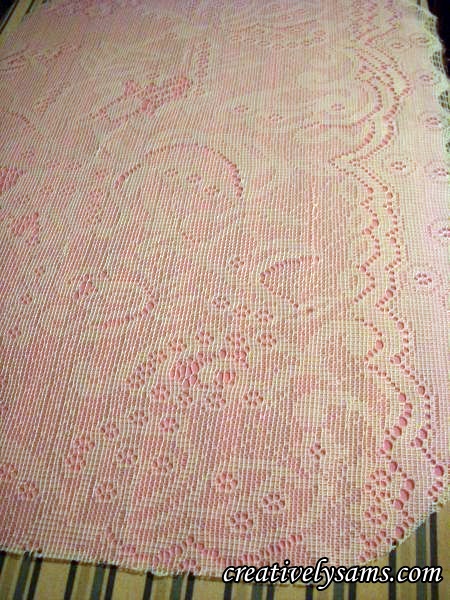
To make the first one, I put one piece of the solid pink fabric with the right (good) side up. Then I laid the lace over it. Because it had a pattern on the bottom of the lace, I left some of the lace hang over. (this was so I could line up the pattern to make sure that all of the place mats would match)
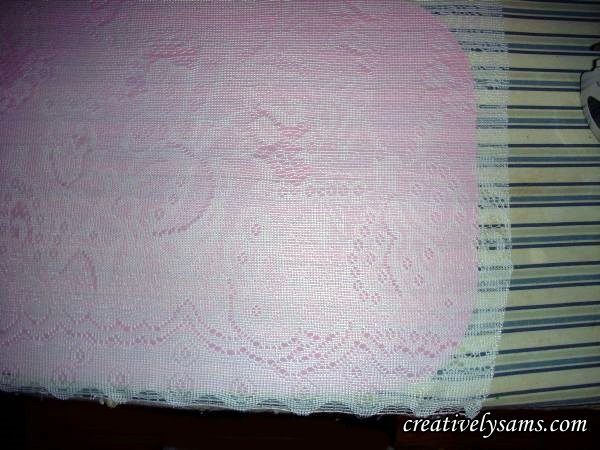
Once I had the lace lined up, I trimmed most of the excess away.
Once I had the excess lace trimmed away, I took another piece of pink fabric (right/good side down) & sandwiched the lace between the two pink pieces of fabric,
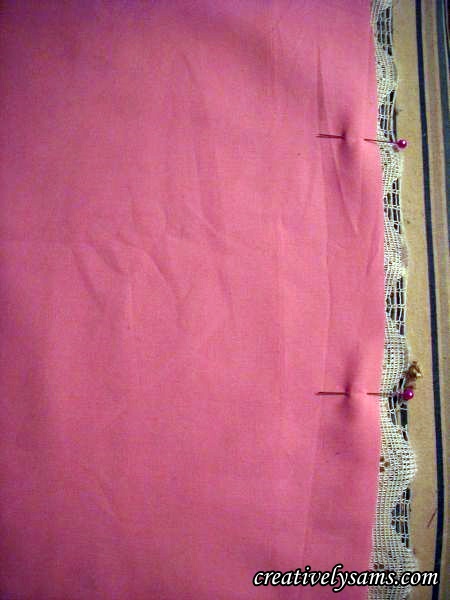
I pinned all three pieces of fabric in place, keeping the lace pattern in place. When pinning an item that I am going to turn inside out, I always use 2 pins of a different color. That way I’m always reminded where to start sewing & where to stop. (I’ve had to rip out seams that I’ve accidentally sewn closed, just to get my hand in there)

You can see here, that I used turquoise pins for the rest of the place mat, and 2 pink pins to mark the start & stop.
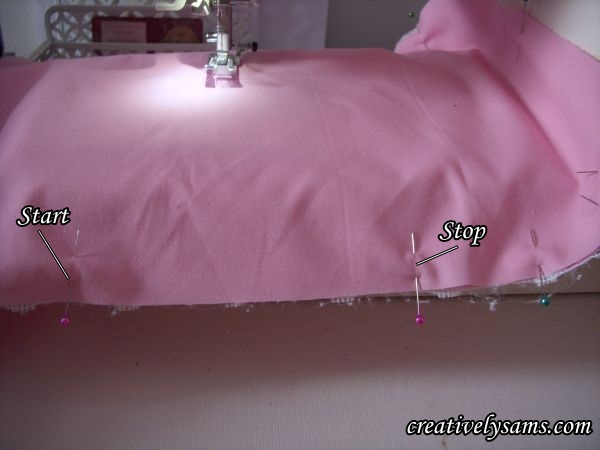
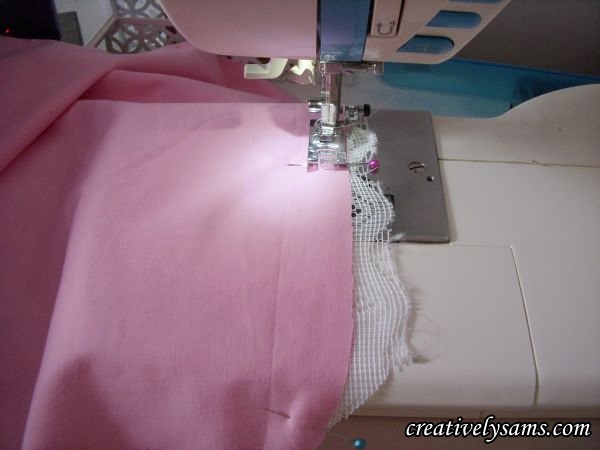
I started to sew the place mat at the start pin, and sewed all the way around until I got to the stop pin. (back stitch at both of these points so the stitch is locked in)
Once you’ve finished sewing, you want to remove the pins & put your hand into the piece to turn it right side out. Once it’s turned, put your hand back into the place mat & make sure the corners are pushed outward.
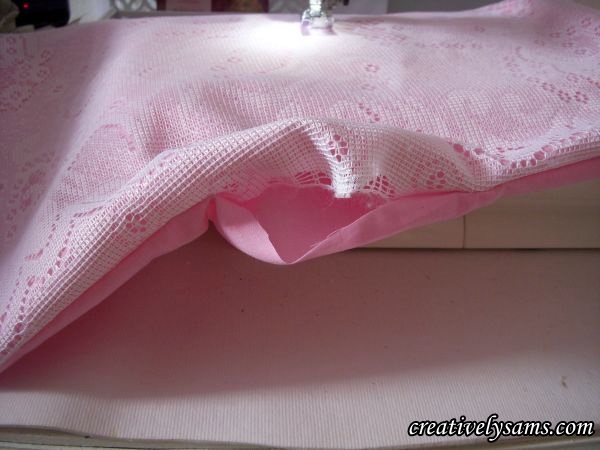
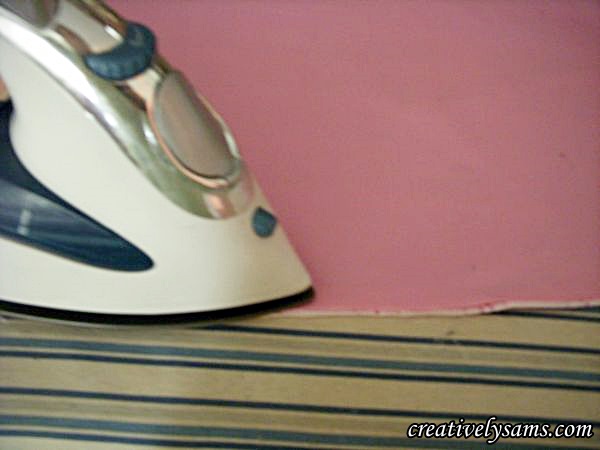
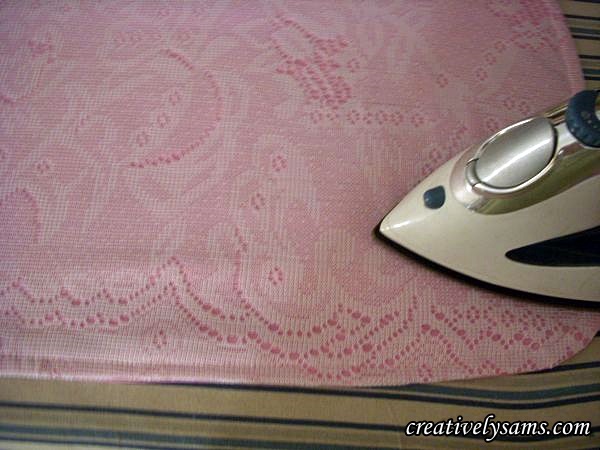
Take it back to the ironing board & press the place mat so that the opening is pressed closed & the place mat is crisp looking.
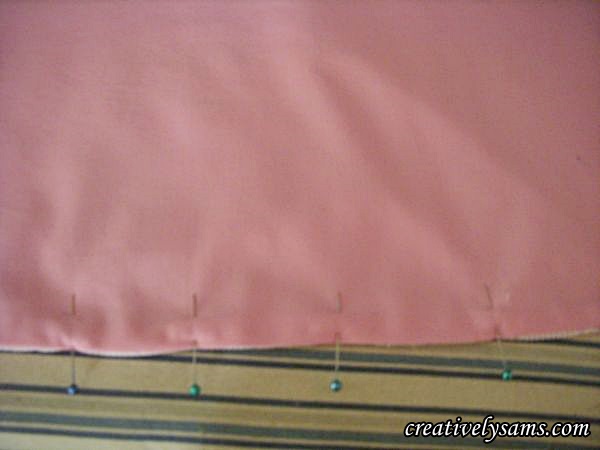
The opening should look something like this:

Pin the opening closed:
Then top stitch all around the place mat about a quarter of an inch in. Using a longer stitch seems to give it a more finished look. I usually sew with a shorter stitch (2.5 on my machine) but top stitch with a much longer stitch. (4.0 on my machine)
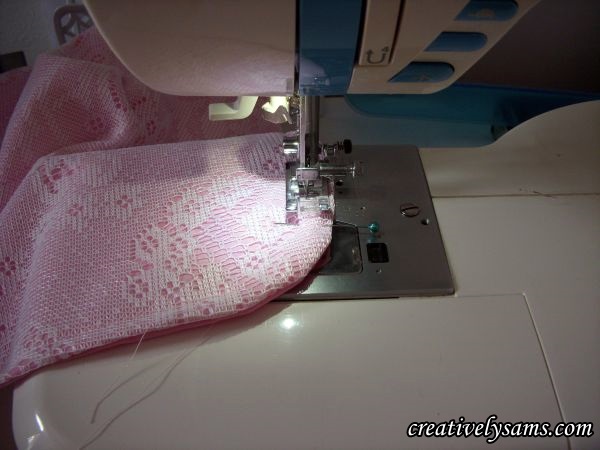
Top stitching not only closes the opening, but gives the place mat a more finished look. Clip off the excess threads.
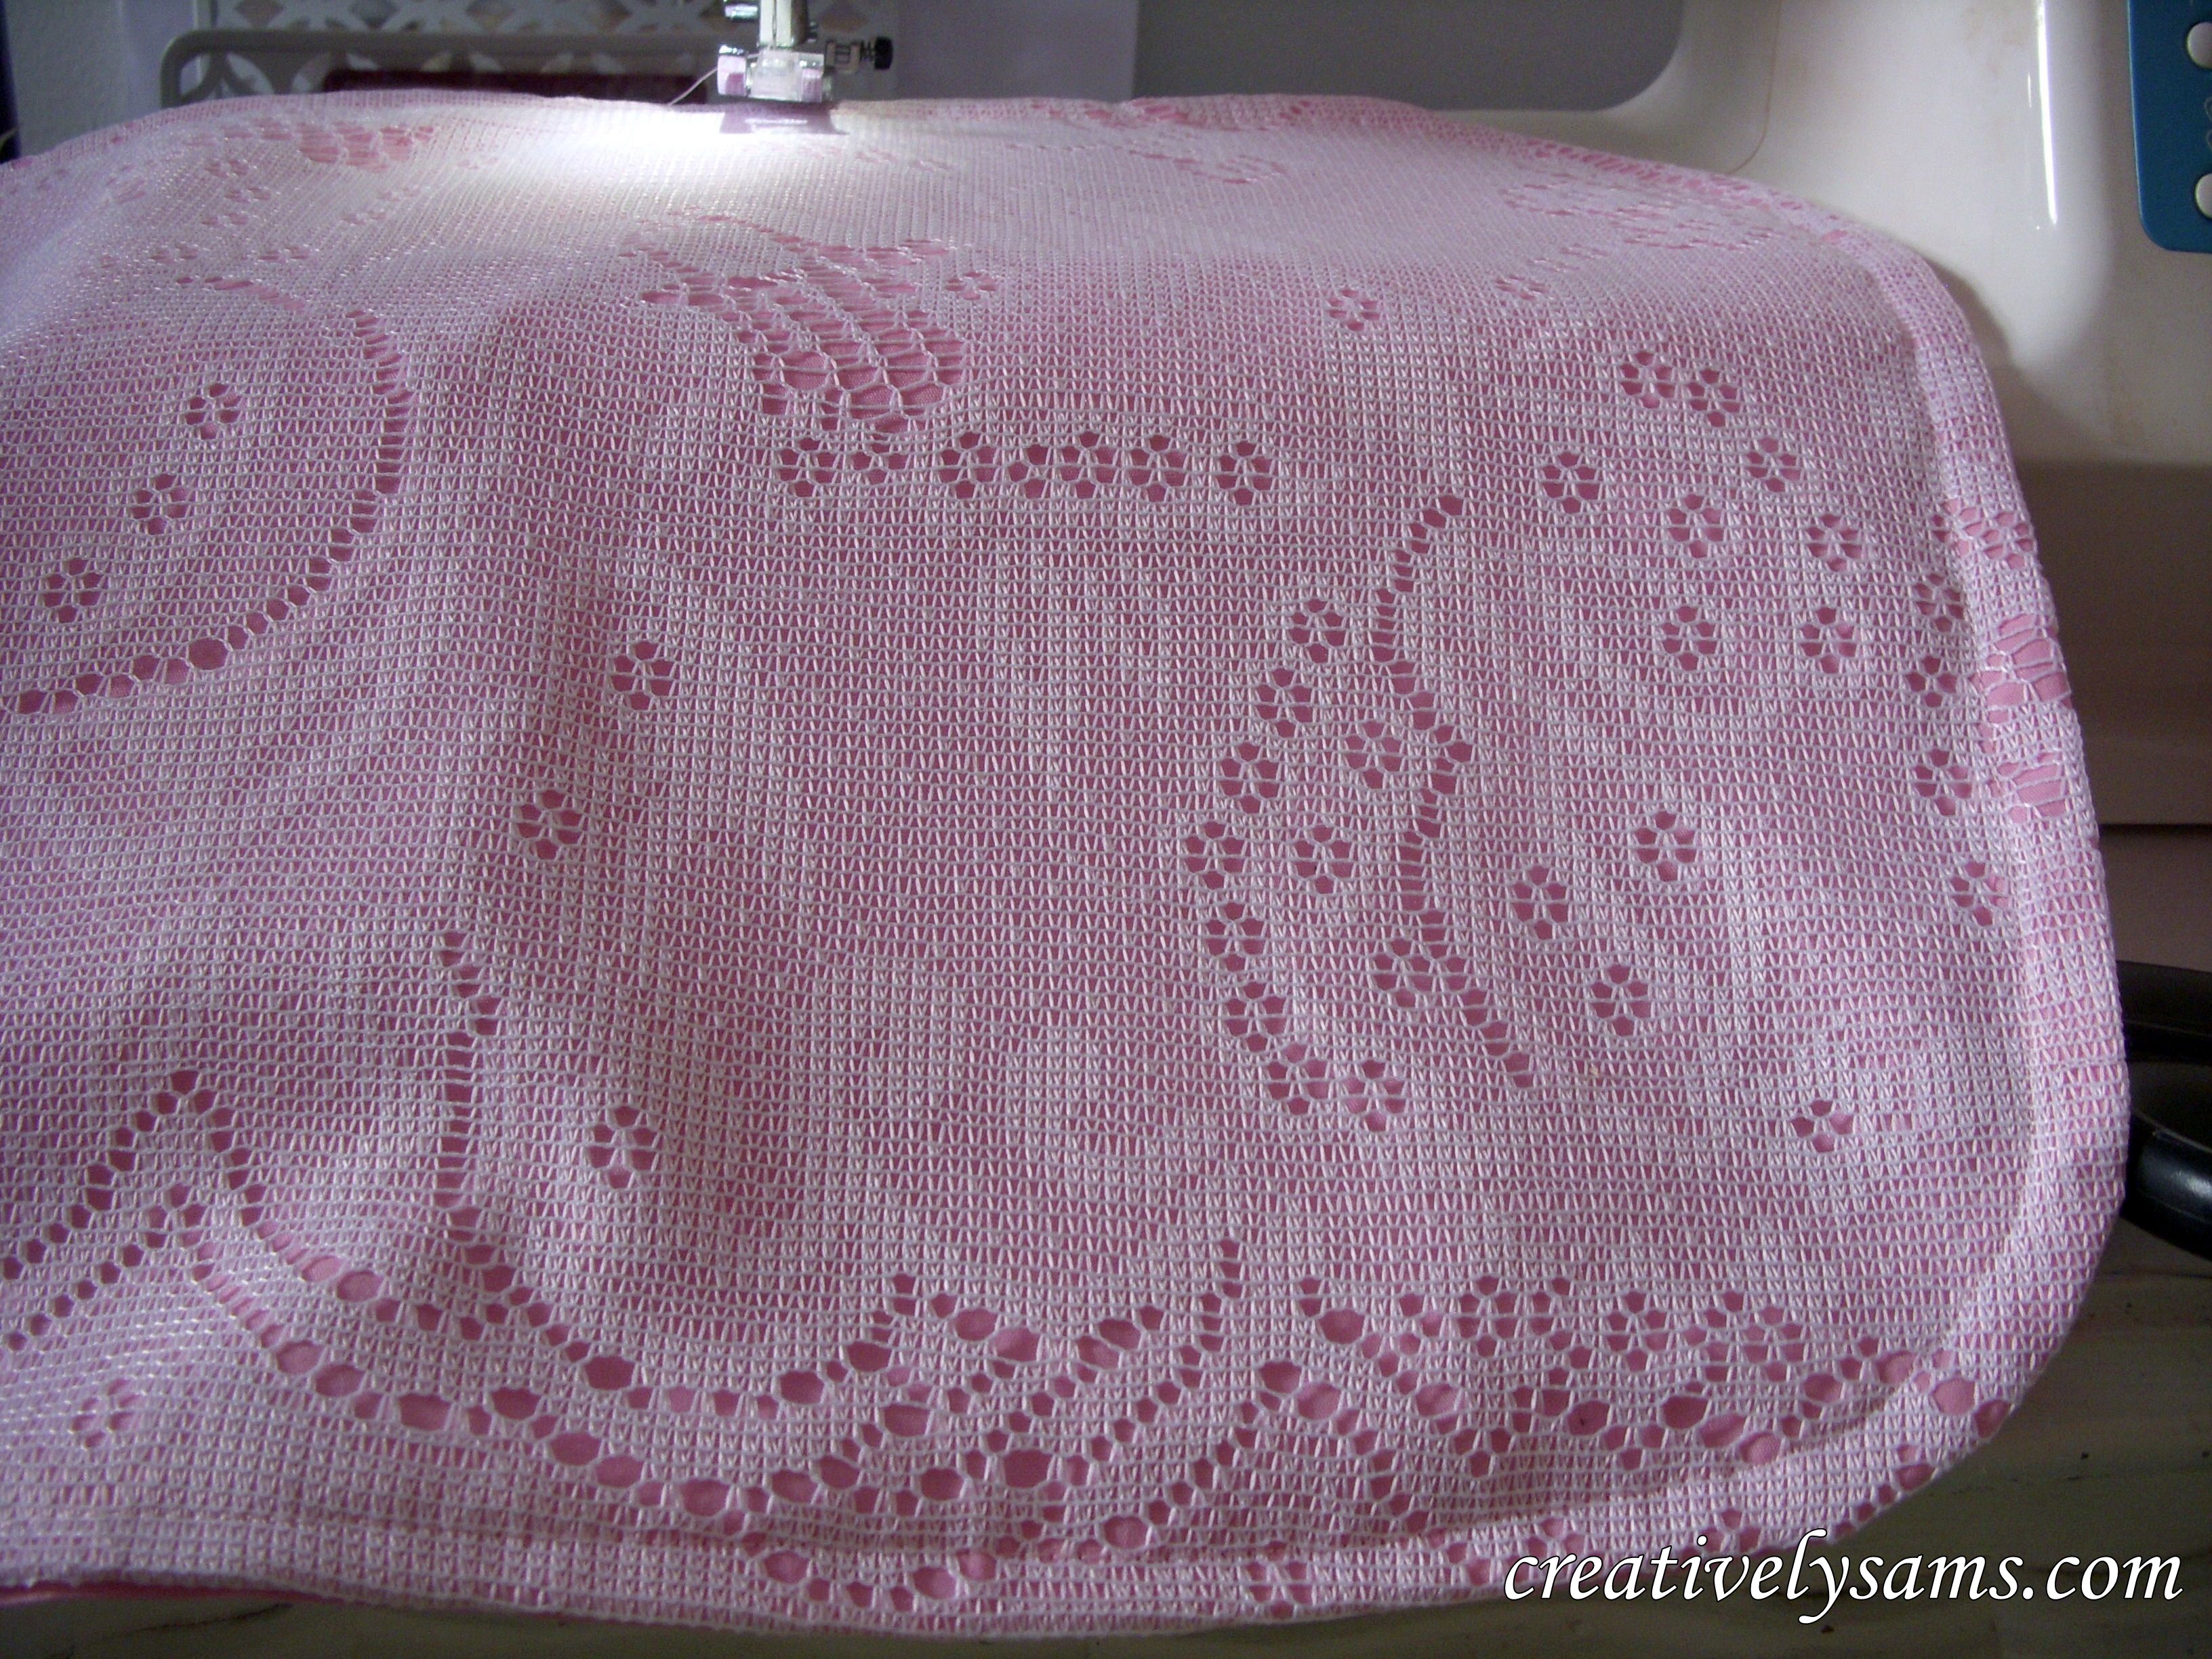
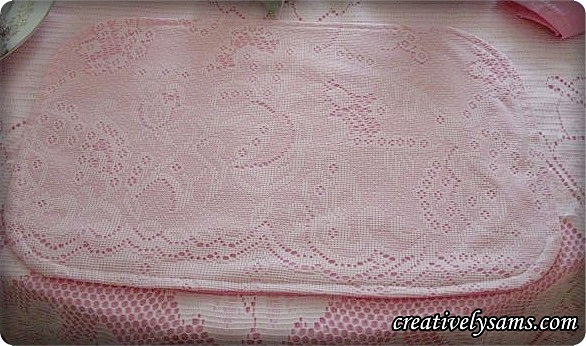
After you’ve top-stitched the place mat, press it so that it lays flat & looks finished.
And you’re done!
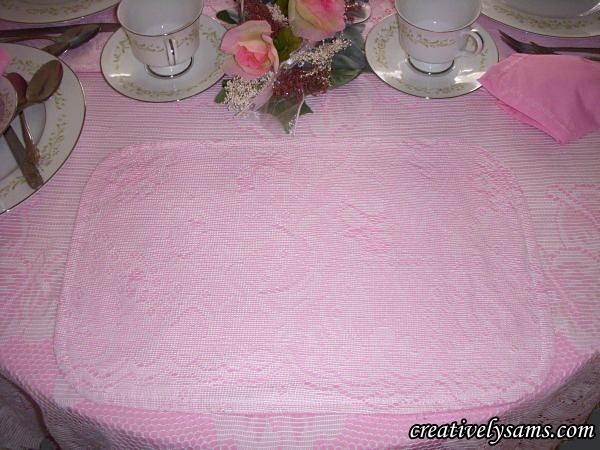
Now they’re ready for that very special, feminine, shabby chic dinner!
And a very special Thank You, to Hilda, for the lovely lace bed skirt. I hope you like what I did with it!
Happy Creating everyone!
I’ll be joining:
A Stroll Thru Life –Inspire Me Tuesday
Our Delightful Home –Show Me What You Got
Pingback: Pretty in Pink TablescapeCreatively Sam's