
I started to do this with sand box sand years ago. (it’s a clean sand) Once you make this, it can be applied to several items for your home decor. Summer brings thoughts to days at the beach. And this is a process that will bring the beach into your home easily. When it’s dried, it looks like wet sand.
So, save those shells from your vacations, or have your friends bring some back for you!

I’ve made everything from centerpieces to picture frames & candle holders using this formula. I hope you’ll give it a try.
What you’ll need:
Play Box Sand
Aileene’s Tacky Glue
Water
Holographic Glitter
Shells (in various shapes & sizes, depending on the project you’re doing)
Plastic container to mix ingredients
Something to mix the ingredients. (ruler, spoon, paint stir stick)
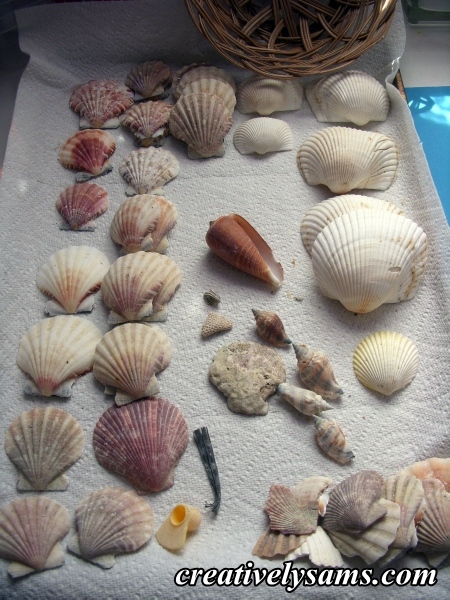
I’ve been collecting shells lately, mainly for this project. I’ve found them at the Dollar Tree, Walmart, Michaels, and friends.
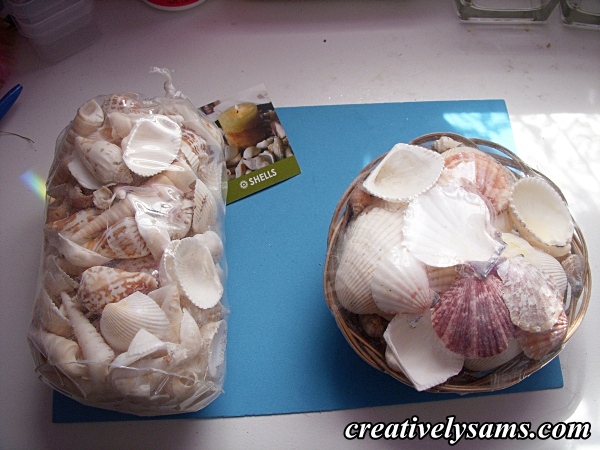
Once I got them home, I separated them by size & color. (I have to admit that the shells from Walmart were the cleanest)
I found the bag of play box sand at Walmart for under $4.00.
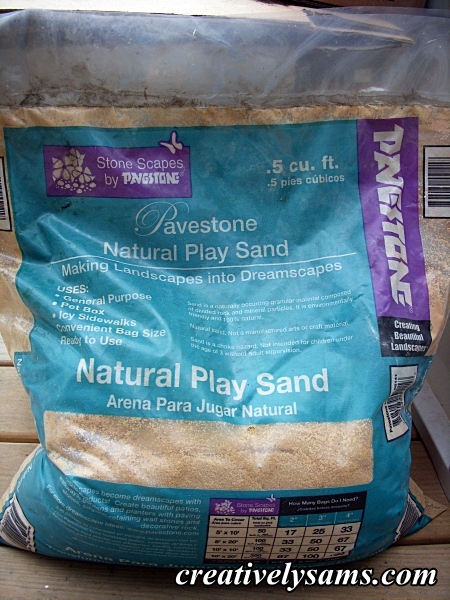
That’s an awful lot of sand when you only need about 2 cups, but I’ll find a creative use for what’s left over.
I assembled everything that I needed:

In the container, I added the sand & glue
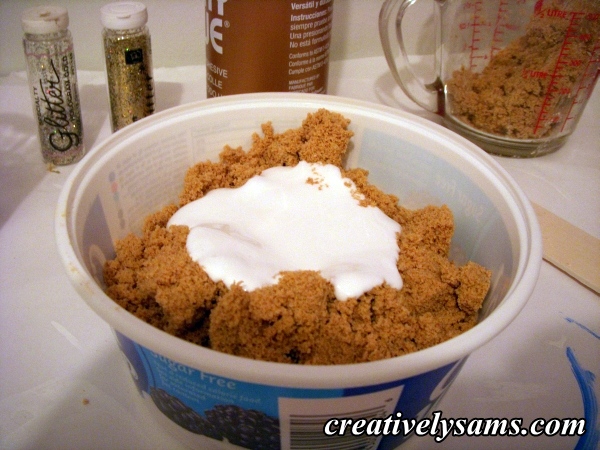
Then, the glitter! (besides the fact that I love the sparkle of glitter, it really adds the something special to the finished results)

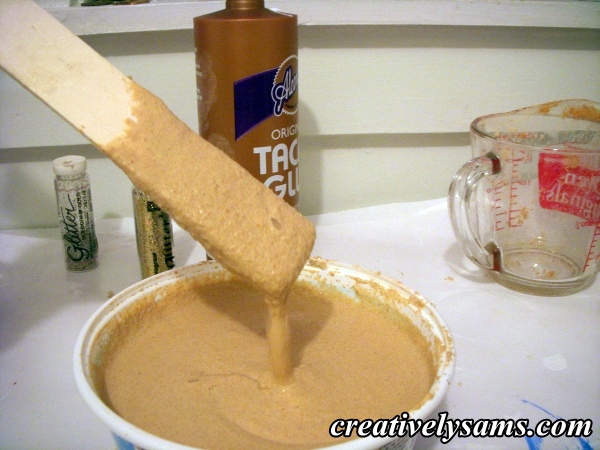
Then I used a paint stir stick to mix the glue & glitter into the sand. (add more glue if needed)

It takes awhile, and it’s thick. After it’s mixed pretty well, add water to the mixture (a little at a time) & stir until it resembles a very thick pancake batter. (If you add too much water, you can always add more sand, glue & glitter)
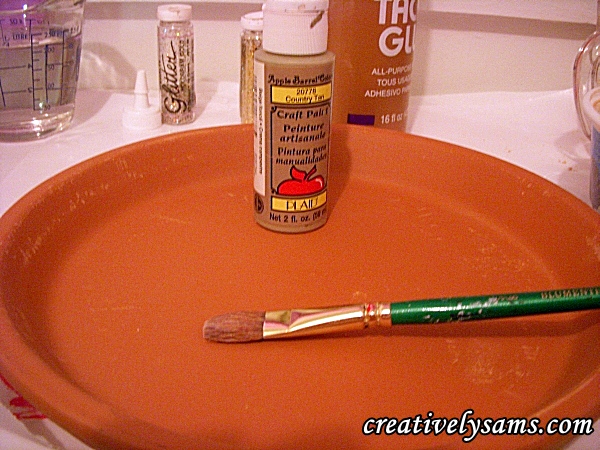
After the mixture was to my liking, I set it aside & painted a 10″ terracotta plant saucer with some brownish acrylic paint. (I thought the terracotta color was a little strong for the color of the sand)

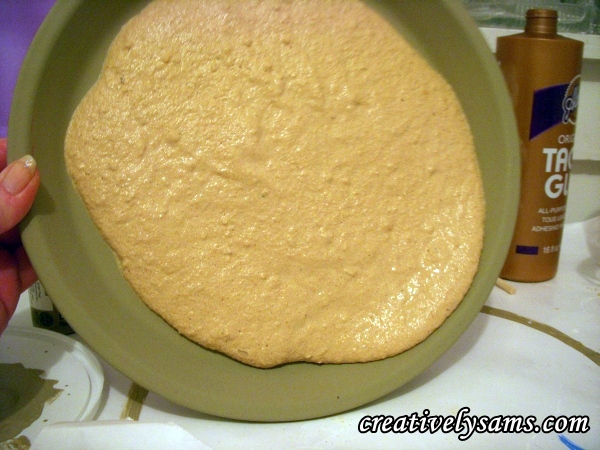
Once the paint had dried, I poured some of the sand mixture into the saucer.
(the paint really is a light brown. Why it photographed green, I’ll never know)

Then I turned the saucer up on its side and slowly ‘swirled’ the sand around, so that the sand got up on the sides of the saucer.
After the inside walls of the saucer were coated with the sand mixture, I added shells. I started with the largest piece in the center, as a focal point, and then added shells around it.
Remember, you’re using glue, so you don’t need to add any extra glue. If something needs a little help to stick, add more sand mixture. (It’s a glue)
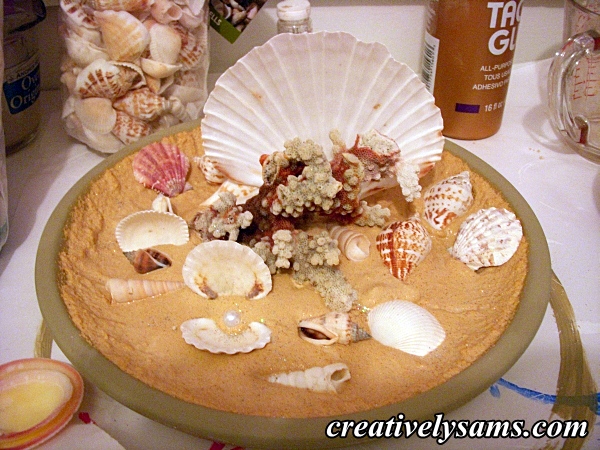
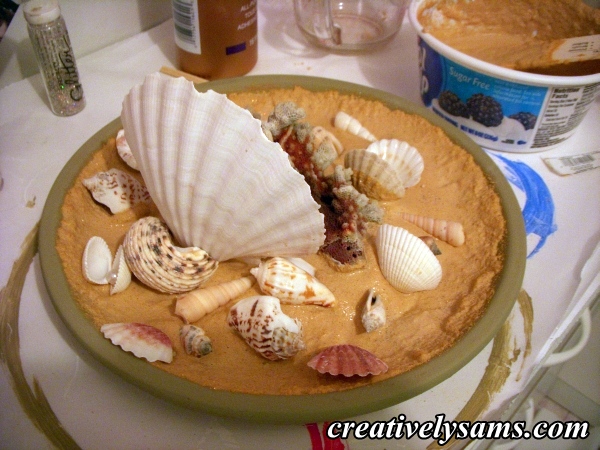
When you get it the way you like it, set it aside to dry. It’s done!
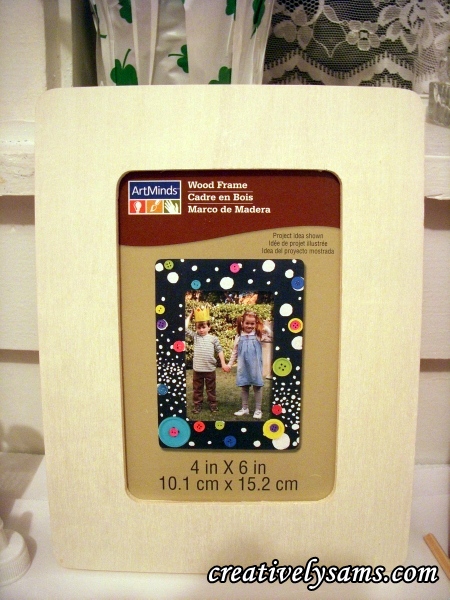
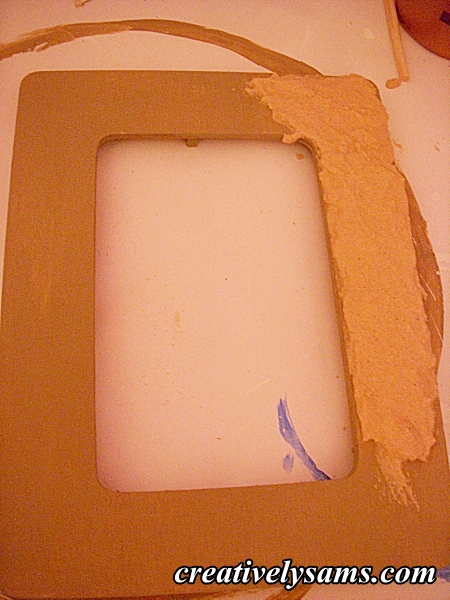
Like I said, you can add this mixture to almost anything. I got a frame from Michaels, and it was unfinished wood. So I painted it with acrylic paint to seal the wood before I added the mixture

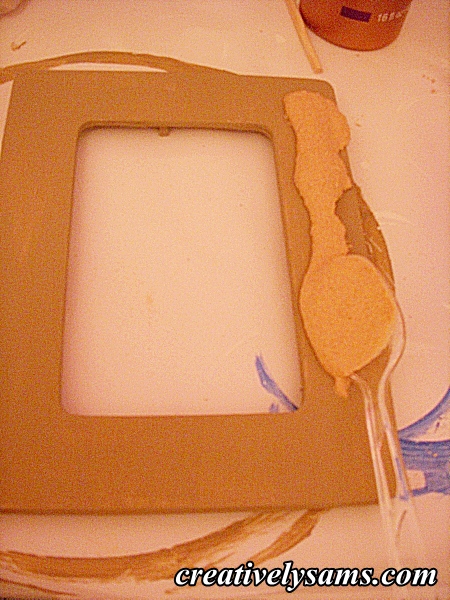
I used a plastic spoon to put the sand mixture on the frame & then used the back of the spoon to smooth the mixture.
.And then I added an aqua ribbon, tied in a bow with long tails (add a little extra mixture to sections of the bow to make it stick in place, and then add shells.
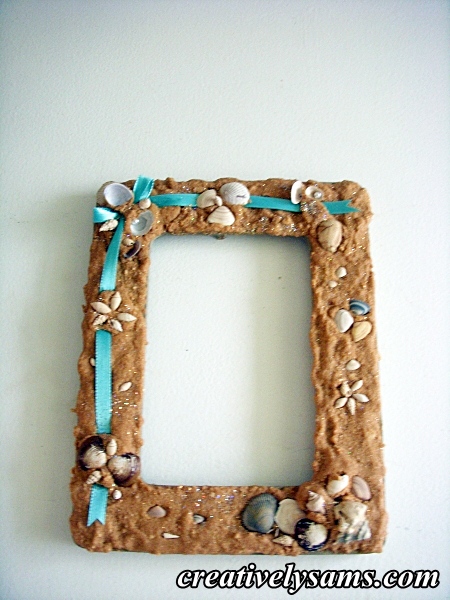
Once the frame dries, add a picture or saying to it & you’re done!
(I chose a saying to put in the frame, because the shells used for this came from a friend, & I’m surprising her. She’ll be getting her shells back, in the frame)

I saw this saying on the Internet, & I thought it expressed the sentiment I wanted to say.
~
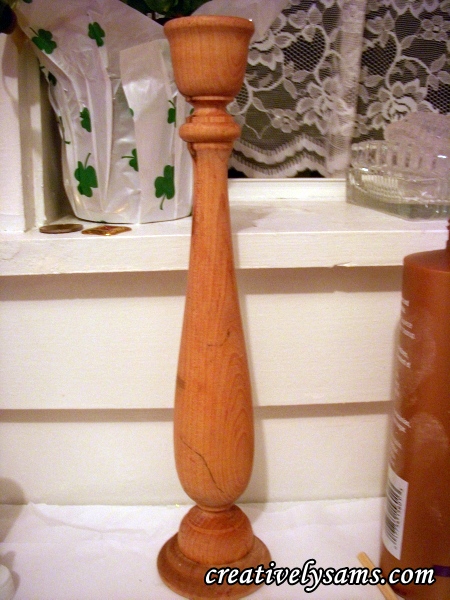
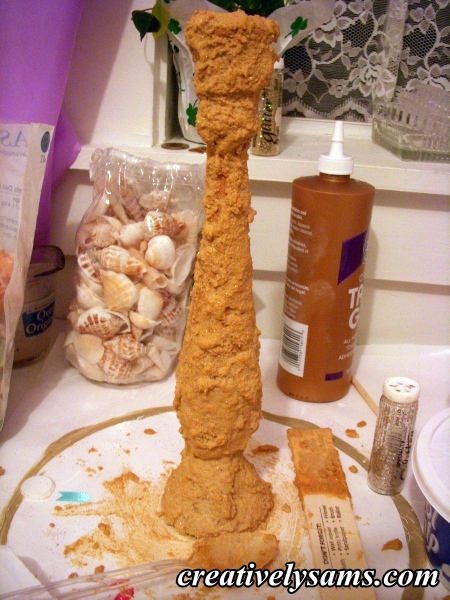
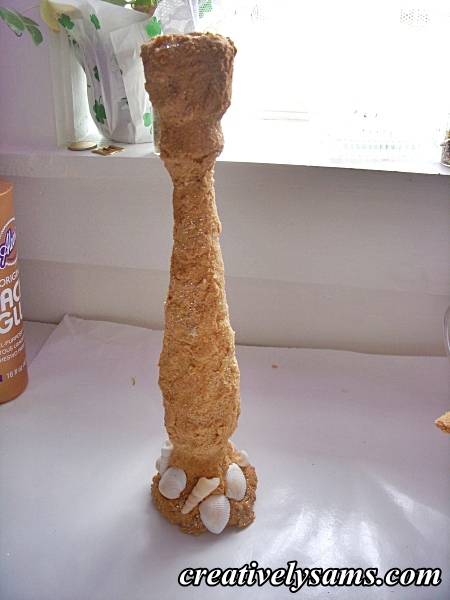
Put the mixture on a candle stick? Oh yes.
I found this wooden candle stick a long time ago. Wasn’t quite sure what to do with it, but I thought that the sand mixture would be perfect for it. I washed the candle stick to make sure that there was no grease, wax or grime on it, and when it was completely dried, I started to add the mixture to it. This was messy & took a long time to do because gravity kept fighting me. In hind’s site, I might have laid it on its side & done a section at a time. Hey, live & learn. When the mixture was starting to dry, I could shape it a little closer to the candle stick’s original shape. After I shaped it, I added the shells to the base. If there are spots that were missed, just add more sand mixture.
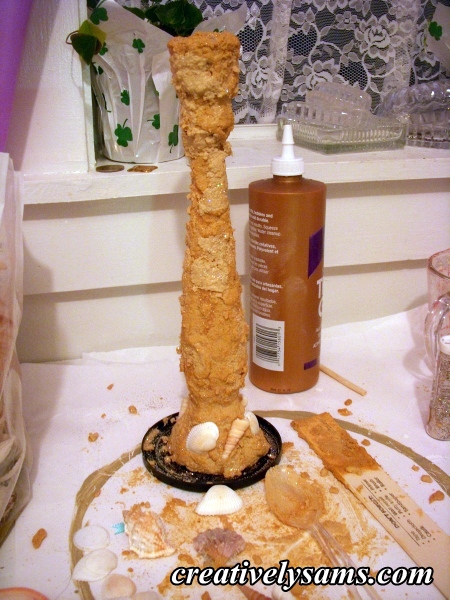
And when it’s all dried?
Maybe I’ll put it on a wooden box next. Old cigar boxes are great for this kind of project.
I always have fun making things with the sand mixture. It makes me feel like I’m playing in the sand at the beach. I hope you’ll give it a try.
Happy Creating Everyone!
Pingback: Sea Shell Centerpiece - tutorial,centerpiece,sea shells, sea shell wreath,tablescapeCreatively Sam's