What does a bored housewife do when she’s got 3 days off from work & the Hubby is out of town? Shop? No, I hate shopping. Clean? Kinda. Relax? Yep. Party? Oh yeah… How do I party? I create!
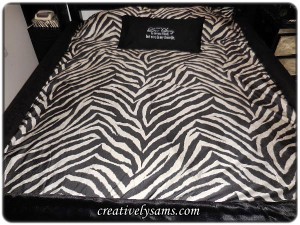
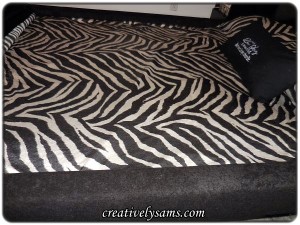
The project that I’ve wanted to do was in the bedroom. It’s hard to do a major project in the bedroom when the Hubby is home. I knew that this was going to take awhile. So, to fill the void of my Hubby being gone, I fixed our waterbed rails. They were in bad shape. After 2 days, this is the result.
I love my waterbed. It’s a queen sized wave-less mattress. Which means that it doesn’t make you sea sick when you get in it. I love the warmth of the mattress, the way the mattress conforms to every curve. And I sleep like a log in it. And it’s my favorite room in the house.
I had searched online for a tutorial to do this, but I couldn’t find a thing. I knew that I’d need 2 1/2 yards of fabric & 2 1/2 yards of foam, just because of the length of the rails. So, with staple gun, staples, fabric & a few other odds & ends, I got started.
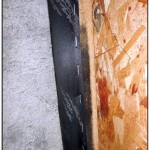
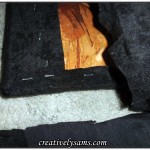
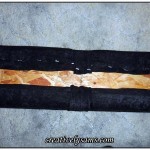
The rails on my side of the bed were fine (pic on the left), but Hubby’s side was a mess (pic on the right). Mainly because he sits on it instead of the bench at the bottom of the bed. ahem…
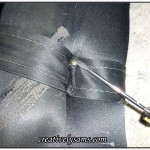
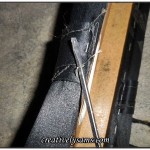
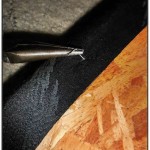
The first thing that I did was to pull out the tacks on the side of the rail. Then I started to pull out the staples using first a thin flat screw driver to lift the staple, then needle nosed pliers to pull the staple out. It was easier to do it this way for me.
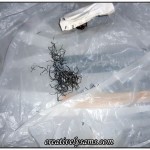
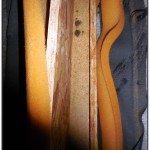
Oh, there were so many staples. It seemed to go on forever. Shown are the staples from one rail.
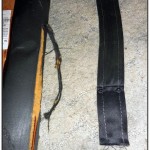
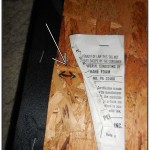
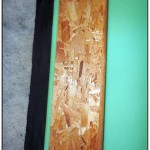
I removed the straps to use as a pattern for new straps, (marking the rail with a black Sharpie so I could replace them) and then removed the fabric & foam.
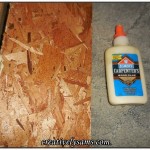
I re-glued the joints to reinforce them & while the glue was drying, I made the new straps.
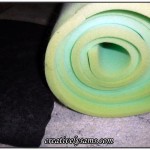
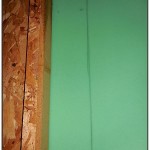
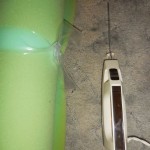
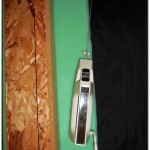
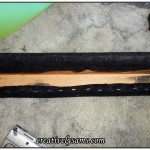
I laid the fabric & foam out & placed the rails on it, adjusting the materials so they fit up against the rails the right distance. Then I marked the foam for cutting with a black Sharpie. After I’d marked the foam, I used an electric knife to cut the foam. (a little something that I learned when I’d worked at Joanne fabrics) The electric knife cuts through foam like butter.
Then it was just a matter of stapling the fabric back into place. Once the fabric was stapled on to the rails, I finished the ends, sort of like wrapping a gift.
Lastly, I replaced the straps.
This literally took me two days to finish both rails. Mainly because I have a bad back & had to stop a lot. The second rail went much faster. I’m sure it’s because I knew what to do by then.
I’m so happy with the way the bed looks now.
I can’t wait for my Hubby to come home tonight to see it! And the new addition to the bed is the new pillow. It says it all.
Happy Creating everyone!
I’ll be joining:
Create With Joy for Friendship Friday Blog Party #154







Where can I buy the stuff to do this or how much would it cost to have it done thank you
Where did you find fabric that was long enough?
Did you glue the foam to the rail before you stapled the fabric to the rail?