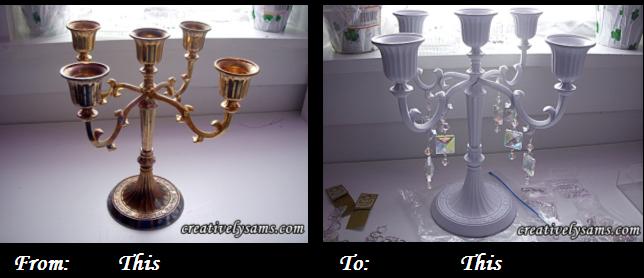
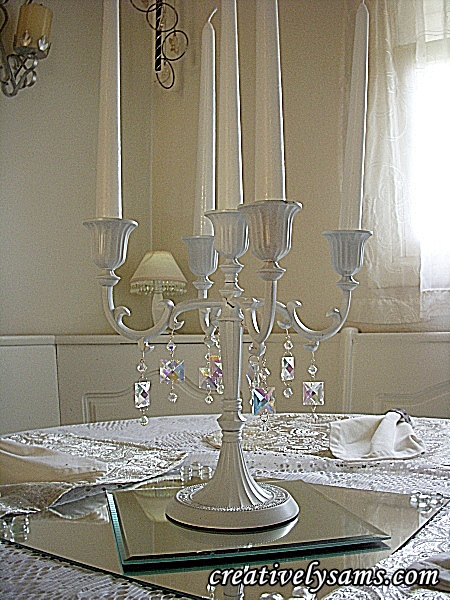
My mother-in-law gave me this candelabra when we were first married. It’s now 22 years old. It was gold plated & absolutely beautiful. But with time, the gold plating was coming off & it was starting to look a little worse for wear. I wanted to use it, but it needed help. So, I did the unthinkable. I painted it. It has gone from a gold candelabra to a Shabby Chic Candelabra! And all it took was a little paint, some crystals & a little patients.
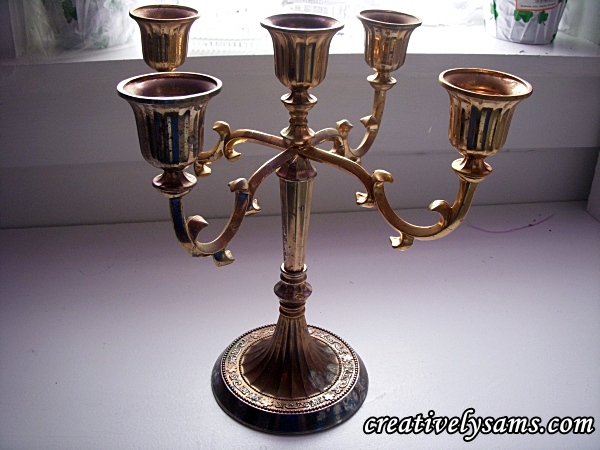
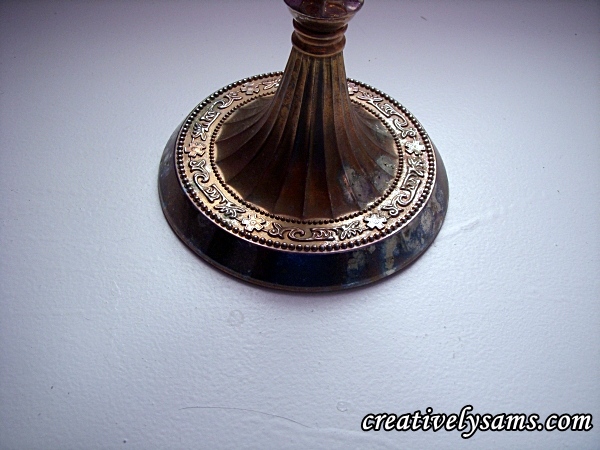
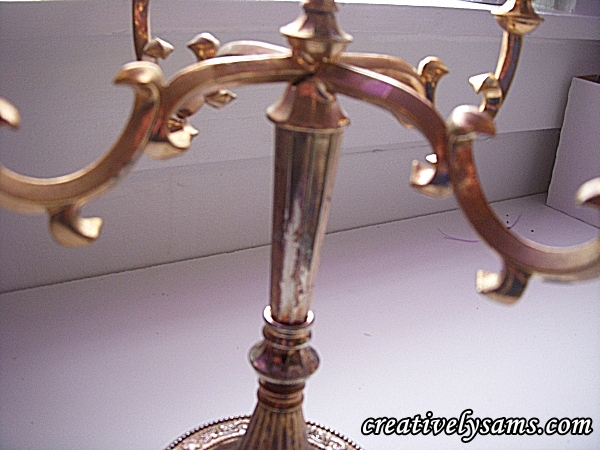
This is how I did it. As you can see, the gold plating had come off in several places.
The base was really bad.
And the stem of the candelabra wasn’t much better.
So, I got out my trusty Krylon Spray Paint!
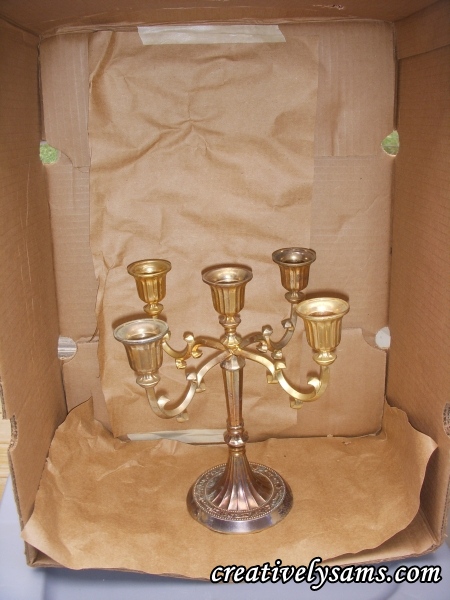
I put the candelabra in a box outside & prepared to paint it. This was really hard for me to do. I really liked it the way it had originally been, but other than gold leafing it, I couldn’t see any other way. And gold spray paint would just not do it justice.
I sprayed on one coat of paint. I had to paint this on all 4 sides & then turn it upside down to get the underside of all the arms of the candelabra.
It needed a second coat. Waiting for the paint to dry was the hardest. Once I’d committed to painting it, I couldn’t wait for it to be finished.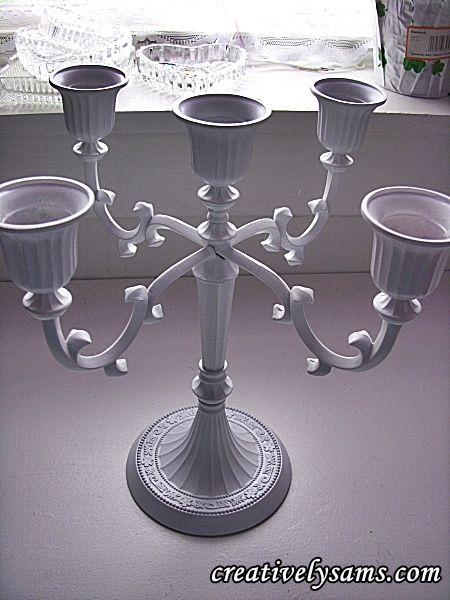
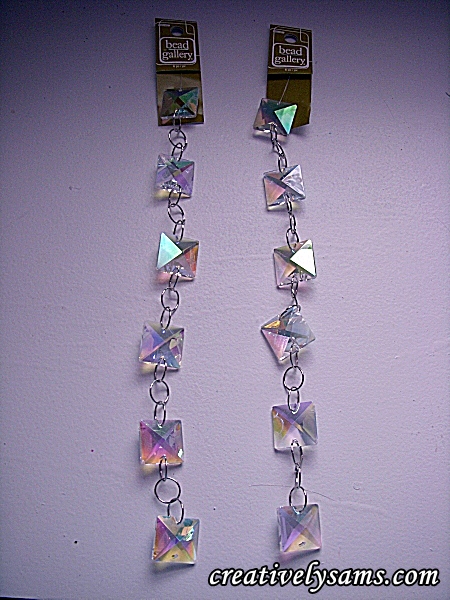
Not too bad! But I had to add some ‘sparkles’! I’d gone to Michaels in search of some crystals to hang from the arms of the candelabra. I found these and they were on sale for 55% off! (I love a good sale) They were originally $7.99 each. So I actually got 2 strands for less than the regular price of one!
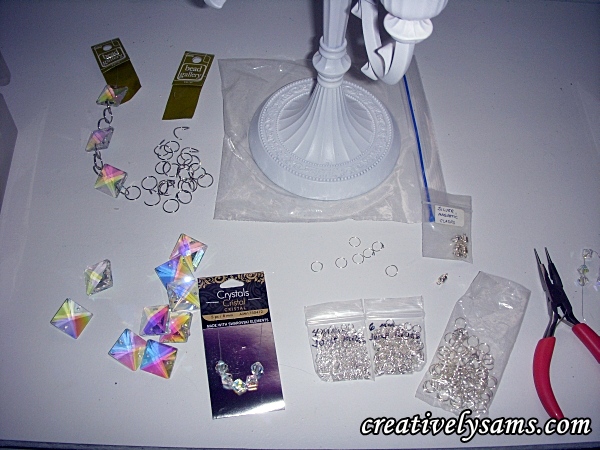
I used needle nosed pliers to take the crystals apart. (I’d already had the Bicone cut crystals that I’d gotten from Walmart. I think they are 8 mm.)
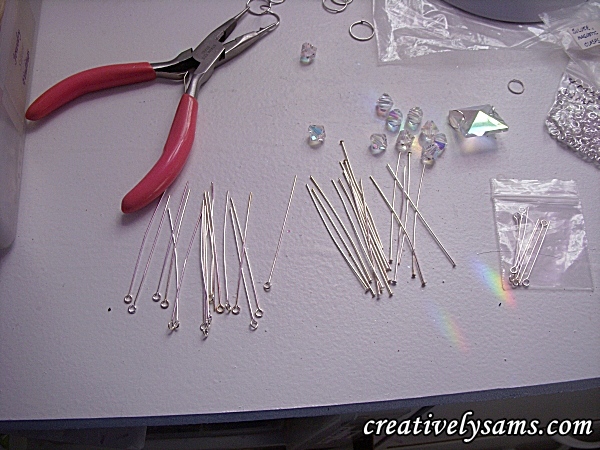
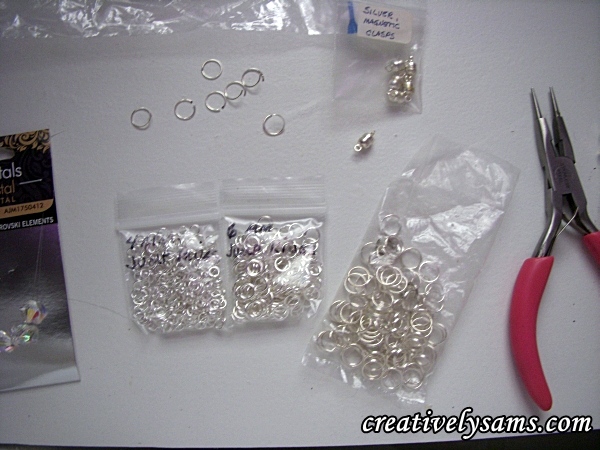
Then I got out my jewelry making supplies.
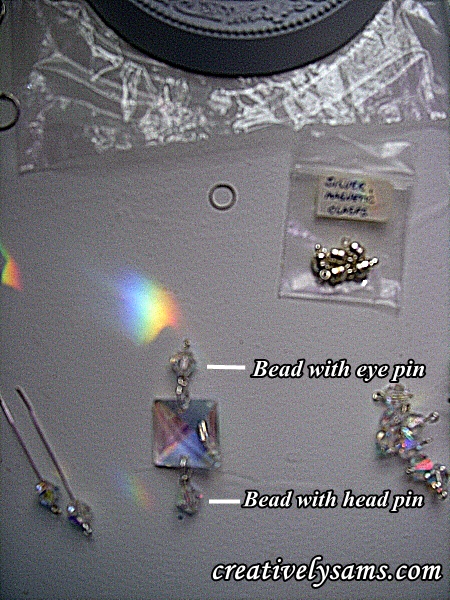
Jump rings in assorted sizes. Long head pins & eye pins.
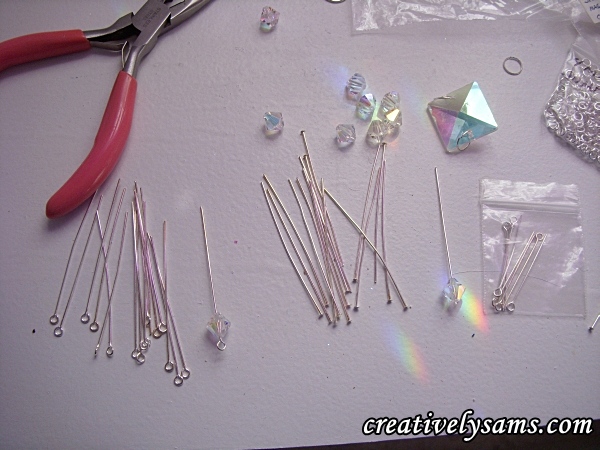
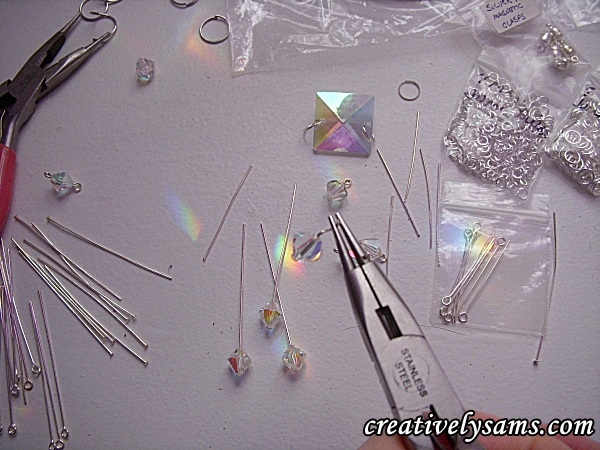
I threaded 8 Bicone crystals onto the head pins & 8 Bicone crystals onto the eye pins. (16 total, 2 for each arm of the candelabra)
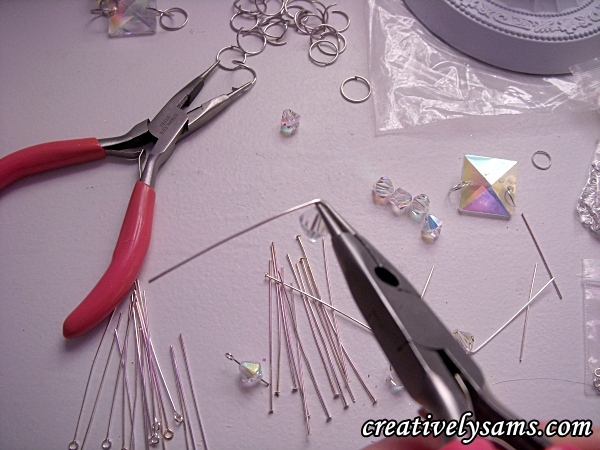
Using the needle nose pliers, I bent the pins over forming an L shape.
Then I cut off excess wire, leaving enough to form a loop. It was about a quarter inch. Put the wire that you’ve just clipped off, aside. You’ll be using it later on.
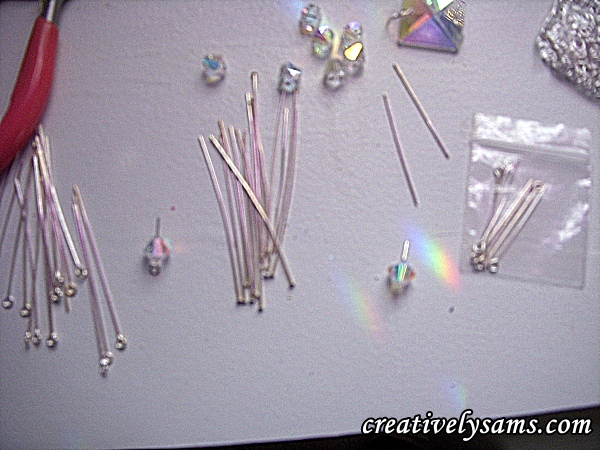
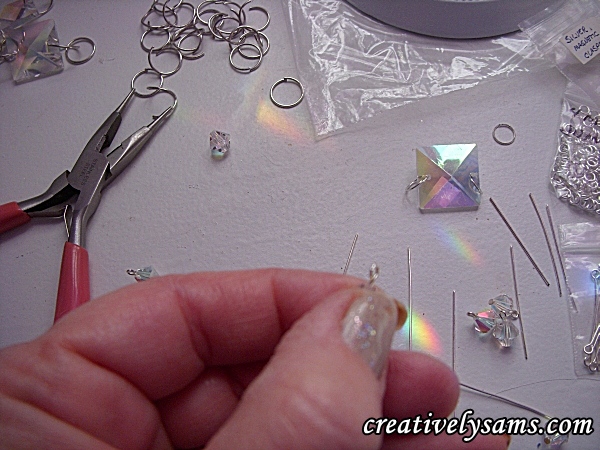
Using needle nose pliers, you want to grab the end of the wire and roll it into a loop. Be patient. It can take a while to get it straight. (I use jewelry pliers because they’re smaller than you regular pliers)
Repeat this step 8 times and set aside. (4 from the head pins & 4 from the eye pins) Then using your large jump rings, open them by twisting the sides away from each other, don’t pull them apart because it will never go back together smoothly.
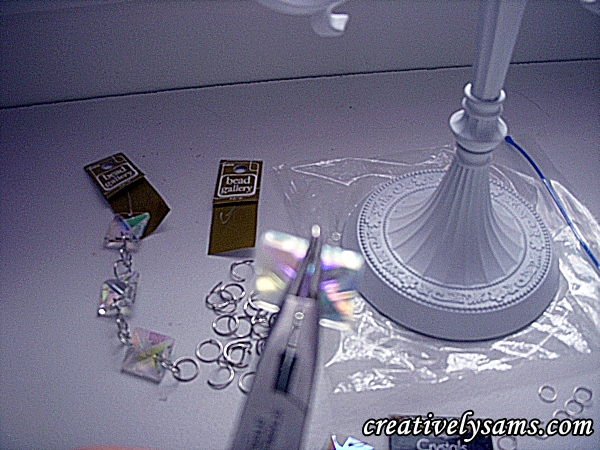
Once the jump rings are opened, hold a jump ring with your needle nose pliers and place one of the Bicone crystals with the head pin & a large crystal on it. Close the jump ring by twisting it back into place.
Repeat the same thing for the other side of the large crystal, but use a Bicone crystal with the eye pin. You’ve now made your first crystal drop with one side that has a loop for hanging & one side that is flat.
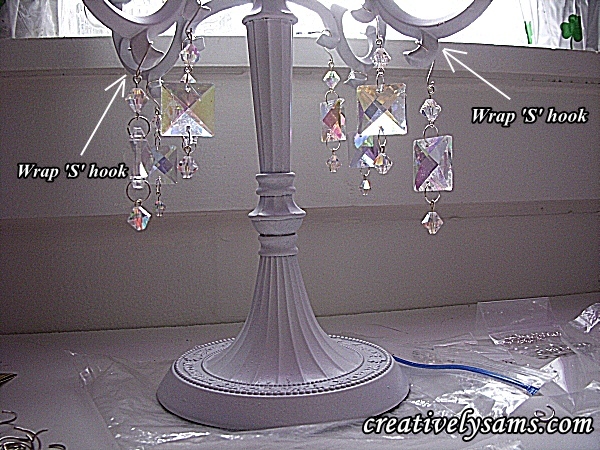
Using the needle nose pliers & the left over wire that you cut from the eye pins & the head pins, form an S hook.
Wrap the S hook over the arms of the candelabra where you want the crystal drops to hang.
What I like about this it that the crystal drops can be removed & replaced with seasonal items. Small Christmas balls could be substituted, or figures like small bunnies or pumpkins…. the choices are endless.
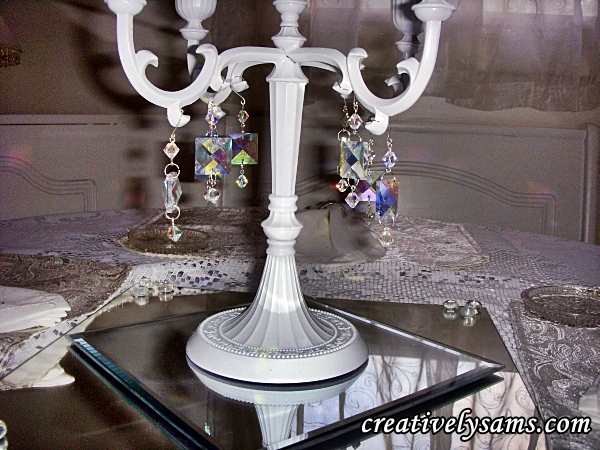
This was a time consuming project, but well worth it. I can now use the candelabra again and it will dress up any tablescape!
It went from a faded gold plated candelabra that I couldn’t use anymore, to a shabby chic candelabra that can be used anytime.
Happy creating!







Pingback: My First Year as a Blogger | Creatively Sam's