
When I give a gift to someone, I like to have the wrapping do double duty. If it’s a larger gift, I always try to use a fabric shopping bag instead of a paper one that people will eventually throw out. (Walmart has some really pretty ones for only 88 cents in their accessories section) When I give a smaller gift, I try to make sure that the packaging is as useful as the gift. That’s why I decorate so many small wooden boxes. Call it an Altered Box or a Shabby Chic Box, it’s just something that I like to decorate.
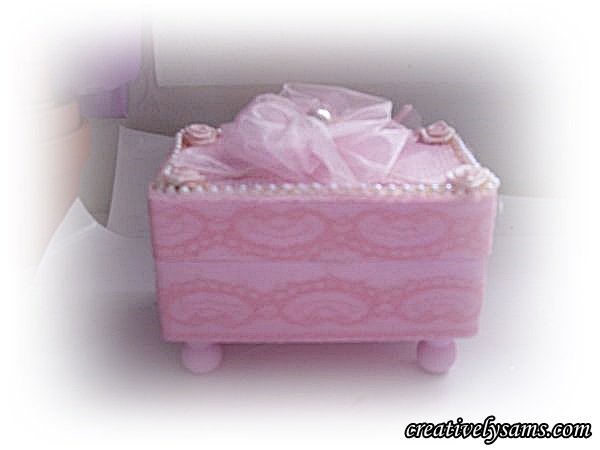
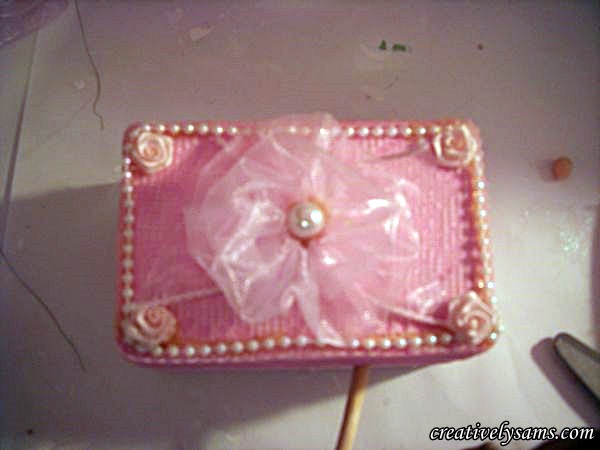
Here’s my latest Shabby Chic Gift Box that will be perfect for a piece of jewelry.
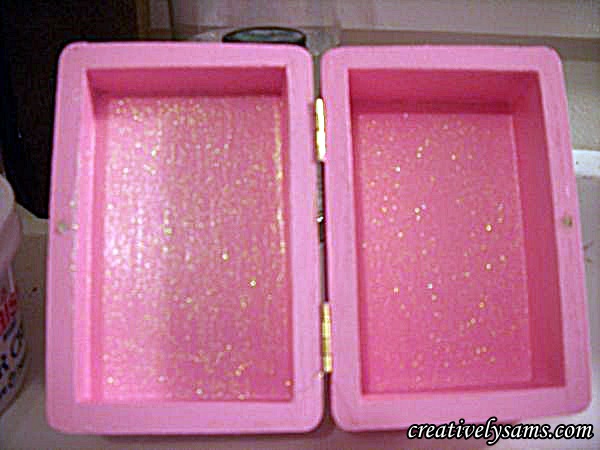
I started with a little wooden box that I got at the Dollar Tree. I like theirs because they have a small magnet (to hold the lid closed) built in.
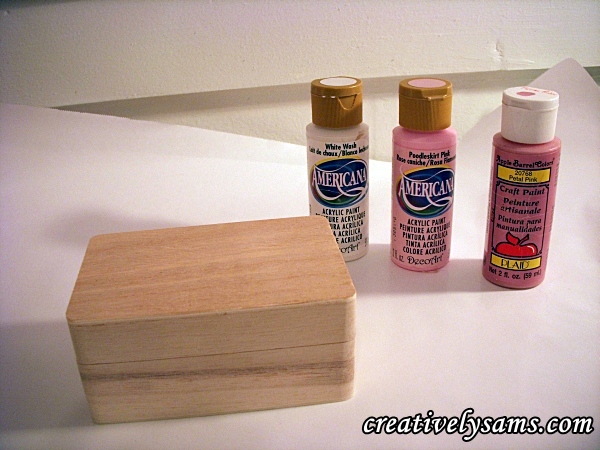
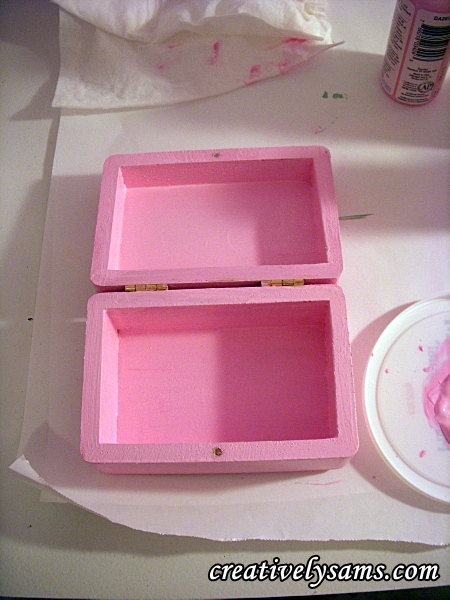
I base coated the box with white acrylic paint first, just so the color of the paint that I was going to use was true. I didn’t want the wood tones showing through. Then I painted the inside with a pale pink first:
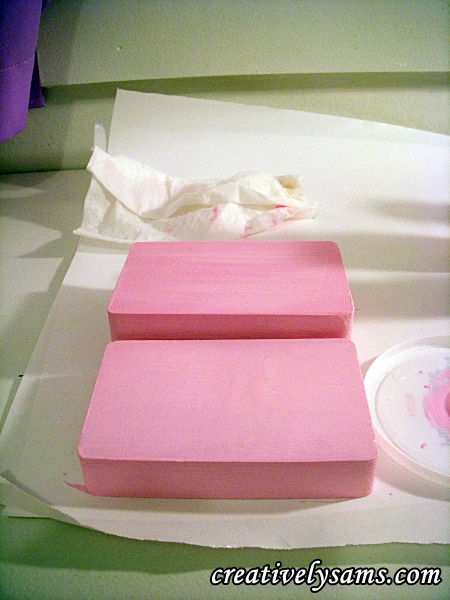
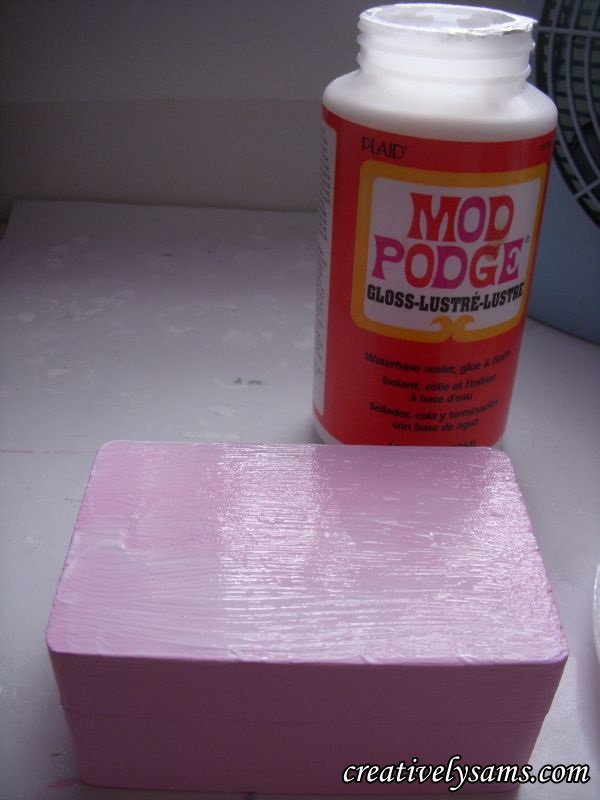
Then I painted the outside:
When it had dried, I added some glitter paint to the inside, just to give it a little something extra. (you can see the magnet in the next picture)
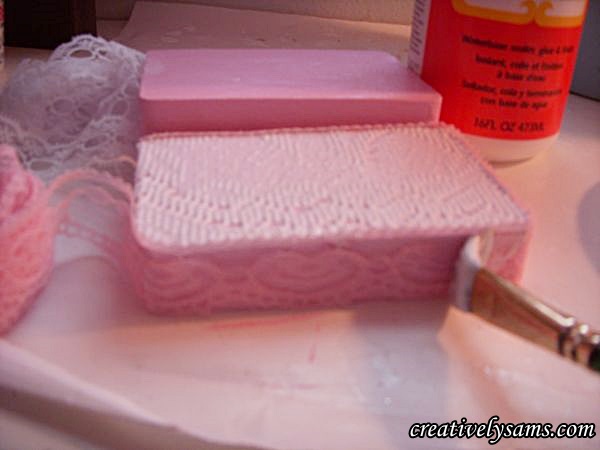
Once the glitter paint had dried, I started to decorate the top of the little wooden box. I gave it a good coat of Mod Podge:
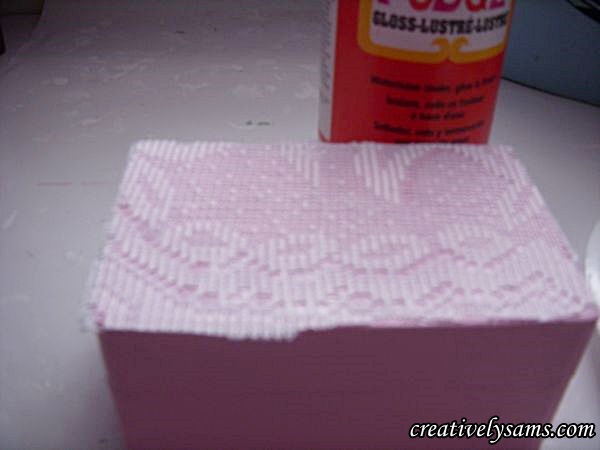
Then I cut a piece of lace that would fit the top of the box. I laid the lace onto the Mod Podge.
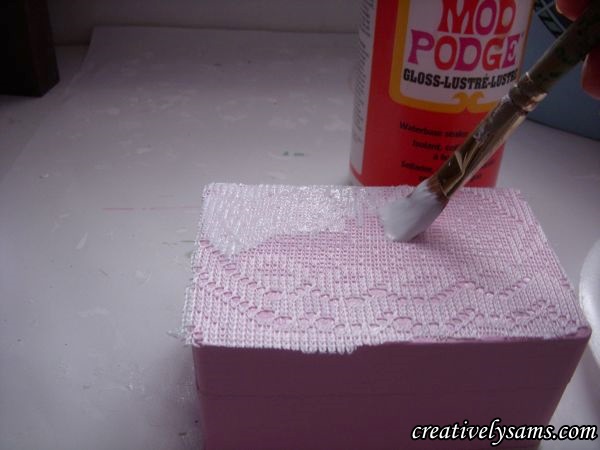
Then I added a coat of Mod Podge to the top of the lace to seal it to the box.
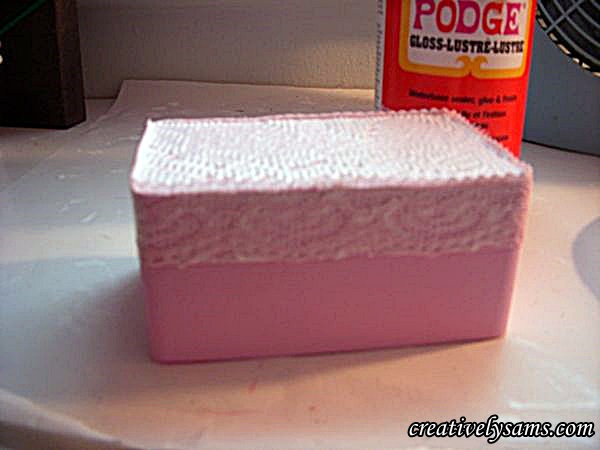
After I’d finished that, I added some pink lace trim to the side of the box top the same way that I did the top.
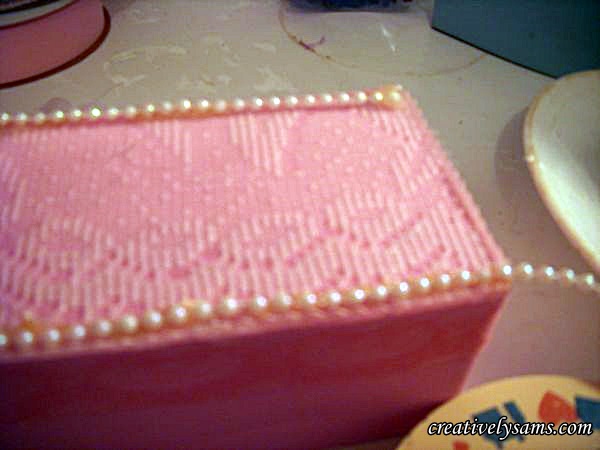
When that had dried, I used the glue gun to add a string of pearls to the top edge of the box. (I don’t know why the glue looks yellow in the pictures)
Then I cut a piece of ribbon to make tails & glued it to the center of the box.
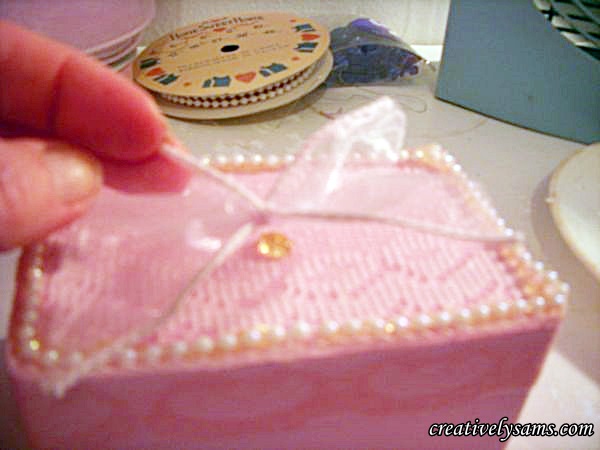
Then I made a Yo-yo from the same ribbon & glued it to the center of the tails. A white pearl in the center of the Yo-yo finished it off. Then I added some small ribbon roses to the corners of the box.
I wanted the little box to look more like a jewelry box than a simple box, so I added feet to it. I got some small wooden finials
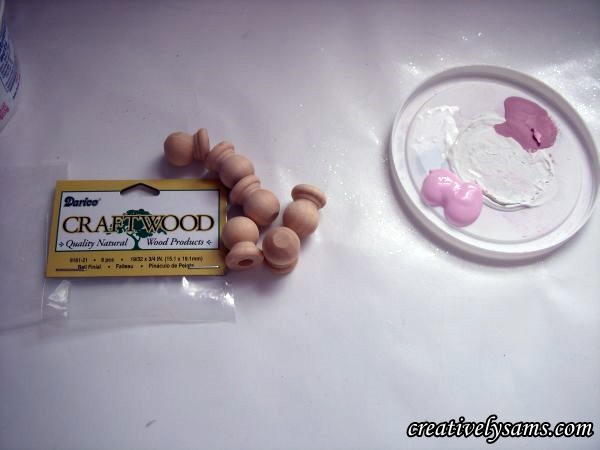
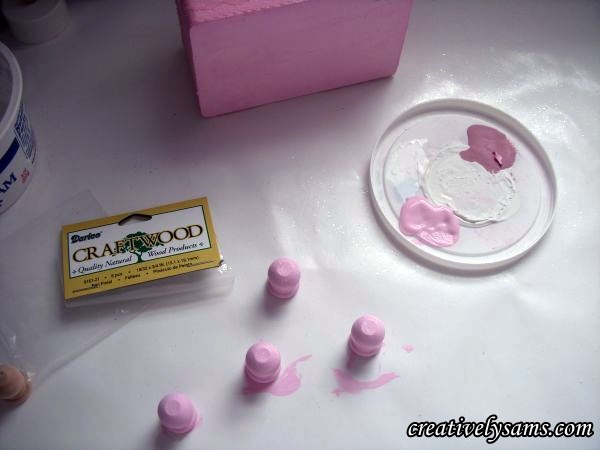
Painted them the same pale pink that I’d painted the box
Then, using a toothpick, I used wood glue to attach the finials to the bottom of the box.
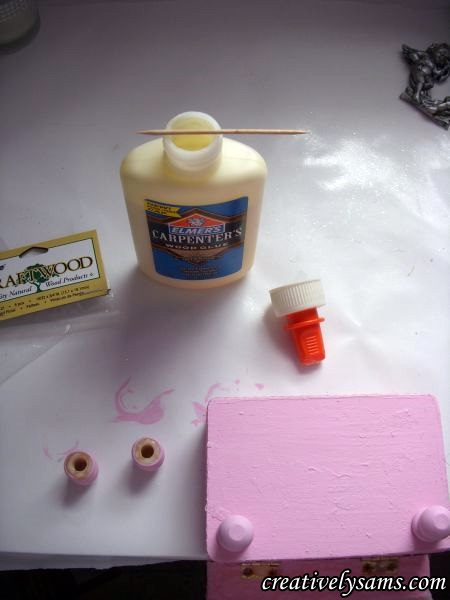
After the wood glue dried, I could turn it right side up, and it was done!
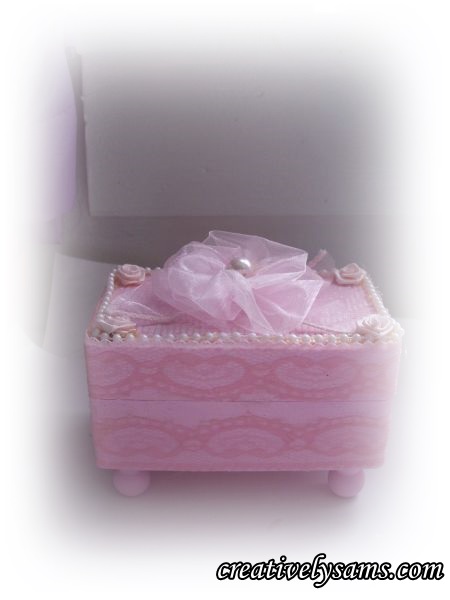
Easier to make than it looks, and it makes a lovely jewelry box for a special lady. Hope you enjoyed my tutorial & I hope you’ll give it a try for a special lady in your life!
Happy Creating everyone!
I’m linking up with: