
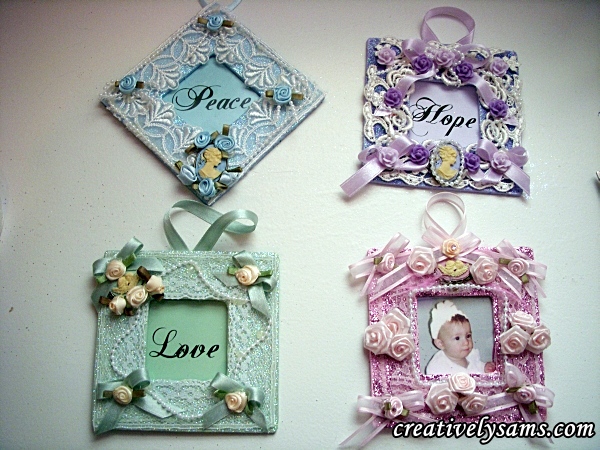
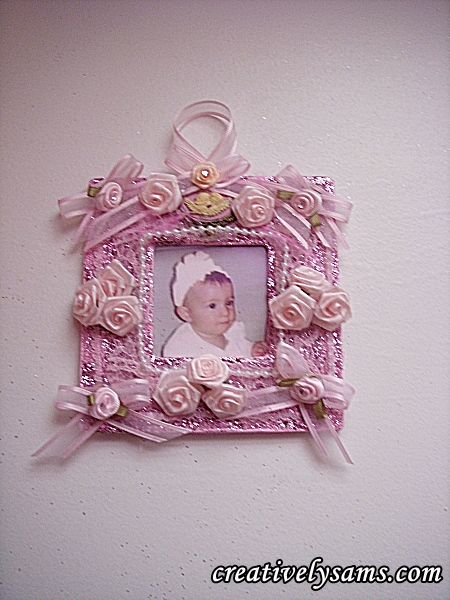
I wanted to make a special gift for a friend’s grand-daughter’s first birthday. And since I always have Christmas on my mind, I thought that a Christmas ornament that was personalized would be a nice gift. I wanted it to be a ‘girly-girl’ gift, so I went with Shabby Chic. And while I was at it, I may as well make more than one. It’s always nice to have extra gifts on hand. Well, this is what I made:
And this is how I made them:
At this time of year, it’s hard to find things for ornaments. So after searching every craft store in town, I found this:
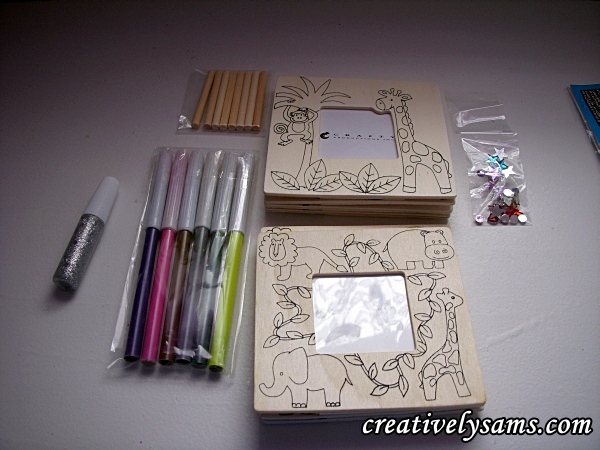 Doesn’t look very much like Christmas or Shabby Chic. But a little paint & ‘stuff’ can change anything.
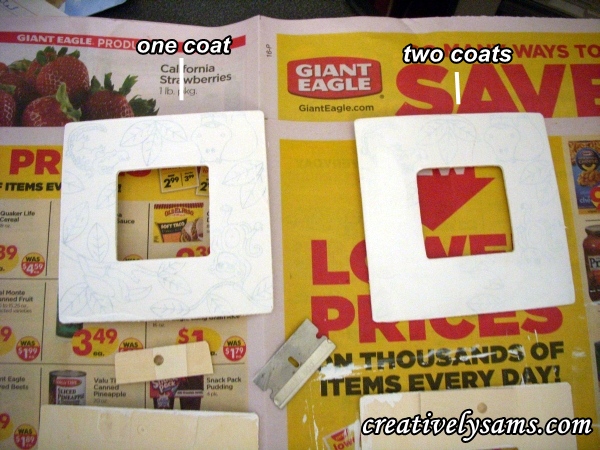
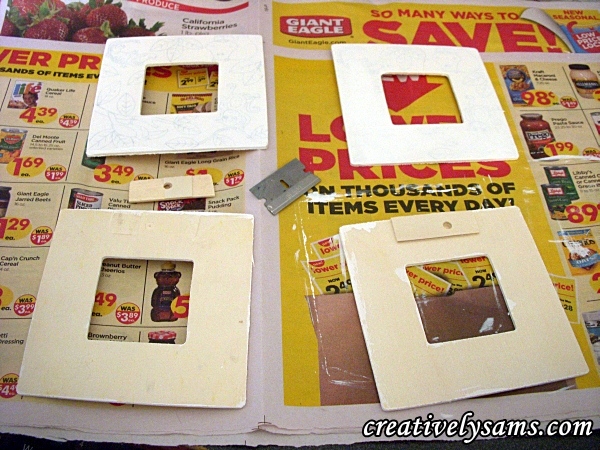 As you can see, it had a wooden ledge on the back. I used a razor blade to gently and very carefully remove it. Then I used white acrylic paint to base coat the frames on both sides. Then I had to add a second coat because the shapes were showing through.
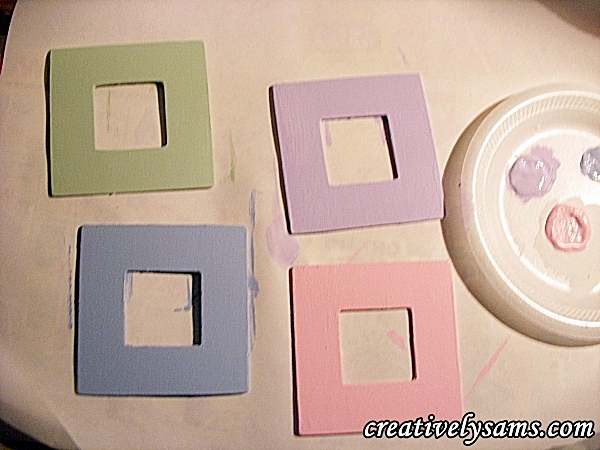
 Then I painted the frames with the paint colors that I wanted. I used pink, baby blue, light green & lilac.
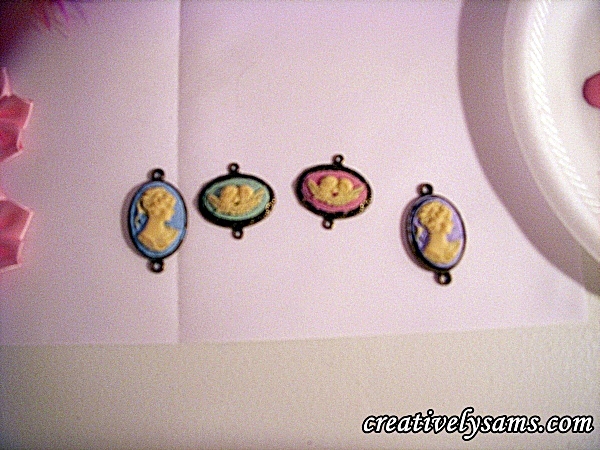
 Since I was doing a Shabby Chic theme, I wanted to use some cameos. But I couldn’t find much. I did find these bracelets, that I took apart.

and once apart, I painted one in each color of the frames.

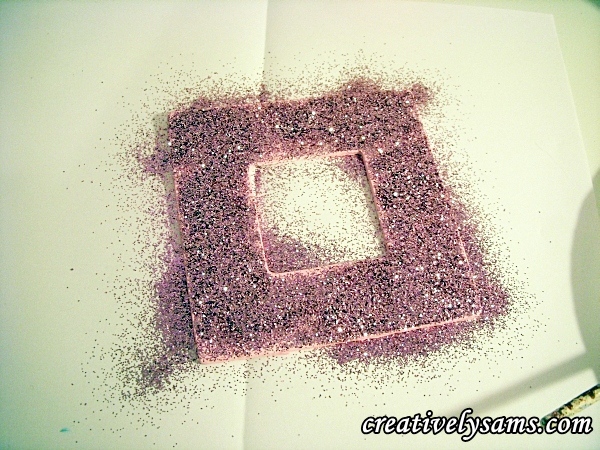
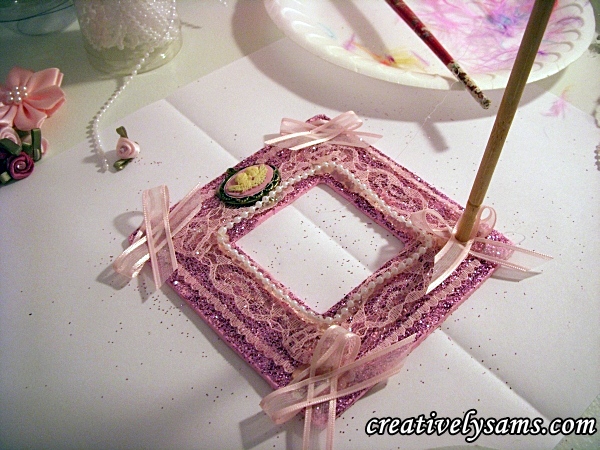
Then, I painted some Mod Podge on to the frames & added glitter. (you know how much I love glitter) I started with the pink glitter, clear glitter (on the green & blue frames) & purple glitter.
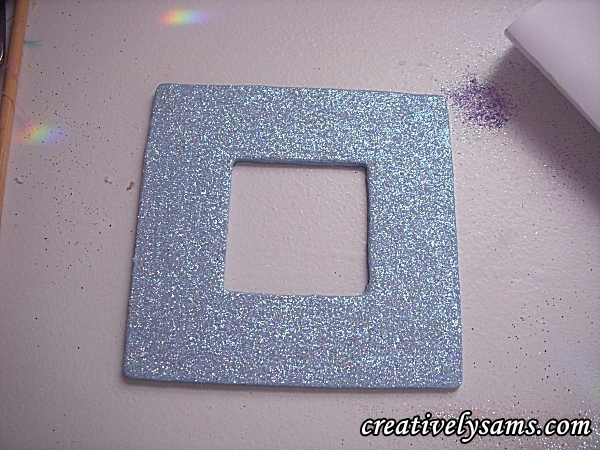
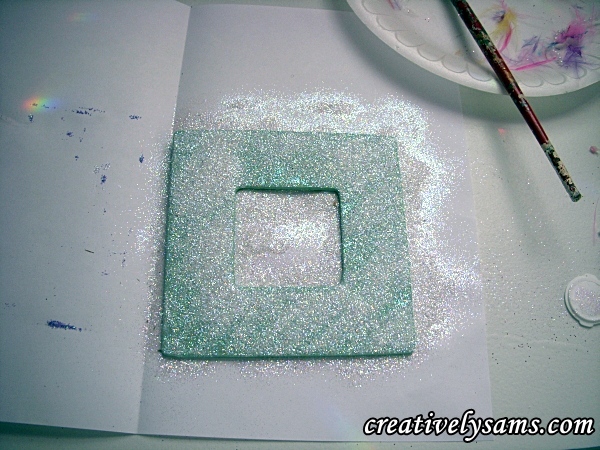
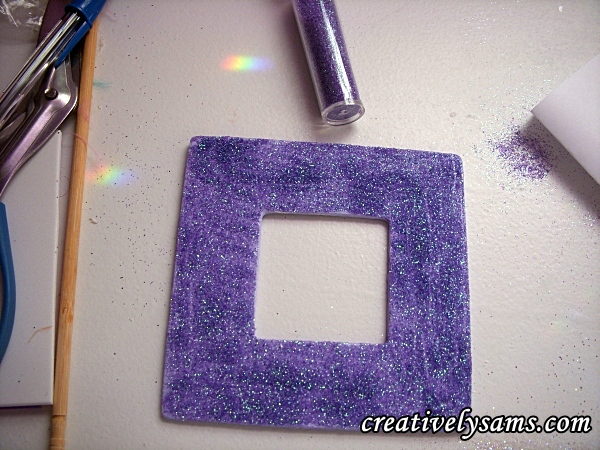
Once you remove the excess glitter, it looks like this:

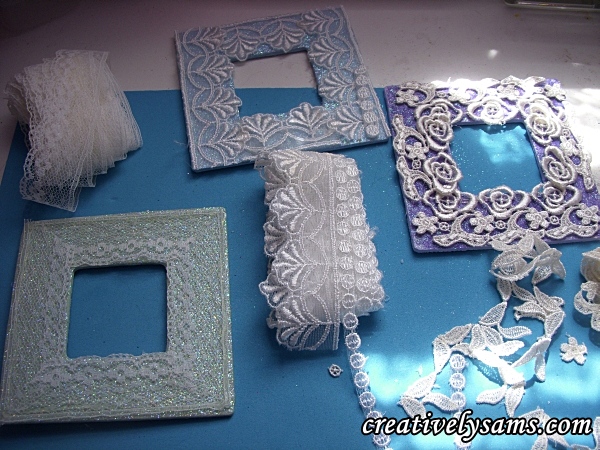
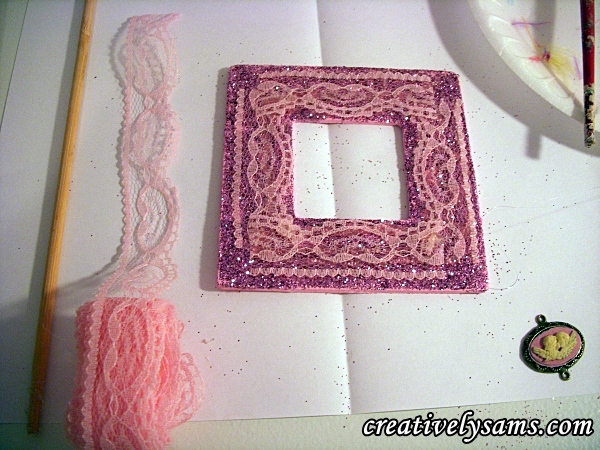
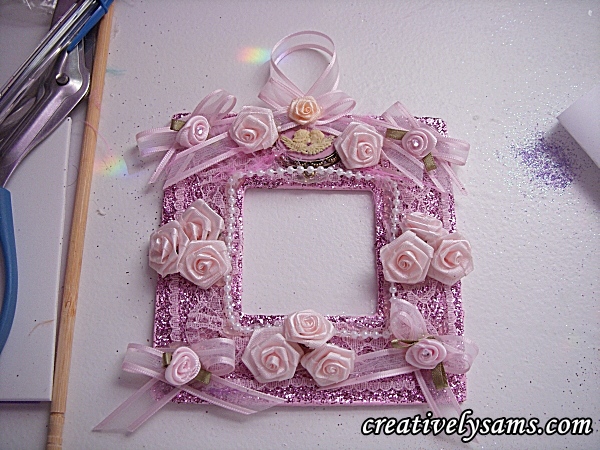
I got out a bunch of supplies to use. Lace, ribbon roses, ribbons, gems, pearl strands, etc. They’re all pretty much different yet the same. I started to add lace to each of the frames.
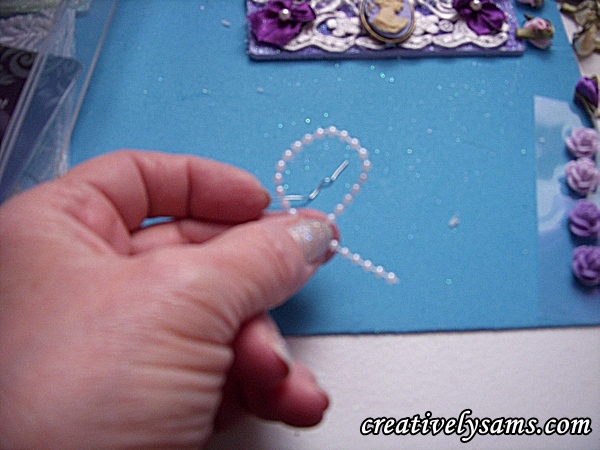
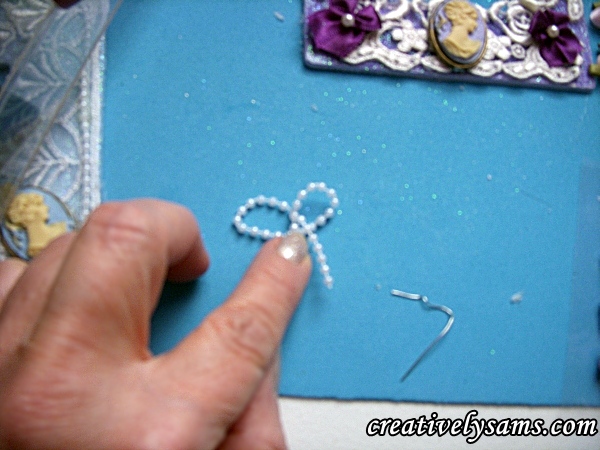
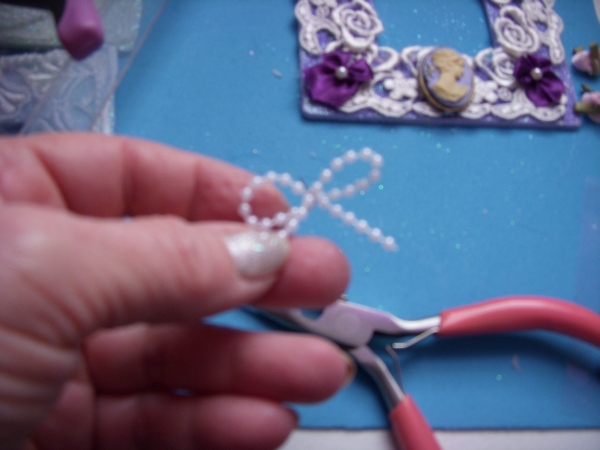
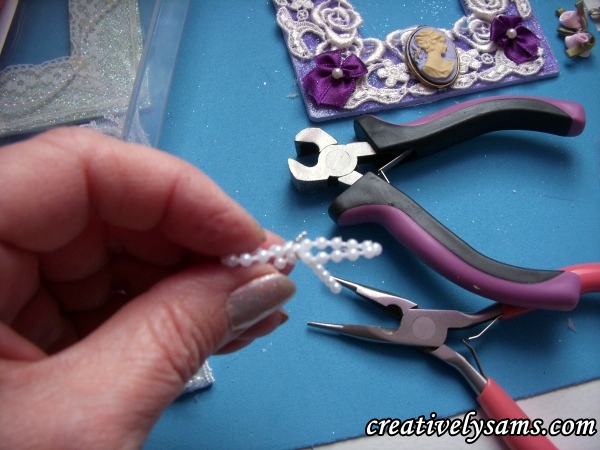
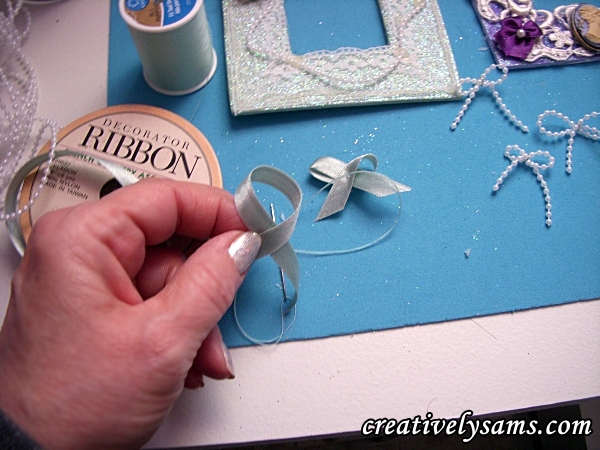
Then I made some pearl bows by making a loop and then bringing the top of the loop behind the part where it crosses. Then using a small piece of wire, I anchored it in place by twisting the wire behind the bow.
I did the same thing with ribbon to make ribbon bows, but I used thread to anchor those.
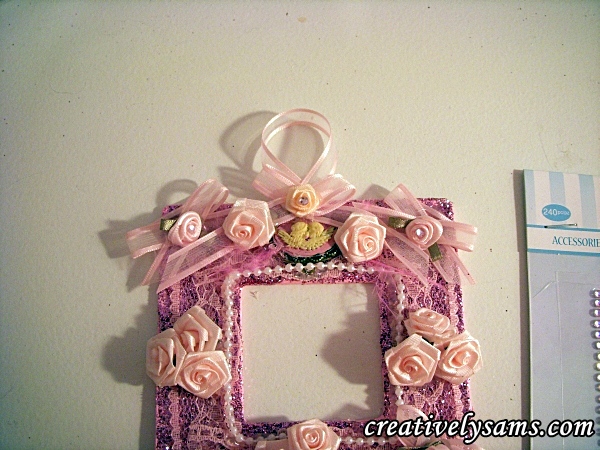
I put small stick-on gem stone in the center of some ribbon roses
I placed a cameo on it’s matching frame
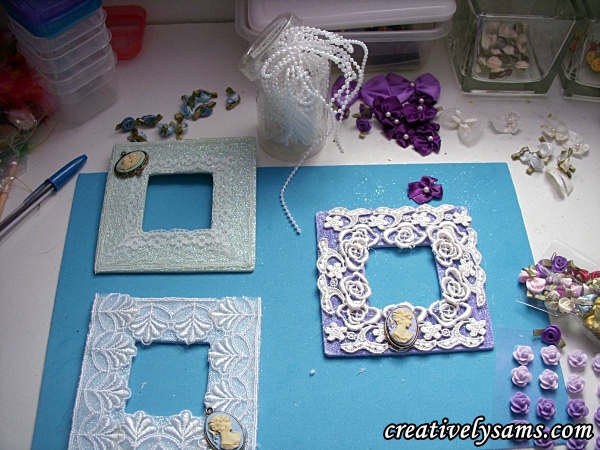
And then I started to add pearls to the frames

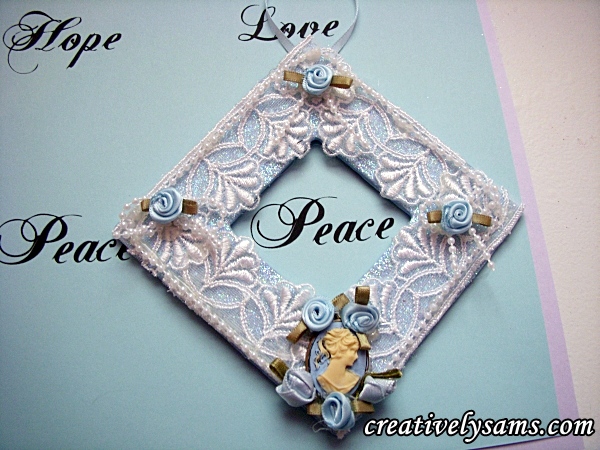
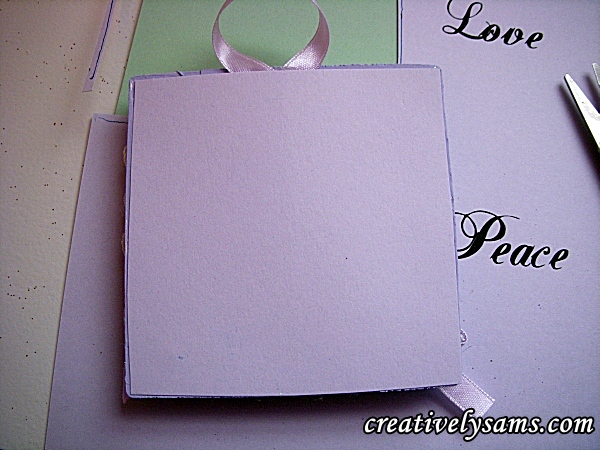
I glued on bows & roses to the corners & around the cameos. Then I added a piece of ribbon to hang the little frame.
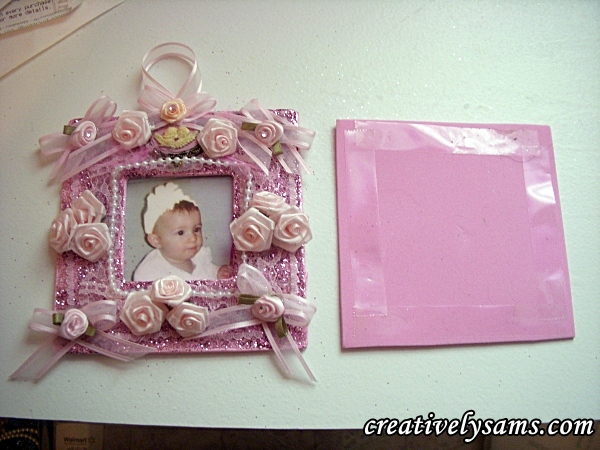
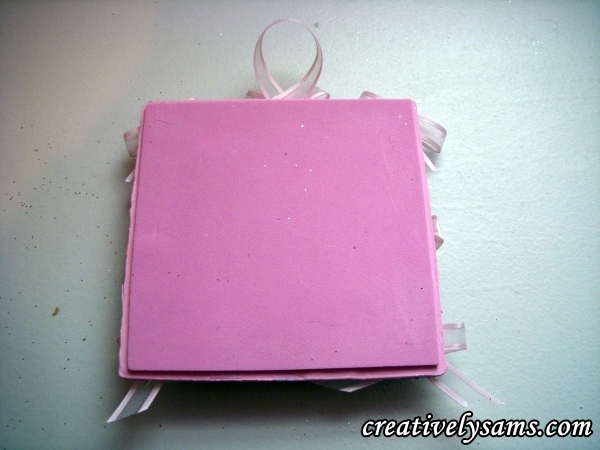
After I got all of the frames the way I wanted them, I had to fill the frames. The little frames came with a piece of clear plastic, so I used photo safe tape & taped the plastic in place. For the special little girl, I taped her picture into the frame, and I cut a piece of foam to fit the frame. Using double sided photo safe tape, I taped it to the back of the finished frame.
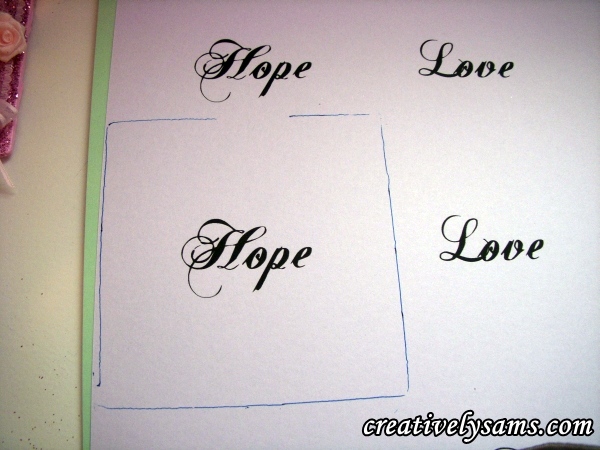
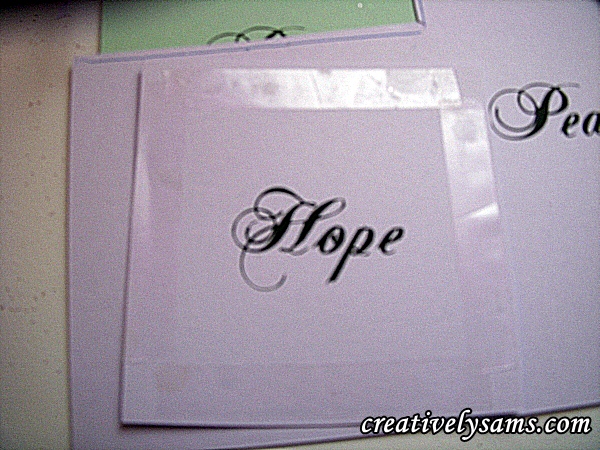
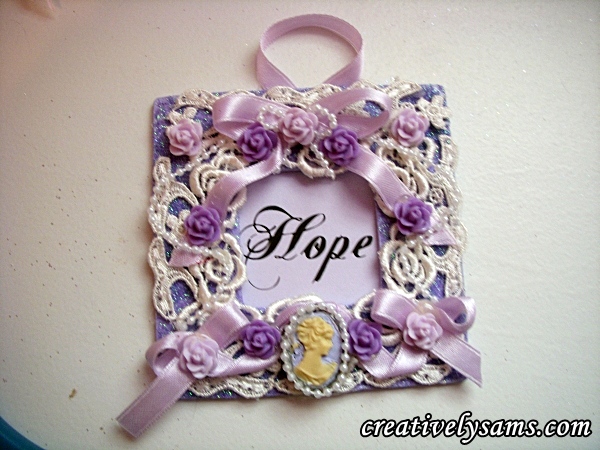
For the other frames, I wanted words in the center. I printed out the words “Love, Peace, Hope” on to card stock in colors to match the frames. I played with the frames until the words were centered. Then I traced around the frame, on the card stock, and cut inside the line.
Using the photo safe, double sided tape, I adhered the card stock to the frames.
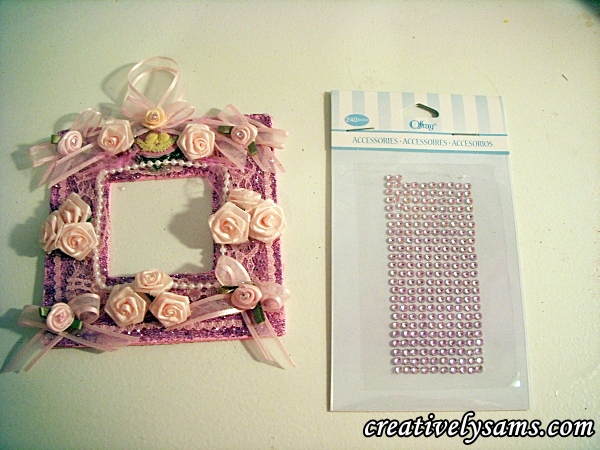
They took awhile to make, but I love the way they turned out.

These ornaments/frames are easy to make & there is no rule as to how you put it together or what you put in it. Play around with what you have on hand & make it your own.
Happy Creating everyone!