
The first time I’d heard of solar chandeliers was on Pinterest. I fell in love with the idea of taking an old, out of date chandelier & turning it into something that can be used outside. I went on a search for an old chandelier. Then one day, while I was at Goodwill, I found one for only $6.45! It’s been sitting & waiting for me to make it into something beautiful. The wait is over, and I love it!
This is what the chandelier looked like when I got it.
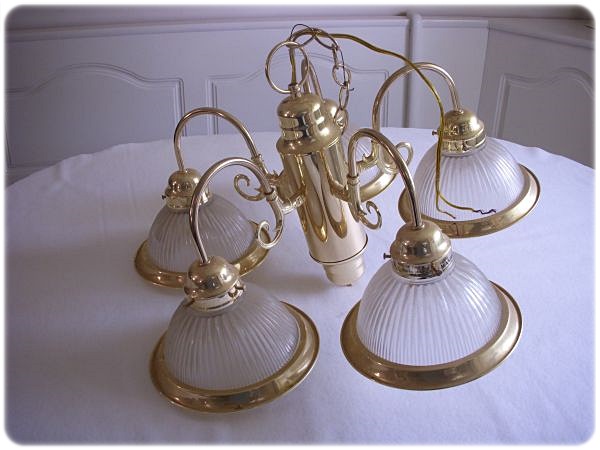
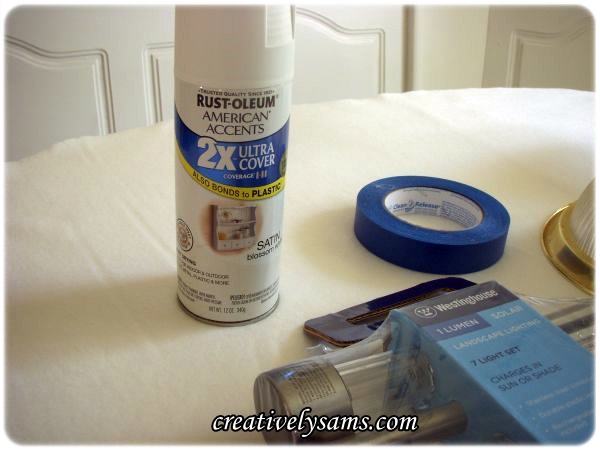
It had the bones, but I didn’t like the way the lights hung down. But I knew that I could fix that. I gathered my supplies.

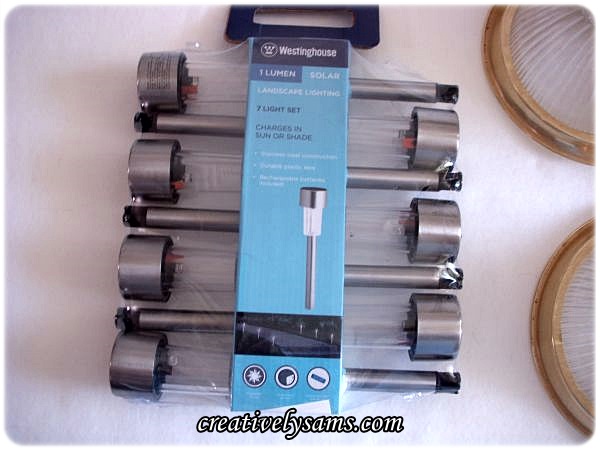
The thing that really got this project going is when I found the solar lights at Walmart. They’re by Westinghouse, (a brand that I trust) they charge in shade, they’re stainless steel & they were 7 for $9.97! I could have used some from the Dollar Tree, but I liked the stainless steel feature of these.
Since I wanted the chandelier to have a soft feel to it, I chose white satin paint from RUST-OLEUM. And I needed some painter’s tape for the lights.
I went outside & took the chandelier apart. I did make sure that I kept the pieces in order for reassembly. (didn’t want to mix the top pieces with the bottom.)

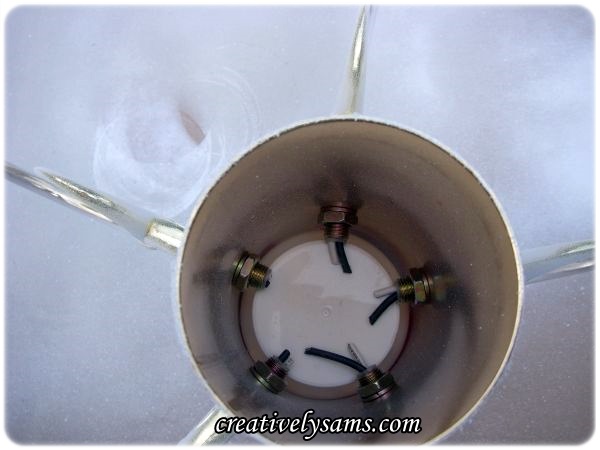
I cut out the wires, but I didn’t see the need to remove them from the arms of the chandelier. I just cut them off where they came together.

Then I gave the entire thing a light sanding to give the smooth finish some tooth for the paint to grab on to. After the sanding was done, I cleaned it off with a damp cloth to remove any dirt & dust.


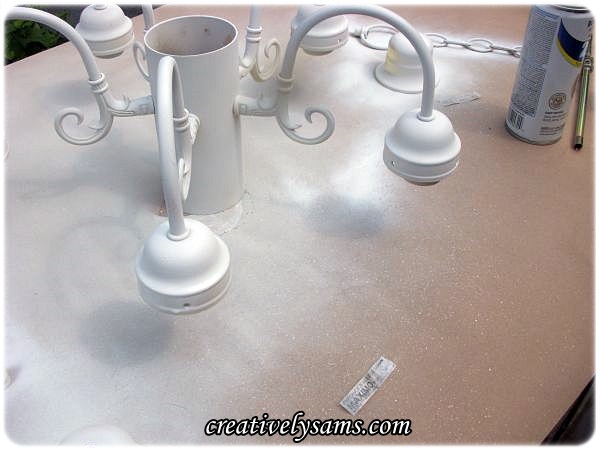
After I was sure that the chandelier was dry, I sprayed it and all of the pieces with a light coat of the paint. Once that had dried, I added a second coat.

Once it had completely dried, I flipped the chandelier over. A bottle of Mod Podge fit nicely inside to hold it up off the surface for painting. The inside nuts rested on top of the bottle.
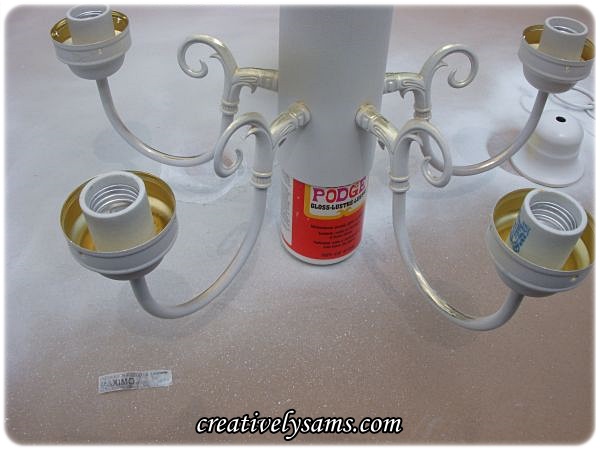
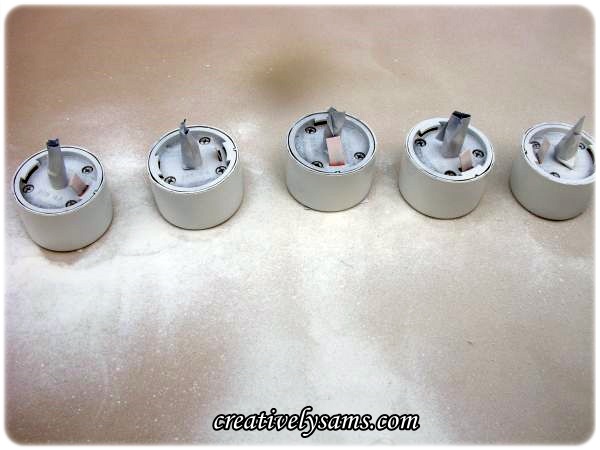
I gave the other side two coats of paint, waiting for each coat to dry in-between. While I was waiting for the paint to dry, I taped off the light sections of the solar lights. (they come off of the clear stems very easily.)

Then I gave them two coats of paint.
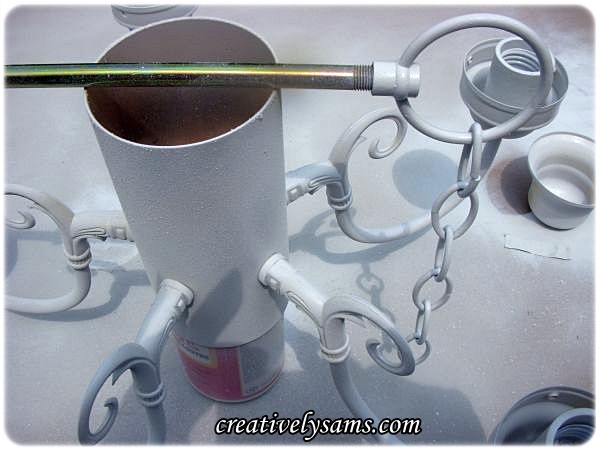
To paint the chain, I twisted the cap with the chain attached on to the center rod, laid it across the chandelier, and sprayed it with the paint. Doing it this way helped to get the paint into the chain links.
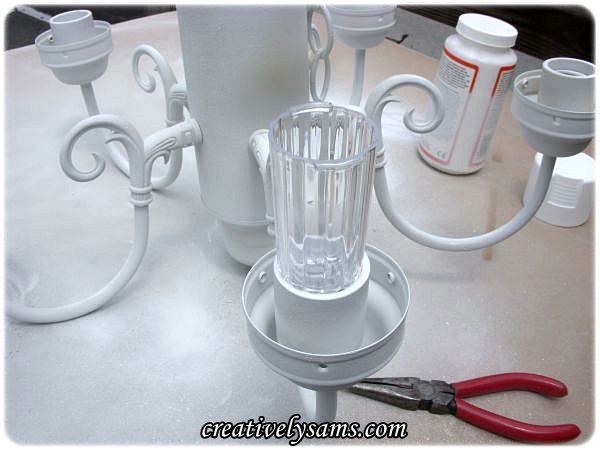
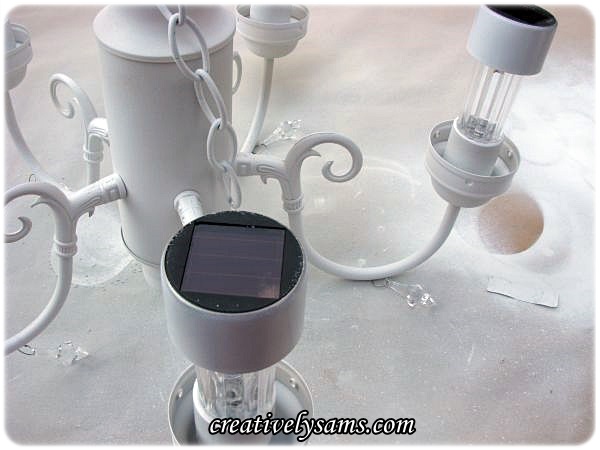
Once the chain had dried, I put it all back together. But I put the top on the bottom & the bottom on the top. This way, the arms of the chandelier faced upwards. It was easy, since the parts screwed onto the center rod. After it was back together I dry fitted the clear part of the solar light into the socket. This way, I knew where the glue had to go.
I used Glass & Metal glue for this. It’s water & weather resistant, and the bond gets tighter after 24 hours. I just added the glue where I needed it, and glued it into the socket of the chandelier. I let the glue dry for about an hour before adding the solar light to it.


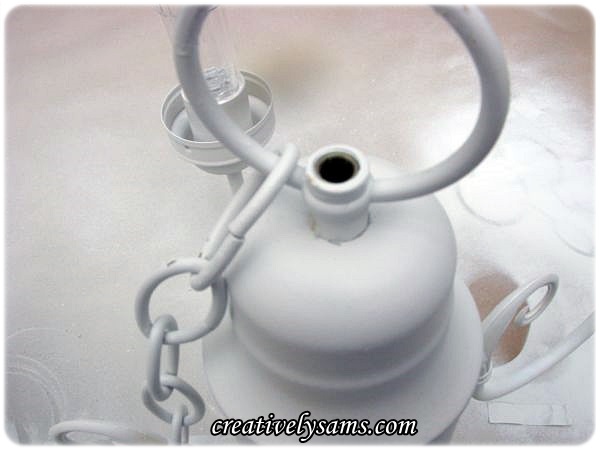
The one thing that drove me nuts was that there was a hole in the top of the chandelier. It went all the way down through the center! I needed to cover it.
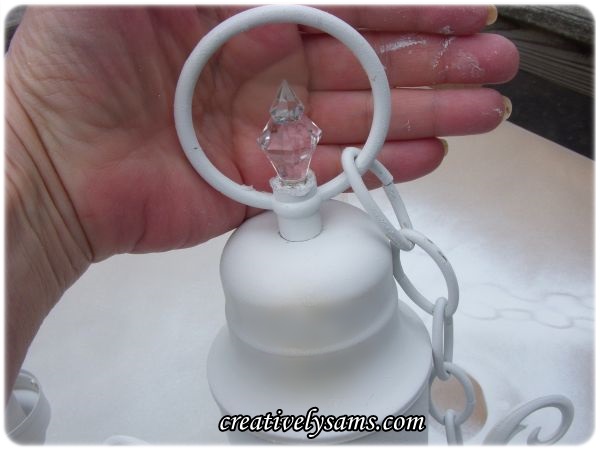
I thought of covering it with a large rhinestone, but then I remembered some acrylic drops that I’d gotten around Christmas time. They were in the mirror section at Michaels & I had originally planned on making them into ornaments.

Since there were 6 of them in the pack, I got one of my brainstorms. First, I cut the round loop off of one of the drops. Then I glued it into the hole, upside down. I used a lot of glue to make sure that no rain would get into the chandelier. I don’t want it to rust.

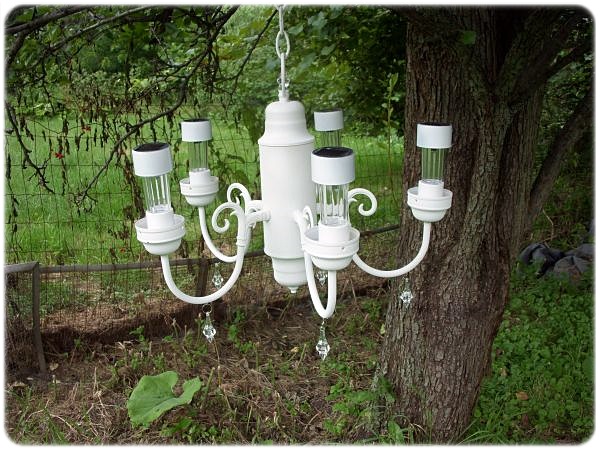
Then I used fishing line to tie the remaining drops to the arms of the chandelier. After I’d finished that, the glue was set on the clear light stems & I could add the solar lights.
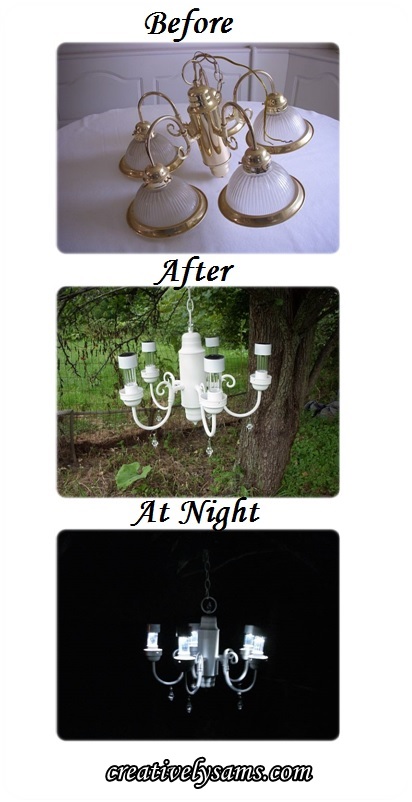
It was done. All it needed was an S hook to hang it. It’s in a tree right now, but hopefully, it will be moved to hang over my roses.
Oh I love how it glows in the dark!
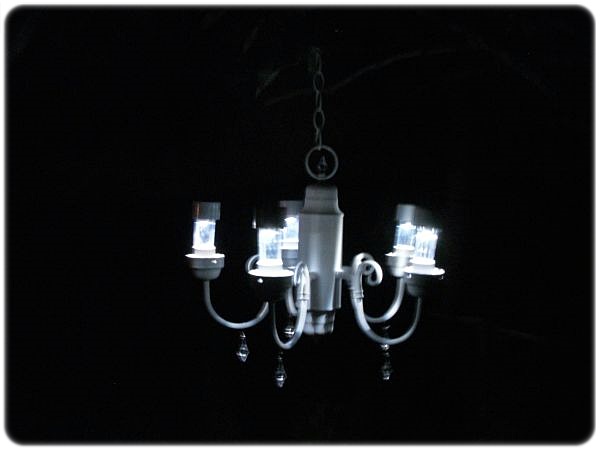
I do all kinds of craft projects, and I’m usually quite happy with the results, but I’m over the moon with this one!
And what am I going to do with the left overs? I already have plans for the glass globe covers & the left over solar lights. I can’t wait to get started on that!
Happy Creating everyone!
I’ll be joining:
A Stroll Thru Life for the 226th Inspire Me Tuesday
I found one exactly like this with trash on side of road. Freebie… so I had already decided to make one also before I got the chandelier. I plan to paint mine 2 tone and have beads and crystals from. I can’t wait. Thanks for the tips!