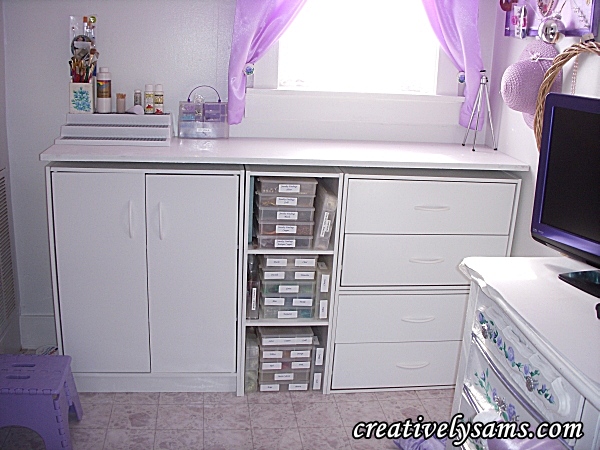
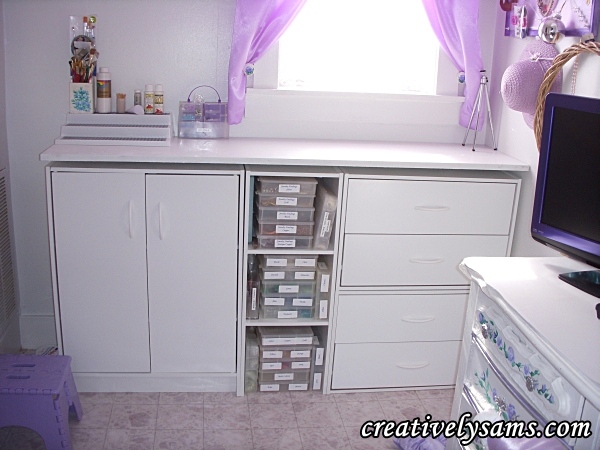
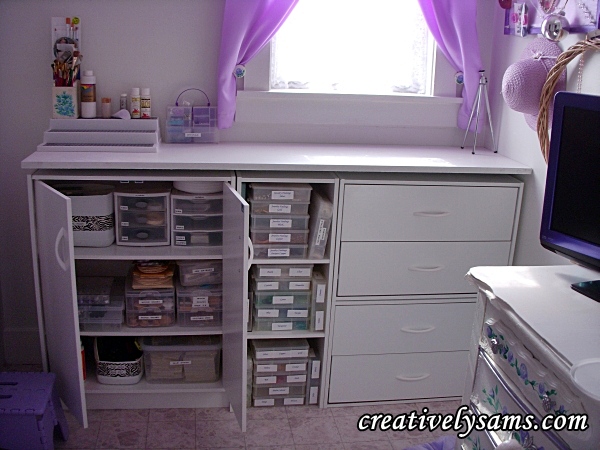
Here’s another peek into my world. Like I’ve said before, this is a very tiny room. It’s only 6′ x 7′. In order for me to get everything into this room, it has to be organized. The room is divided into 2 main sections. One side of the room is for sewing, and the other side is for my crafting. This is the crafting section of the room. It’s still a work in progress. I’m still searching for the right cabinet or shelving unit for the left side of the window.
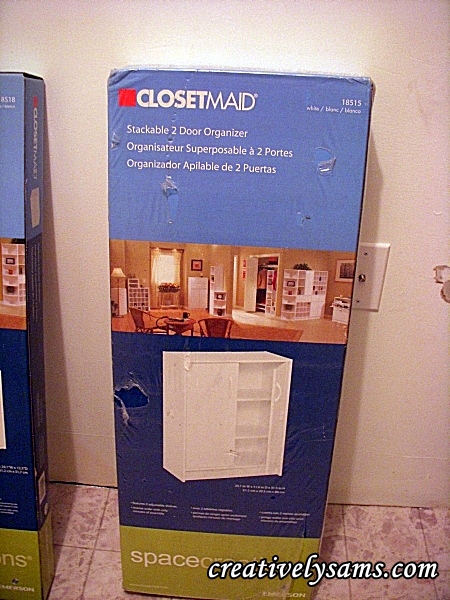
Each payday, I would buy another piece for the room. I knew what I wanted, but I knew that if I wanted to finish the room without it emptying my bank account, it would take some planning in advance. I went with items from ClosetMaid. I bought one of the cabinet door sections. I liked this one because it had 3 adjustable shelves:
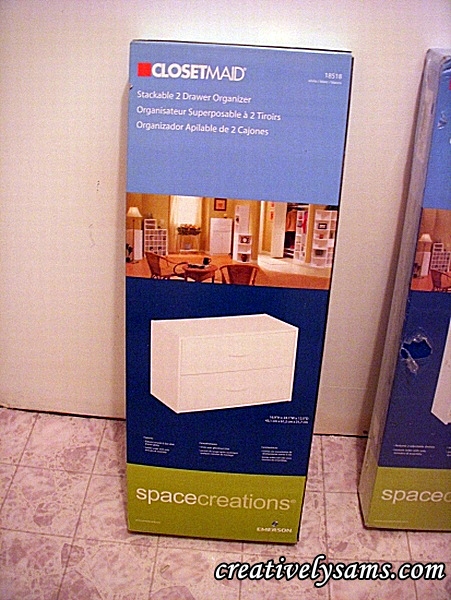
Then I bought 2 of the drawer sections.
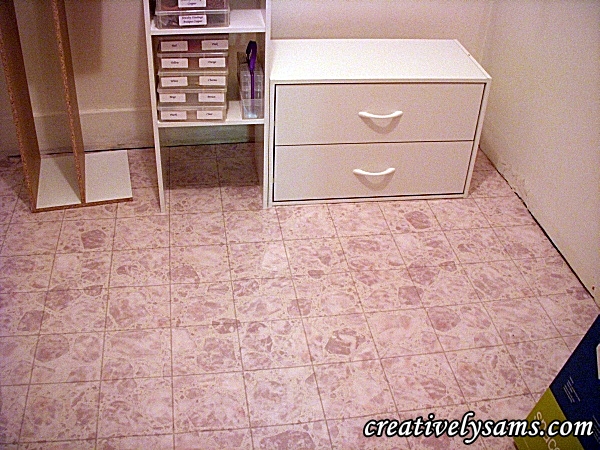
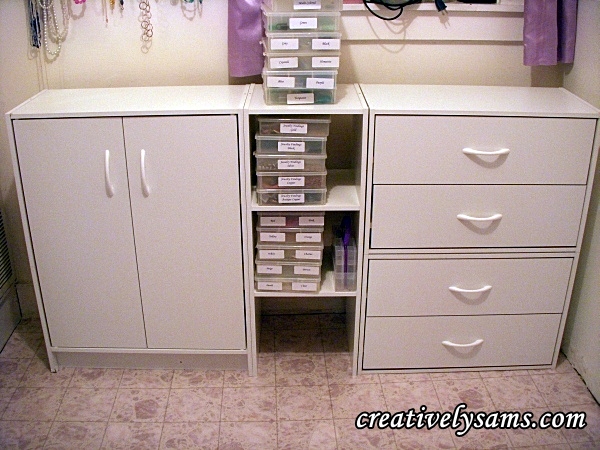
When I stacked the 2 drawer sections together, they were the same height as the door section.
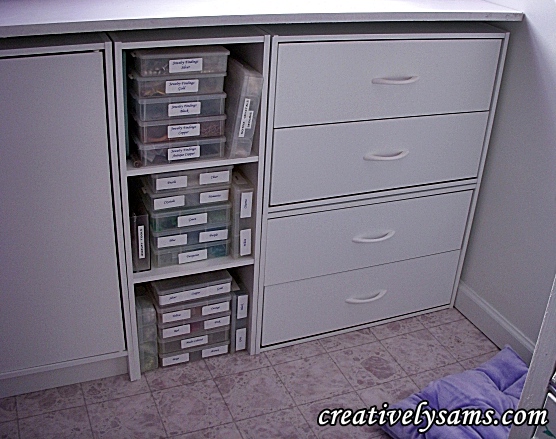
Then I needed somewhere to put all of my beads. They are all in their own little boxes, sorted by colors or function. By function, I mean that the jewelry making components are separated by metal colors. I used a stackable ClosetMaid 3-shelf vertical stacker. This is also the same height as the other sections. The end result was a bank of storage the hold most of my crafting needs.
It took awhile for us to decide where we wanted each section to go, once we got them together.
I finally chose this set up. The cabinet with the doors on the left, the beads in the center & the drawers on the right. The only problem with this set up was that the top of the sections weren’t smooth. So, my wonderful husband cut a long shelf to fit on the top of them. Now I have a smooth working surface to do all of my crafting on.
What supplies are hiding inside? Here’s the tour.
The drawer section:
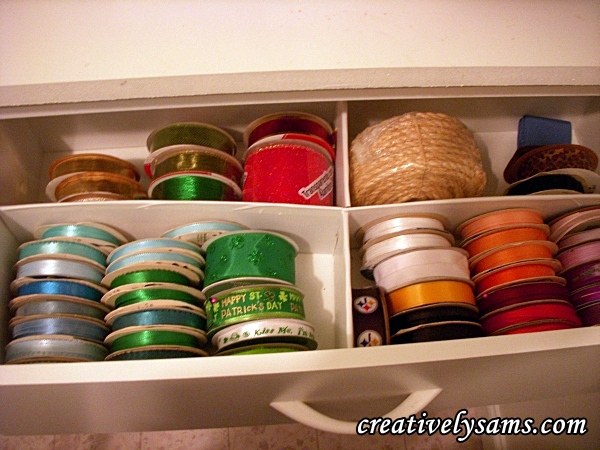
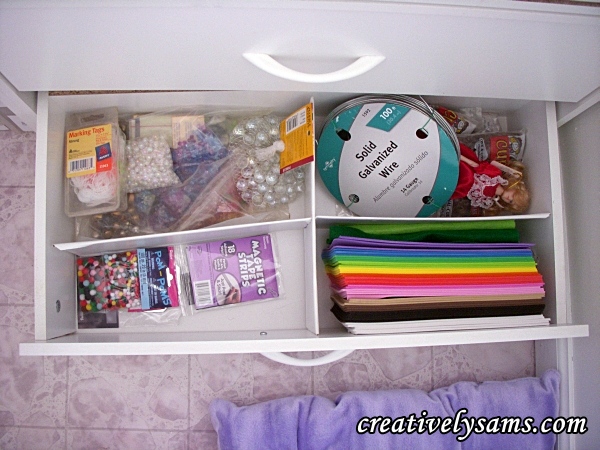
There’s a place for all of my ribbon: (I like my ribbon in a drawer instead of putting it on a rod. When I need ribbon, I want to be able to take it to the project, rather than pull what I need and then have to roll it back up on a rod. If it’s on a rod, I find it’s a little inconvenient for me.)
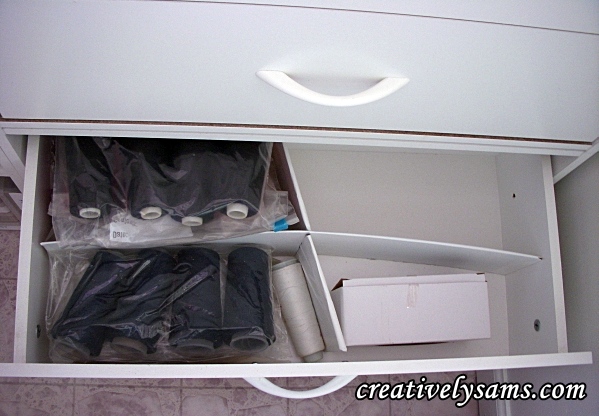
Another drawer to temporarily house the thread for my serger:
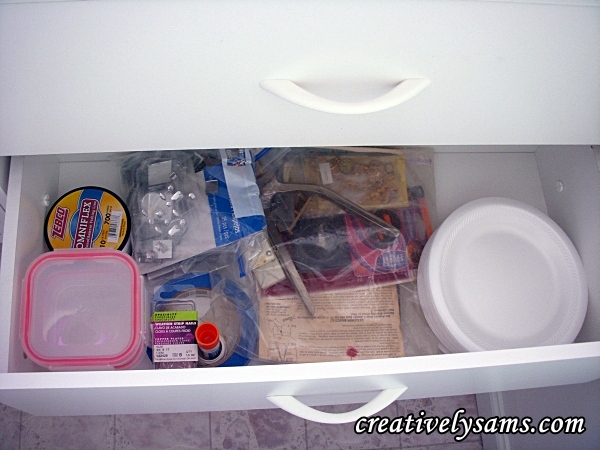
These will be moved when we install the new shelving unit over my sewing desk. Then there are two drawers for my odds & ends.
The center section holds all of my beads. I love making jewelry, so there are a lot of beads.
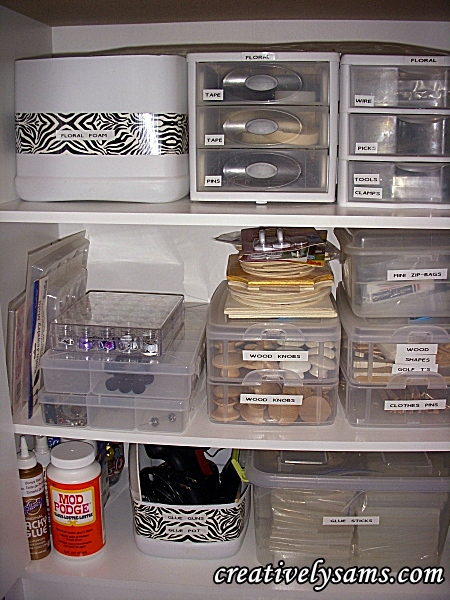
The left side of the unit:
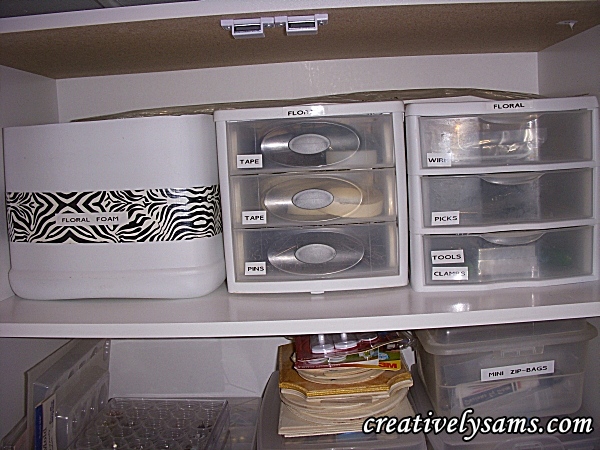
The top shelf holds all of my floral supplies. (yes, that’s a kitty litter container with the top cut off that was used to hold my floral foam. It’s much too messy to leave on a shelf)
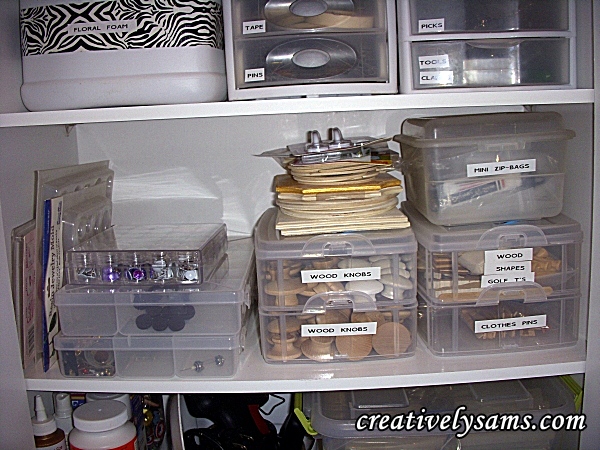
The next shelf holds all of my wood pieces. I use a lot of wood when I craft.
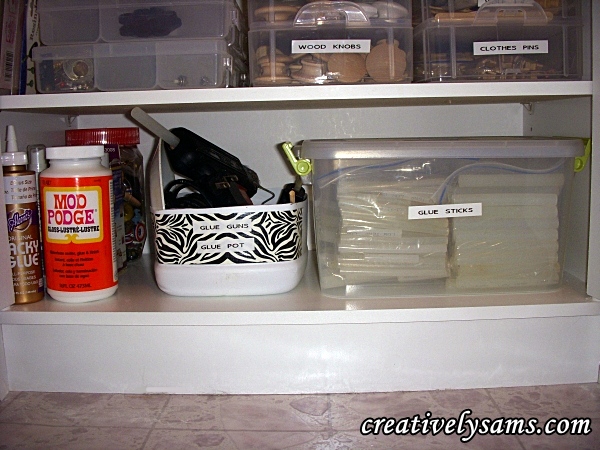
And the bottom shelf holds my glues. (yes, that’s a kitty litter container with the top cut off to hold my glue gun & glue pot)
I hope you enjoyed the latest tour of the craft room and maybe found some storage ideas for your craft room.



Pingback: Reorganizing My Ribbon | Creatively Sam's