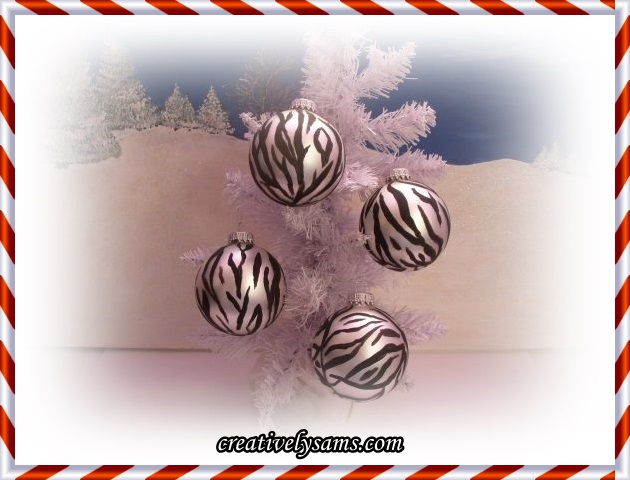
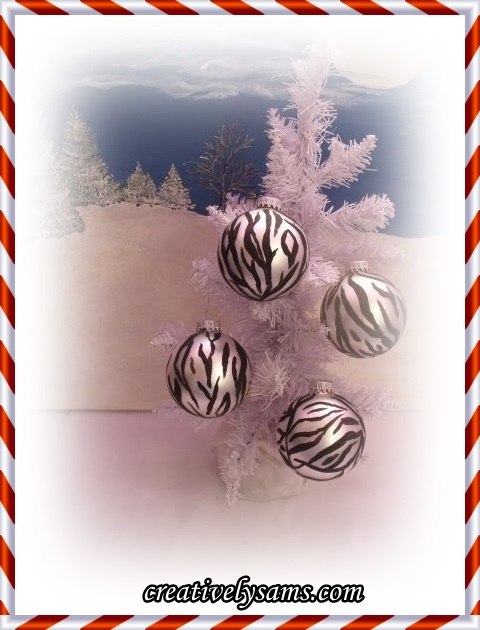
This year I’ve decided on a black & white Christmas tree with silver & crystal accents. So, I’ve been busy making a lot of different ornaments. This is how I made my Zebra Ornaments.
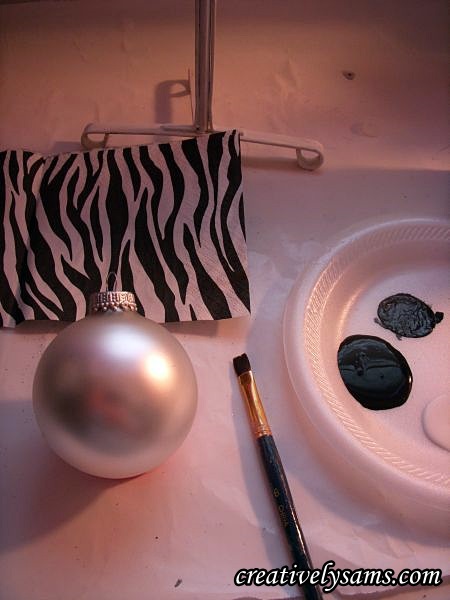
I needed very little to make these. A 4 pack of white frosted ornaments from the Dollar Tree, black paint, a medium sized flat paint brush, and an inspiration piece. (I used a zebra print napkin)
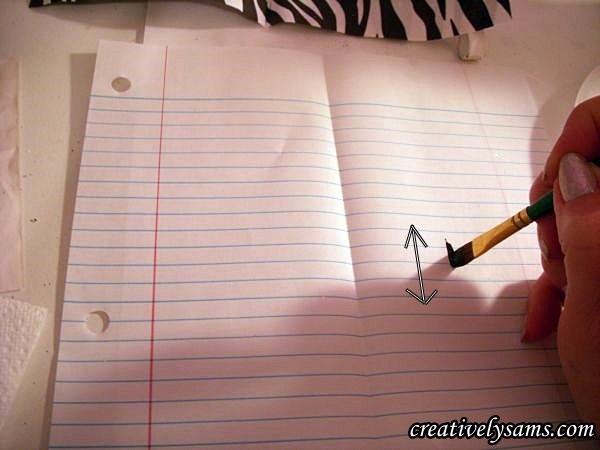
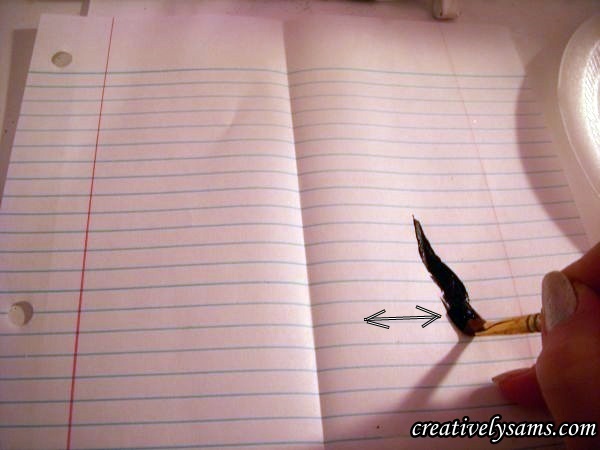
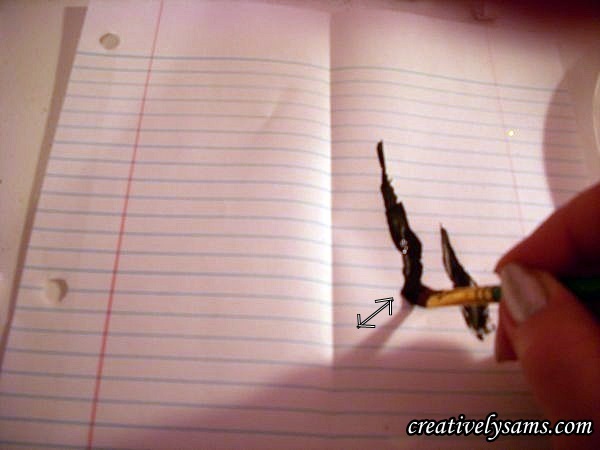
The lines were all made with one brush. The thickness of the lines are from holding the paint brush in different directions. To make the thin line, I held the paint brush straight up & down:
By turning the brush slightly, the line was a bit thicker:
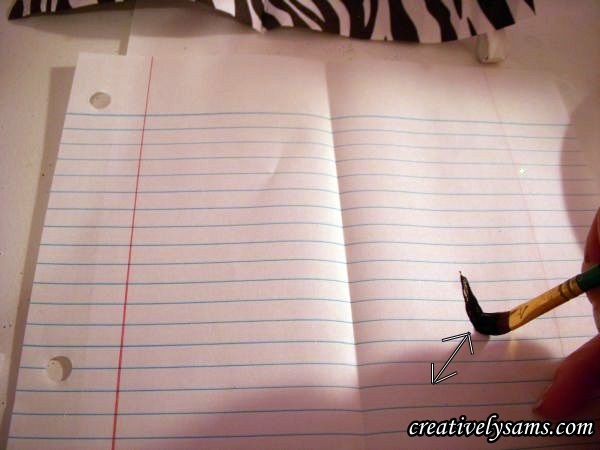
And to make the line even thicker, turn the brush so that it’s flat:
And by angling the brush again, the line becomes thinner again.
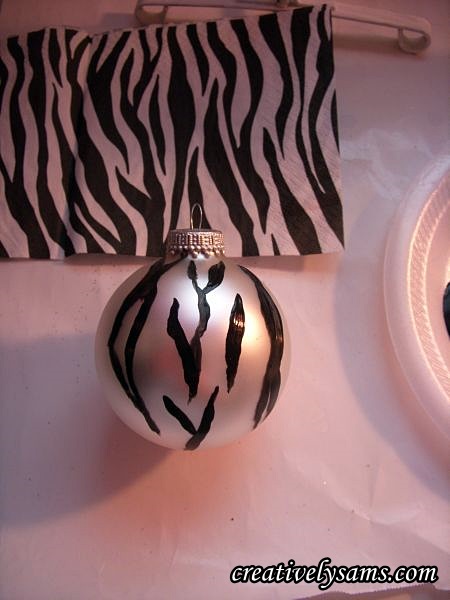
Using the brush dipped in black paint, I mimicked some of the design from the napkin.
I continued to add lines all around the ornament, finishing to the bottom.
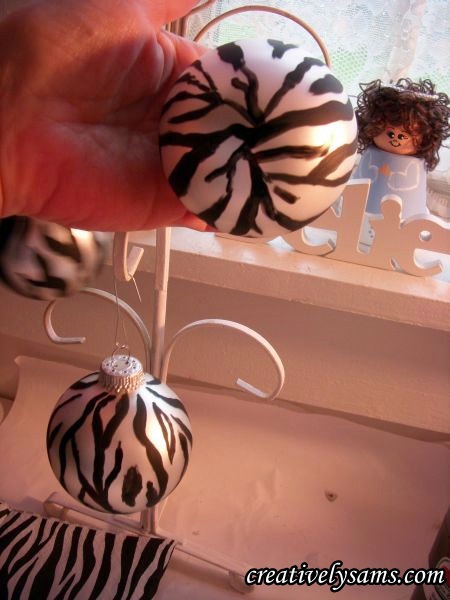
I did 3 with the stripes going vertical & one going in a slightly horizontal direction.
I’m not sure which one I like better, but I’m very pleased with the way they turned out.
I’m thinking of doing these on clear ornaments with different shades of glitter on the inside. I think that maybe they’d look nice with lilac, pink or blue glitter?
Happy Creating everyone!
I’ll be joining:
Thursday Favorite Things Blog Hop 115
Anything Blue Friday – Week 35

Pingback: Black & White Christmas TreeCreatively Sam's