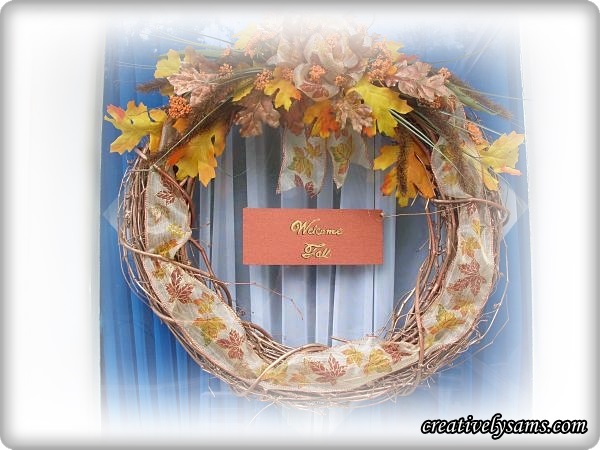
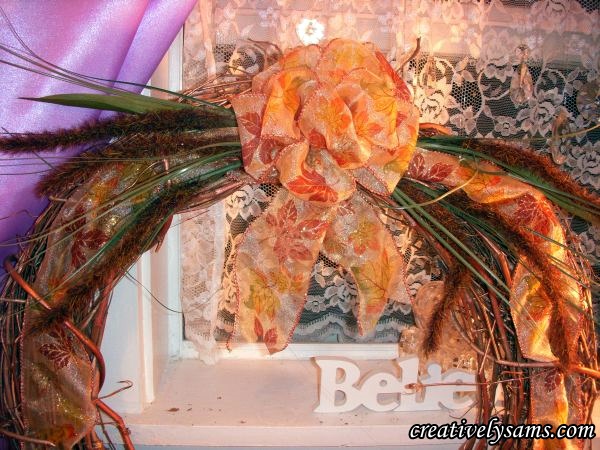
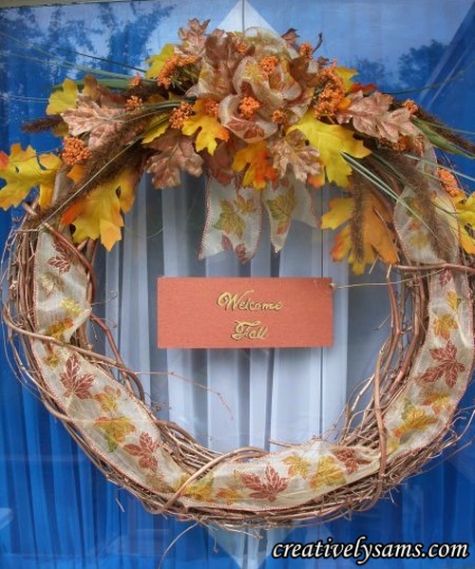
It looks like Fall is here. I love the cooler weather & the glorious colors of the leaves changing from green to golds, oranges & reds. With all of the changes occurring outside, I thought it was a good time to start changing some things around the house. For me, the first change is usually the wreath on the door. And this year, I wanted to bring in some copper colors to brighten the Fall colors up even more. Welcome Fall.
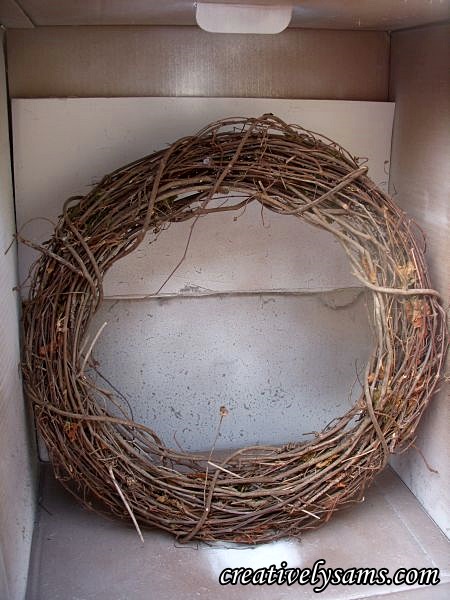
This post is a long one, because I’m showing step by step pictures of how I created the wreath. I started off with a plain grapevine wreath that I’d gotten from JoAnn Fabrics.
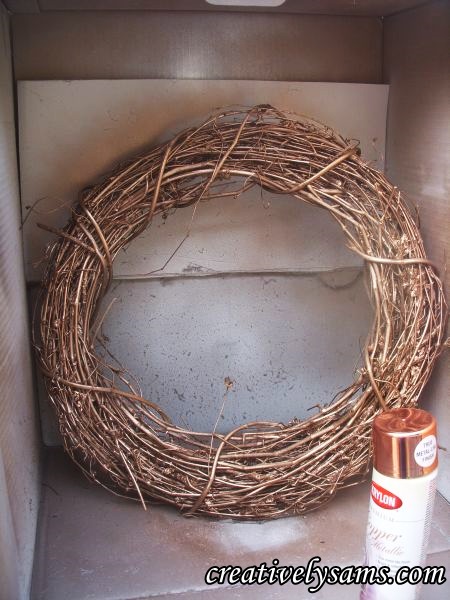
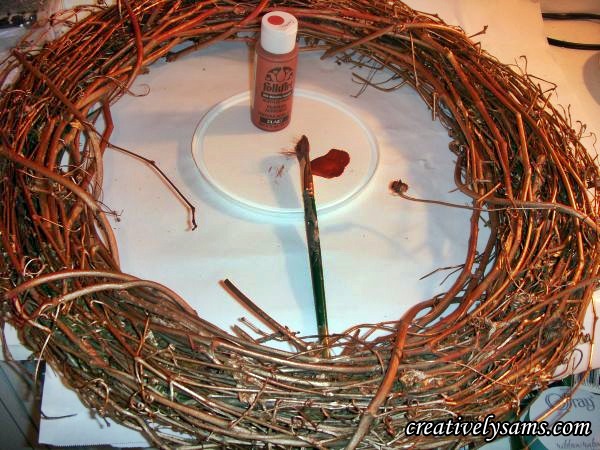
But since I wanted to add copper to the wreath, I painted it with Krylon Copper Paint. It took 2 coats to get the color that I wanted.
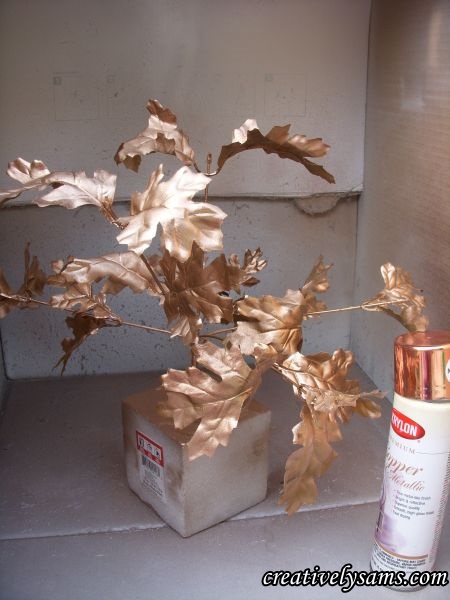
I also wanted to use copper leaves on the wreath, but there were none anywhere. I did find a lot of Fall colored leaves everywhere, but no copper.
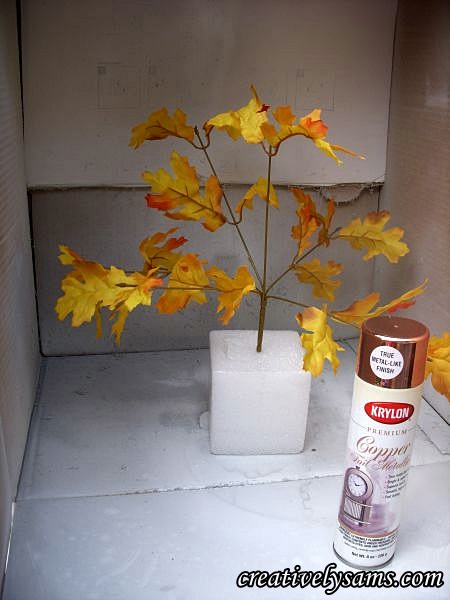
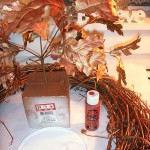
So, I did what I usually do when I can’t find what I want… I made my own. I put a branch of the Fall colored leaves into a Styrofoam block that was covered with plastic. (spray paint eats through Styrofoam) I had to add 2 coats of the copper paint to the leaves.
The wreath wasn’t copper enough for me, so I dry-brushed some copper acrylic paint to a few areas around the wreath.
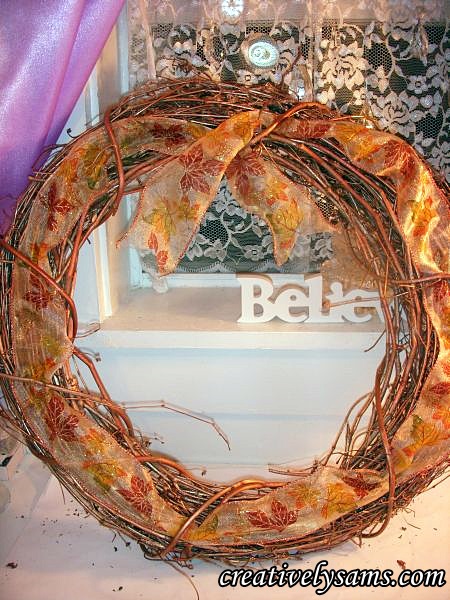
Then I found this wire edged ribbon, I liked that it had a copper edge to it. And I let the ribbon & the wreath dictate how it was going to be made.
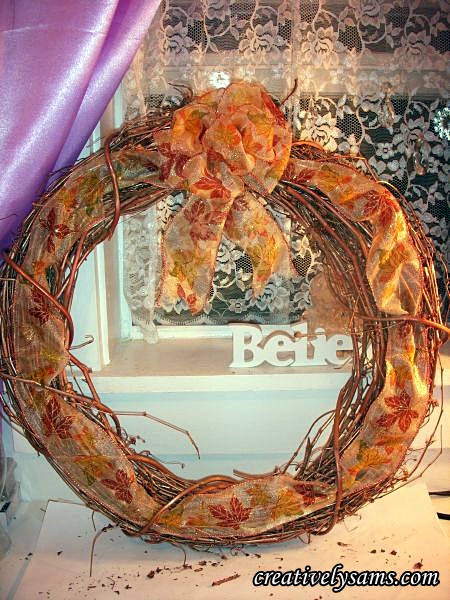
I laid the ribbon on top of the wreath, tucking it under the parts of the wreath that are going around the wreath. (does that make sense?) I hope the picture explains it a little better than I can. I left extra ribbon hang down from the top to make the tails for the bow. (clip the ends in an inverted V shape)
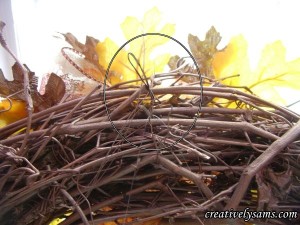
Add a bow to the top of the wreath. Make sure that you leave extra wire on the bow so that you can feed the wire through the back of the wreath to use as a hanger. If you don’t have extra wire, you can always add some wire to the back later.
All of the colors were chosen from the ribbon. All of the floral pieces were purchased from the Dollar Tree & Walmart. Once the bow was attached, I got out the hot glue gun & started to add the floral pieces. First I brought in the browns, since they were the largest pieces.
Then the yellows, which were the yellow & orange Fall leaves:
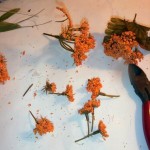
Then the oranges. I cut apart the little orange pieces & scattered them around the bow & leaves. (you can click on the thumbnail pictures to get a larger view & use the back arrow to return)
I wanted to add more copper to the leaves, so I dry-brushed them with some acrylic copper metallic paint. Once they had dried, I added them to the wreath, in and around the other floral pieces.
The wreath was missing something. What? Glitter, naturally. I used some copper colored glitter glue to the copper leaves. That gave it the sparkle that I was looking for.
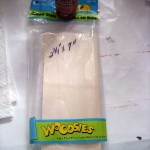
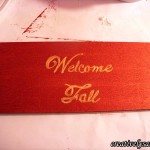
I wanted to add a “Welcome” sign to the wreath like I did for the Patriotic Wreath. I used a 2 3/4″ X 7″ wood piece by Woodsies. Then I painted it with copper acrylic paint & used gold metallic acrylic paint to add the lettering. When it had dried, I added some black paint to the lettering to give it some shading. It also helps the lettering to show up a little better.
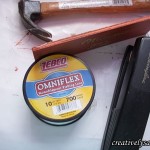
Once the Welcome Fall sign was dried, I needed a way to hang it from the wreath. Fishing line & staples always works. First, put a large knot in the fishing line. I tied mine 3 times. Then, with the knot facing the back of the sign, staple it into the top left of the sign. (I had to use a hammer to get the staple in completely because the wood was a little hard)
Repeat on the other side of the Welcome sign, leaving enough fishing line so the sign will hang in the middle of the wreath opening. Cut off any tails of fishing line. I hung the sign on the wire from the bow, in the back of the wreath.
All that’s left to do is to hang the wreath on your door!
I hope you enjoyed my first Fall decoration of the year.
Happy Creating everyone!
I’ll be joining:
Susan @ Metamorphosis Monday








Pingback: Before and After Wednesday