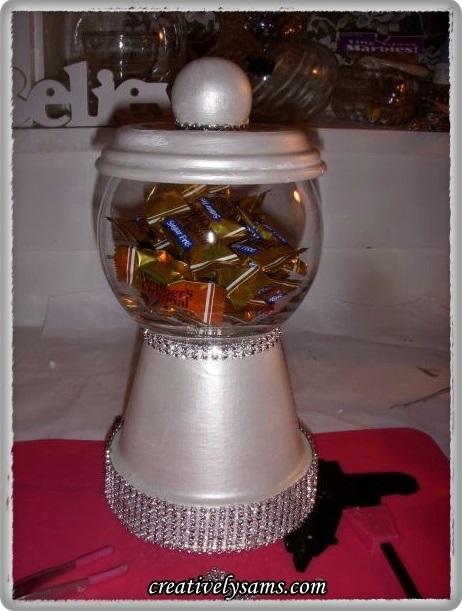
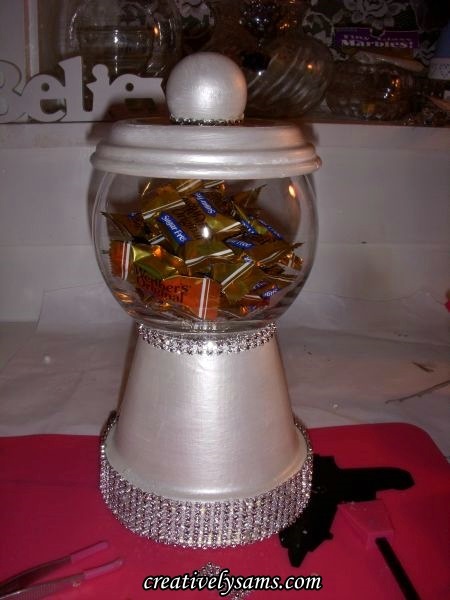
I’d seen this kind of project on Pinterest for a long time, and I just loved them. I’ve been wanting to make one of my own ever since. So this is my version of a Terracotta Candy Dish:
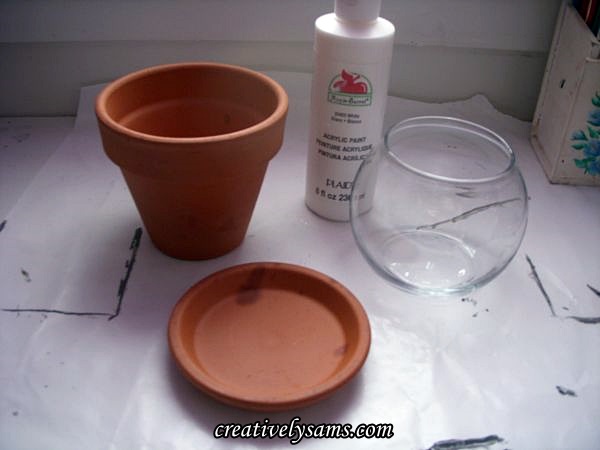
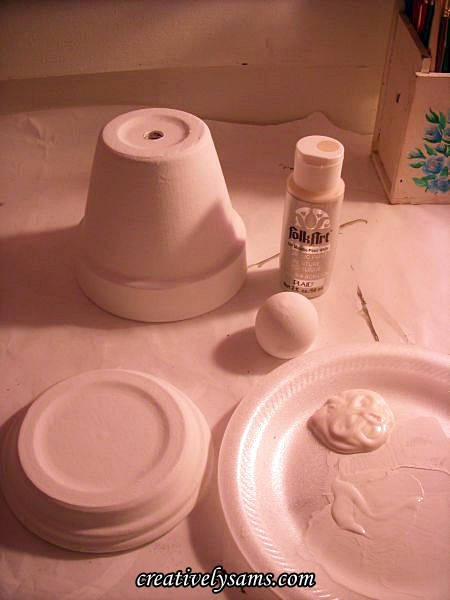
I started with a 4″ terracotta pot & matching saucer. Then I got a glass bowl at the Dollar Tree. (It looks like a small fish bowl.) And some white acrylic paint to prime & paint the pieces.
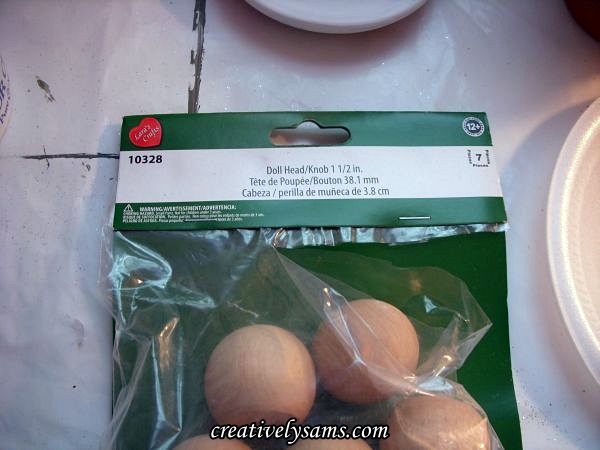
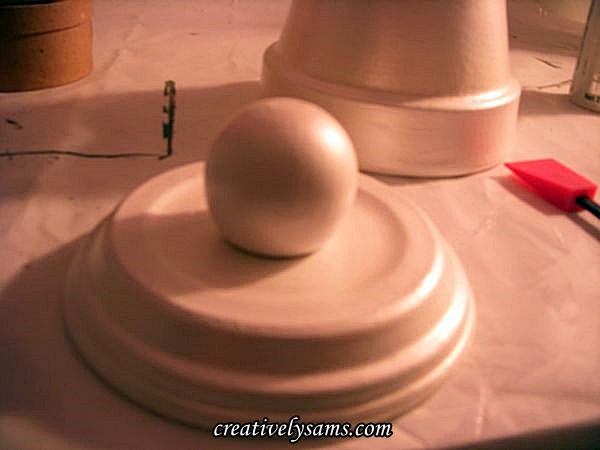
I used a 1 1/2″ wooden Doll Head Knob for the handle. I like these because the bottom of the ball is flat.
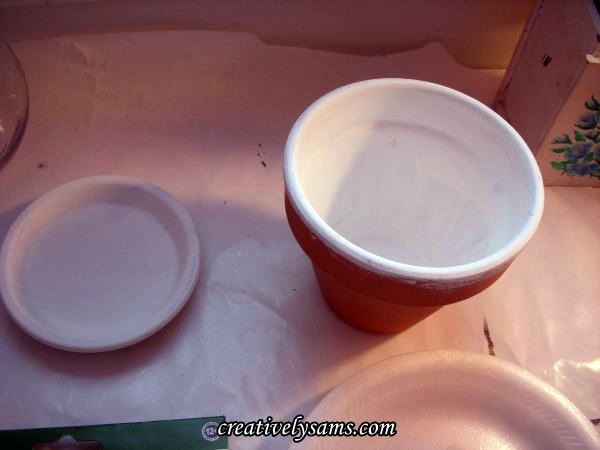
I used white Acrylic paint to prime & paint the pieces. I started by priming the inside of the terracotta. It took 2 coats of paint to cover the pieces.
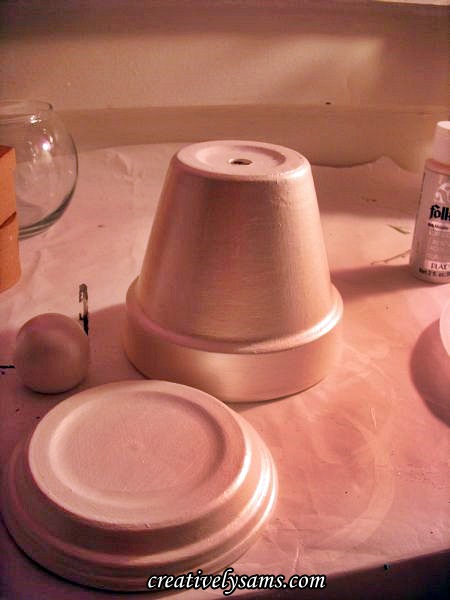
When the paint had dried, I turned the pieces over & used 2 coats of paint on the outside of the pieces.
Then I added a coat of Pearl paint to the pieces. I wanted the candy dish to have a shiny surface so it could be cleaned.
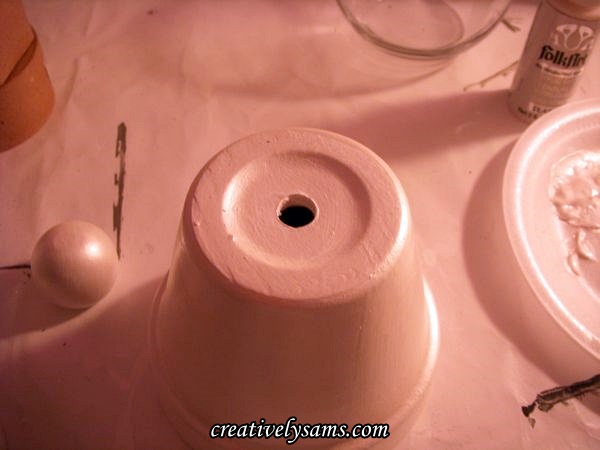
The hole in the pot made me nuts, even though you can’t see it once the candy is added, I still knew it was there.
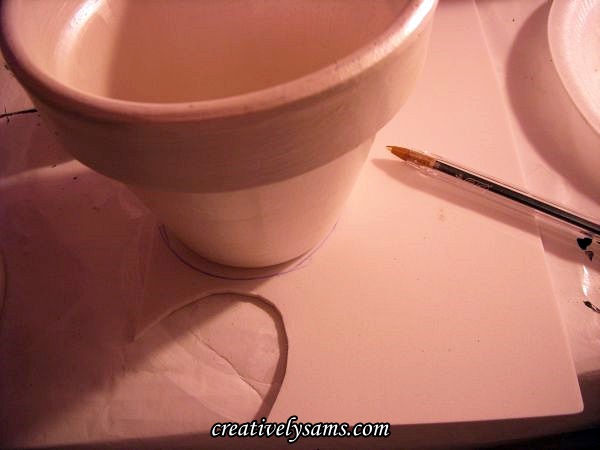
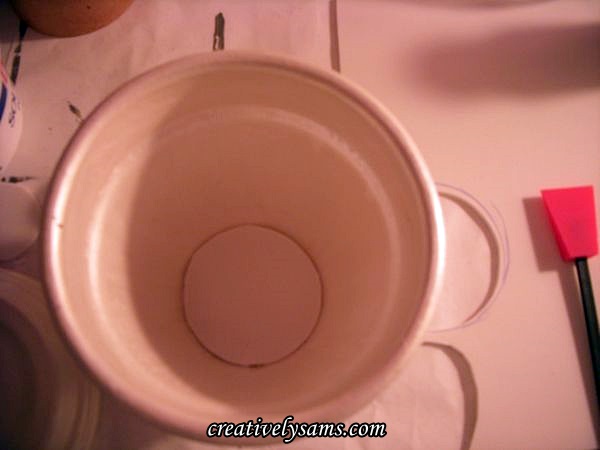
To make the hole less visible, I traced around the bottom of the pot, onto a white foam sheet.
I cut the circle out inside the line. Once it had been cut out, I hot glued the foam circle into the bottom of the pot.
The foam circle made the hole less visible. I guess this step is unnecessary, but knowing the hole was so visible would have bothered me forever.
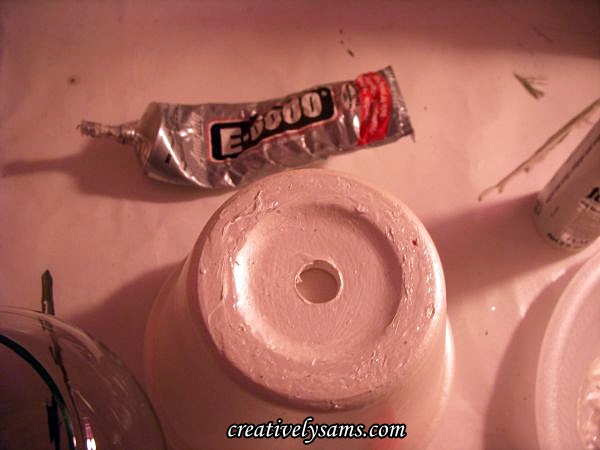
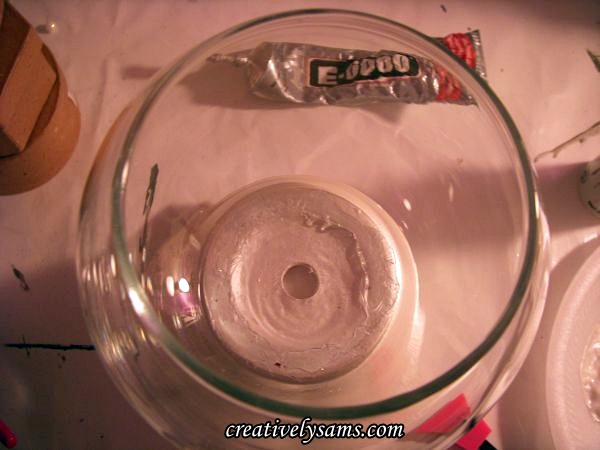
I added some E-6000 to the rim of the pot bottom, which is now the top.
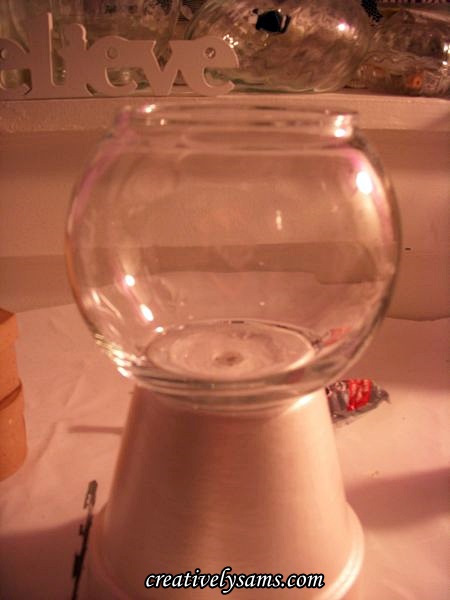
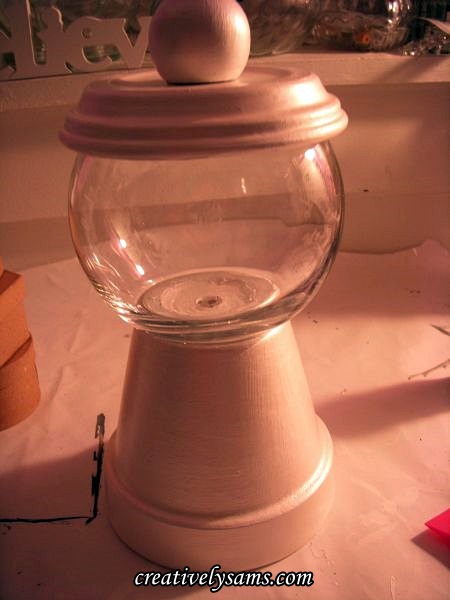
Then I pressed the glass bowl into the glue. E-6000 takes awhile to dry, so you can move the bowl around to make sure it’s centered. I had tried hot glue, but it dried instantly, & the bowl was a little off-center.
Next, I hot glued the ball onto the saucer bottom, which is now the top. The lid is complete.
Add the lid to the glass bowl & the candy dish is done.
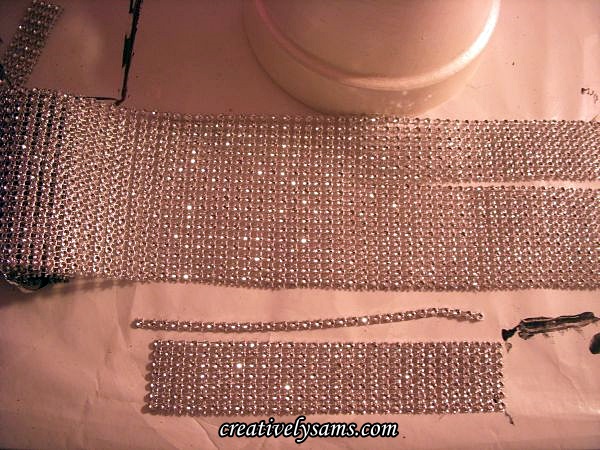
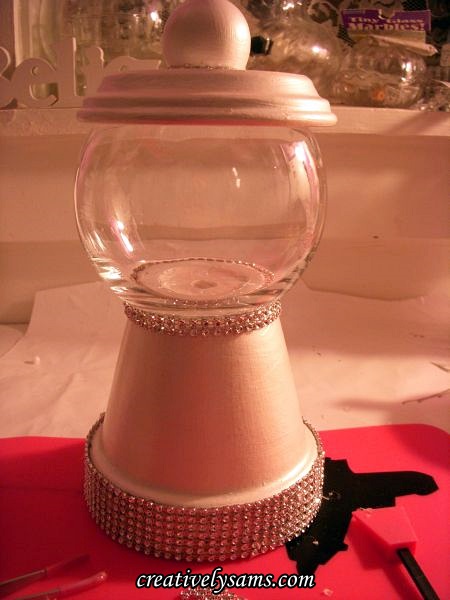
I could have left it as is, but you know me and how much I love sparkle. Besides, I didn’t like the way there was a slight gap between the bowl & the pot, and the gap between the ball & saucer. What did I use? Rhinestone Mesh. (Mesh Bling)
I cut the mesh out to fit around the areas I wanted to cover. Then I just hot glued them into place.
Add some candy to the bowl, & it was done!
The hardest part of this project was waiting for the paint to dry. And it can be used for any holiday by the different candy that’s added to the bowl.
Like red hearts for Valentine’s Day, Green M&Ms for St. Patrick’s Day, Candy Corn for Halloween… you get the idea.
Happy Creating everyone!
I’ll be joining:
BNOTP for Metamorphosis Monday
Create With Joy for Inspire Me Monday -Week 107
A Stroll Thru Life for the 200th Inspire Me Tuesday
Coastal Charm for Nifty Thrifty Tuesday #196
Cupcakes & Crinoline for Project Inspire{d} Link Party
Our Delightful Home for Show Me What You Got Linky Party #102

