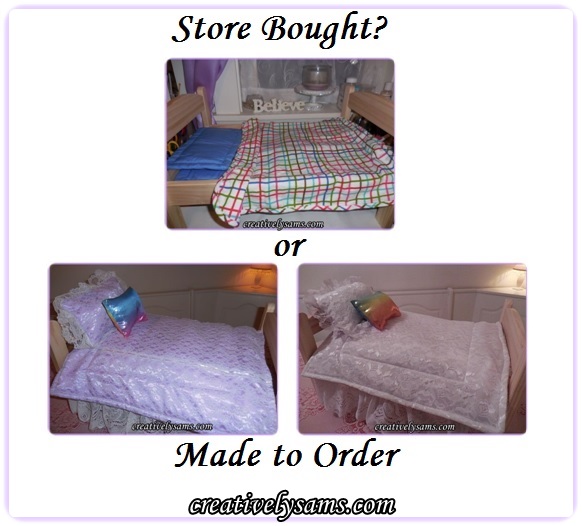
Back in December, a friend asked me if I could make some new bedding for her daughter’s American Girl doll for Christmas. I told her that if she gave me the bed, I could make it. This is what her daughter woke up to on Christmas morning.
She ‘borrowed’ her daughter’s doll bed & got it to me. It was actually larger than I thought it would be.
And this is the store bought bedding that she had.
I can’t believe what they charge for this. After researching it online, I found that they were charging $30.00 and up. It’s so plain & flimsy. I had an idea of what I wanted to do as soon as I saw the bed. I measured the bed & the drop from the bed to the floor.
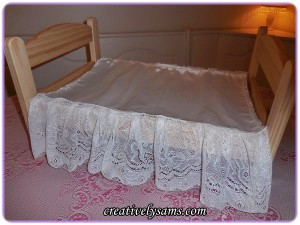
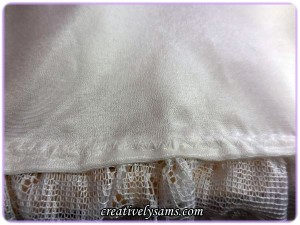
The first thing that I did was to cut a piece of fabric a little larger than the bed & hemmed the edges. Then I added some lace to the sides of the fabric using a simple zigzag stitch.
Then I made a mattress for the bed. (Couldn’t have the little doll sleeping on a hard surface) It was basically a pillow to fit the bed, filled with some fiberfill. I added some stitches to the ‘pillow’ to make some tufting.
Now for the fun part… making a beautiful reversible comforter. This is where I could make it completely unique.
I cut 2 pieces of satin fabric in different colors, about an inch larger than the bed base. Then I cut 2 pieces of lace the same size as the fabric, and one piece of quilt batting. I started with one side of the comforter by layering one piece of batting, one piece of fabric & one piece of lace.
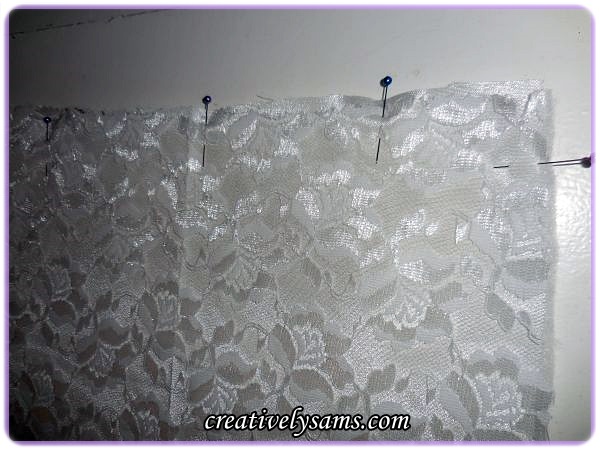
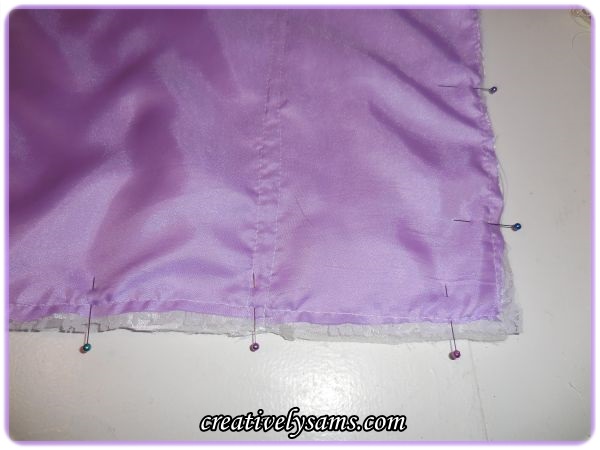
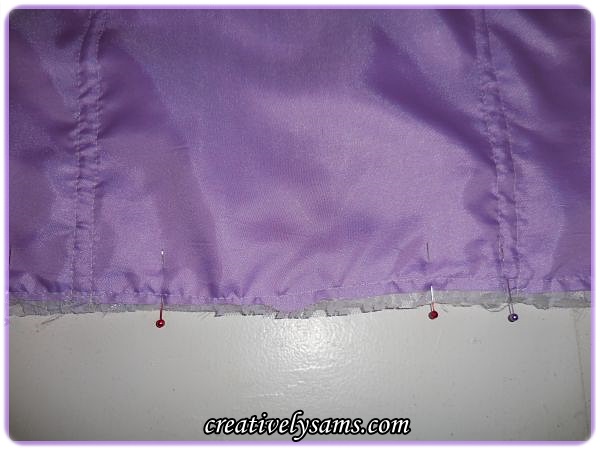
Then I pinned all 3 of the layers together & sewed it on the edges all the way around.
One side done.
For the other side of the comforter, I layered one piece of satin & one piece of lace together, then I added some ribbon & lace detail. I just threaded some ribbon through some lace, pinned it where I wanted it, and sewed it into place.
This is the time to decorate the comforter the way you want it, before you sew the comforter layers together. You can make it as simple or elaborate as you want it to be.
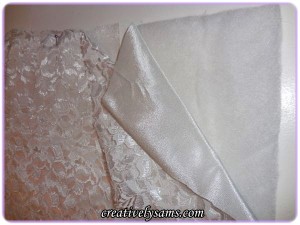
After I had gotten all of the embellishments on the layers, I turned the finished pieces so that the finished sides faced each other.
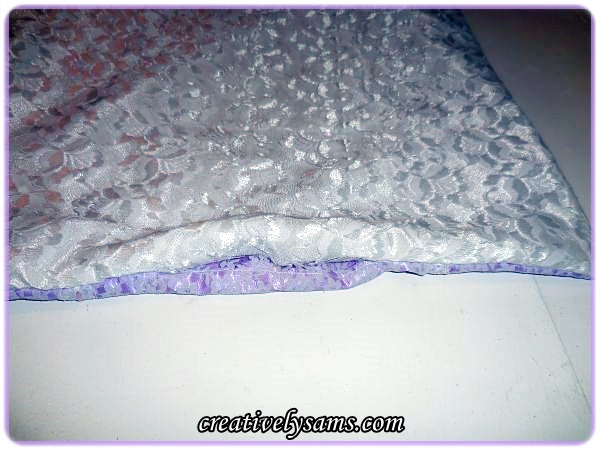
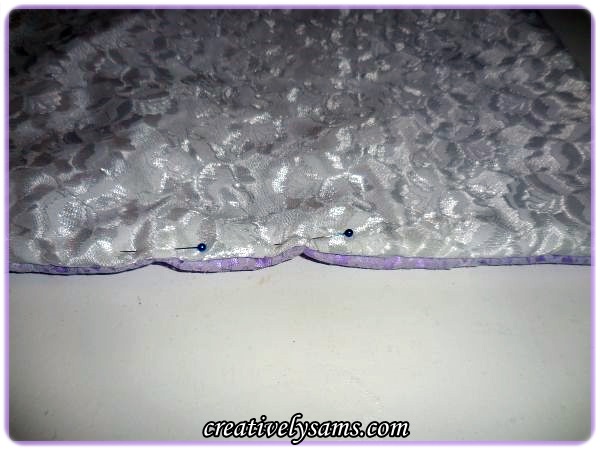
Make sure that you mark a beginning & an end for sewing. Leave an area large enough to get your hand in so you can turn it right side out. I usually use different colored pins for this.
Once you’ve stitched the pieces together, turn the comforter right side out.
Pin the opening closed & slip stitch it closed with a needle & thread. Then I added some stitching around the entire comforter about 1/2″ in from the edge. This helps the comforter lay flat & keeps it from shifting.
Now that it was done, I wanted to add a small throw pillow to the bed. I used some special fabric from my stash to make a rectangle pillow. I made it reversible so that one side was in the cool tones & one side was in the warm tones. It wasn’t necessary, but I thought it would make a nice surprise for such a sweet little girl.
This is the finished purple side:
And the finished white side:
Needless to say, my friend said that her daughter was so very happy with the new bedding set for her American Girl doll.
Happy Creating everyone!

