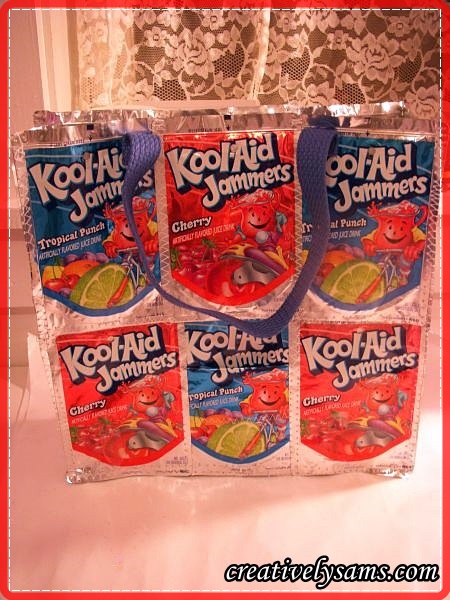
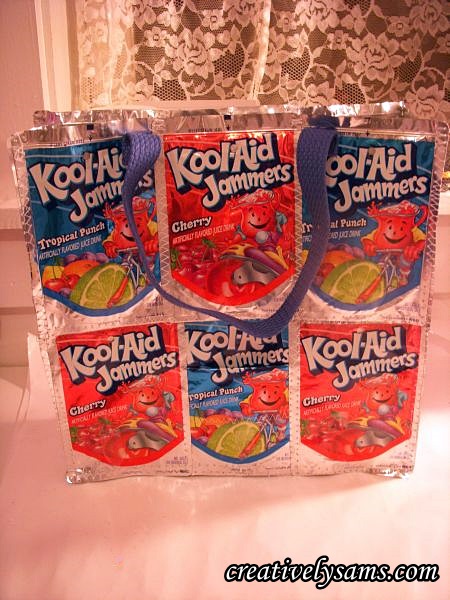
I made these Juice Pouch Tote Bags years ago and recently, a friend asked me to make some more for her daughters. The kids love them, and they make great Christmas gifts. I thought that since I’m making them, I’d show you how I did them.
What you’ll need:
19 juice pouches (cleaned & dried)
1 yard of 1″ wide webbing
Size 16 sewing machine needle (or a jean needle) (anything smaller will break, ask me how I know)
Sewing machine
2 colors of thread (white or grey for tote & matching webbing color)
Straight Pins
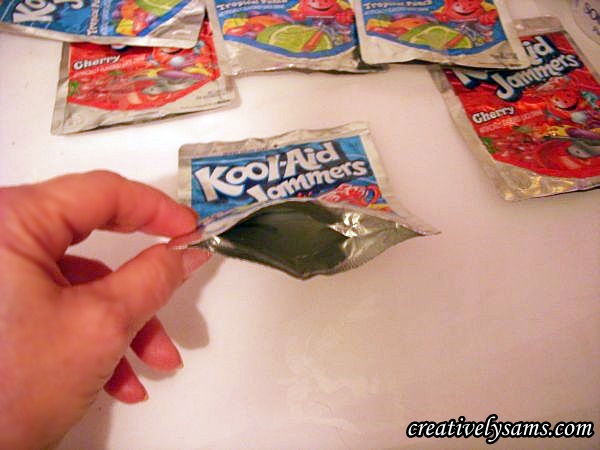
To clean the juice pouches, cut a slit in the bottom of the pouch, wash with soapy water, rinse & stand them up to dry. A paper towel helps speed up the drying time.
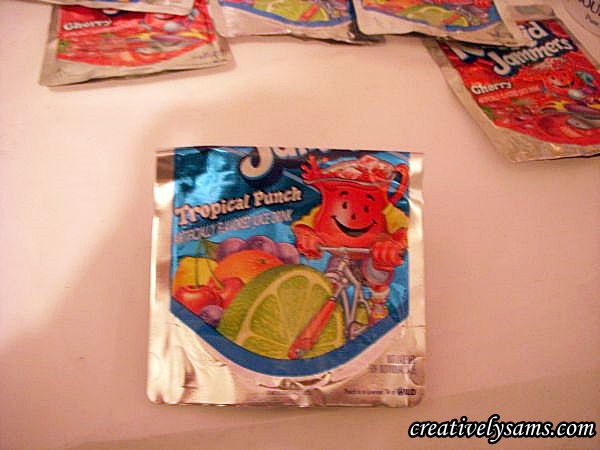
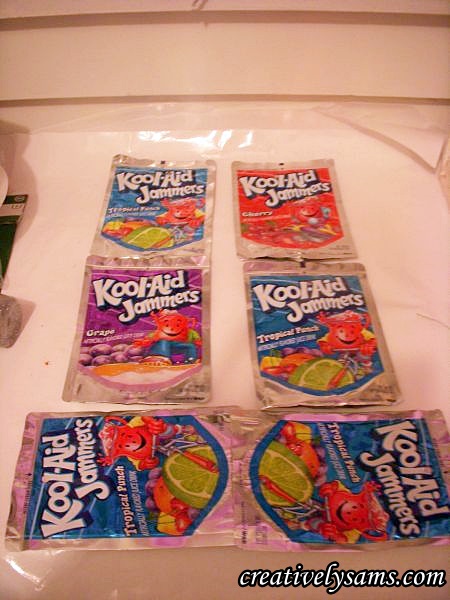
Start by making the pocket for the front of the tote. Fold over one of the juice pouches about 1/3 down.
Pin in place & then sew using a wide zigzag stitch.
Add the pocket piece to a matching pouch, lining the design up. Pin in place.
Then zigzag the sides of the pouches together.
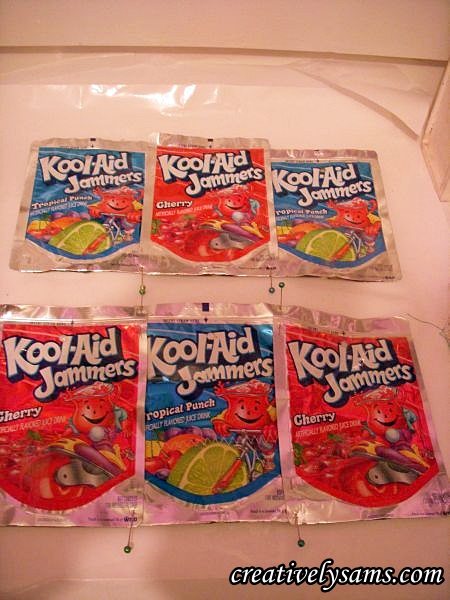
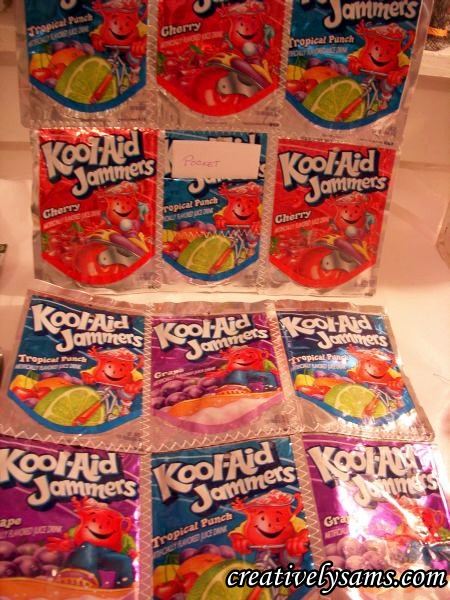
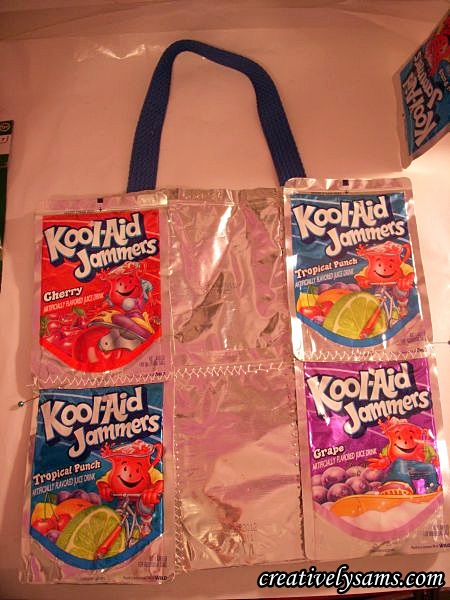
Lay out your pattern. You’ll need 3 pouches for each row. 2 rows of 3 for front (total of 6) & 2 rows of 3 for the back (total of 6). I put the pocket in the center bottom row. Pin in place.
Sew the rows using the zigzag stitch. Back stitch the corners of the pouches where they join to strengthen them. You’ll be making 4 rows.
Place a row over the bottom row. This helps little hands go into the pocket easier. Zigzag rows together.
The front & back are done.
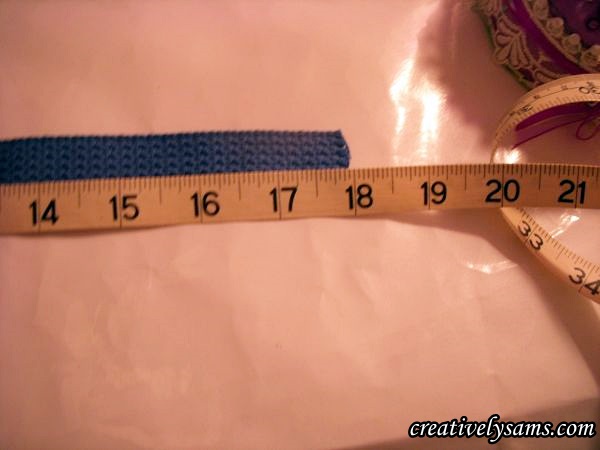
Next you’ll be adding the handles. Cut 4 pieces of the webbing 18″ long.
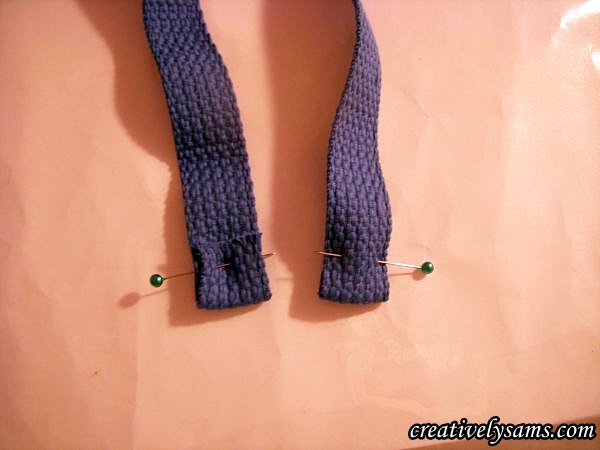
Pin the raw, cut ends under about 1/2″. This is to encase the raw ends to keep them from fraying. Just make sure that they are pinned under so that the handles will lay flat. The picture shows 2 sides.
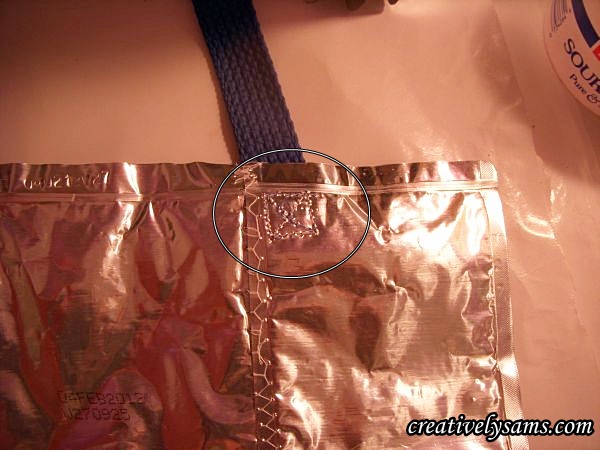
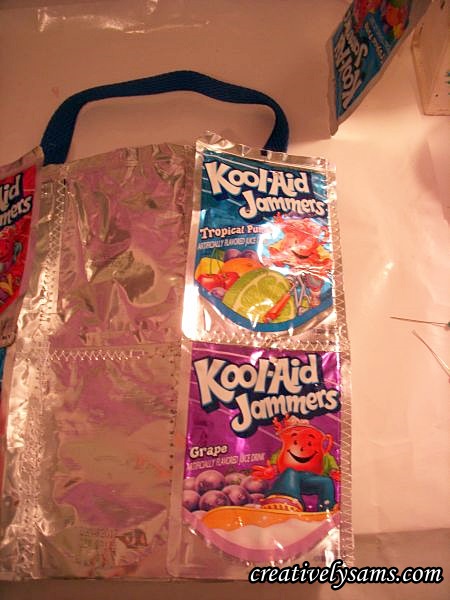
Change the thread to match the webbing & sew the handles to one side of the tote. Repeat for the other side. I sewed the handles on in a square & then an X to give them extra strength. (kids can be rough on them)
The back of the tote shows the stitching much better.
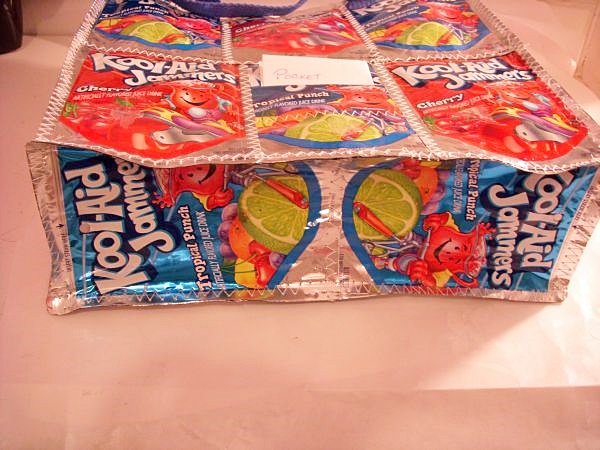
Next, lay out the pattern for the sides & bottom. I like butting the bottoms of the pouches together for the bottom. You don’t have to, I just like the way it looks. Pin them together & sew together, making 3 rows of 2 pouches.
Pin the sides to the body of the tote. This is when you need to double check to make sure the pouches are facing the right way. It’s not easy to rip the stitches out of these pouches. (again, ask me how I know)
Sew the sides to the body of the tote bag. I reinforce the areas where the pouches are joined by back stitching a little. This will help keep it from coming apart when the little ones are using the Juice Pouch Tote Bag.
Once the sides are sewn on, you’ll add the back to the tote.
Now comes the tricky part. Add the base to the tote. I’ve found that the easiest way to do it, is to pin the entire base in place and then sew the sides together first. Fold the tote as needed to get the sewing machine needle into the tight areas. Again, use a back-stitch to reinforce the places where the pouch corners meet.
Your Juice Pouch Tote Bag is now complete! Here’s the front of the tote.
And the back of the tote.
And here are some of the recipients of other Juice Pouch Tote Bags that I’ve made in the past:
I think they liked them. 😉
They make wonderfully unique gifts, and by repurposing & recycling the pouches, you’re not adding to land fills.
Happy Creating everyone!
I’ll be joining:
189th Inspire Me Tuesday @ A Stroll Thru Life
Monday Funday Link Party @ Uncommon Designs
Fall into Fall -It’s a Party #142

