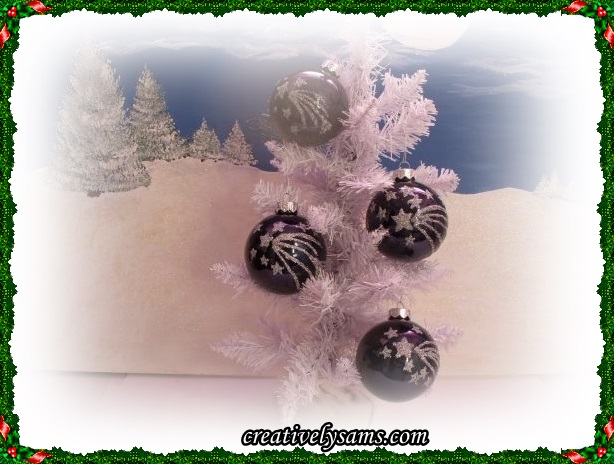
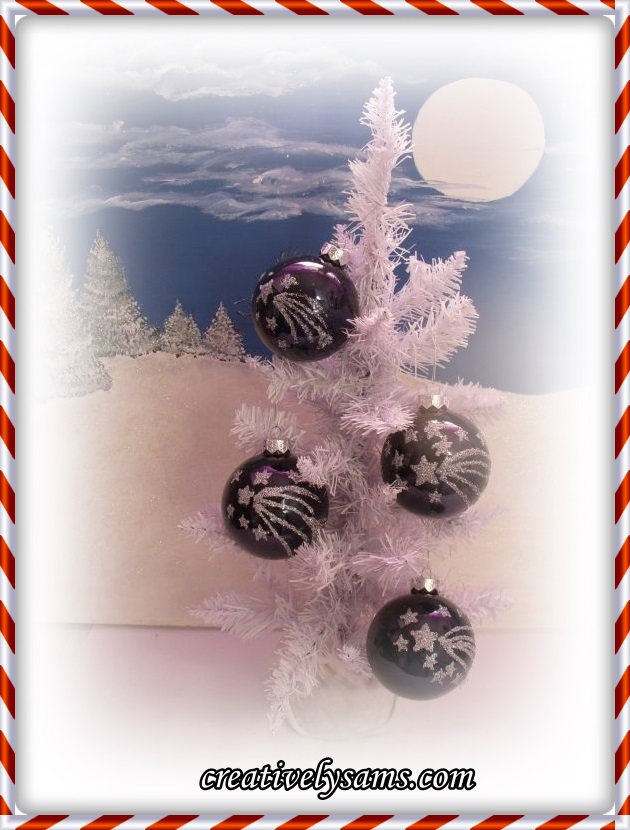
I’d seen Christmas Ornaments similar to these a while back, so I decided to try my hand at them. This is my version of the Shooting Star Ornaments.
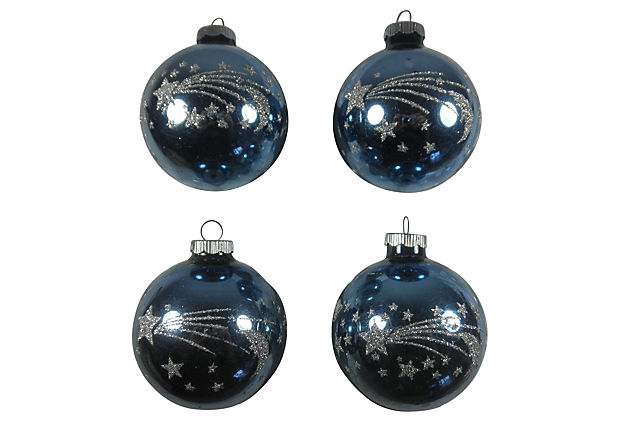
I’d seen these at One Kings Lane.
They were navy blue, and they were a little pricy for me. I couldn’t see spending $90.00 for 4 ornaments. So, I thought I could try my own version.
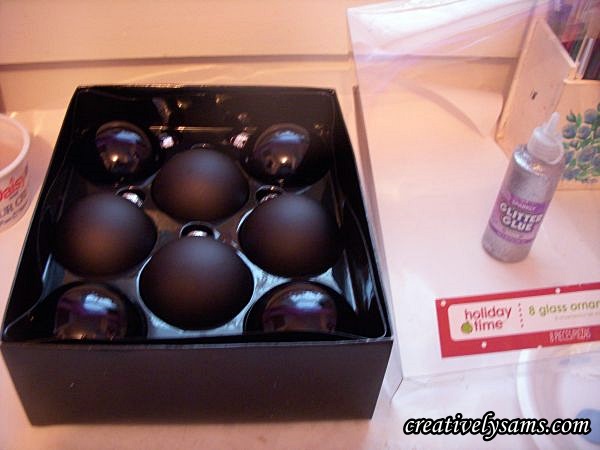
I started with ornaments that I got at Walmart. There were 8 in a package for $4.95. I used the shiny ones, so they only totaled $2.50. I like that price much better.
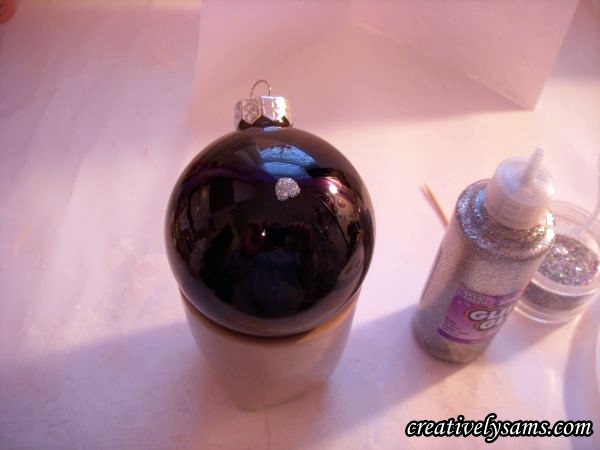
There were very few items that I needed to make these. An ornament, glitter glue & a tooth pick and something to set the ball on so it doesn’t roll around:
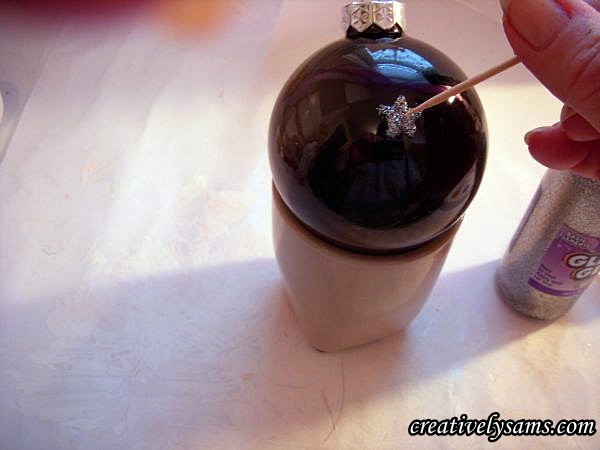
I started by putting a small blob of glitter glue in the center of the Christmas ornament.
Then, using the tooth pick, I pulled 5 points outward, making a star.
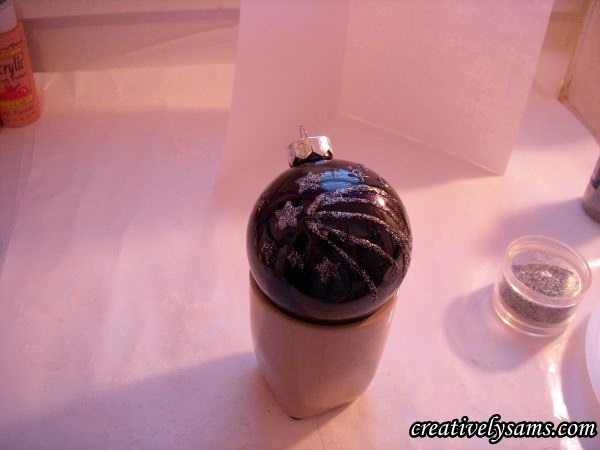
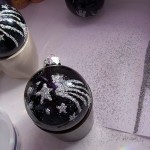
Then, using the tip of the glitter glue bottle, I drew in the 5 lines. I used a tooth pick to add more lines to the center line. (I wish I’d have been able to make the lines thinner. Maybe next time, I’ll try fabric glue because the point is smaller) Then I added smaller stars the same way that I made the first star.
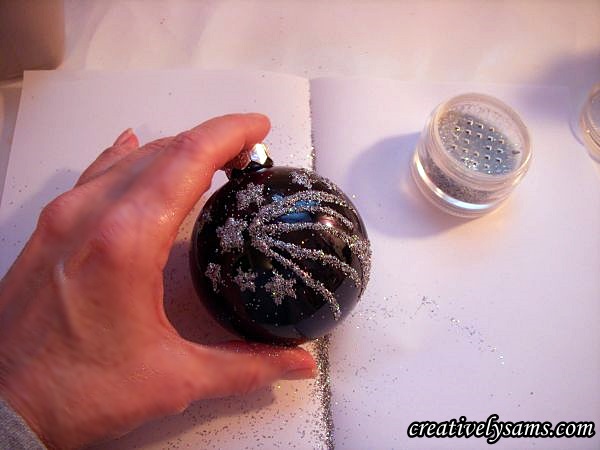
Sprinkling on some silver holographic glitter finished it off.
I used a soft brush to remove the excess glitter, and what little that was left on it, I just blew on it.
Don’t have glitter glue? I did one with tacky glue and a detail brush. It didn’t turn out too badly, but it was hard to get the lines in. I just added glitter to the tacky glue.
They have the same effect as the picture of the original ornaments. Maybe not quite as precise, but I like the way they turned out. I can’t wait to see them sparkling on the tree.
Happy Creating everyone!
I’ll be joining:
Fall into Fall – It’s a Party #144


Pingback: Black & White Christmas TreeCreatively Sam's