
Whether you call them Victorian, Beaded, or Shabby Chic, these ornaments are so pretty & they look a lot harder to make than they are. It’s just some ribbon, lace, beads, sequins & pins. (and a little patients) It’s how you put it together that makes the ornament. And that’s so easy.
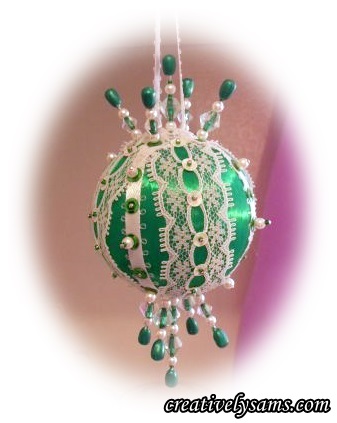
I’m serious, it’s easy. Let me show you how I made mine!
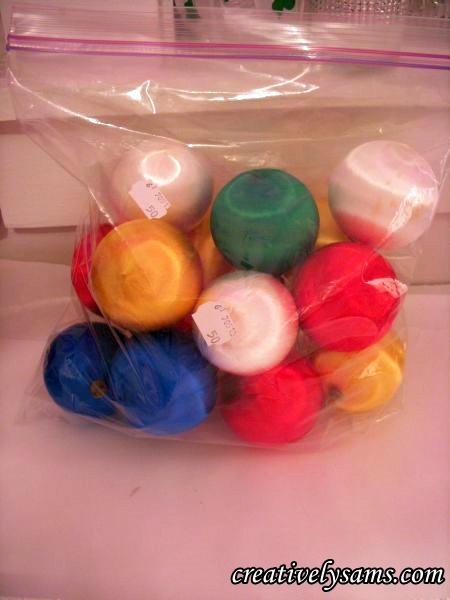
This project started with a trip to the Goodwill store. I found this bag of ornaments for 50 cents. I couldn’t pass it up! (you probably have some already in your home)
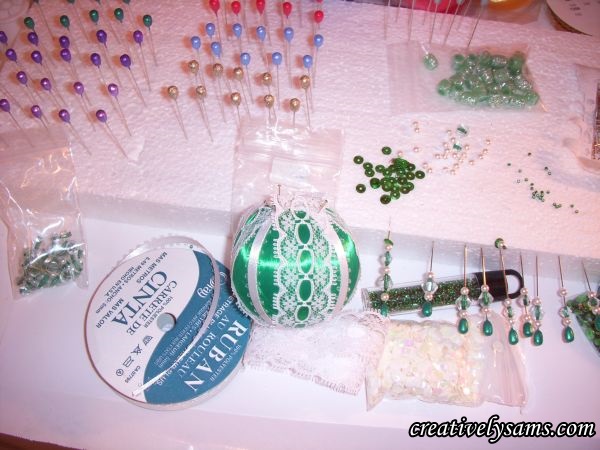
The first thing you need to do is gather your supplies: Ribbon, Lace, Corsage Pins, Sequin Pins, Sequins and a little Tacky Glue…
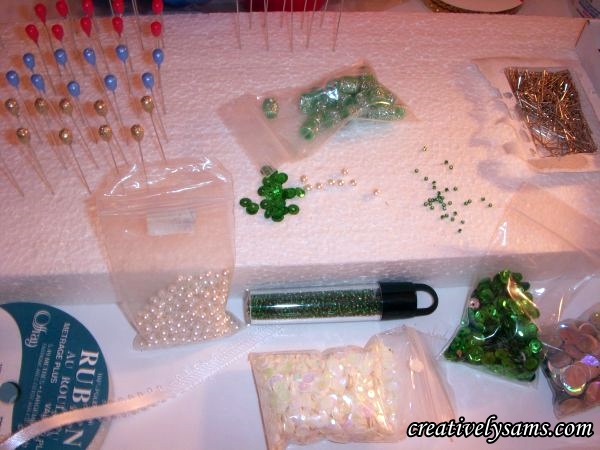
And beads in your choice of colors & sizes, plus 4 mm. pearls. I’ve gotten some nice assorted packages of beads at JoAnn Fabrics, Michaels, and Walmart!
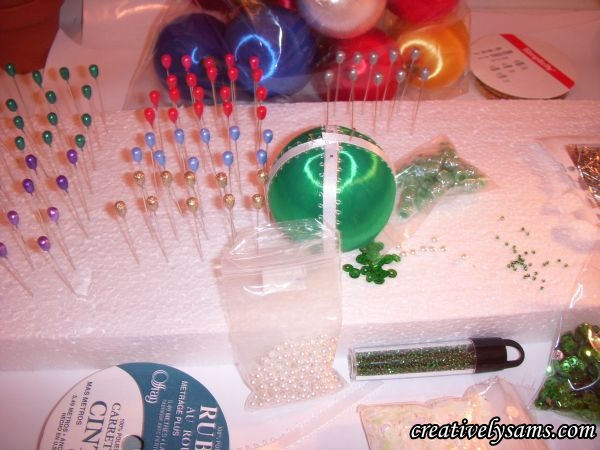
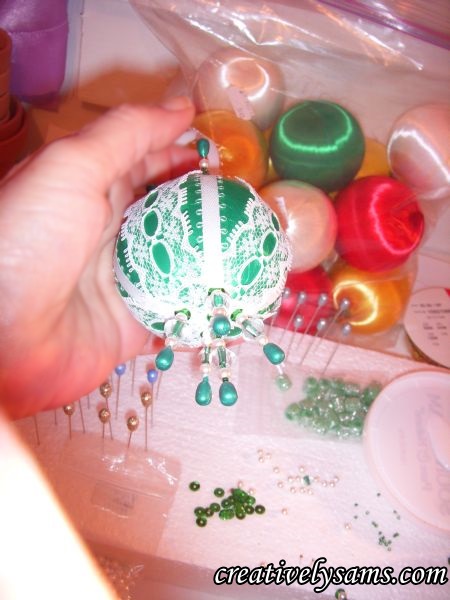
The first thing you need to do is section off your ornament with ribbon in quarters. I held it in place with sequin pins until I had the corsage pins beaded. Then section the remaining ornament with lace, in-between the ribbon. You really don’t need much for an ornament. Just enough ribbon & lace to go around the ornament twice, each.
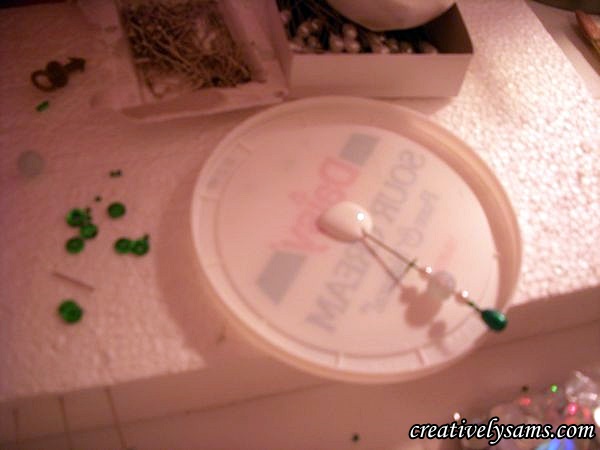
When I’m using pins & beads, I use a piece of foam that came in something that I bought awhile ago. A foam egg carton will work too! I took a corsage pin and started to bead them. The only thing that I made sure I did was use the 4 mm. pearls in-between the larger beads to give them definition. I made 2 sets of pins. One for the top & one for the bottom. There was a total of 5 pins in each set, making one a little longer than the other 4. (a total of 10 pins in all) I stuck them into the foam until I had them all made. (it’s just easier for me that way)
Dip the ends of the pins into white glue. I used Tacky Glue.
I cut a piece of ribbon about 6″ long to make the hanger & inserted a longer pin into the glue & then into the ribbon. And then I used the remaining corsage pins to hold the ribbon & lace in place. (I pulled out the sequin pins that were holding the ribbon & lace in place after I put the corsage pin in)
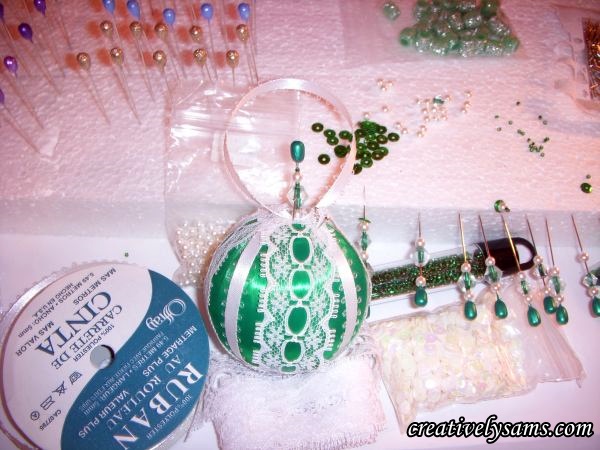
Then you just start to play. Use a sequin pin to put sequins & beads along the sides of the ribbon & lace. That’s it.

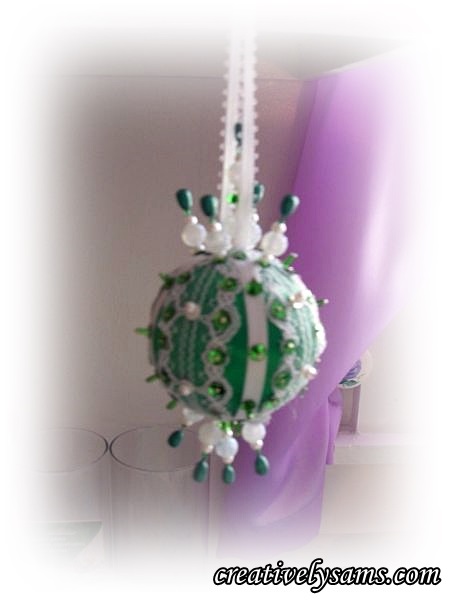
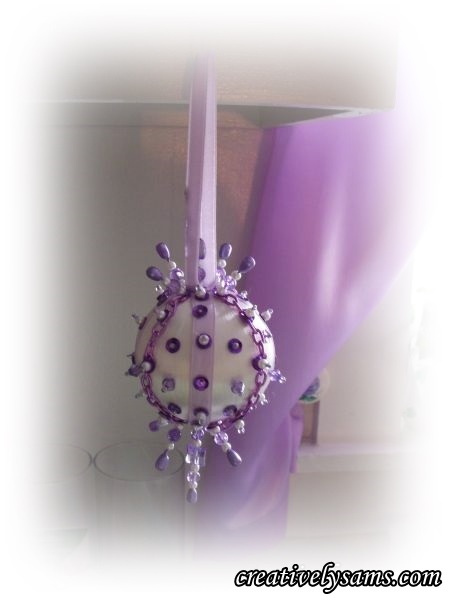
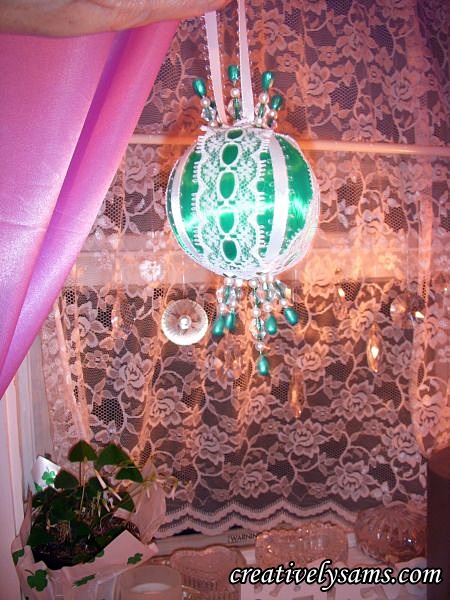
As you can see, none of the ornaments are the same. They’re all different, and yet they seem to look the same. This is your ornament. Do what you like. Make it your own.
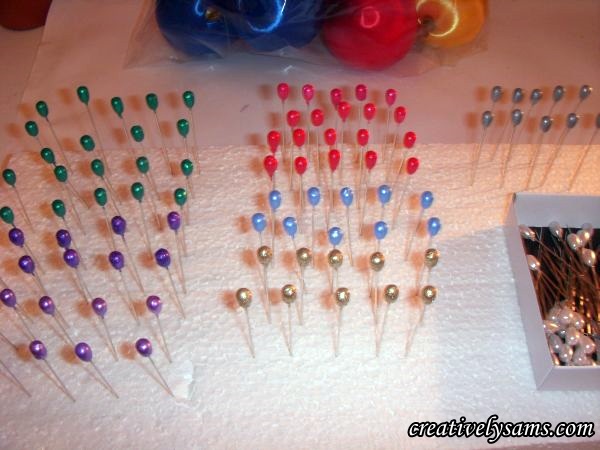
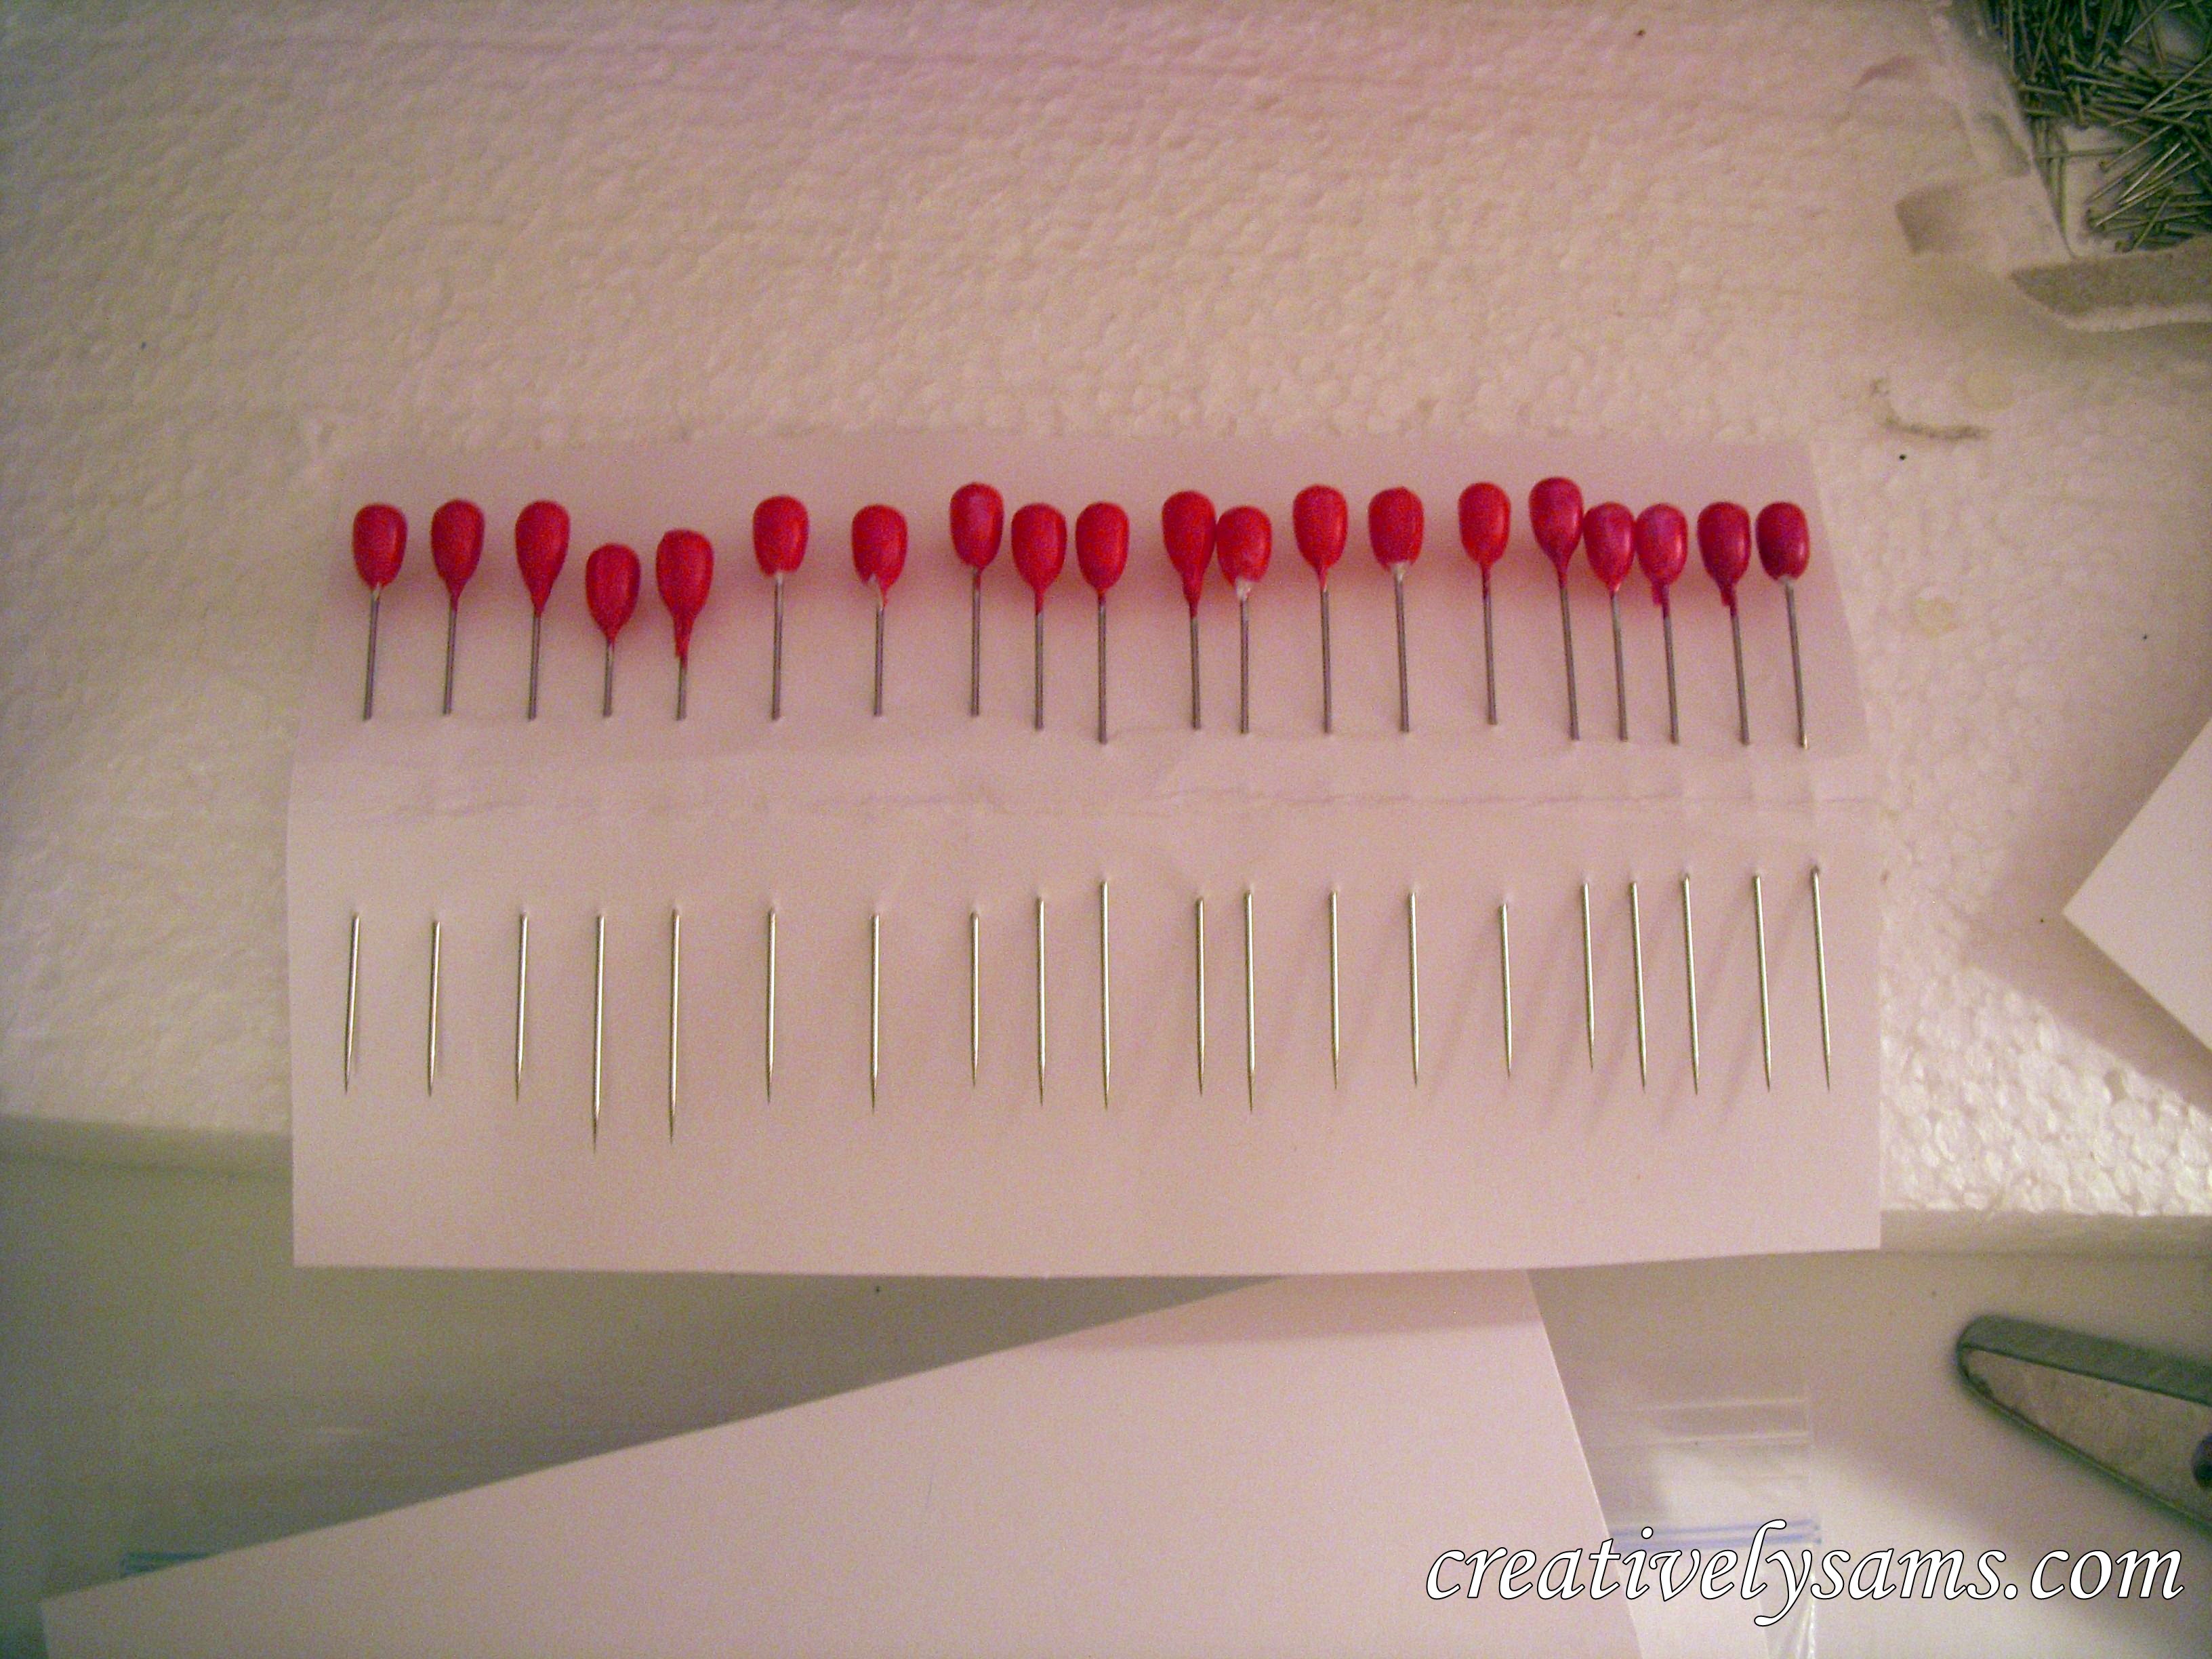
Sam, where did you get the colored corsage pins, you ask? I painted them with acrylic metallic paint!
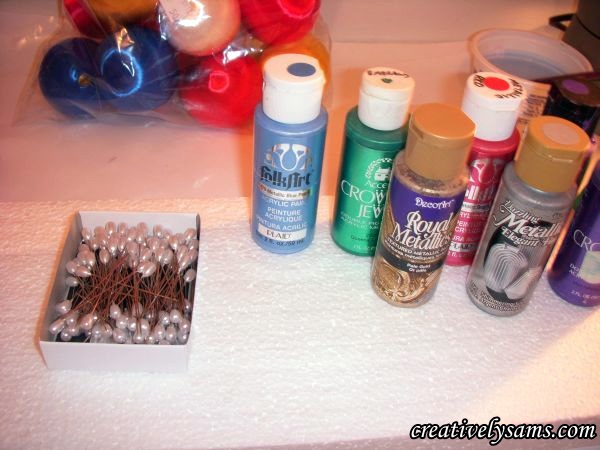
All I did was paint them & set them into the foam to dry.
Where & how do I store them?
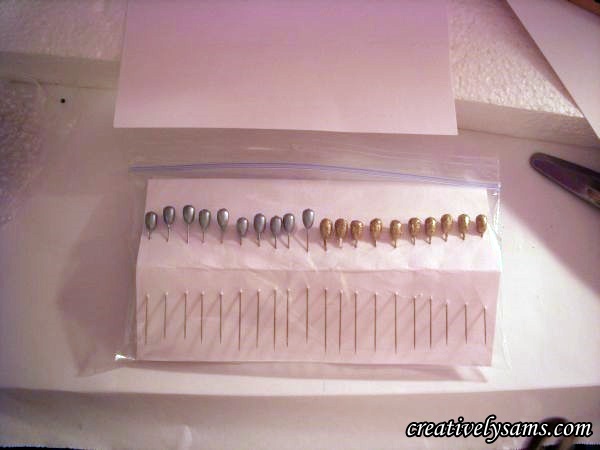
I cut a piece of card stock to fit into a Ziploc bag slightly smaller than the bag.
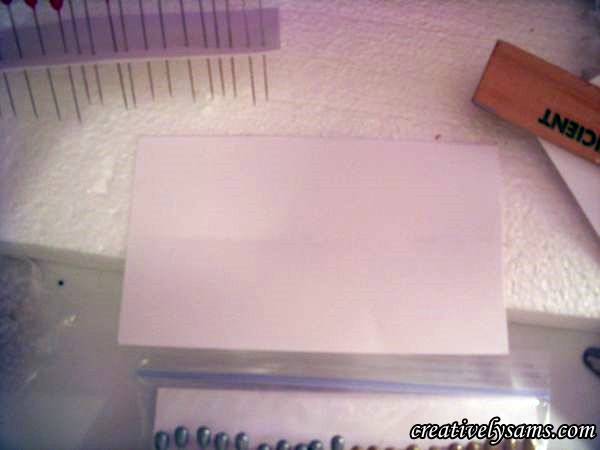
Then I folded the card stock in half. Then I just pushed the pins through the folded card stock, close to the fold:
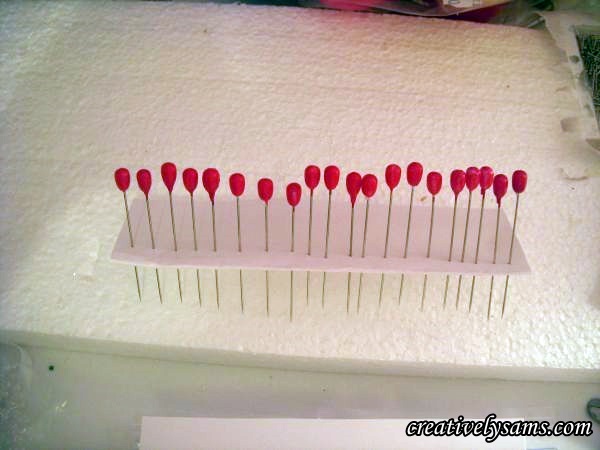
Then slowly start to pull the card stock opened
Keep pulling the card stock open until it lays flat
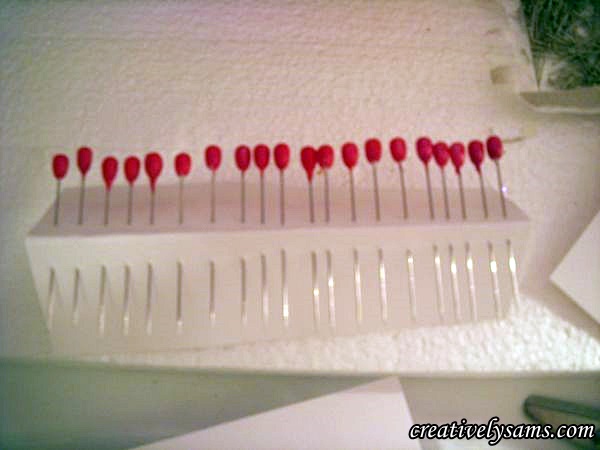
Slide the cards into the bag & seal.
Each of my bags hold 3 cards of pins.
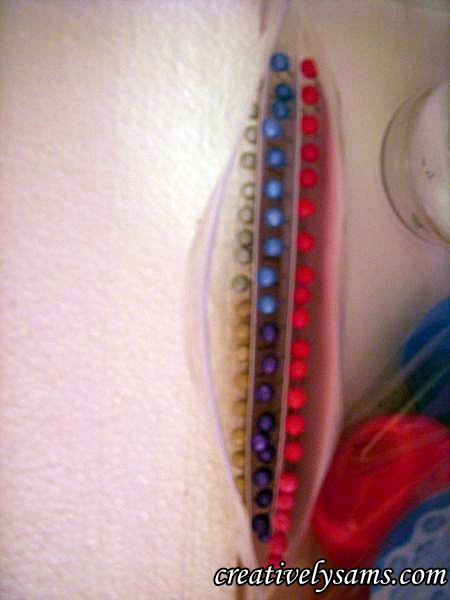
The bag of painted corsage pins are safely tucked away inside the bag of ornaments for another day when I have a little more time. Give these a try and let your imagination soar. You might surprise yourself!
Happy Creating everyone!
Sharing with: