With so many birthdays coming up in our family, I wanted to make a special gift box for the occasion that could also be used as a centerpiece.
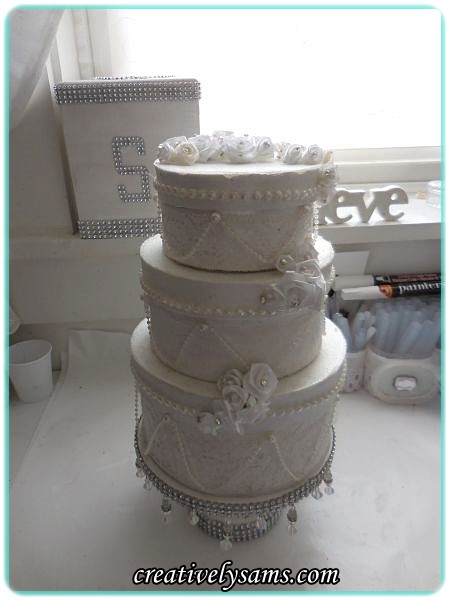
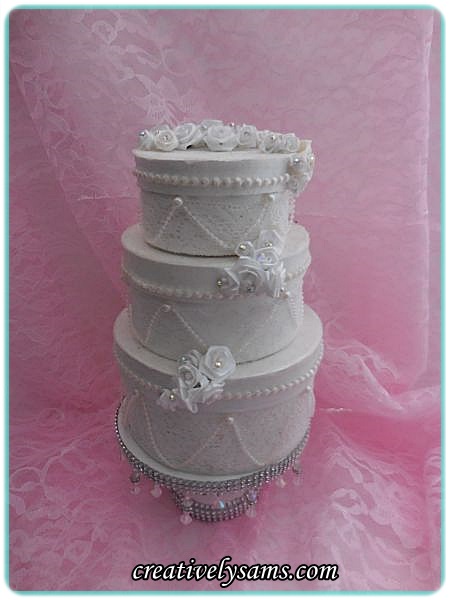
This is what I came up with.
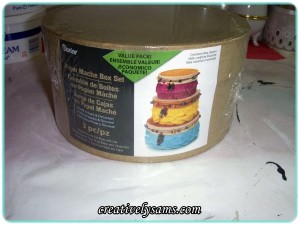
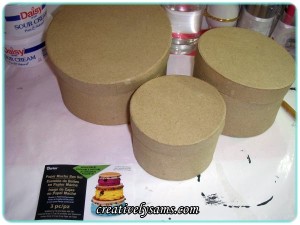
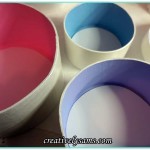
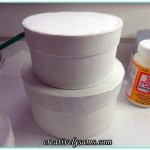
I started with a 3 pack of paper mache boxes:
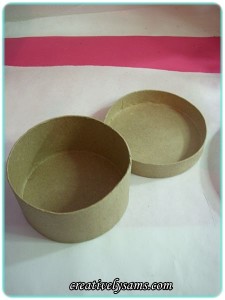
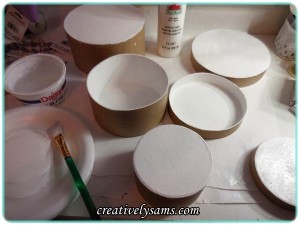
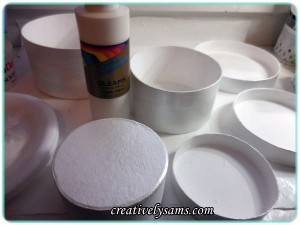
I opened up all three sizes of the boxes & gave them a base coat of white acrylic paint, inside & outside.
Once the paint had dried, I gave the outside of the boxes a coat of white pearl paint.
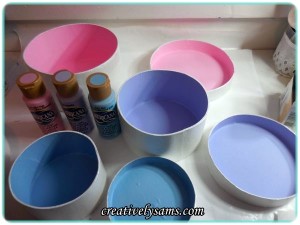
Then I painted the inside of the boxes & their matching lids in different colors.
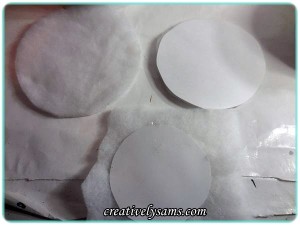
Then I traced the bottom of the boxes onto card stock. Once the boxes had been traced, I cut out the circles just inside the line. I tested the cardstock circles to make sure they fit, but not too snugly.
I painted one side of the cardstock circles with tacky glue & place them on to some quilt batting. Once the glue had dried, I cut away the batting, making a padded circle.
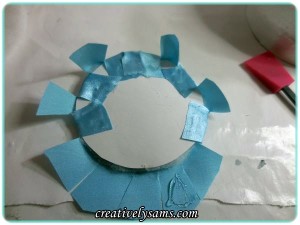
Then I laid each padded circle onto fabric, padded side down onto the back side of the fabric. I cut the fabric around the padded cardstock circle, leaving about an inch or so extra. Then I clipped the excess fabric so that it could be glued to the back without bunching.
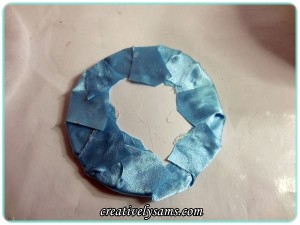
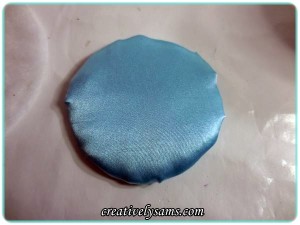
After the glue had dried, it made a little ‘pillow’.
This is the back side:
This is the front side:
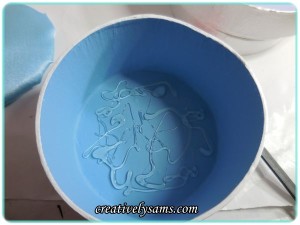
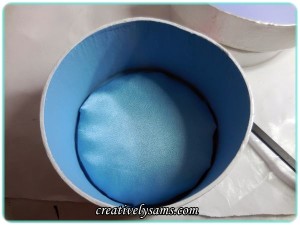
Once the batting pillows were finished, I added a lot of hot glue to the bottom of the matching sized box bottom. Then I pressed the little batting pillow into the hot glue.
Once the pillows were glued to the bottom of the boxes, I started on the outside.
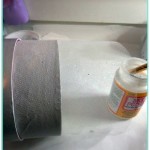
The first thing that I did was to use some glitter tulle. I used Mod Podge to adhere the tulle to the box, keeping it just under the lid’s bottom rim. Then I added a coat of the Mod Podge to the outside of the tulle to seal it. Set it aside to let it dry.
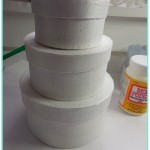
Once the Mod Podge dries, cut off any excess tulle. Then you can start to make the Birthday Cake Gift Box take shape. Glue the medium box to the large box, and then the small box to the medium box.
Now to decorate!
The tulle gives the box an area for your decorations to hold on to, as well as adding that little something extra.
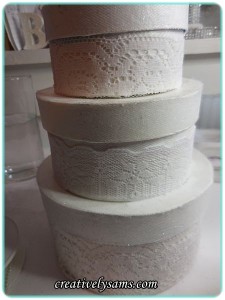
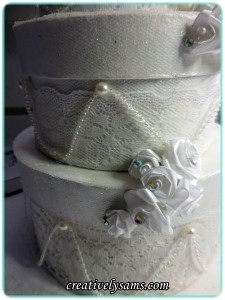
I used Mod Podge to adhere lace to the boxes, just under the lid. (you have to be able to open the boxes to reveal the little gifts inside)
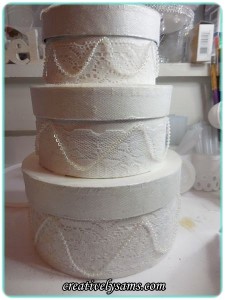
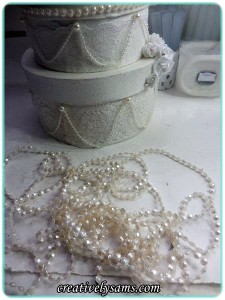
Then I added some pearls by draping them & hot gluing them as I went..
I added some pearl trim around the lid bases with hot glue.
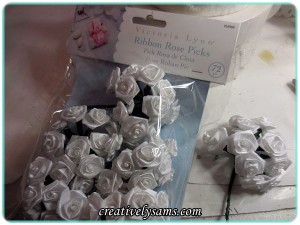
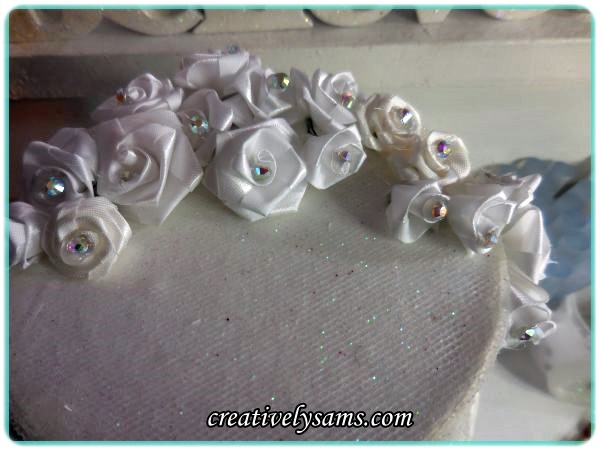
Since birthday cakes usually have roses on them, I added some ribbon roses at various places, making sure that none of the glue sealed the lids to the bases. I cut the stems of the ribbon roses close to the flower before gluing in place.
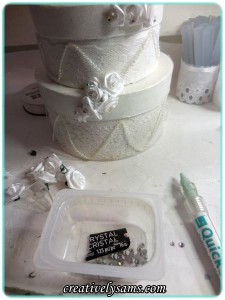
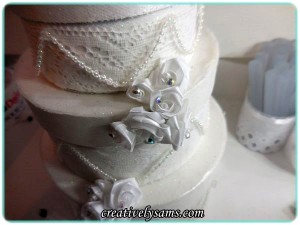
To make the roses pop & a little more special than plain roses, I added some crystals to them.
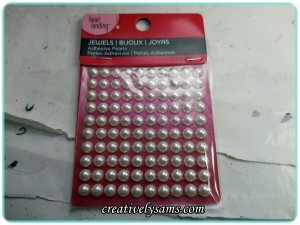
To finish it up, I added some flat backed pearls to the draped pearls at the top of the drape.
And it was finished. A gift box that could be used for birthdays, or weddings. Simply by changing the color of the roses, it could be used for a baby shower or if you used gold or silver roses, it could be used for that very special anniversary.
Let it sit alone or put it on a cake stand.
The possibilities are endless.
Happy Creating everyone!


Pingback: Birthday Cake Favors/PlaceholdersCreatively Sam's