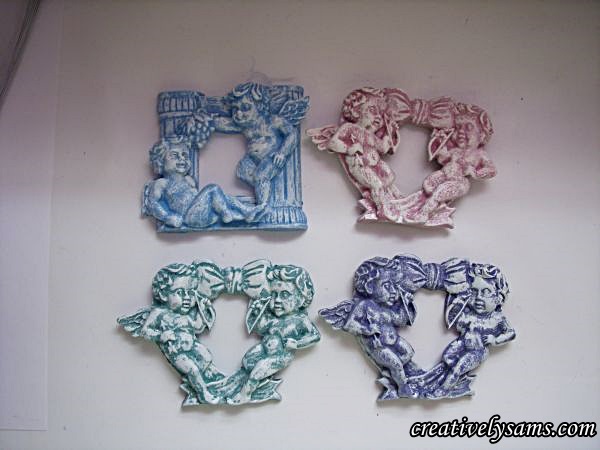
Dry Brushing Frames… it’s easy to do!
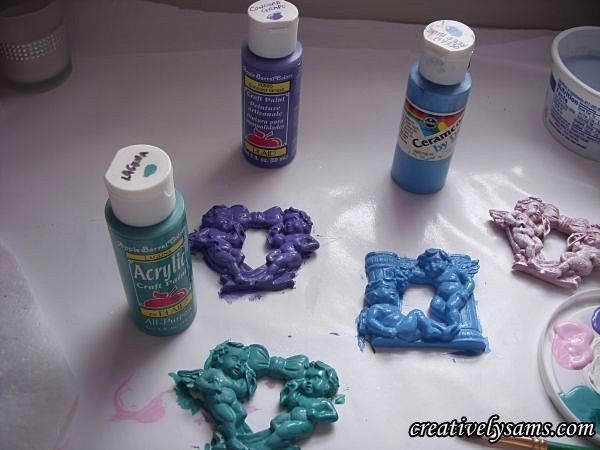
I’ve had these little frames for more years that I care to admit to. I do remember getting them on a clearance for a quarter each. But when I got them home, I couldn’t find a picture small enough to put into them. So they went in a bag until I figured out what to do with them. It’s hard to believe that the frames in the bottom picture are the same frames as in the above picture.
I came across them the other day, and realize that if I didn’t use them as frames, I could use them on another project or two. I thought that this would be a perfect project to dry brush with pretty colors. So, I peeled off the back stand & painted them.
When the paint had dried, I got out some white acrylic paint to dry brush them. They had so many ridges that would catch the white paint!
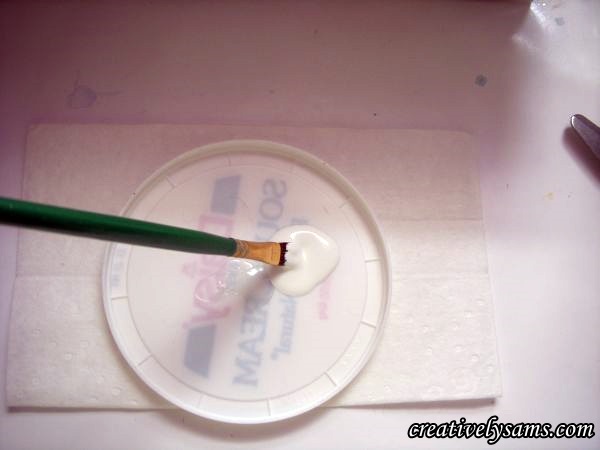
First I loaded the white paint on the paint brush:
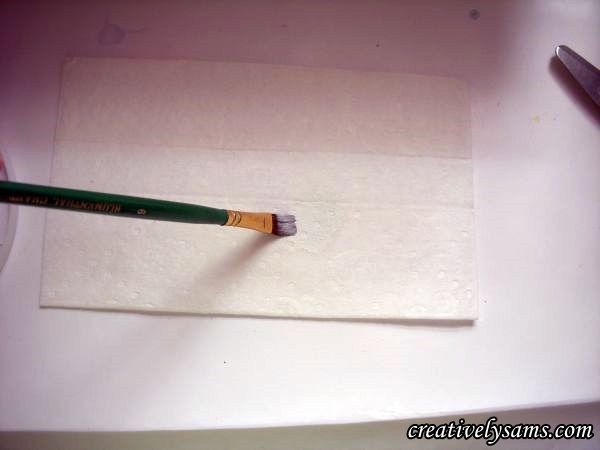
Then on a paper towel that was folded in quarters, I wiped off most of the paint. (you need to do this step to dry brush) You can see how dry the brush is in the next photo.
Then, using the almost dry brush, and with the paint brush angled almost sideways, I started to lightly paint all of the ridges, leaving the valleys untouched. Sorry the picture is so blurred.
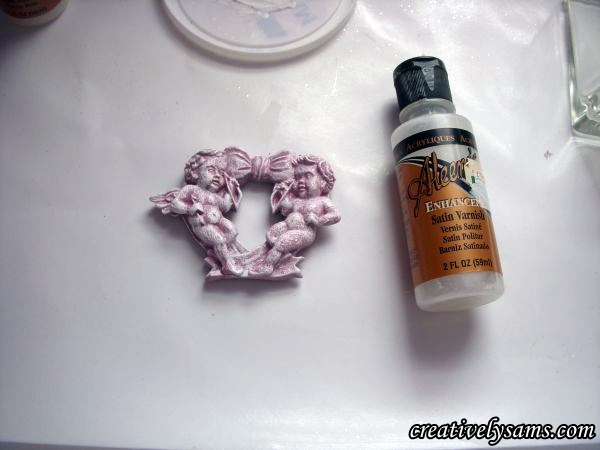
Start slowly. You can always add more. This is what the frames look like when they’re done.
I put a coat of satin varnish over the finished piece to seal the paint.
I still haven’t decided what I’m going to use them on, but I love the way they turned out. I’m sure that I’ll be adding them to something very soon.
Hope you’ll try your hand at dry brushing. It’s very easy to do, and adds something special to anything that has raised edges.
Happy Creating everyone!
I’m linking up with Chic on a Shoestring Decorating


