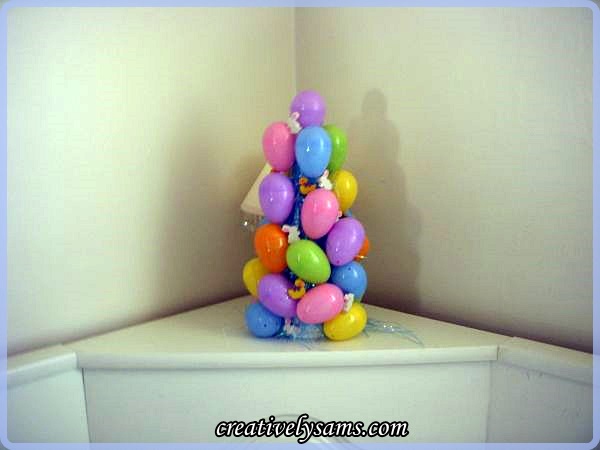
If you saw yesterday’s Easter Tablescape, you saw the little Easter Egg Tree in the corner. It’s bright & colorful & so easy to make. It would also make a quick centerpiece for a holiday table.
Here’s how I made it:
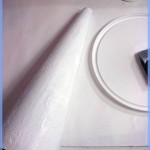
I swore that I wasn’t going to spend any money for decorations this year, and I’m trying to use up & clear out my craft room supplies, so I used what I had on hand. I started with a paper-mache cone that I painted with acrylic paint. You could use a Styrofoam cone (and you wouldn’t have to paint it).
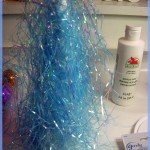
Once the paint dried, I coated the cone with a good coat of Tacky Glue.
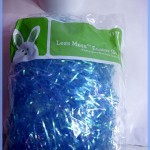
Then I pressed Easter grass into the glue.
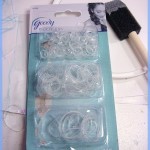
To keep the Easter grass in place while it dried, I used some clear hair bands. I set the cone aside over night to let the glue completely dry.
Once the glue had dried, I clipped off the rubber hair bands.
It may need a hair cut on the bottom of the cone. (mine did)
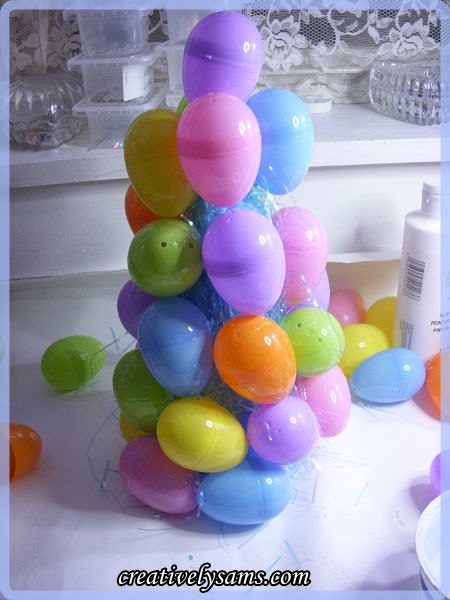
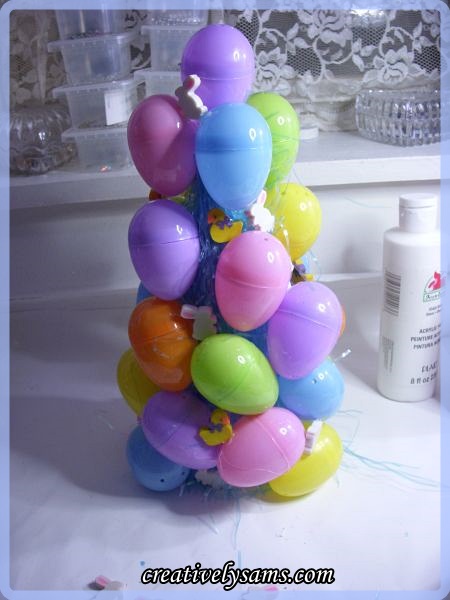
Then I used hot glue to attach a plastic Easter egg to the top of the cone (hold in place until the hot glue dries) And then I used more hot glue to attach the remaining of my plastic Easter eggs to the Easter grass. I tried to separate the colors the best I could. It gets harder to do that at the bottom.
I used little Easter erasers (found at the Dollar Tree years ago) to fill in the spaces between the eggs.
You could use tiny eggs or tiny Easter toys to fill in the spaces. I wanted to use up supplies that I had on hand, so I used the erasers.
It was easy to make, adds a pop of color to wherever you put it, and because I had everything on hand in my craft stash, it didn’t cost me a cent. That’s the part I liked the best!
Have fun with this one!
Happy Creating everyone!
I’ll be joining:
A Time For Seasons for My Favorite Things Saturday 4/12
Common Ground for Be Inspired #184
Krafty Cards etc.. for Krafty Inspiration Thursday Party #36
My Romantic Home for Show & Tell Friday



Pingback: Easter TablescapeCreatively Sam's