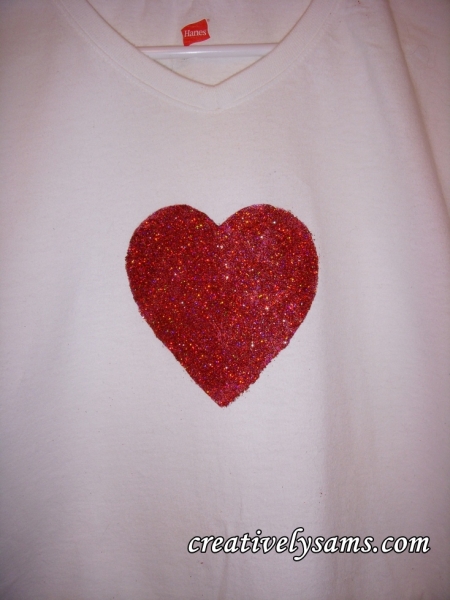
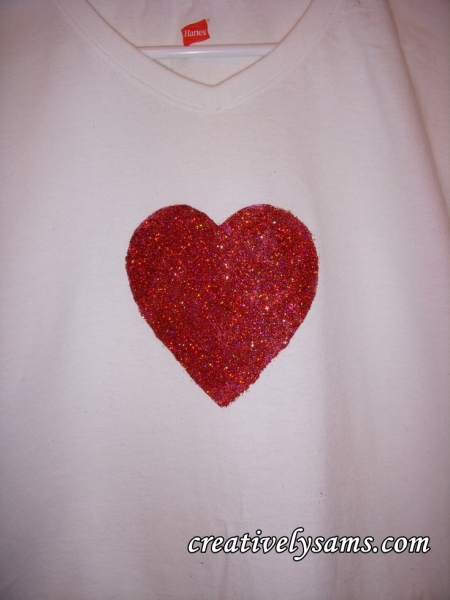
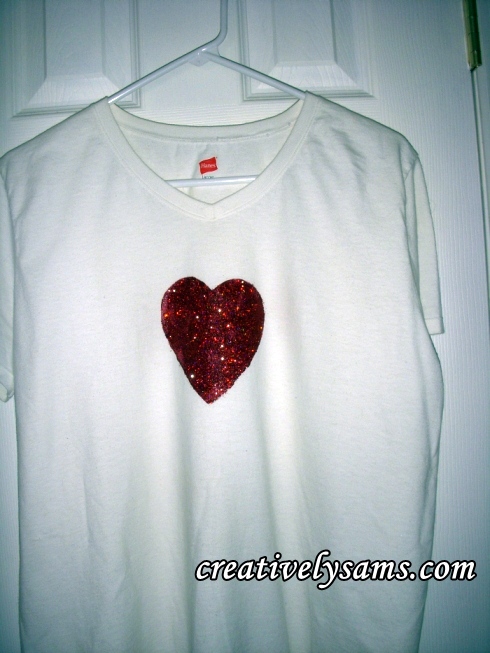
I love to create, paint & wear my own T-Shirt designs. They cost very little to make & are unique. That’s the beauty of hand-painted wearable art. They’re ‘one of a kinds’. They also make wonderful gifts. I’ll show you how to paint a Valentine Heart T-Shirt the easy way.
Here’s what you’ll need:
A washed & dried t-shirt. (do not add fabric softener)
Freezer Paper
Scissors
Red Fabric Paint (I used Tulip Soft in Berry Red Matte because that’s what I had)
Clear Glitter Fabric Paint (I used Scribbles Glittering Crystal Fabric Paint)
Fine Red Glitter
Paint Brush
Styrofoam Plate or Plastic Lid
Iron
Cardboard or Cutting Board covered with plastic wrap
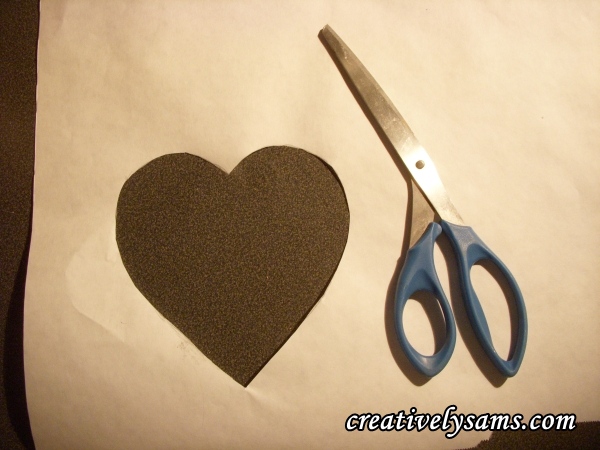
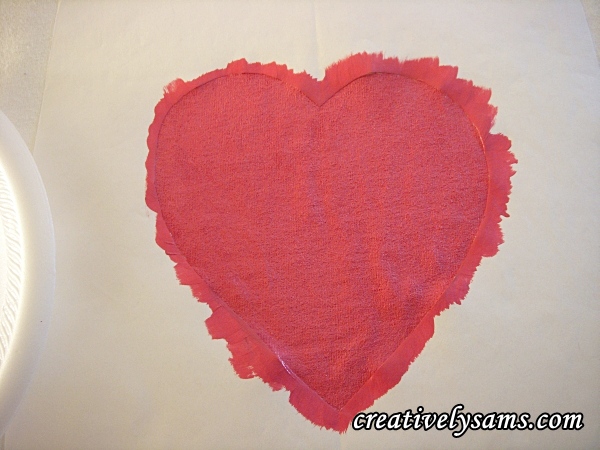
Making your Pattern is easy. Fold a piece of paper in half & cut out a heart shape from the paper, just like you did in grade school. When you get the size that you want to fit the size T-Shirt you’re going to use, trace the heart onto the freezer paper.
Then cut out your heart shape. This will now be used as the stencil.
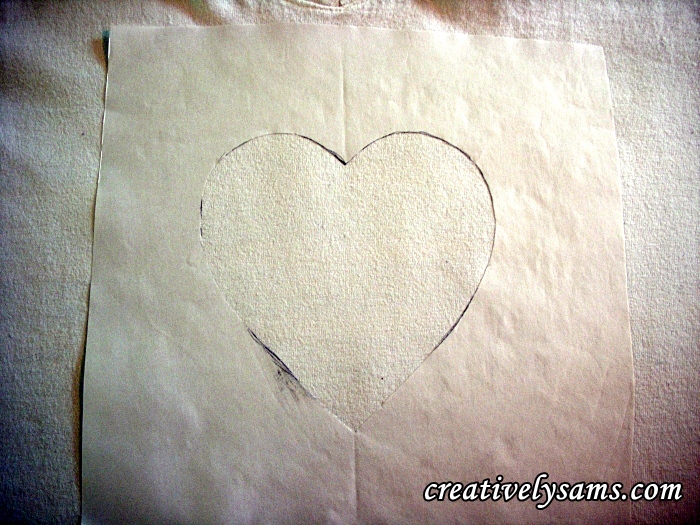
Place the shiny side of the stencil on the t-shirt where you want it. Play around with the placement. This is your creation. Put it where you want it.
When you have the stencil where you want it, and the shiny side against the t-shirt, press it into place with a dry iron, making sure that the edges of the stencil are securely pressed to the fabric of the T-Shirt. Slide your cardboard or cutting board inside the t-shirt. (you need the cardboard/cutting board in between the front & back of the shirt so that the paint won’t go through to the back of the shirt).
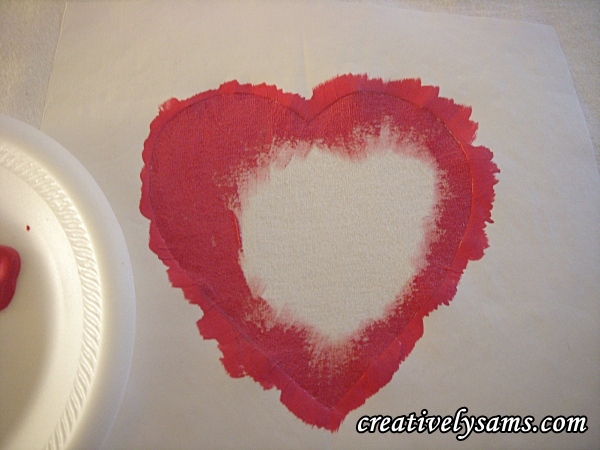
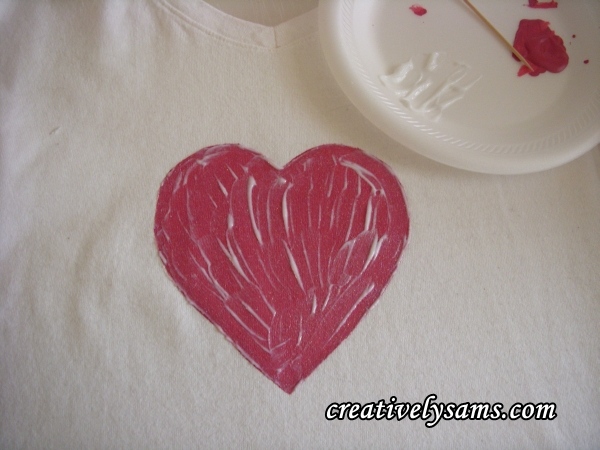
Pour some of the red paint on to the plate/lid. With the paint brush, start from the outside of the stencil, (freezer paper) bringing the paint in towards the center.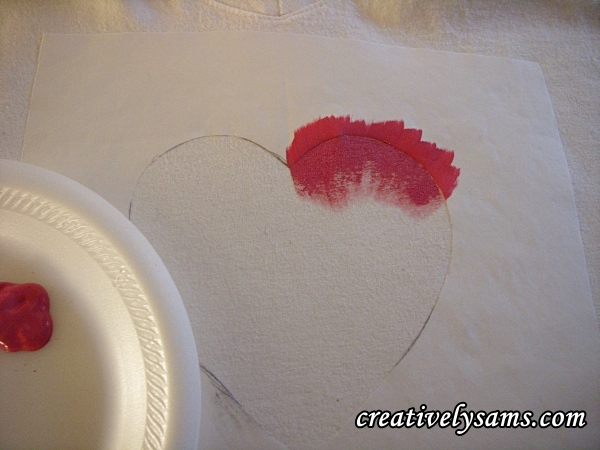
Continue around the entire edge.
Fill in the rest of the stencil area.
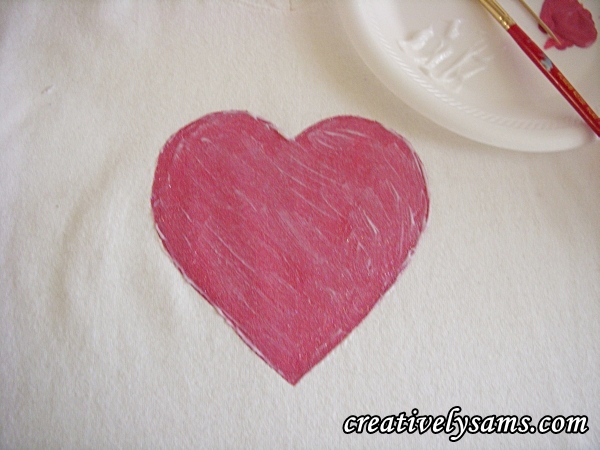
Apply a second coat, touching up any areas that you might of missed.
When you’ve filled the heart in & there are no sparse areas, peel off the freezer paper.
Let the paint dry. You now have a painted t-shirt.
You can leave it this way, or add some glitter. (and anyone who knows me, knows that I can never have enough glitter.) So, let’s glitter it up!
Squeeze some of the glitter fabric paint on to the plate. With the cleaned paint brush, paint the glitter fabric paint on the heart.
Smooth the glitter fabric paint out so that it is evenly coated.
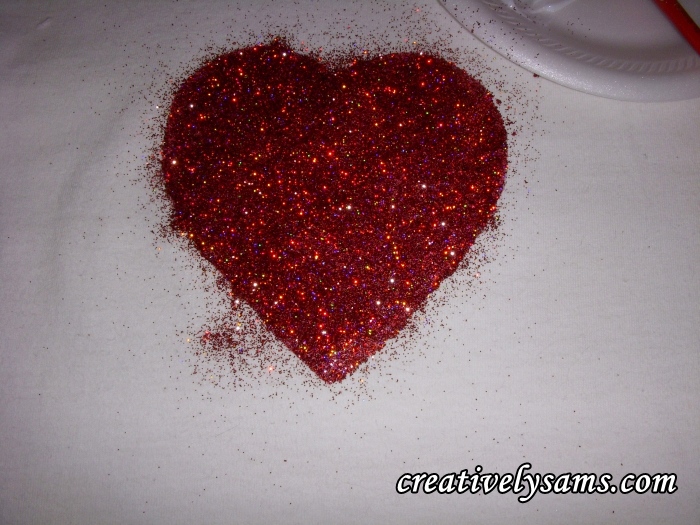
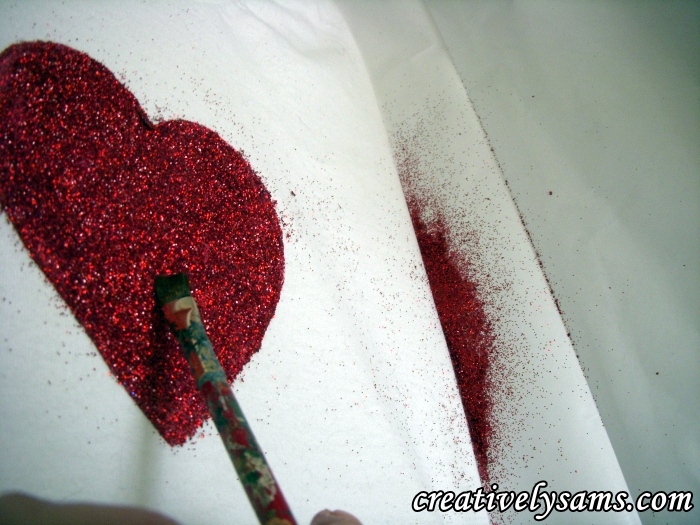
Now for the fun part. Pour on the glitter.
Let the glitter set in place. I usually let it set for about half an hour. While it’s setting up, you can tell if you need more in some spots. Add more if needed.
Fold a piece of paper in half, then open it back up. Over the paper, gently shake off excess glitter by tapping the back of the cardboard/cutting board.. (shaking it over paper will make it easy for you to save it & put it back into its container) 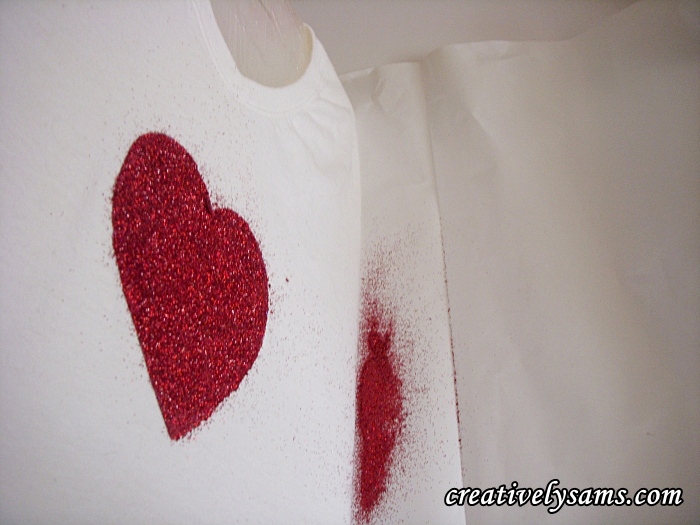
Then use a soft dry brush to remove any excess glitter that might still be clinging to the heart.
Hang the finished t-shirt up to dry completely. I usually wait over night before I wear mine.
That’s all there is to it! You now have your own piece of wearable art.
To wash, turn the T-Shirt inside out & wash on the delicate cycle. I hang mine to dry, and then when dry, fluff it in the dryer for a few minutes. If you feel that it needs ironed, press the decorated section on the inside of the T-Shirt.
You don’t have to stop there. You could add more hearts of different sizes. Or you could make a stencil with words. Use your imagination & most importantly, have fun with it.

