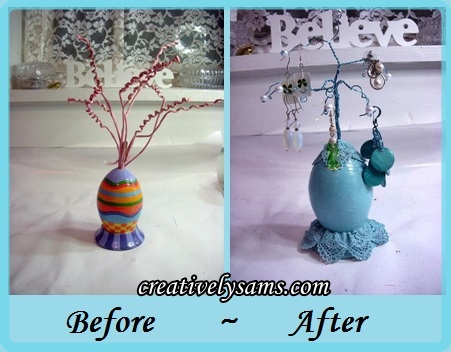
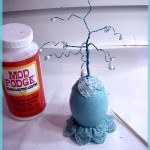
You’ve got to love the after holiday sales. Items are marked down 50% to 90% off. Many of the items are marked down because they did sell. Why? Because sometimes, they’re down right ugly. But as a crafter, you see things in another light. Nothing is ever as it is meant to be. So was the case for this ugly Easter decoration. But I saw more.
The little egg tree was so ugly, that I knew I had to help it. Instead of an ugly Easter decoration, with tacky paper covered Curly-Q’s, I saw something pretty… and maybe a little Shabby Chic.
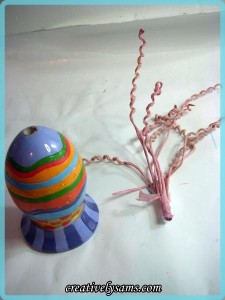
The first thing that I did was remove those tacky Curly-Q’s. All it took was a little wiggling back & forth and a twist or two, and it came right out.
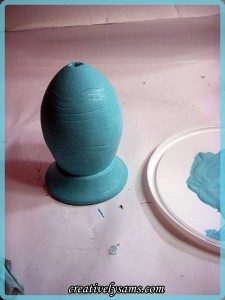
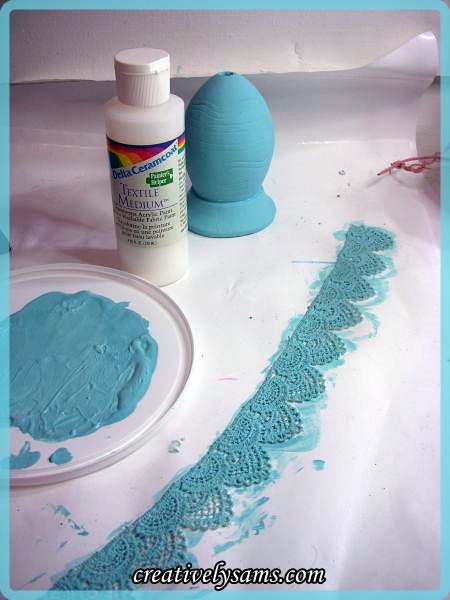
Then I used some sand paper to roughen up the shiny surface. I knew what color I wanted it, but I couldn’t find it anywhere. so I mixed my own. I used Ocean Reef Blue, Laguna, Aquamarine & White acrylic paint. I kept mixing until I got the right shade. As you can see, I made a lot of it. It turned out to be a lot like Tiffany Blue.
Once I got the right shade mixed, I painted the egg. It took 3 coats to completely cover it.
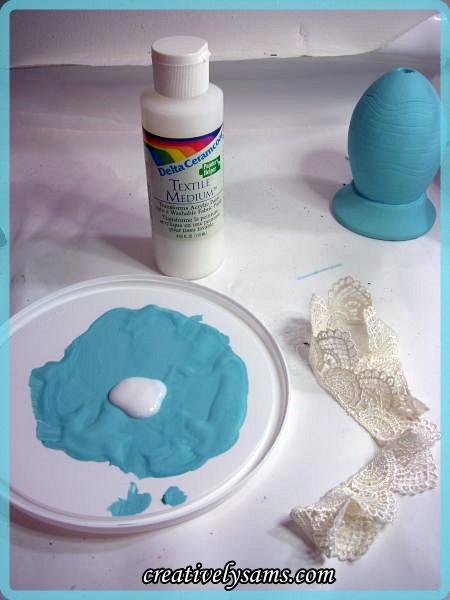
Then I set it aside to dry completely. While it was drying, I added some Textile medium to the paint to make some fabric paint.
By making my own fabric paint, I knew it would match the egg. Once the medium was mixed thoroughly with the paint, I painted some lace.
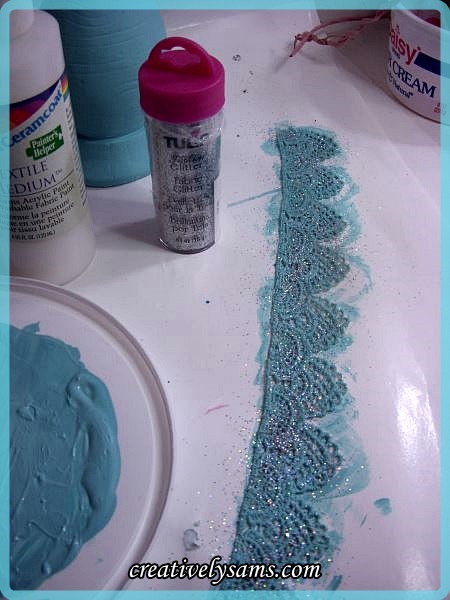
And because I’m me, while the paint was still wet, I added some glitter to it. (ahem…)
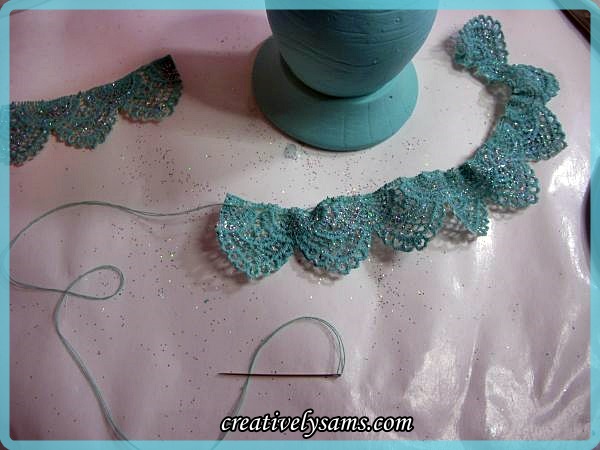
Once the lace had dried, I used a needle & thread to add a running stitch to it so that I could gather the lace. I added the gathered lace around the bottom of the egg, and knotted the thread several times. I saved the excess lace for later.
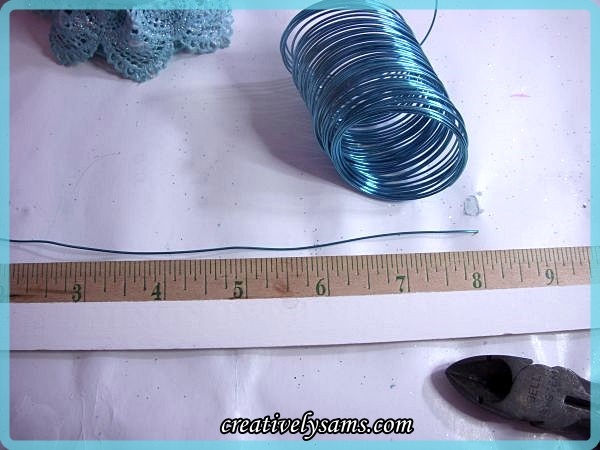
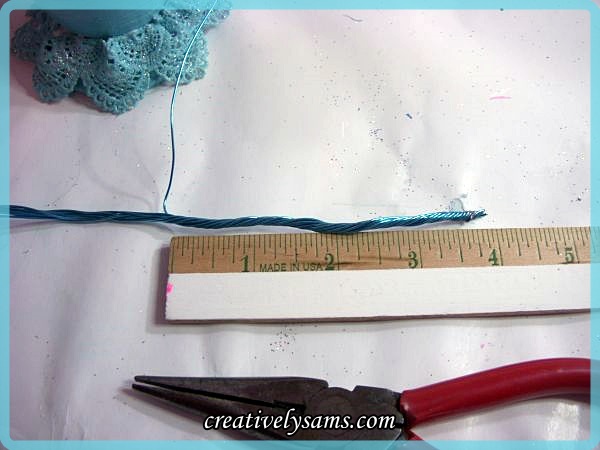
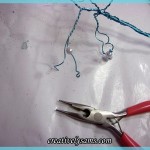
I set it aside & got started on making the tree portion of the Egg Tree. I used some turquoise wire that I had on hand, but you could use any wire you have. I don’t remember the gauge, but I just made sure that 10 pieces together would fit into the hole at the top. I cut 10 pieces of the wire, 8″ long.
Then I twisted the wires together 4″ up to make the trunk of the tree. Just don’t twist the wires too tightly, or they will break. (Ask me how I know this.)
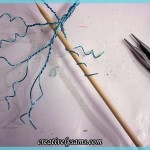
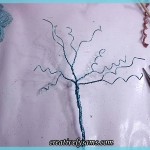
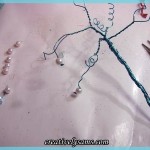
Then I spread out the wires to form the branches of the tree. At different levels, I took 2 wires & twisted them a little to form a branch. Once the branches were made, I used a wooden skewer to wrap the wires around to make the curls in the wire.
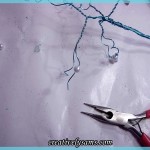
Since I knew that I was going to use this as an earring tree, it had to have something at the ends to keep the earrings from sliding off. What better than pearls? Although I could have used any bead, I liked the way the pearls looked with the turquoise. I slid the pearls onto each branch end, and then made a loop at the end of the wire. I bent the loop flat and slid the pearl down to rest on the the loop.
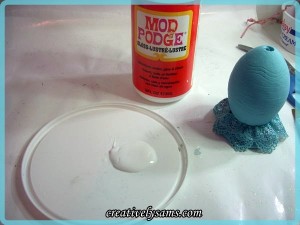
I set it aside & painted the egg with a coat of glossy Mod Podge. I also gave the lace a coat of the Mod Podge to seal the glitter onto the lace.
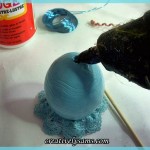
Then I used some hot glue to glue the tree into the egg. To cover the opening where the trunk was glued, I add 4 pieces of lace around the trunk with Mod Podge.
After it had completely dried, it was ready to hold earrings. I could also use it to hold miniature eggs for next Easter.
I still can’t believe how this ugly egg turned out. It’s so feminine now, and can be used year long.
Happy Creating everyone!
I’ll be joining:
Between Naps on the Porch for the 274th Metamorphosis Monday
Create With Joy for Inspire Me Monday Week 121
Coastal Charm for Nifty Thrifty Tuesday No. 210
Knick of Time for Knick of Time Tuesday #134
Creating My Way to Success for A Round Tuit 203
The Dedicated House for Make it Pretty Monday -Week 98
The Tablescaper for Seasonal Sundays #200
Kathe With an E for You’re Gonna Love It Tuesday
Cupcakes & Crinoline for Project Inspire{d} #64
A Stroll Thru Life for 214th Inspire Me Tuesday

