
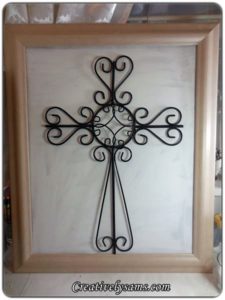
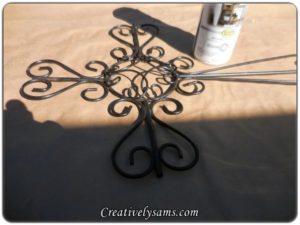
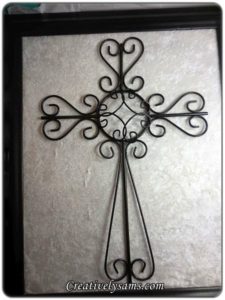
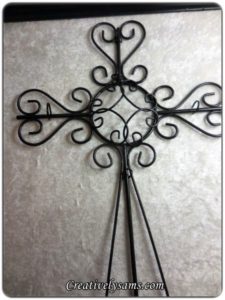
I’ve had and loved this wrought iron cross for years & it hung in our home in a prominent place. I always wished that it had more of a visual impact, which I felt it deserved. After adding a frame to the cross, it’s now a focal point. I love it even more.
It’s a large cross, measuring about 18 1/2″ long. I knew what I wanted to do with it, but I didn’t have a frame that large. What did I do? I started to search for a frame at the local Goodwill. I was ecstatic when I found a frame large enough to fit the cross, and the price was right.

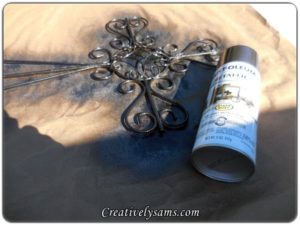
When I got the frame home, I couldn’t wait to see how it fit.
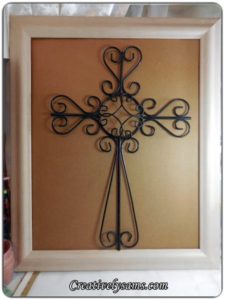
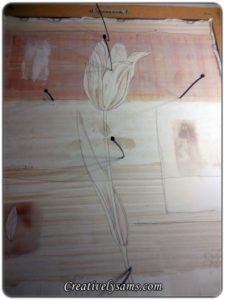
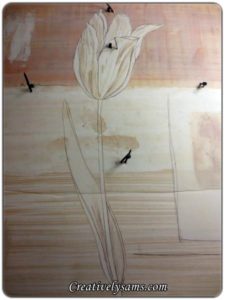
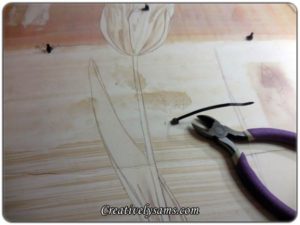
I painted one side of the painting & placed the cross on it to see how I’d like the color. Perfect.
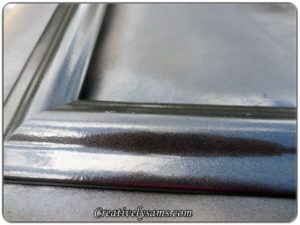
The frame was entirely too light to show off the cross, so out came the spray paint. I used RUST-OLEUM Black Metallic paint. There are little flecks of ‘sparkle’ in the paint.
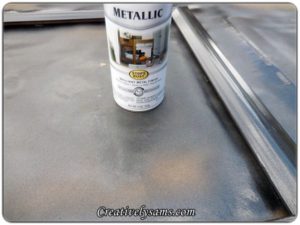
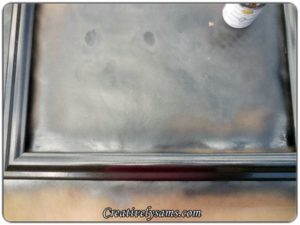
After 20 years, the cross had gotten a few rusty spots, so I painted it too!
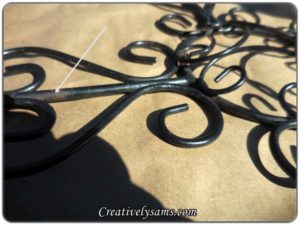
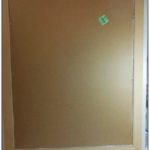
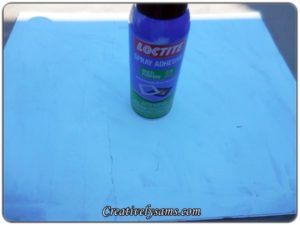
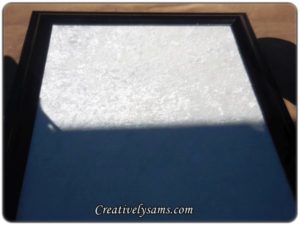
After all of the paint had dried, I set it aside & got started on the backing. The first thing that I did was to spray the board with an even coat of spray adhesive.
(It was early morning when I did this. Forgive the blue.)
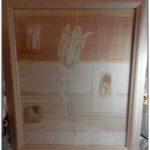
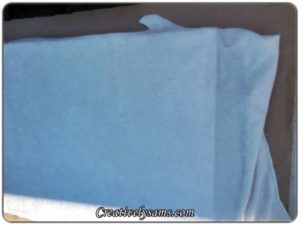
Then I spread out a piece of white crushed velour on top of the adhesive & smoothed it out.

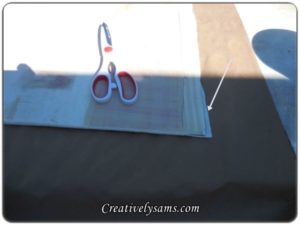
After the adhesive had dried, I trimmed off the excess velour.
After all of the excess Velour had been trimmed, I put it back into the frame, pushing down the clips to hold it in place.

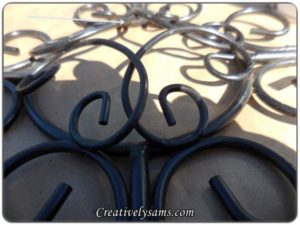
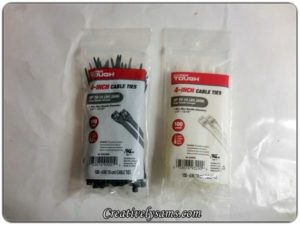
Now on to adhering the cross to the picture backing. First, I laid the cross on the backing to judge where I wanted it. What was I going to use to hold the cross in place? I found these 4″ Cable Ties at Walmart!
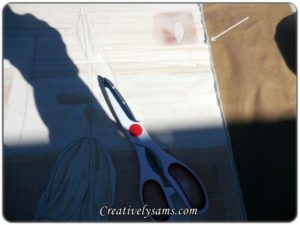
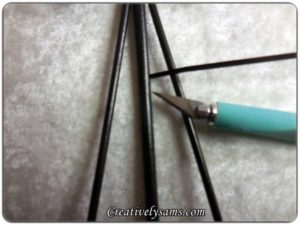
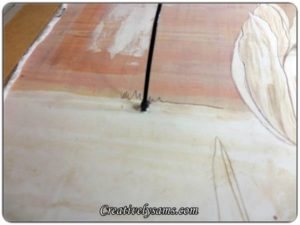
Using an Exact-o knife, I made cuts along side of the cross for the cable ties.
The next part was a little tricky. I had to insert the cable ties from underneath so the fastener was in the back. Then I pulled the ends of the cable ties up.
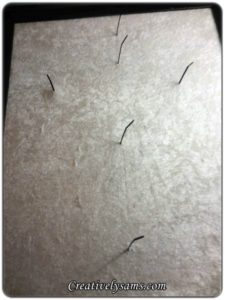
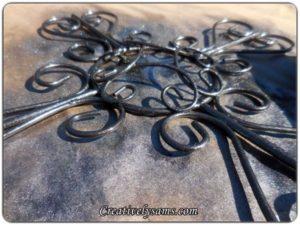
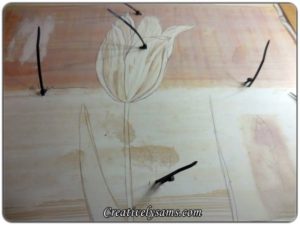
Once the cable ties were pulled up to the front, I laid the cross on the board & pushed the end of the cable tie over the cross sections & back through to the back.
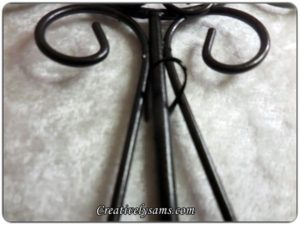
Once the placement was where I wanted it, I turned the piece over & began to tighten the cable ties. Once they were tightened, I used some wire cutters to remove the excess. (Hindsight – clip them close so the frame will lay close to the wall… ahem)
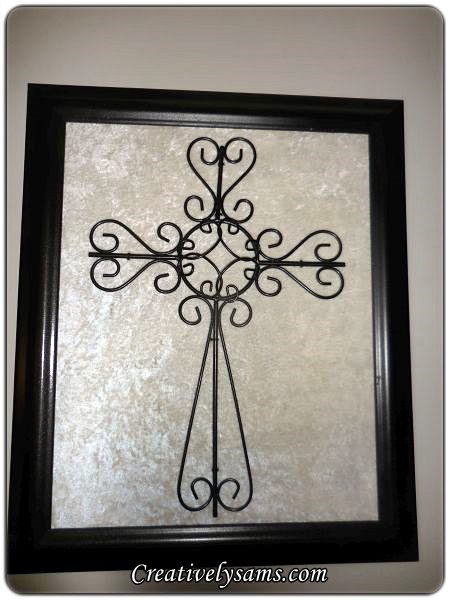
And it’s finished!

And now it’s hanging on the wall. It now has an impact & is exactly what I’d envisioned.
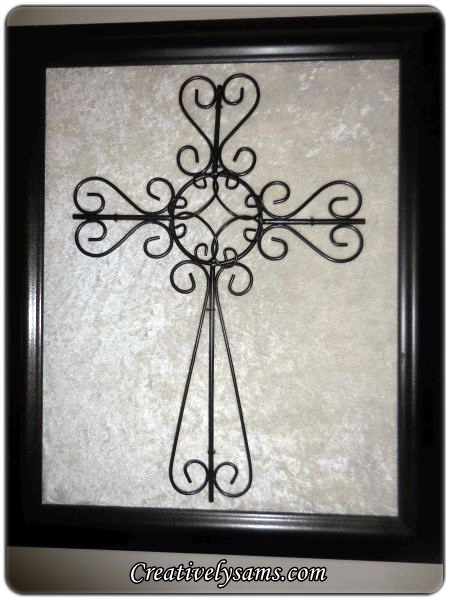
It amazing how adding a frame to a loved item makes it feel so much more important.
Happy Creating everyone!