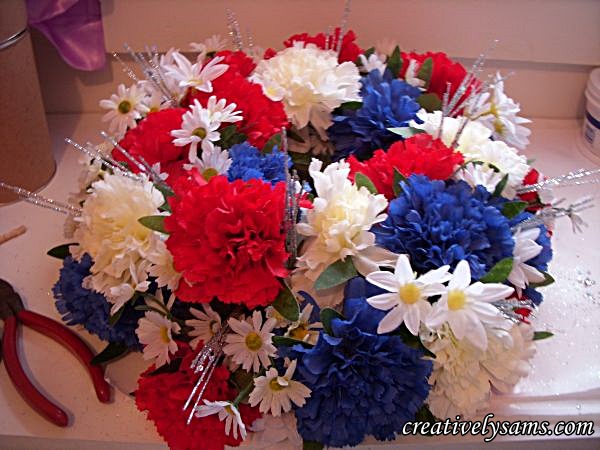
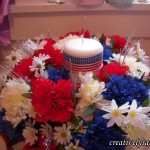
Independence Day is just around the corner, so I’ve made a centerpiece that I’d like to share with you.
It’s easy to make. Here’s what you’ll need:
Sahara Floral Foam Ring (from the Dollar Tree)
Cardboard (a light weight box will work)
Red, White & Blue flowers (Reasonably large) (I got mine at Walmart)
Smaller white flowers to fill in gaps (I used daises, but you can use what ever you like)
Acrylic paint & brush (optional)
Hot glue gun & glue sticks
Optional: glittery floral pieces (I used mine to give the look of fireworks)
Floral Tape
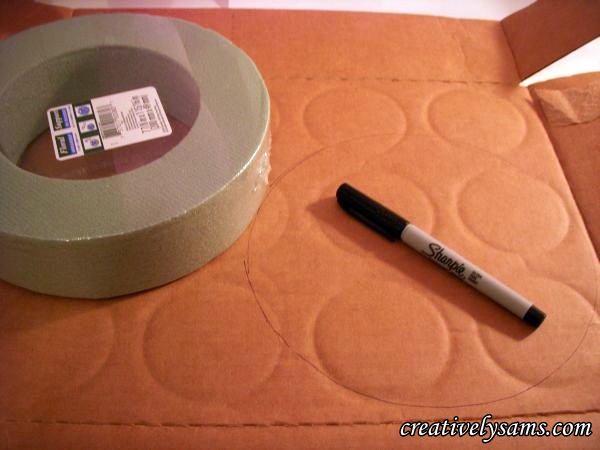
Trace around the floral ring onto the cardboard:
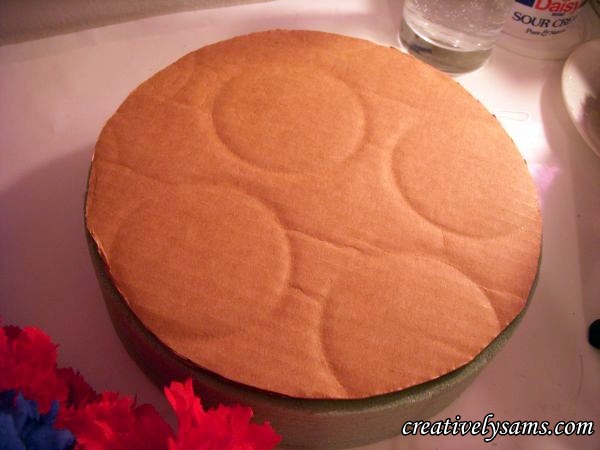
Cut out the cardboard. Add hot glue to one side of the floral ring
And put the cardboard circle on to the foam
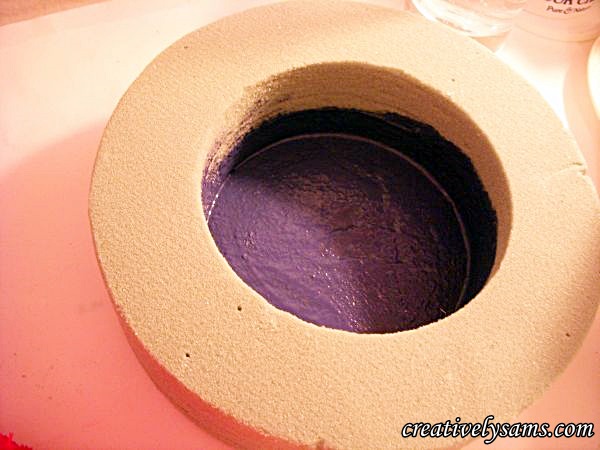
Paint the cardboard that’s in the center of the ring. I paint it just to make the cardboard a little stronger. This step is not necessary.
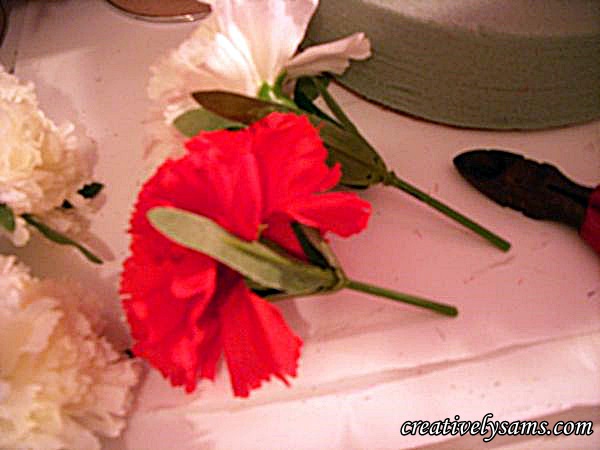
Gather your flowers & cut them apart from the bush. Make sure you push the leaves up towards the head of the flower. This will help to fill in empty spaces.
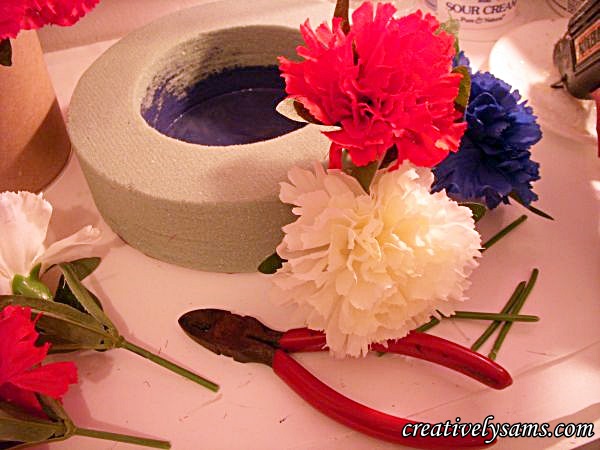
Cut the stems short. About 4″ long from the head. You can judge how long you need them by laying them over the top of the ring. It the stems are long enough to pass through the other side of the ring, then they’re too long.
Insert the first section of flowers. One each, red, white & blue.
Repeat all the way around. Once you’ve added all of your flowers, fill in any empty spaces with the smaller flowers.
Here’s a tip that I learned years ago when I was a floral designer… Hold your piece up to a mirror & look at it in the mirror. For some reason, you can see bare spots in the mirror that you can’t see when you just look at it directly. I don’t know why it works, but it does!
Your centerpiece is now done. But, by now, you know me. I just can’t leave well enough alone. I need to add some sparkle. And nothing sparkles like glitter!
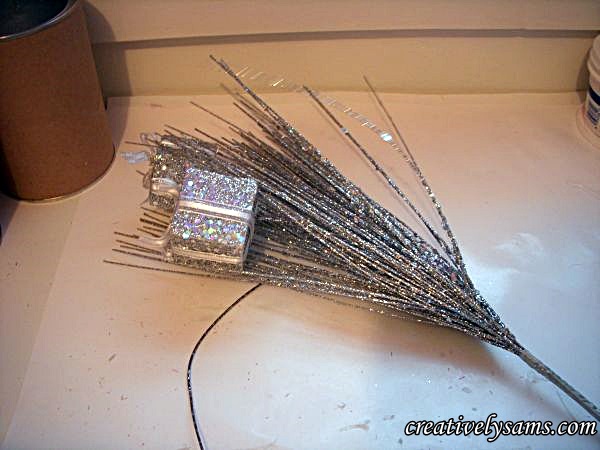
This was an after Christmas find. I got it at 75% off, and have been hanging on to it ever since:
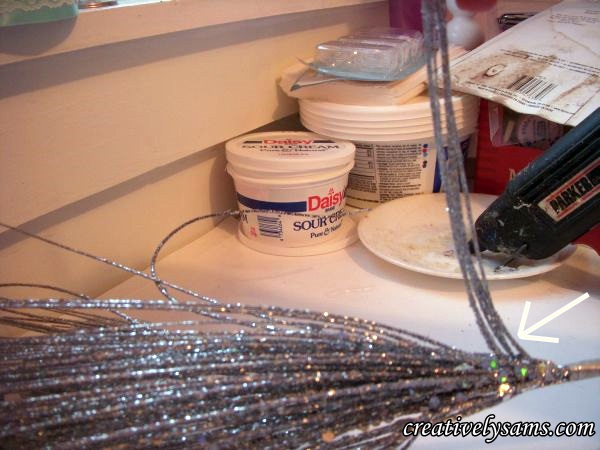
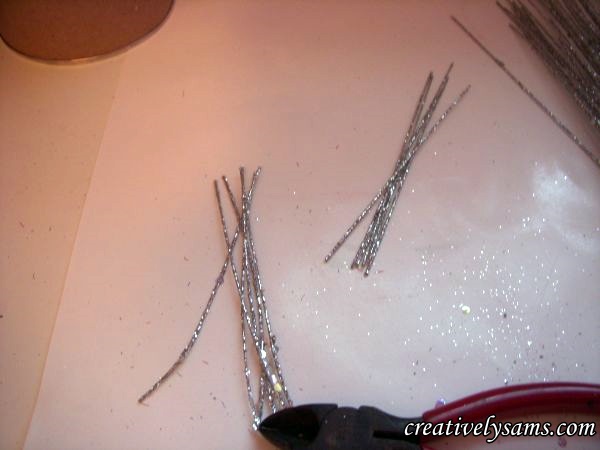
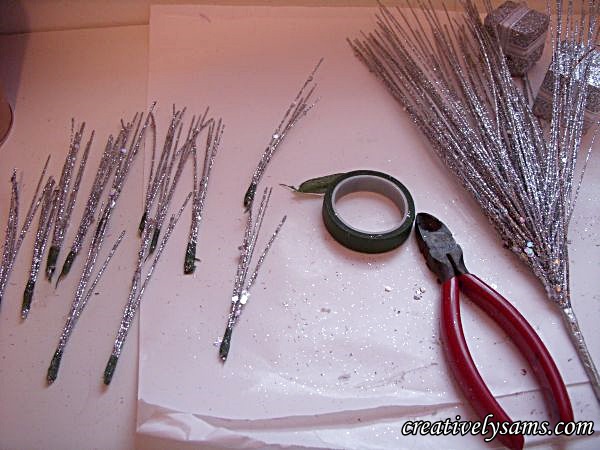
I sectioned off pieces and clipped them from the base of the stem.
Then I cut the pieces in half.
Now, using floral tape, group the half sections in groups of 5. (that’s another trick I learned when I was a floral designer. Odd numbers are more appealing to the eye)
I just added them to the centerpiece, filling in any empty spaces, and looking in the mirror a lot. (they remind me of fireworks)
I still haven’t decided what I want in the center of the centerpiece. I tried several different candles in a couple of colors: Some I added ribbon to, one is in a glass jar. I’ll be trying a few more before it ends up on our table for the 4th. of July!
This was an easy arrangement to make. I hope you’ll give it a try. This is the basic way to make this type of floral arrangement. By changing out the colors or the type of the flowers, it can be used for any decor or holiday. (oranges, yellows & browns for Fall) (Reds, whites & pine for Christmas) (Pastels for Easter) You get the idea.
Have a safe holiday.
Happy Creating everyone!
I’m linking up with :
Between Naps on the Porch for her 249th Tablescape Thursday!







Pingback: Breast Cancer Awareness CenterpieceCreatively Sam's
Pingback: 4th of July TablescapeCreatively Sam's