
By now, you know how much I love the sparkle of glitter. Adding glitter to ‘things’ is easy. I’ve seen glittered letters selling for a small fortune, ($7 – $10 each) and it’s so inexpensive to do it yourself.
I’m still immersed in the patriotic theme, so I wanted to make some letters sparkle for another project that I’m working on. Here’s what I’m up to today!
I had these wooden letters on hand from another project.

I base coated them with white acrylic paint, on both sides. I usually base coat my wooden pieces because the wood tones won’t show through the paint, and the paint colors that you choose stay true.
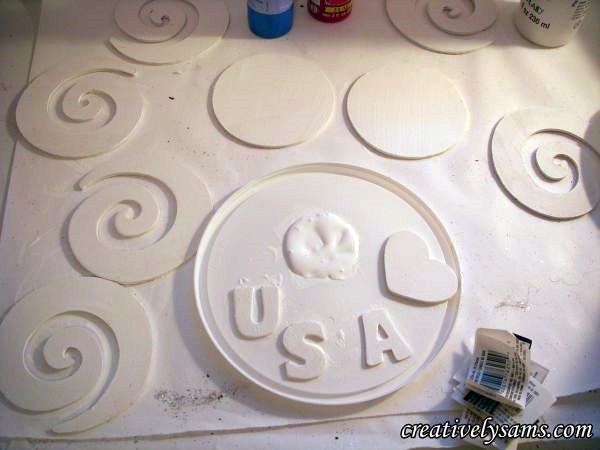
As you can see, when I start base coating, I base coat a lot of pieces for other projects. It saves me time in the future. (hey, it’s better than watching paint dry)
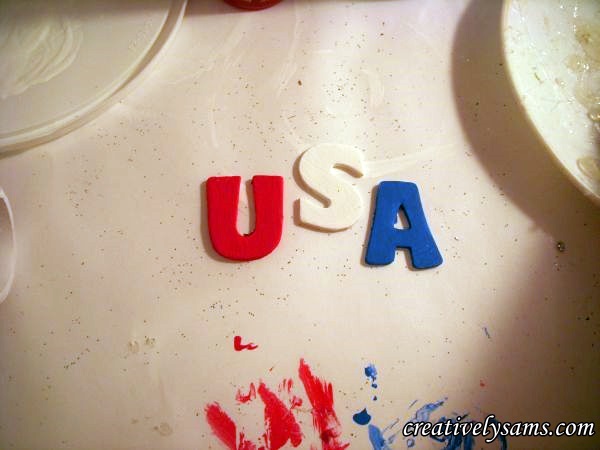
Then I added 2 coats of paint to each letter, waiting for the paint to dry in between coats.
When all of the paint had dried, I got out the supplies to glitter them:
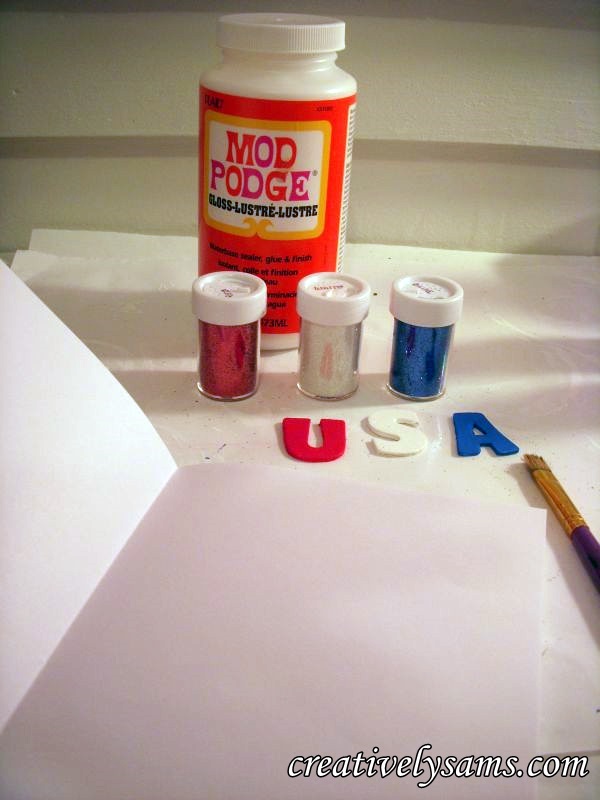
I like Modge Podge, because it’s a little thinner than regular glue, and I’ve never had a problem with it yellowing. I always use a sheet of white copy paper, folded in half, when I’m using glitter. Why? Because it catches the glitter so you don’t waste any, and the fold in the paper makes it easy to pour the glitter back into the bottle.
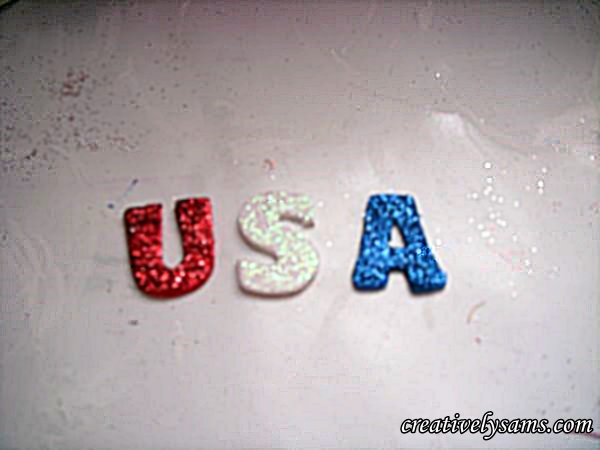
Next step is always my favorite…. pour on the glitter! (I did each letter separately, on a separate sheet of paper so the glitter colors wouldn’t get mixed together.)
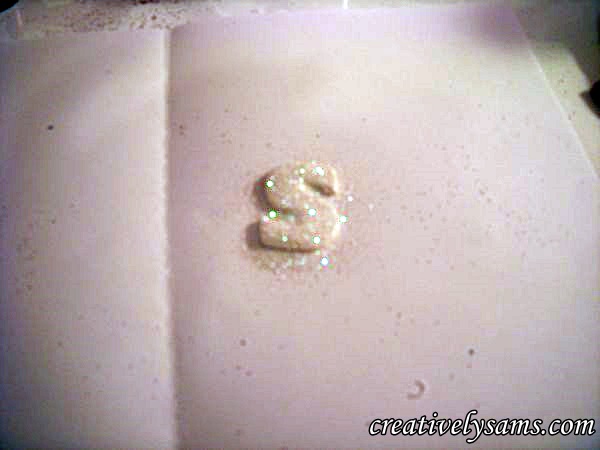
I let the glitter sit on the piece for awhile, so it has a chance to stick to the Modge Podge. Shake the excess glitter off, put the excess glitter back in the bottle, and you’re done!
I’ve seen large wooden letters done in pale colors for children’s rooms, weddings, or for decorations on a wall.
Have fun with this one. I did.
Happy Creating everyone!
Pingback: Patriotic Wreath - tutorialCreatively Sam's