
I have been asked so many times, how do I paint a sky with clouds?
I’m not an artist by any means, (My Mama was the artist in the family), although sometimes my work can look a little like a Picasso. What I do is more on the lines of folk art. I have fun with it & so can you.
The first part is how I paint a sky & clouds. The second part will be several ways to paint evergreen trees. The third part will be adding snowmen to your winter scene.
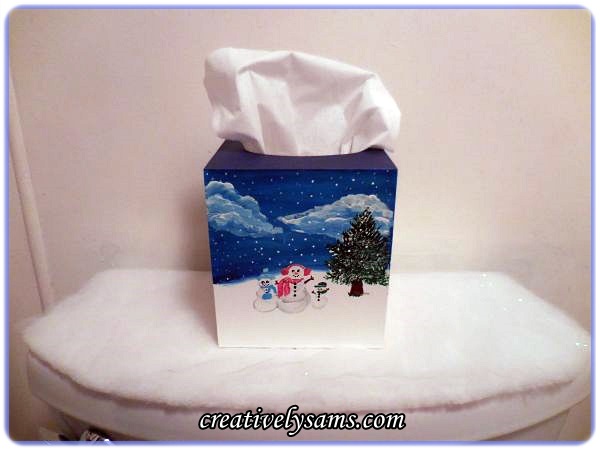
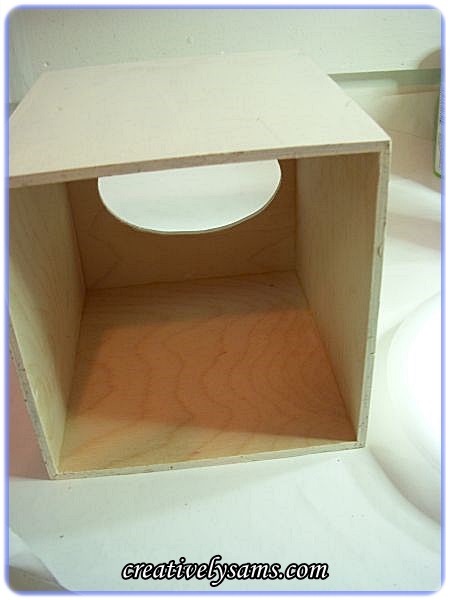
It’s easy to do, and if it doesn’t look the way you want it to, hey, it’s only paint. You can always paint over it. This is how I painted a plain wooden tissue box for Christmas.
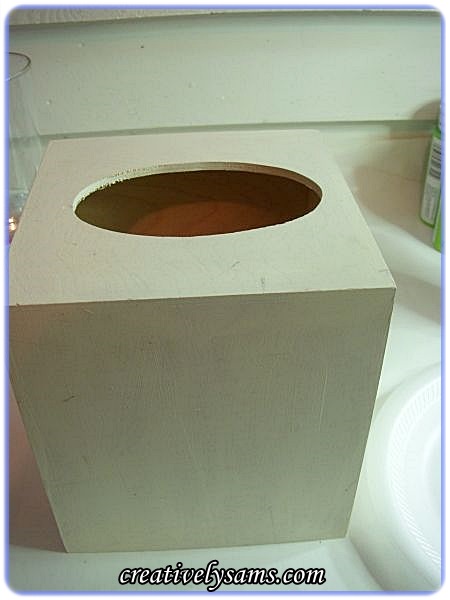
First, you want to prime the wooden tissue box with white acrylic paint.
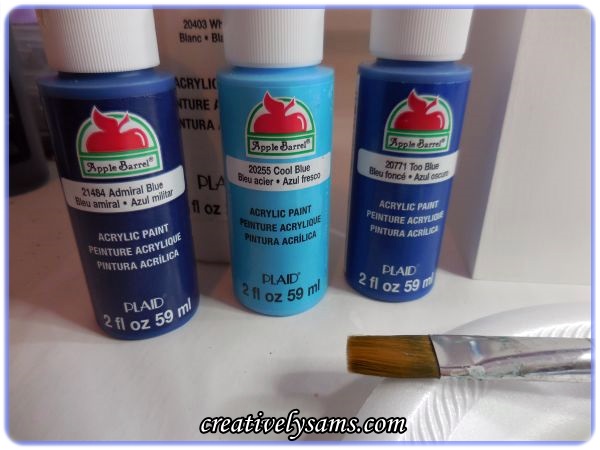
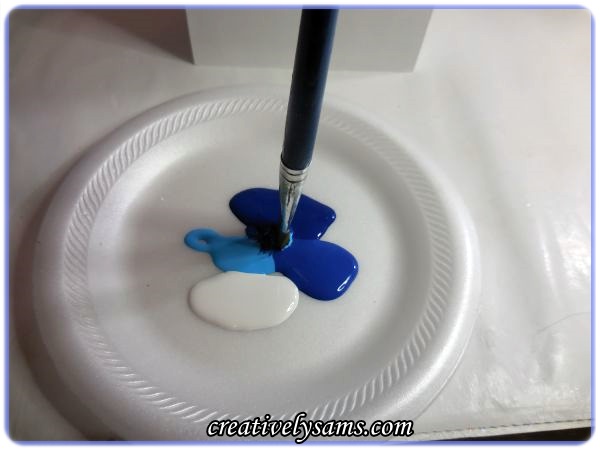
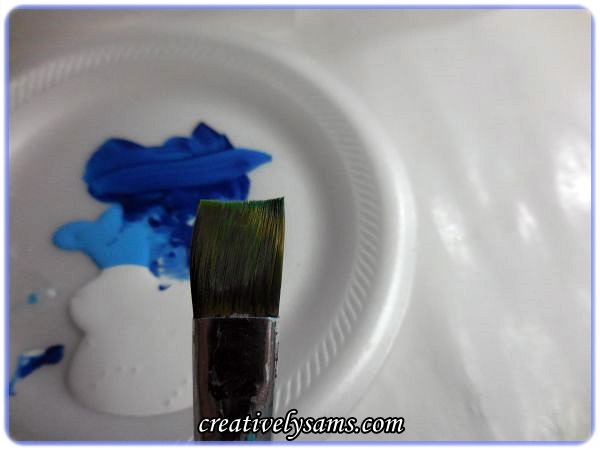
The sky & cloud paint supplies:
3 shades of blue, a dark, a medium & a lighter shade. White acrylic paint and a flat paint brush.

Painting the Sky
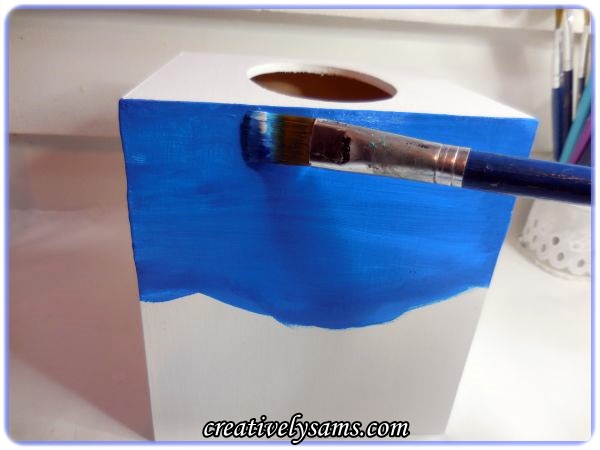
Load your brush by dipping it into 2 of the paints at a time. It doesn’t matter which paints you use. Every time you need more paint, dip your paint brush into another combination. (use the white paint sparingly)
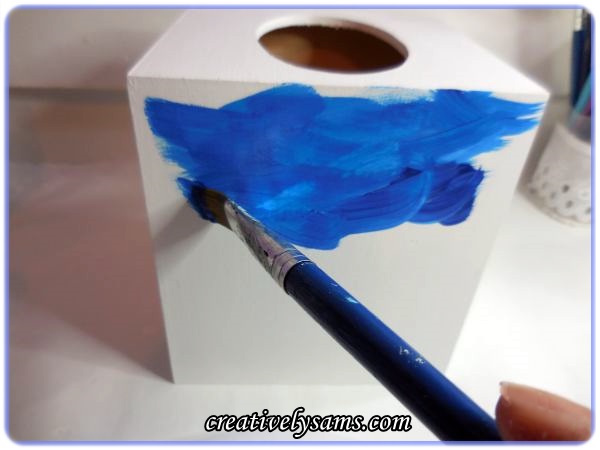
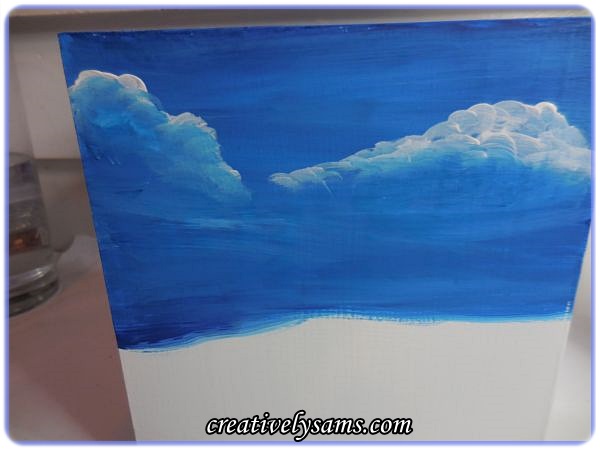
Paint on the sky colors using a crisscross pattern. Doing it this way gives different shades of the paints you’ve got on your brush.
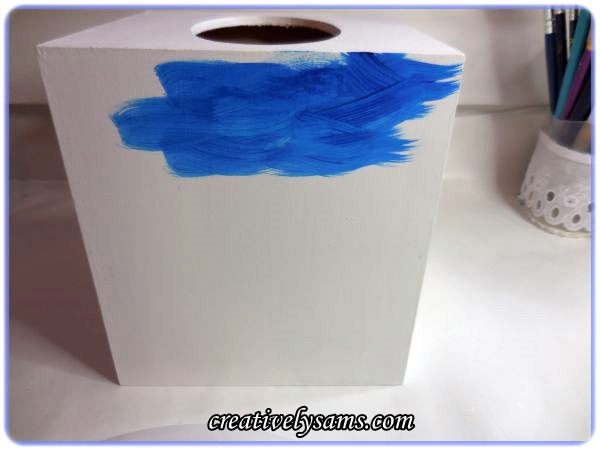
Keep adding more crisscross strokes until you’re about half way down the box.
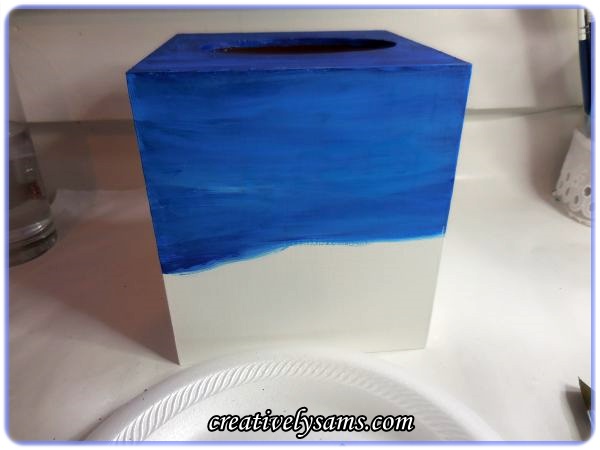
I like leaving the bottom of the sky in a curvy design just to give the snow some hills & valleys.
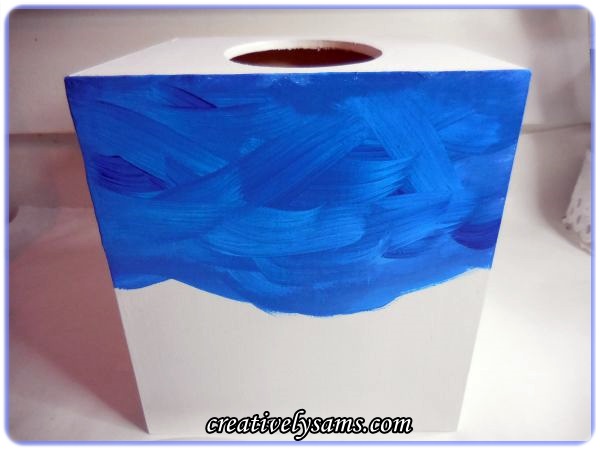
When you’ve gotten down as far as you want to, use the same brush to smooth the strokes by using long sideways strokes.
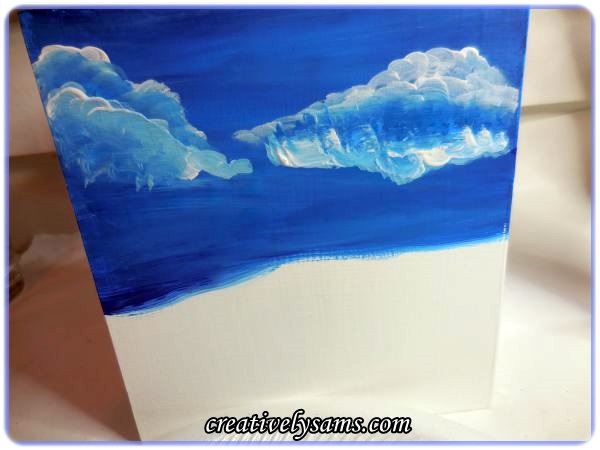
Keep smoothing out the crisscross strokes until you get the look you want. It’s kind of like applying make-up, It never looks good until you’ve feathered out the edges.
Turn the box & repeat the same thing on the other sides of the box.
Painting the Clouds
You’ll need white acrylic paint & floating medium. Floating Medium is paint without the pigment. What it does is keep the paint wet longer so you have time to play around with it.

Clean off the same flat brush that you used for the sky and dip the corner of the brush into the white paint.

Now, with the white side of the brush facing the top, make little half circles. Because the paint is only on one corner, it creates darker & lighter strokes at one time.
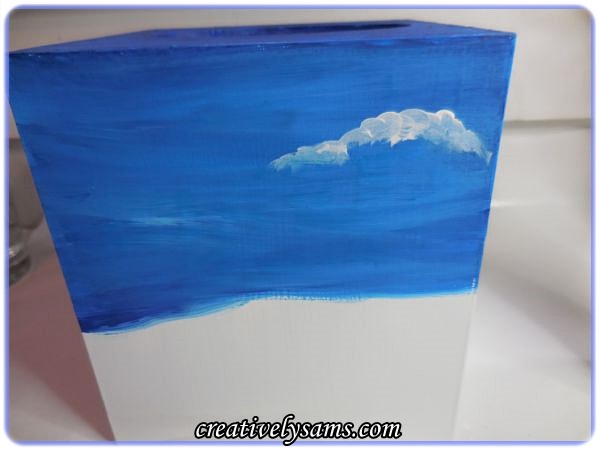
While the paint is still wet, add a second layer. Add more paint to the corner of the brush as needed.
Now for the other side of the sky:
Now add a second layer to the other side:

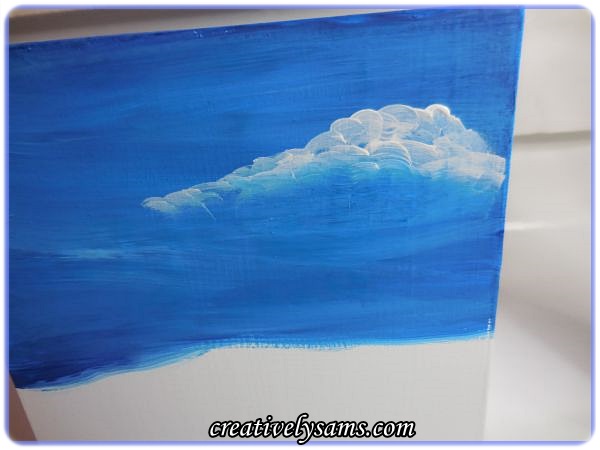
Once you have your clouds the way you want them, add more white paint to the corner of the brush & turn the brush so that the white is on the bottom. Make half circles to the bottom of the clouds.
Once the bottoms are finished, you’ll want to add a layer to the center of the clouds.

Wipe the paint off of your brush so that it’s pretty much dry.
Dip the corner of the dry brush into the Floating Medium & going side to side, gently smooth out the clouds. Do a little at a time. You can always go back & smooth more if you need to.
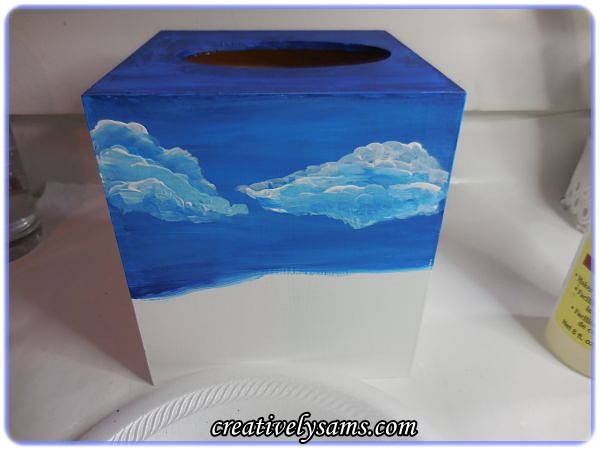
Repeat on the remaining 3 sides & you’re done with the sky & clouds. The more you do this, the more confident you become. Before you know it, you’ll be breezing through it.
It’s easier than it looks, isn’t it?
Happy Creating everyone!
Pingback: Lit Christmas Tree PaintingCreatively Sam's