This is another project in my Filing With Binders series. I can’t begin to tell you how happy I am since I started to organize using binders. It was so nice to put a mess into a binder. It’s easy to find and easy to access.

If you’re not familiar with my Filing With Binder series, you can find them here & here, & my little purse sized one here.
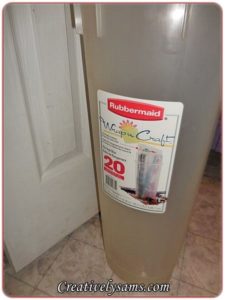
For the rolls of gift wrap, I used to use the Rubbermaid Gift Wrap Container. It did the job, but took up a lot of room. It also didn’t hold very many rolls, and if you’re an after Christmas bargain shopper like I am, you probably have a lot of gift wrap rolls. The Rubbermaid Gift Wrap Containers are expensive, ($15.00 to $35.00) to say the least, and I would have to invest a lot of money in several containers to hold all of my rolls. And like I said, they take up a lot of room.
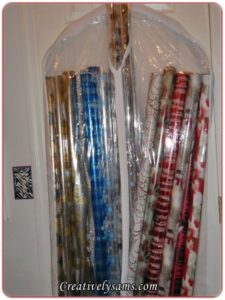
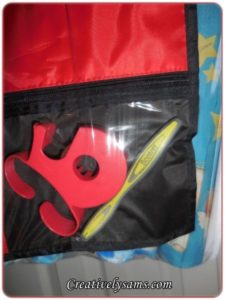
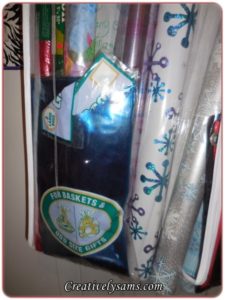
My solution was to use clear garment bags that I found at Walmart. They hold a lot of rolls & hang on a rod or a hook, taking up much less room. I also got a pencil pouch to hold items like tape & a cutter. The pouch fits into the garment bag so everything is at hand. I even had room for the plastic gift bags that can be shrink-wrapped for baskets.

Gift wrap rolls done. On to the tissue paper & sheets of gift wrap.
I started with a 3″ binder, some dividers, baseball card holders, photo pages & sheet protectors.
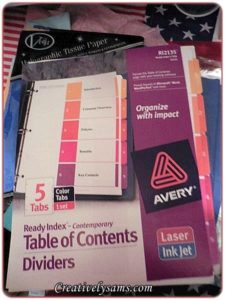


Then I started by dumping all of my tissue paper, gift wrap sheets, ribbons, tags, stickers, money holder cards, etc… on the kitchen table. Whew, what a mess.
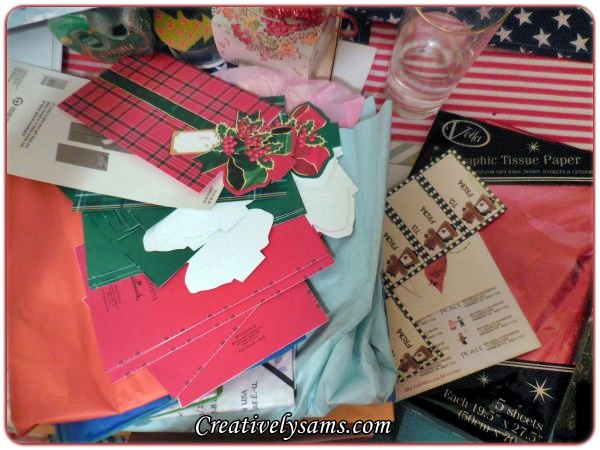
Once I got everything separated into categories, I started to put them in the various sized plastic sheets.
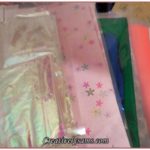
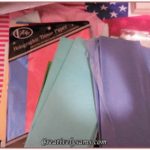
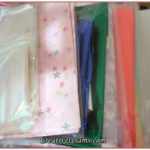
The gift tags & stickers went in the Baseball Card Holders.
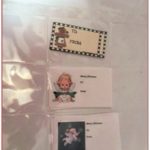
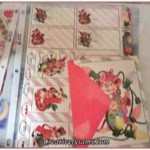
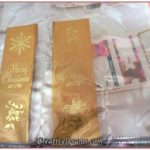
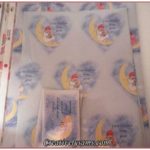
The money holder cards & gift wrap collections went into page protectors.
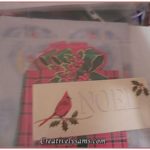
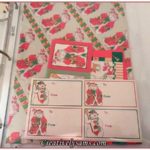
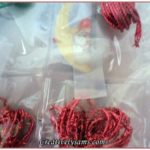
Thin ribbon & colored string went into the Baseball card holders. Unfortunately, the string was a little bulky, so I used some tape to keep the little pockets closed.

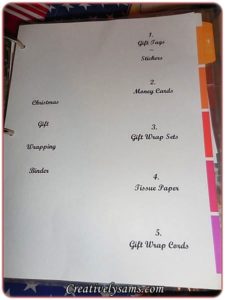
I made up the inside list for the Dividers
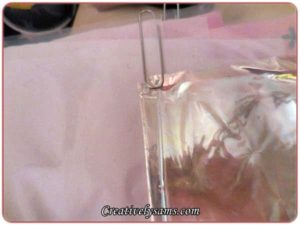
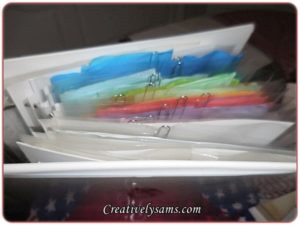
And to prevent the tissue paper from slipping out of the top of the page protectors, I used paper clips. I thought about using the zipped clear binder pockets that are available at the Dollar Tree, but they are a bit smaller than sheet protectors.
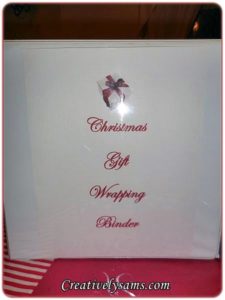
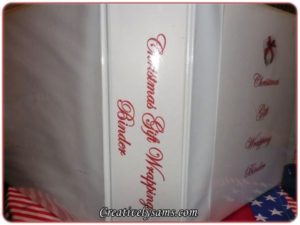
I added a sheet to the front of the binder as well as the spine.
To keep the binder closed, I used some elastic ribbon. You could always use an elastic hair band that is available at the Dollar Tree, but I like to sew and this was a gift from my sweet Amanda. (so it’s even more special to me)
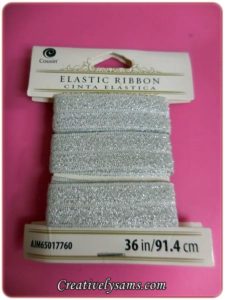
I just measured the elastic around the binder, pinned it, stitched it twice, once straight & once with a zigzag stitch, and clipped off the excess.
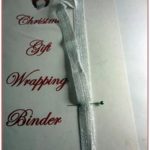
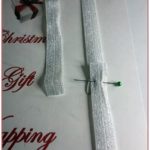
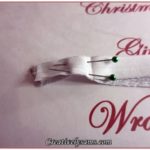
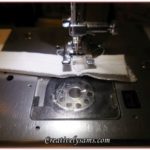
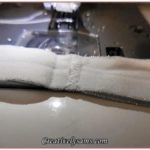
Once that was done, I put it on the Binder to keep it closed when not in use.
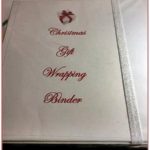
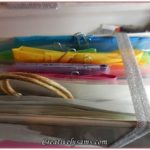
I love how this turned out & have used it more times than I can count.
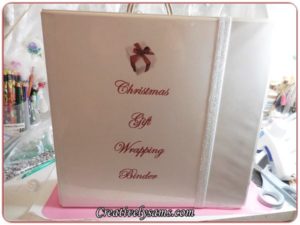
Happy Creating everyone!
