
I’ve wanted to make a Harvest Angel for a long time. Now that October is here, it seemed like the right time to do it. This is a step by step tutorial of how I made her.

I’ll forewarn you, this is a long one because it’s loaded with pictures.
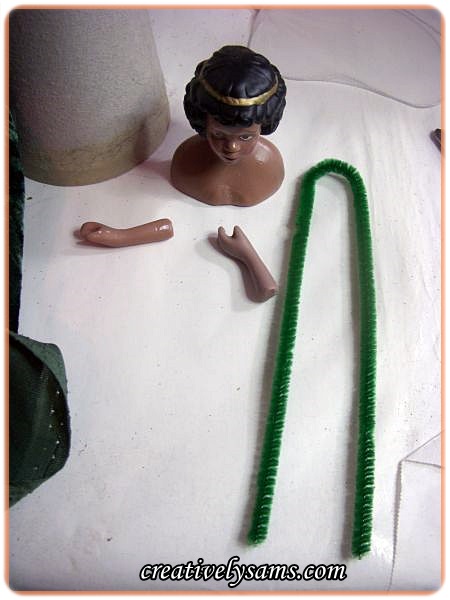
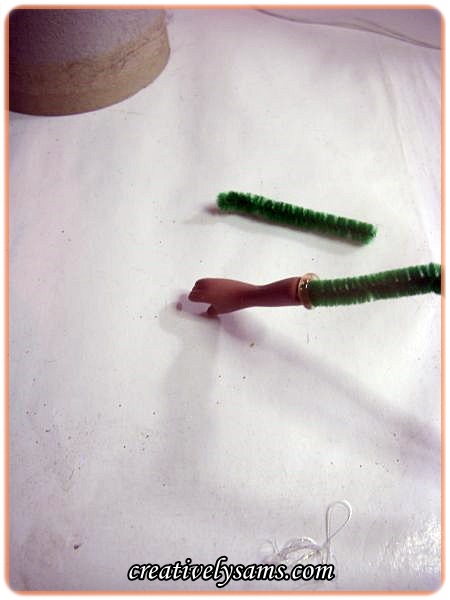
I started with a porcelain angel head and hands, a cardboard cone, some green crushed velor fabric, and a chenille stem.

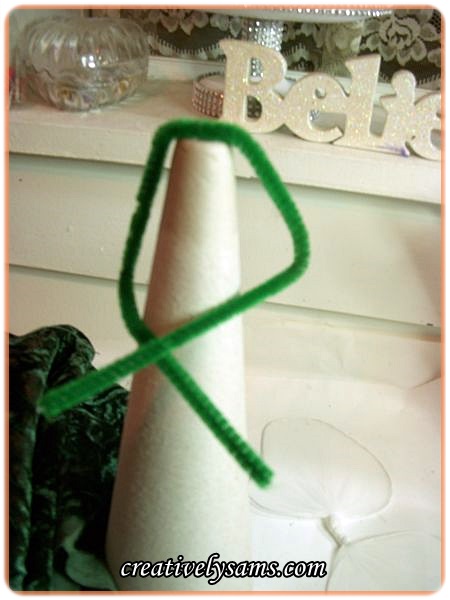
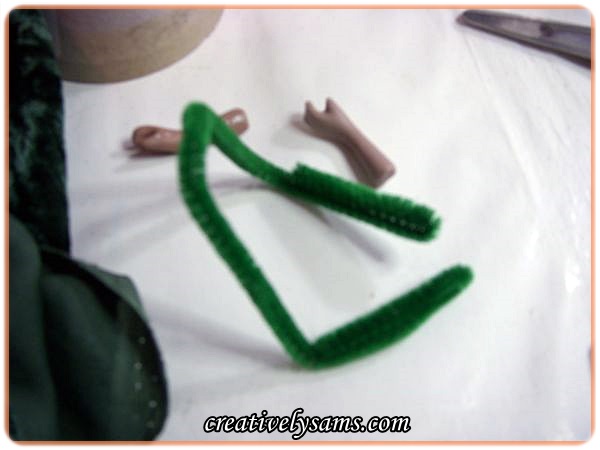
The first thing that I did was to measure the chenille stem for the arms. I bent the chenille stems for elbows then folded up the excess, and when I got the length right, I cut off the excess.
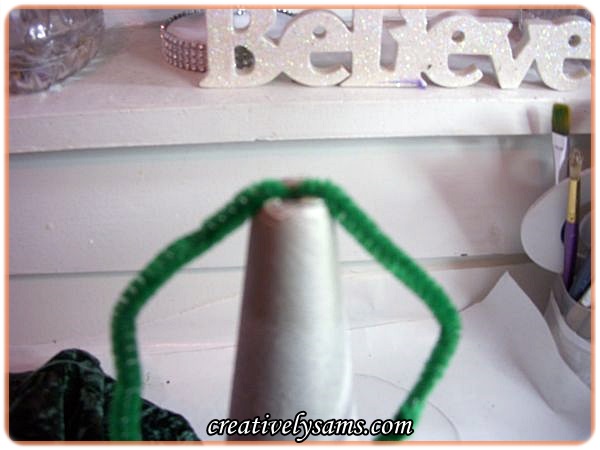
After I cut off the excess chenille stem, I glued the center of the stem to the top of the cone & then glued on the porcelain hands. Then I added extra glue to the top of the cone & added the Angel head.

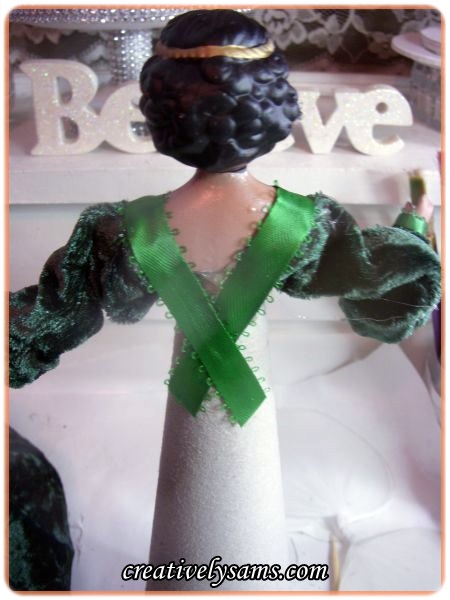
I cut a long rectangular piece of the velor that was 3 times the width of the wrists & 1 1/2 times the length of both ‘arms’. I used hot glue to form a seam, but you could sew it if you like. Once the glue had dried, I cut the length in half & turned the fabric right side out. I turned one end of the tube under & glued it to the shoulder of the porcelain head.

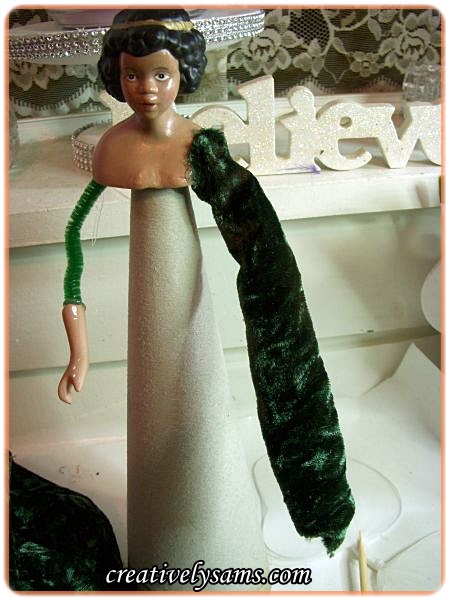
I used some matching thread to tie off the other end to the hand. Then I covered the thread with some green ribbon. Repeat for the other arm.

With the same ribbon, I covered the top of the sleeves to give it a finished look.
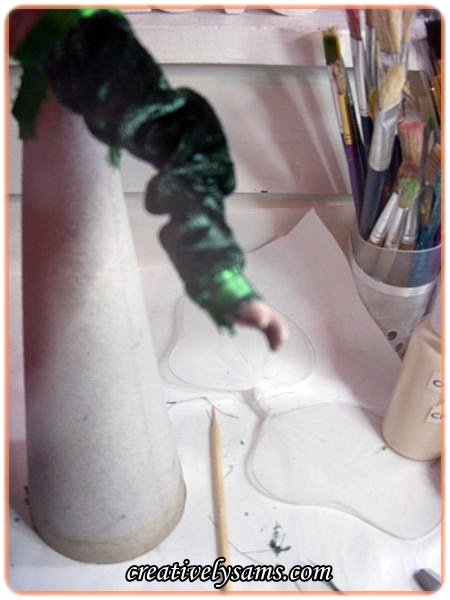
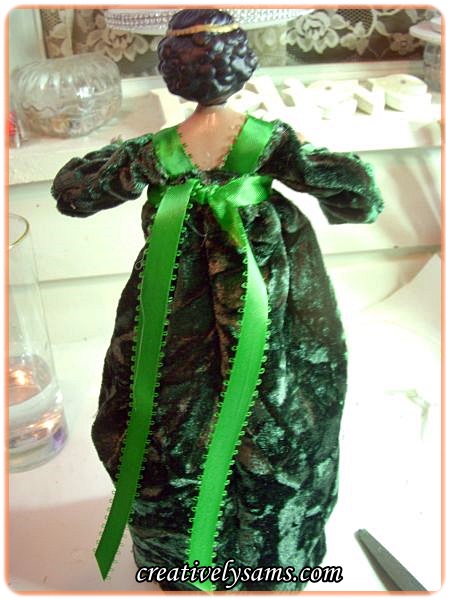
I cut a rectangle of the velor twice as wide as the width of the bottom of the cone and slightly longer than the cone. Then I used the hot glue to hem under the top & bottom of the rectangle. Once the hems were dried, I glued the rectangle into a tube. Once the glue had dried, I turned it right side out.


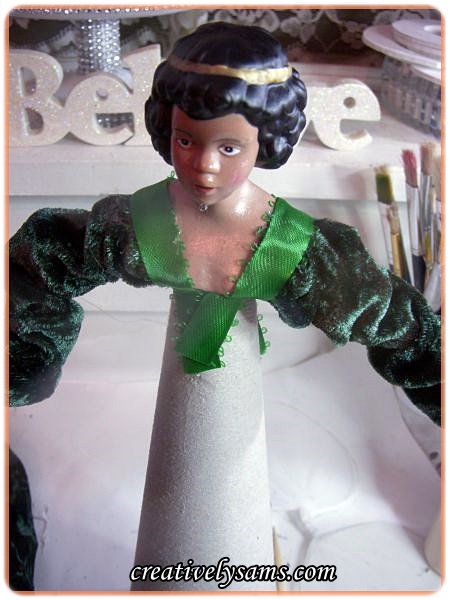
Then, glue the center of the front of the tube to the center of the front of the angel. Repeat on the center of the back.
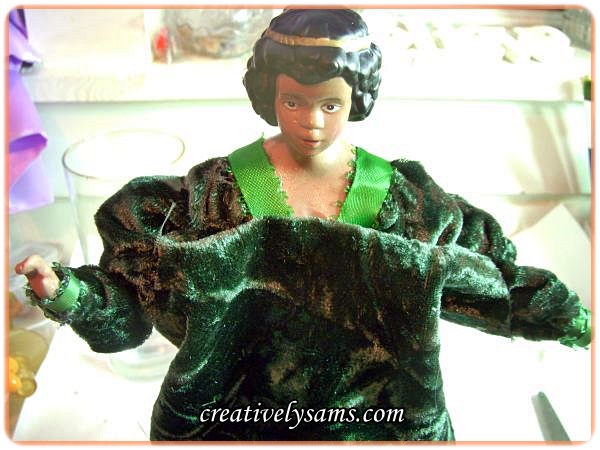
Then glue the dress under the arms. Keep gluing until the top of the angel’s dress is glued down. Once the dress is glued down all the way around, cover the top of the dress with the same ribbon & tie in the back.

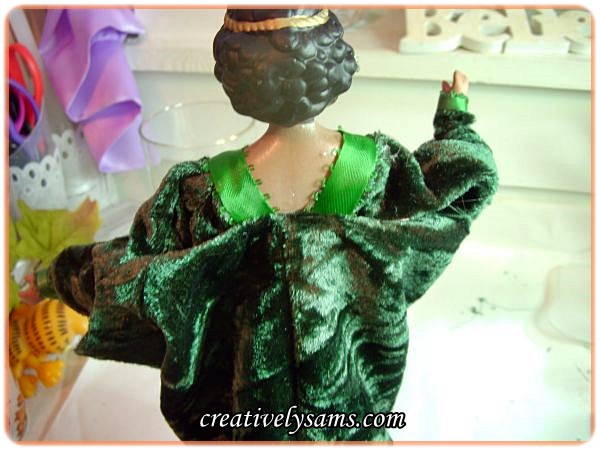
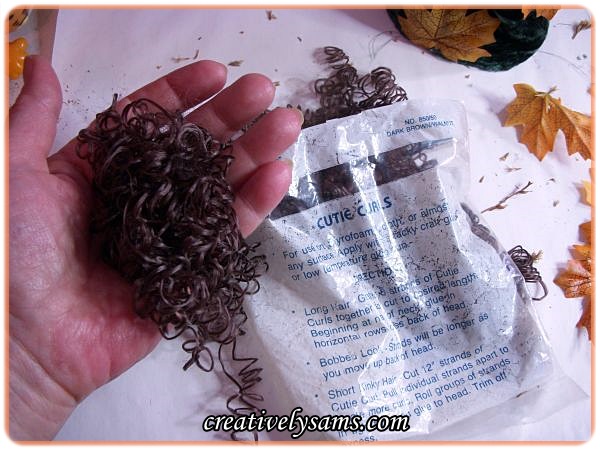
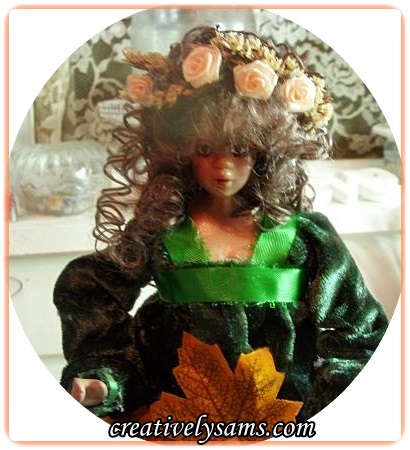
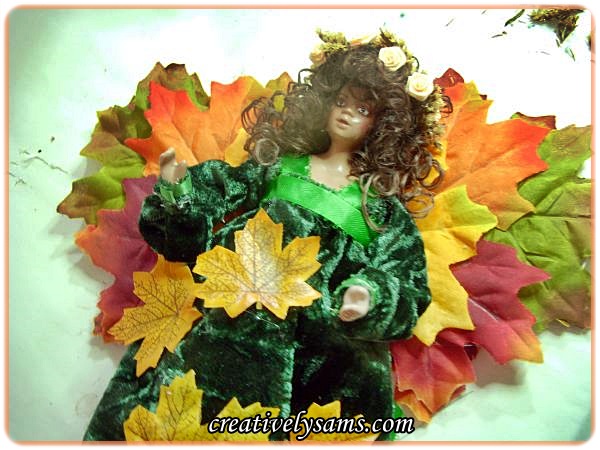
Then I gathered a handful of doll hair & glued it to the angel’s head.
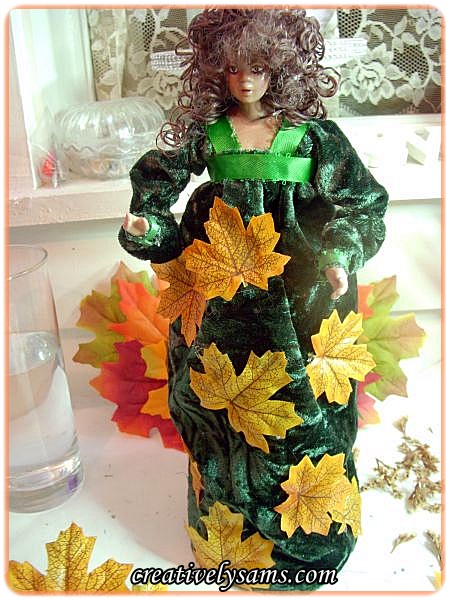
I cut some small leaves from their stems & glued them randomly to the dress.
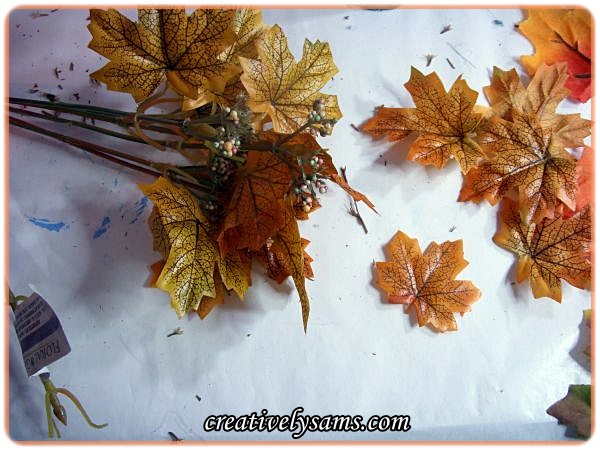
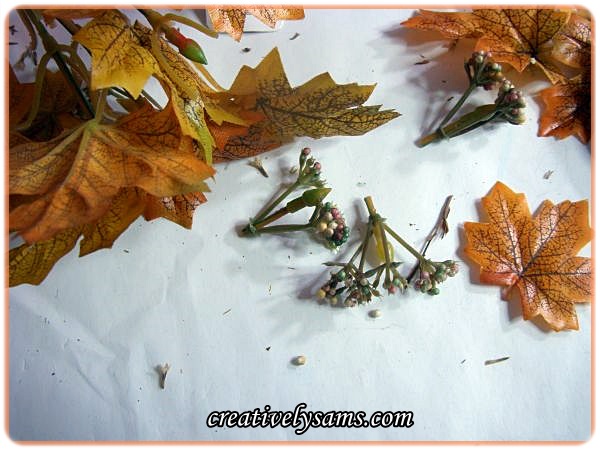
Then I cut off some tiny berries from the fall leaf stems. Then I glued the berries & some ribbon roses around the top of the angel’s head to form a halo.
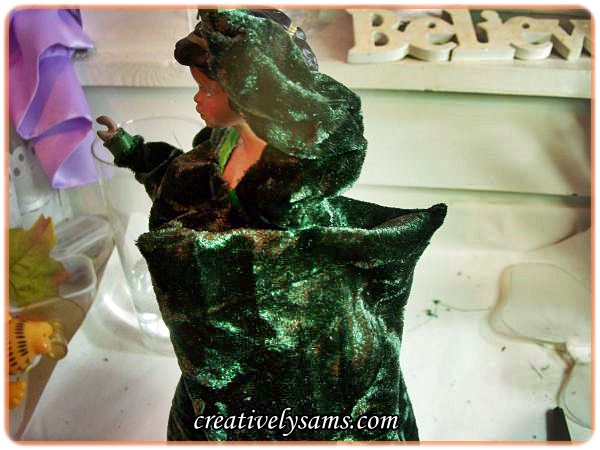
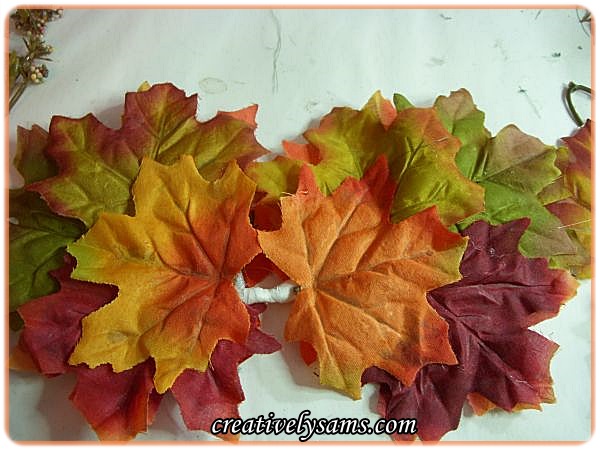
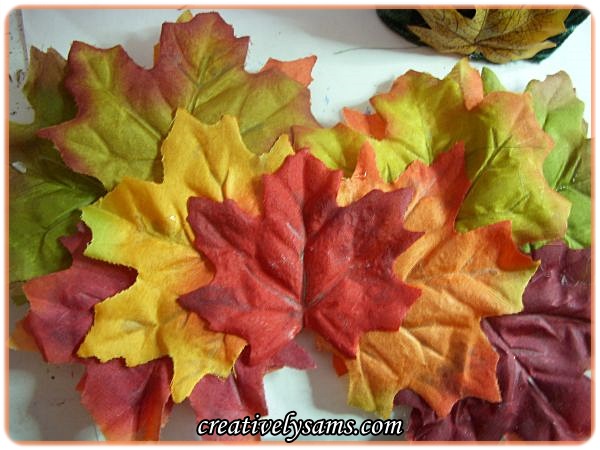
On to the wings. I had these sheer wings, but you could use any pre-made wings. I glued some fall leaves to one side of the wings. Then I repeated the same color leaves on the other side of the wings.
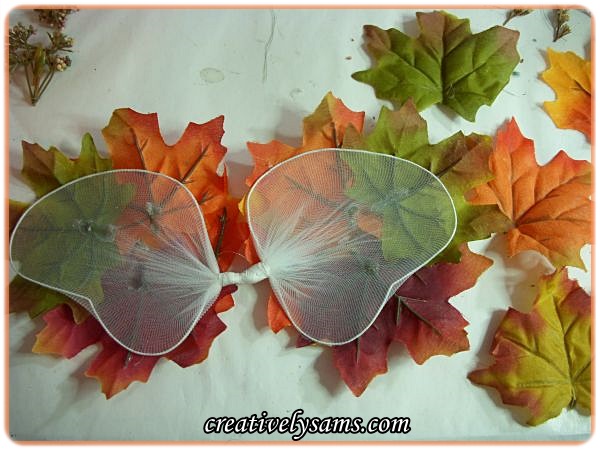

I added a single leaf to the center of the wings on one side to cover the part that showed. This will be on the outside. I glued the other side of the wings to the back of the angel.
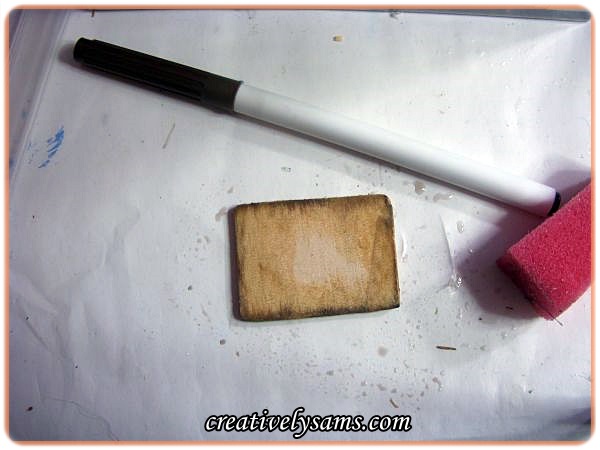
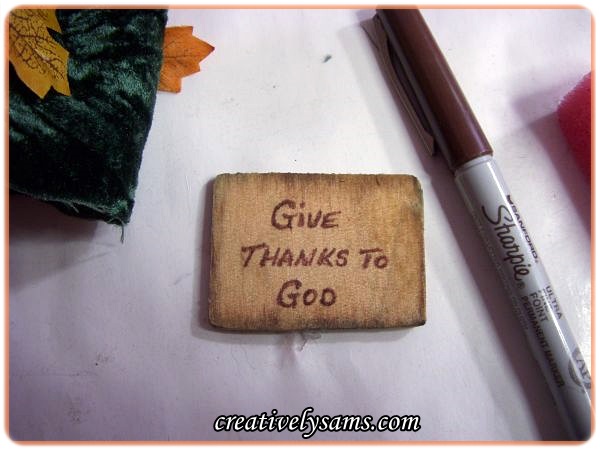
She could have been done at this point, but I felt her hands needed something. Since Fall is the time that is associated with Thanksgiving, I wanted the sign to reflect that. I got a small piece of wood that would fit in her hands. You could use card stock instead. I dampened the edges of the wood & colored it with a brown marker. Then I dampened the marker to make it bleed onto the wood. Once it had dried, I used a fine line brown Sharpie to write in the words. Then I hot glued the little sign to the hands of the angel. I added some of the left over berries to cover the glue that was showing.
And yes, I added a little rhinestone to the base of her throat. I’ve got to have some bling or I wouldn’t be me.
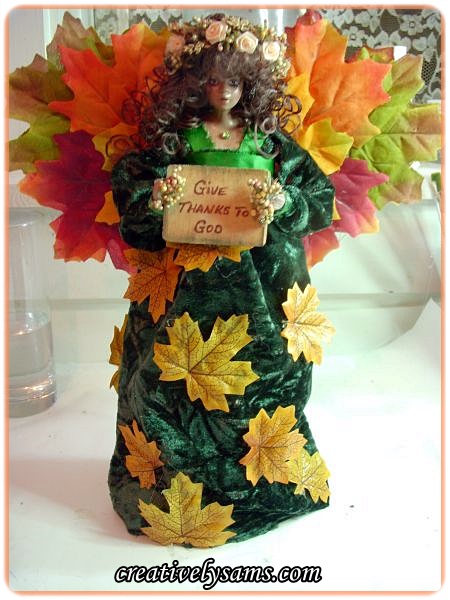
Now that she’s done, what do you do with her?
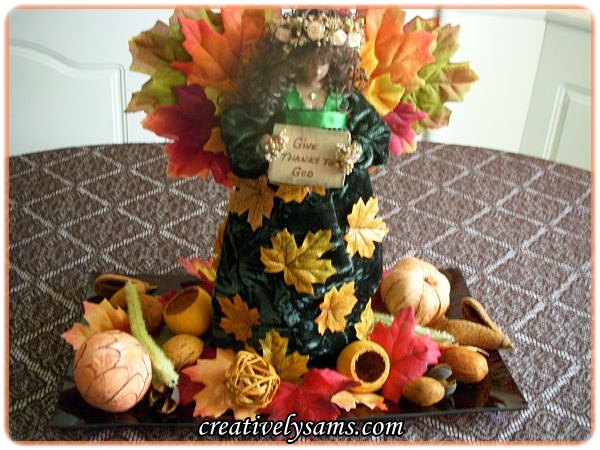
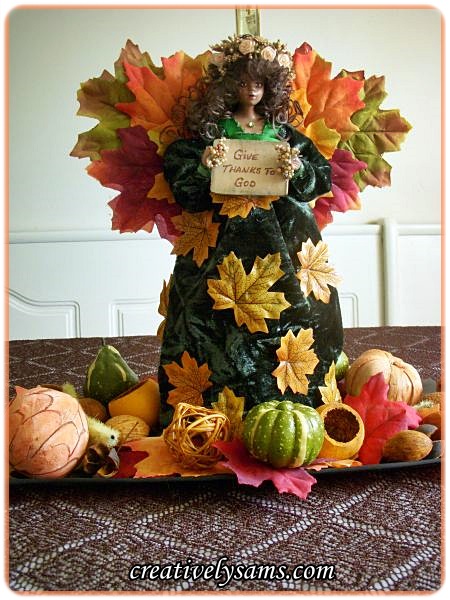
I thought she’d make a lovely centerpiece.
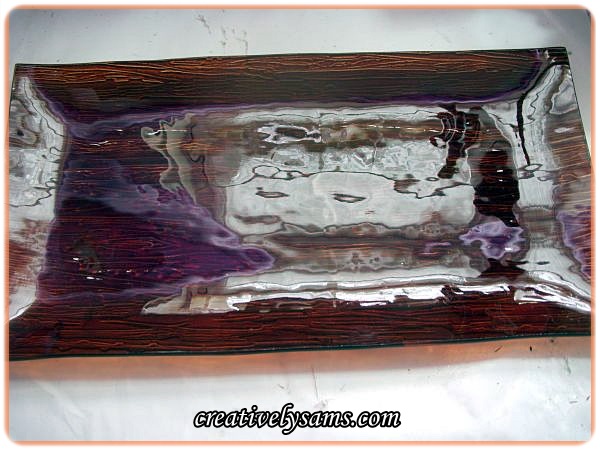
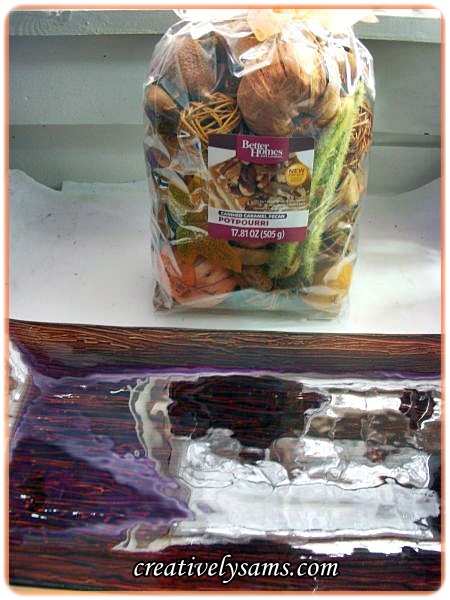
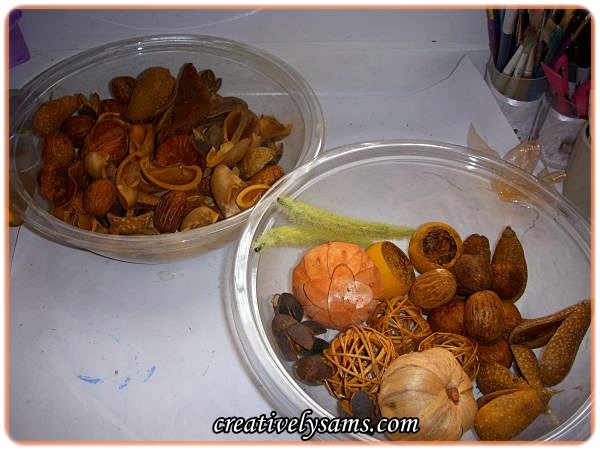
I had this brown glass tray & I found some great potpourri. It’s from Better Homes & Gardens. I chose the Candied Caramel Pecan scent just because of the colors that were in the bag. I dumped the potpourri into a bowl & separated the pieces that I wanted to use.
Then I put the Harvest Angel in the center of the tray & surrounded her with fall leaves. Then I added the pieces of the potpourri that I had chosen as well as some small artificial gourds that I had.

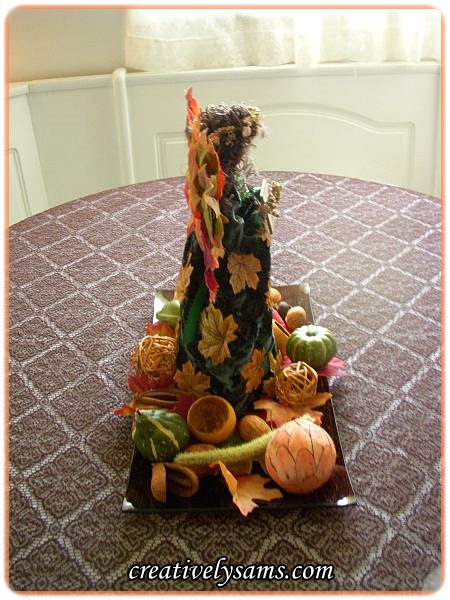
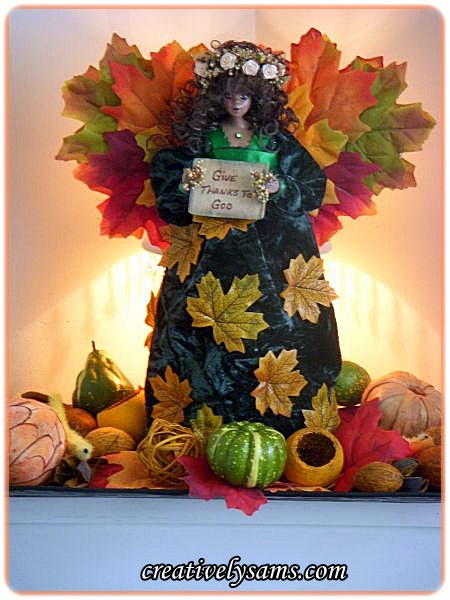
She looks just as good from the back:
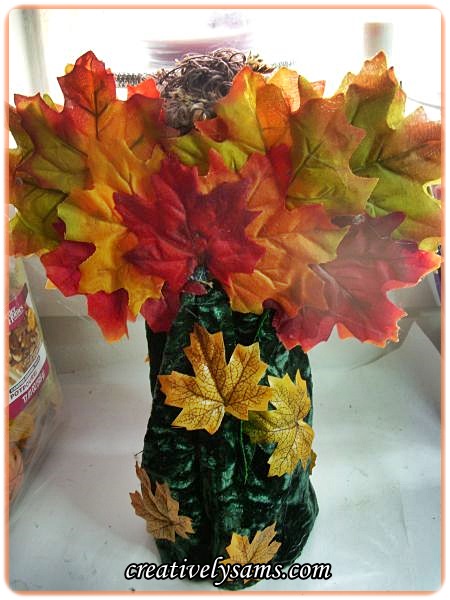
Then I thought of using her as a vignette. I placed her in front of the little lamp that sits in the corner. Oh, I fell in love with the way the light gave her a glow. And it goes so well with the Dollar Tree Fall Centerpiece.

I just love the way she turned out, and I think that she just might stay in front of that lamp for the rest of the season.
Happy Creating everyone!
I’ll be joining:
A Stroll Thru Life for the 236th Inspire Me Tuesday
Ivy & Elephants for What’s It Wednesday
Katherines Corner for Thursday Favorite Things Blog Hop 159
Organized 31 for Inspire Us Thursday Link Party #69
“Sweet Haute” for Thursday Share Link Party
I love this angel! I found it by mistake and so glad I did. Just gorgeous and thank you for sharing her!
Have a blessed and merry Christmas and a wonderful new year.