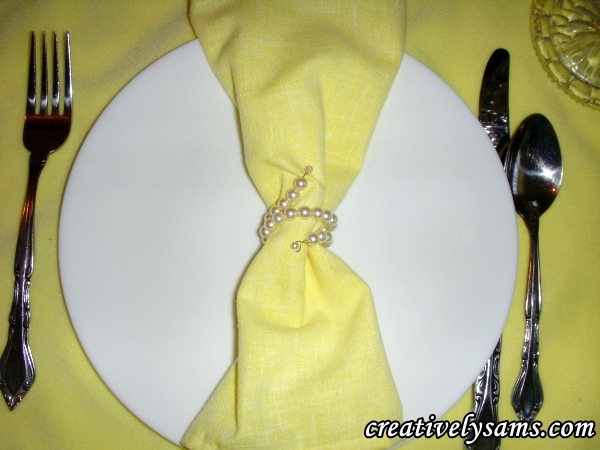
As promised, here’s the tutorial for the Pearl Napkin Rings that were used in the Yellow Tablescape. They’re easy to make, use very little supplies, and can be customized to match the color theme of your tablescape.
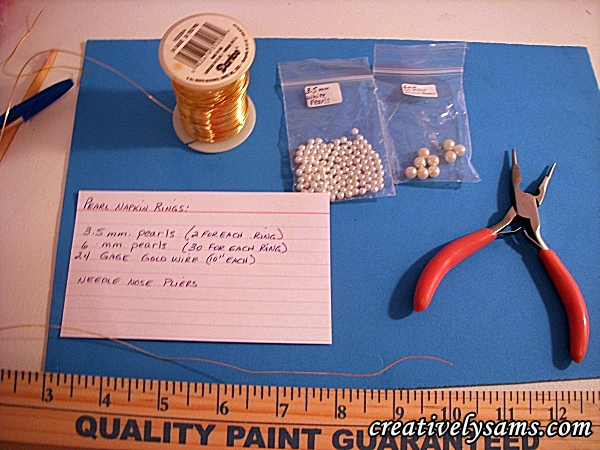
Here’s what you’ll need:
For each Napkin Ring:
(2) 3.5 mm. pearls
(30) 6 mm pearls
(10″) 24 gauge Gold Wire
Needle Nose Pliers
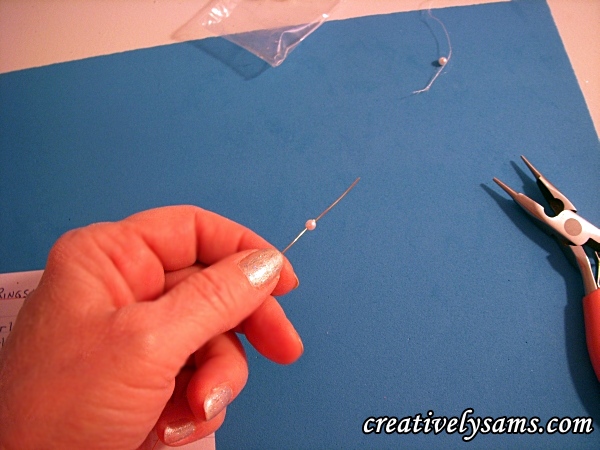
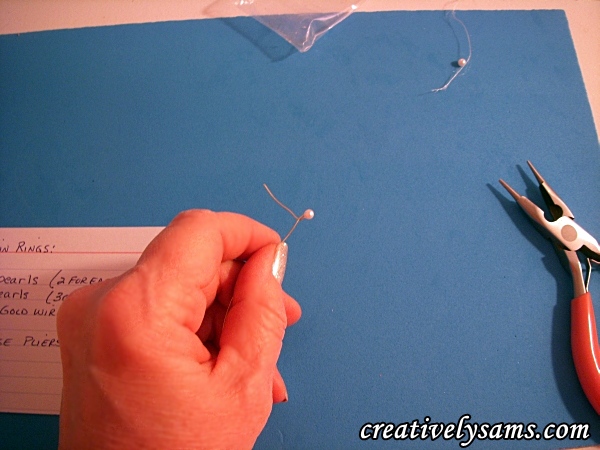
Cut your wire in 10″ lengths. Thread your first pearl (3.5mm) on to the wire. (leave about an inch of wire at the end)
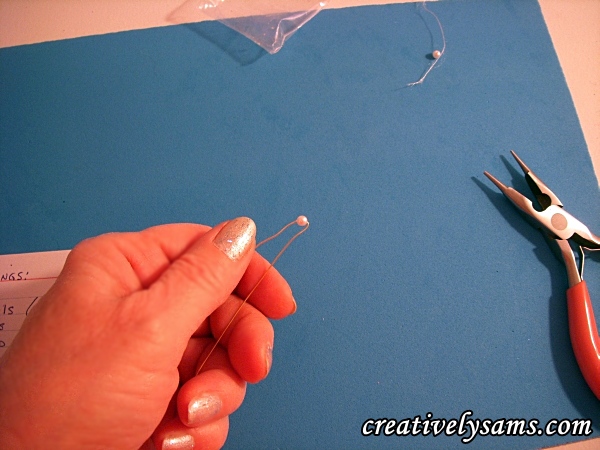
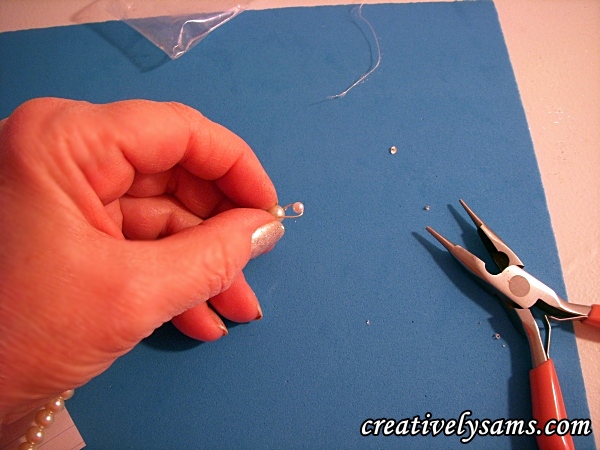
Fold the wire over the first pearl.
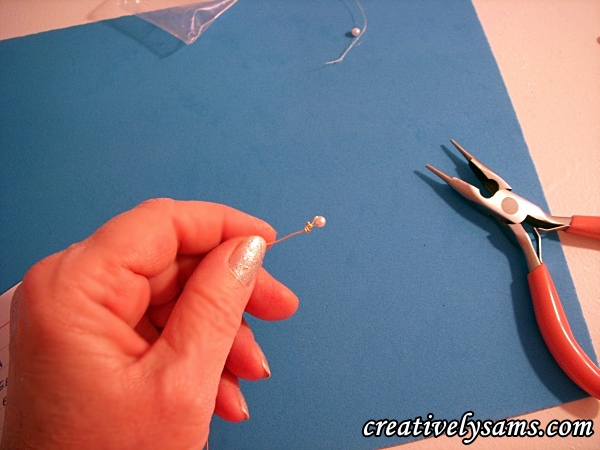
Bend your wire under the first pearl.
Then start twisting the wire, close to the first pearl
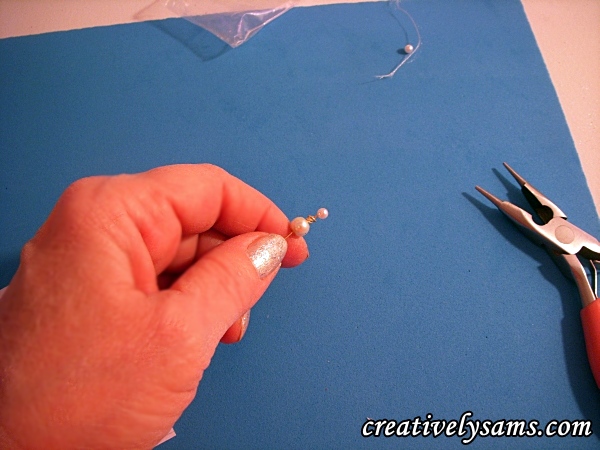
Start threading on the larger pearls.
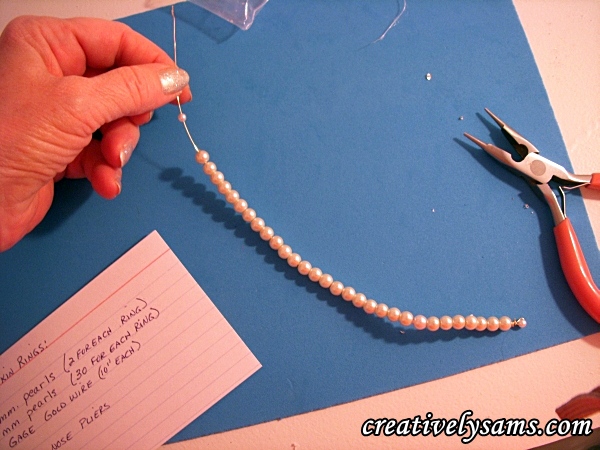
Add the remaining large pearls. (30 in total) and the second small pearl
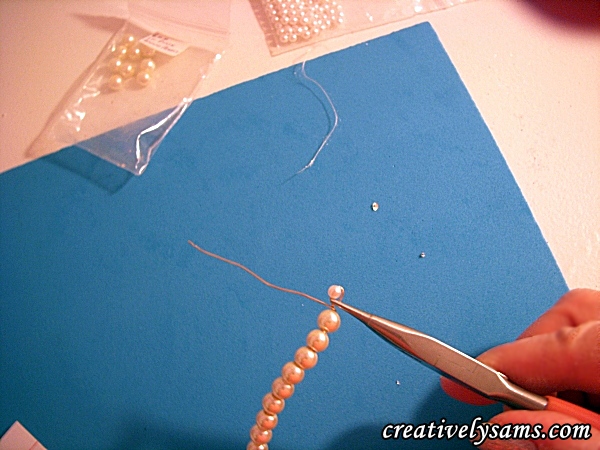
Bend the wire, after the last pearl
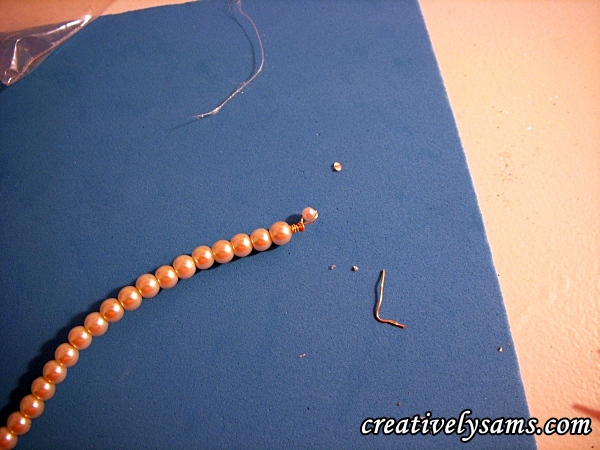
Hold the wire with the needle nose pliers and twist the wire under the last pearl. (as you did for the first pearl)
Clip off any excess wire. Then, use the pliers to tuck the end of the wire in, so that it’s smooth. (you don’t want the napkin ring to catch on your napkins)
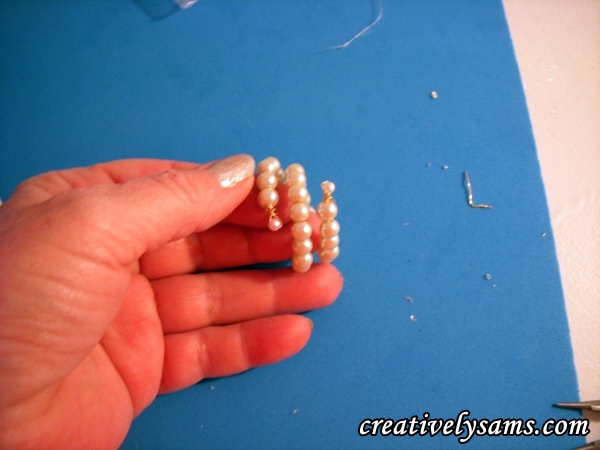
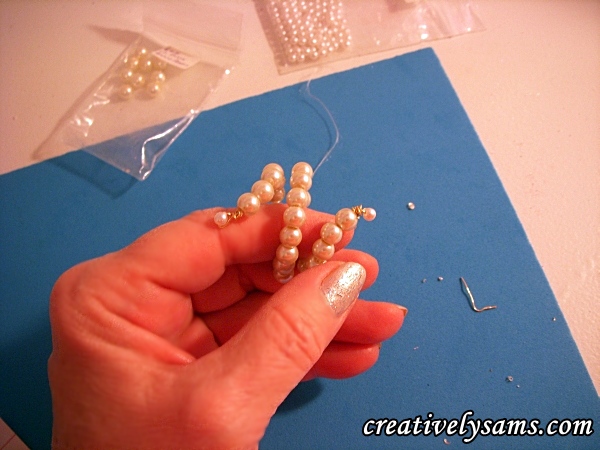
Wrap the pearls around two fingers to shape it into a ring.
Then gently twist the ends of the pearls outward.
And you’re done with your first Pearl Napkin Ring! Repeat as many times as needed for your tablescape.
I think I’ll be trying these in other colors, different kinds of beads, and certainly some crystals in the future. These can be customized for events such as birthdays, anniversaries, or weddings & the ideas for the holidays are endless!
I hope you’ll give them a try, using your own ideas and colors!
Happy Creating everyone!

