I’ve been wanting to make Sharpie plates ever since I saw them on YouTube a couple of years ago. And when a very special girl gave me a set of new Sharpies for Christmas, I had to do this. (Thank you, Amanda) Making special plates for St. Patrick’s Day seemed to be the right time to try this craft. It was a little time consuming, but very relaxing. It reminded me of when I was little & spent hours upon hours coloring in my coloring books. I’m so happy with the results. Here’s how I did it.
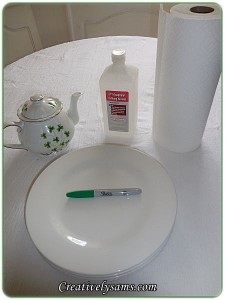
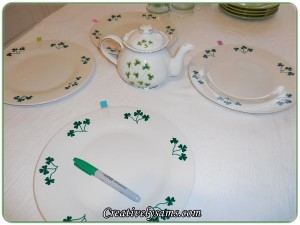
The supplies that you’ll need are very simple. You’ll need a Sharpie pen, alcohol, paper towels & some Dollar Tree white plates. I got out my Shamrock tea pot for inspiration.
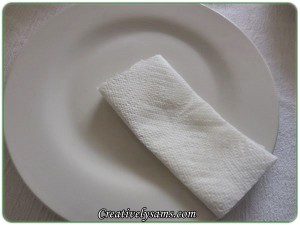
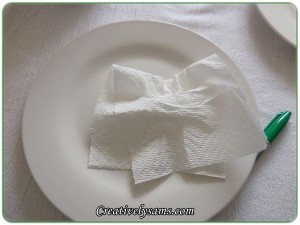
Clean the plates with alcohol on a paper towel to remove any dust or finger prints. Then dry the plates with another paper towel to remove any streaks.
Find any blemishes that might be on the plates. You can use the Sharpie to color over the blemishes. Draw on your design & color in the outline.
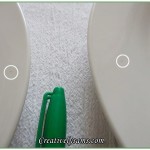
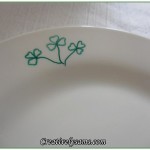
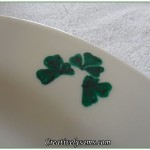
If you don’t like the way the design turned out, you can clean it off with some alcohol on a paper towel or a Q-Tip for small areas.
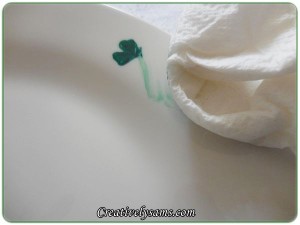
I got irritated with how many mistakes I had to clean up, so I made a stencil using some notebook paper. That way, all I had to do was move the stencil to the area I wanted it to be & then drew in the outline.
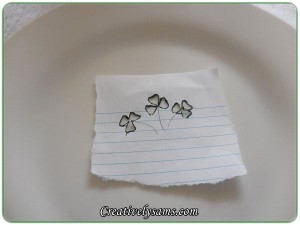
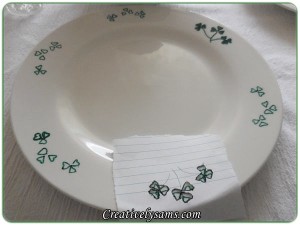
Once the outlines were drawn, I just filled them in with color. To make the outline a little rounder, I just made loops of color.
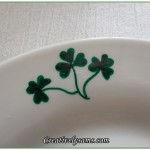
One plate down, three to go!
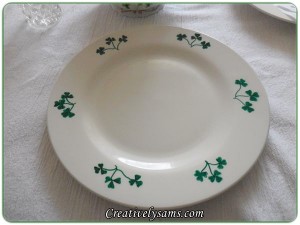
All four plates with the first coat of Sharpie color.
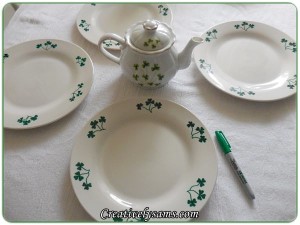
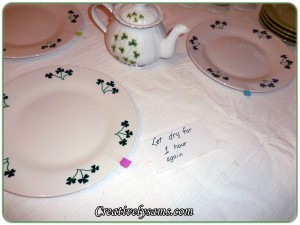
Once they’re all colored in, set them aside for 1 hour to dry.
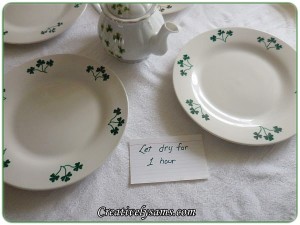
To make it easier for me to remember where I started to add the second coat of Sharpie, I used small post it flags.
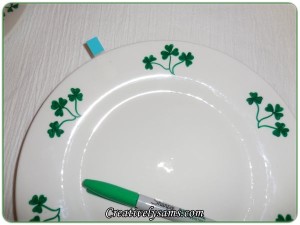
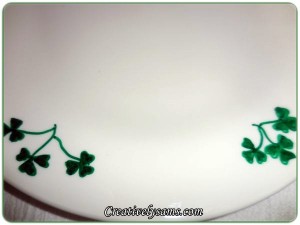
I added a second coat of the Sharpie to each design. (You can see the difference in the shades of the green when the second coat is added) Then I set it aside for another hour to dry.
After the plates have had their second drying hour, place them into a cold oven. Turn on the oven to 350 degrees for 30 minutes. After the 30 minutes, turn off the oven & let the plates cool in the oven.
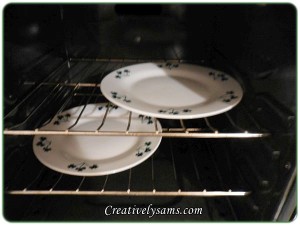
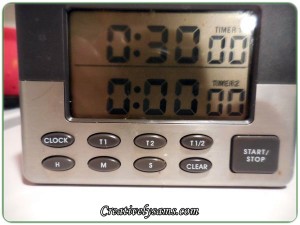
Once the plates have cooled down, remove them using oven mitts. They are still hot. Set them aside until they are cool to the touch.
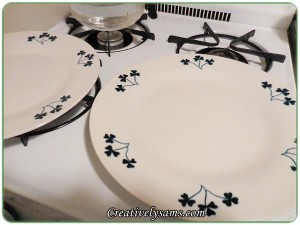
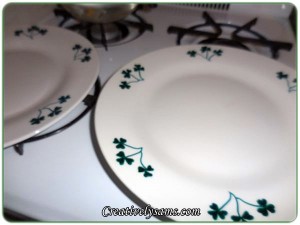
It’s so weird, but the Sharpie bakes into the glaze of the plates!
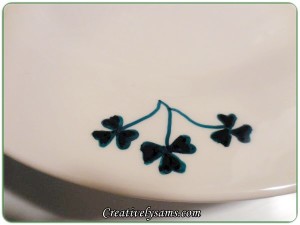
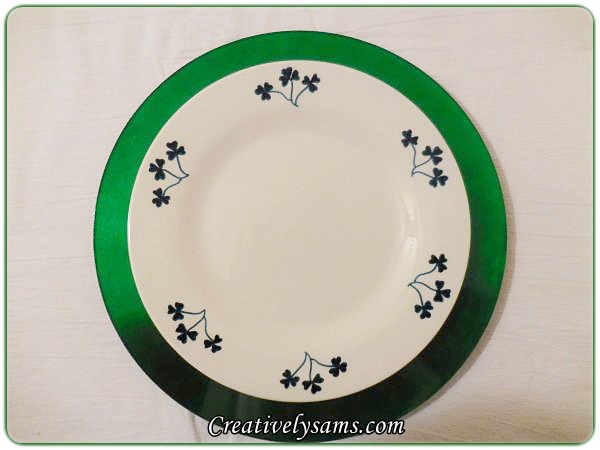
I love the way they turned out. They will be perfect for a St. Patrick’s Day Tablescape!
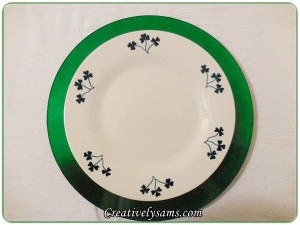
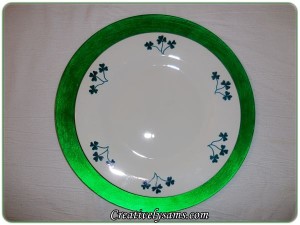
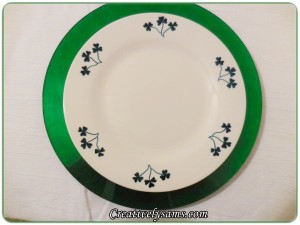
From what I understand from all of the YouTube videos that I watched, these are non toxic & can be used with food. They should be hand washed, not washed in a dishwasher.
These were so much fun to make. I can think of so many ways to decorate more plates & cups, for more holidays!
This could also be done by the little ones. Just use adult supervising for the baking part. What wonderful Mother’s Day or Father’s Day gifts they would make. Or personalized mugs for birthday parties? The possibilities are endless.
Shamrocks done, on to ZEBRAS!
Happy Creating everyone!
I’ll be joining:
Create With Joy for Inspire Me Monday – Week 219
