
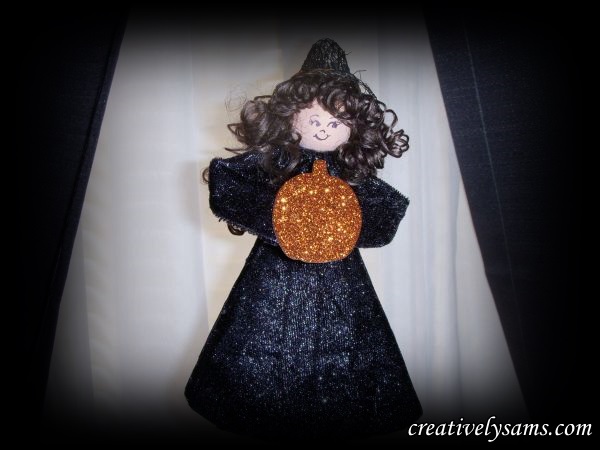
Just about to finish up the decorations for my Halloween Tree. Most of the decorations are on the tree, but it needed a tree topper. I thought about having a skeleton hanging on to the top branch, or topping it with a skull or pumpkin, or maybe even a large bow. But I decided on a cute little witch. After all, this is a family friendly Halloween Tree.
I used some black foam sheets to make the cone for the body. I rolled the foam into a cone shape. (I apologize in advance for the blurry pictures. I don’t know what happened)
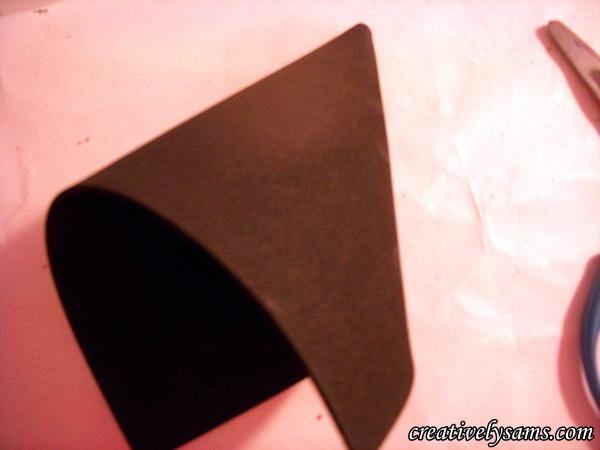
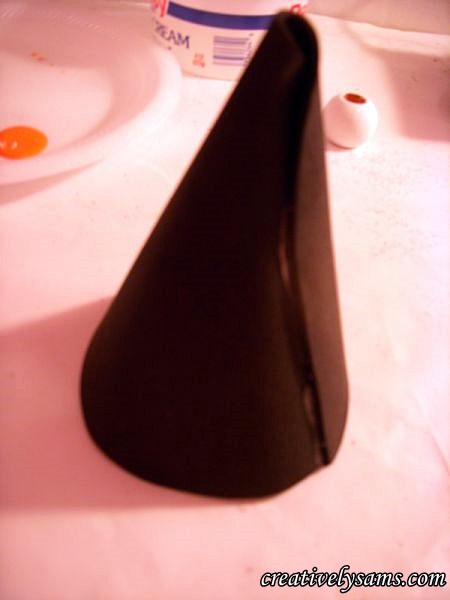
Once I got the cone to be the shape that I wanted, I hot glued it into place.

Then I trimmed the excess foam away from the bottom so that the cone would stand on its own.
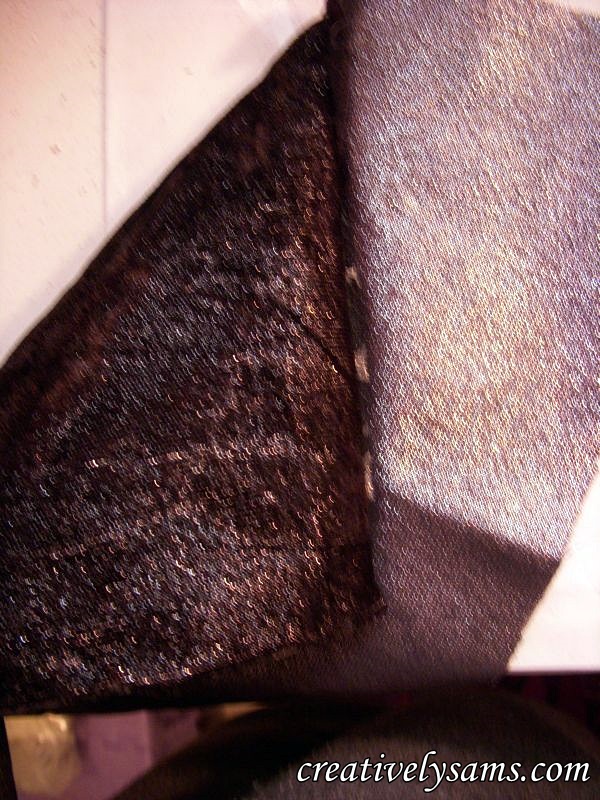
I have some black & silver velvet, so that’s what I used. You can use any fabric. Just make sure that you have enough to be able to roll the cone onto the fabric & have it cover the cone.

I hot glued the velvet on to the cone, starting at the seam of the foam cone. Make sure that the inside of the fabric is touching the foam cone.
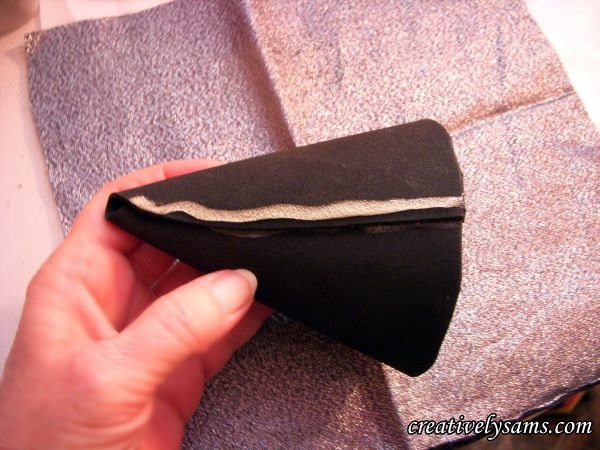
Roll the cone onto the fabric, covering the cone completely. Glue as needed.
Trim away excess fabric from the bottom & top of the cone.
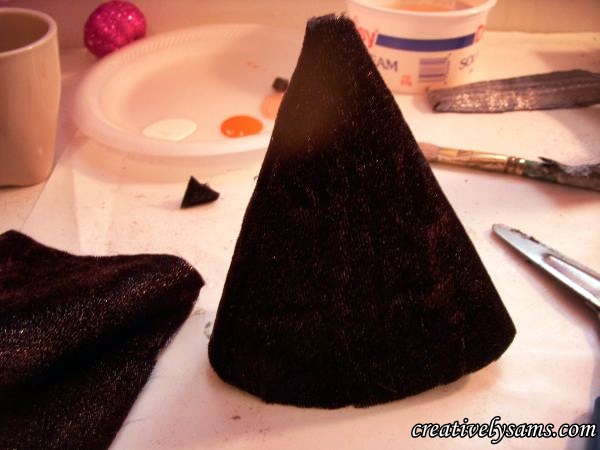
Your foam cone should now be covered with fabric. Set it aside.
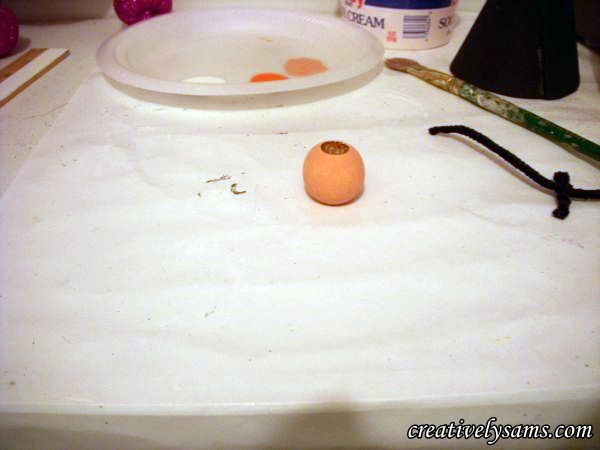
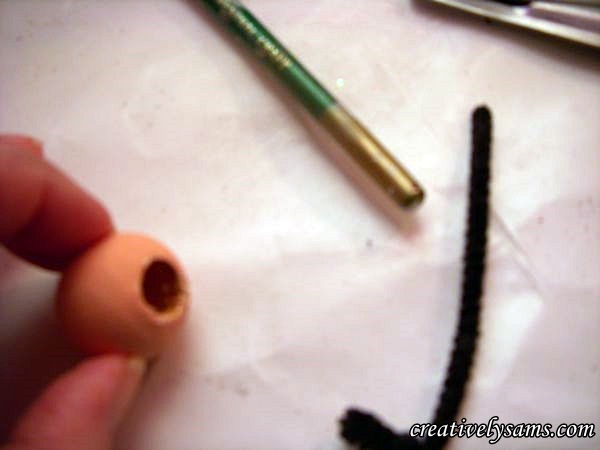
I painted a large wooden ball with two coats of a dark flesh colored acrylic paint. Set it aside to dry.
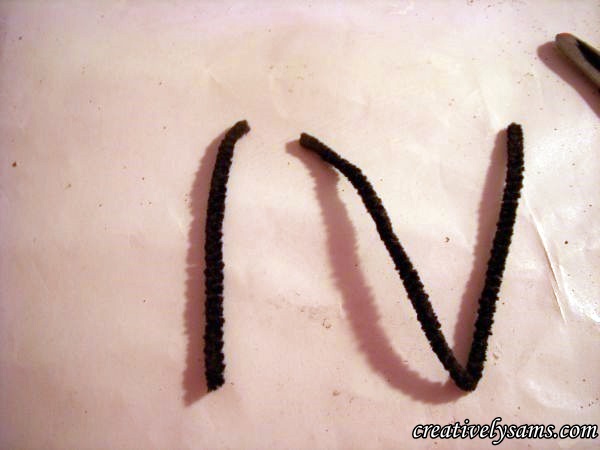
Bend a black pipe cleaner, or chenille stem in thirds.
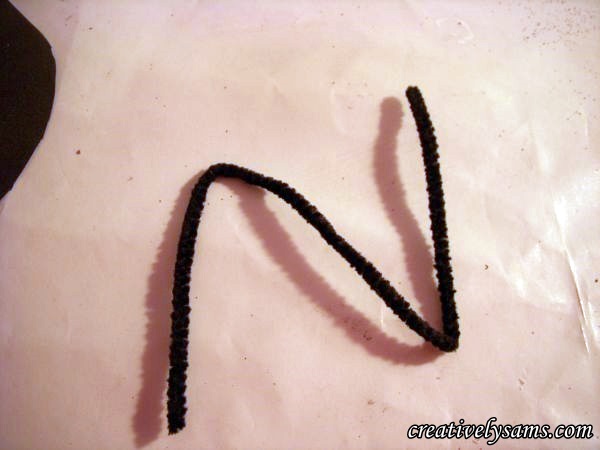
Clip off 1/3 of the pipe cleaner.
Fold the piece that you just cut off in half.
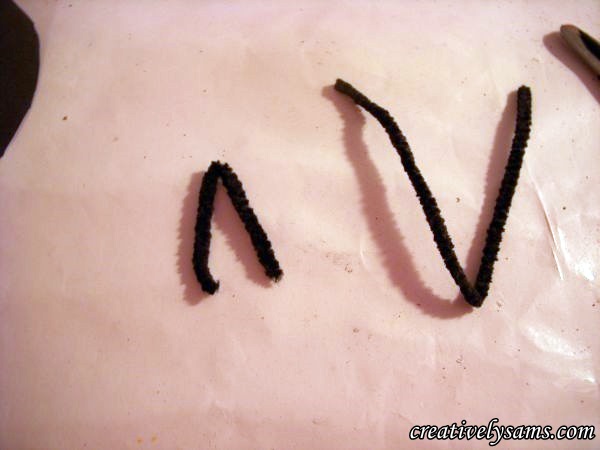
Twist the top of that piece (this forms the neck)
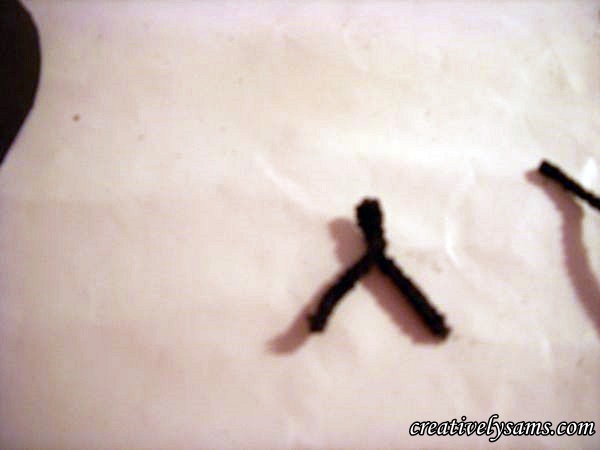
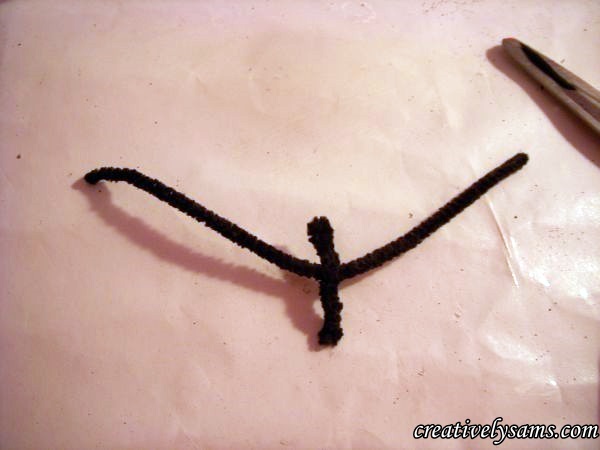
Insert the long piece under the twist and continue to twist the remaining section of the pipe cleaner (forming a body of sorts).
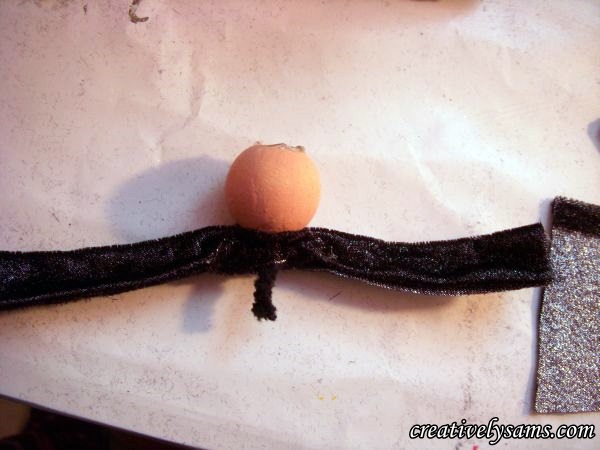
Insert some hot glue into the hole of the bead
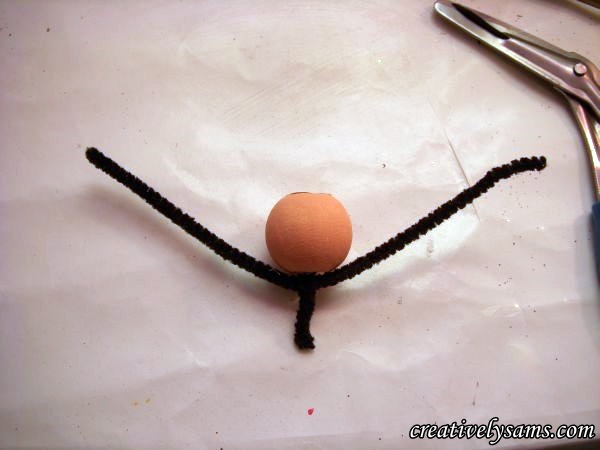
Push the neck twist into the hole of the bead, and add more glue to hold neck in place.
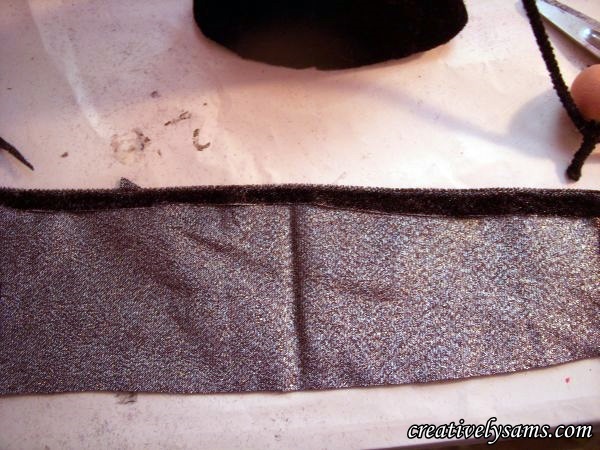
Cut a piece of the same fabric that you used for the cone as long as the ‘arms’ and a little longer than the arms and body. Fold over the top of the fabric & glue down to make a hem.
Lay the body on the fabric, and snip a small hole for the body end to go through.

Fold the fabric down over the ‘arms’ to form sleeves. Glue the fabric to the pipe cleaner arms.

Trim away excess fabric from the sleeves, but leave a small amount extra under the body area.
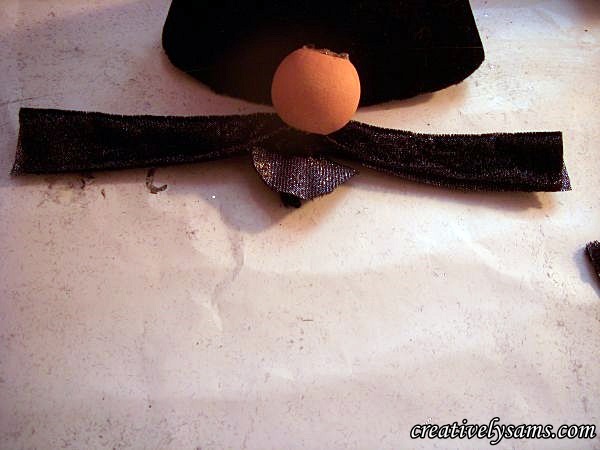
Glue the small area of fabric to the sleeve area. This will encase the body with fabric & leave an area to glue to cone.
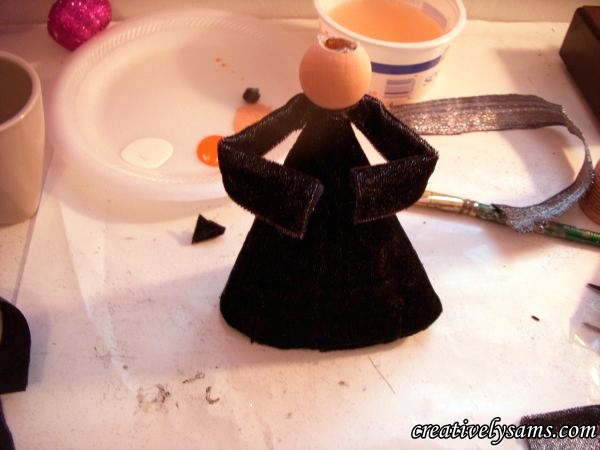
Hot glue the body into the top of the cone. Bend the ‘arms’ so that they form shoulders & elbows.
Next, take a handful of dark colored curly doll hair.
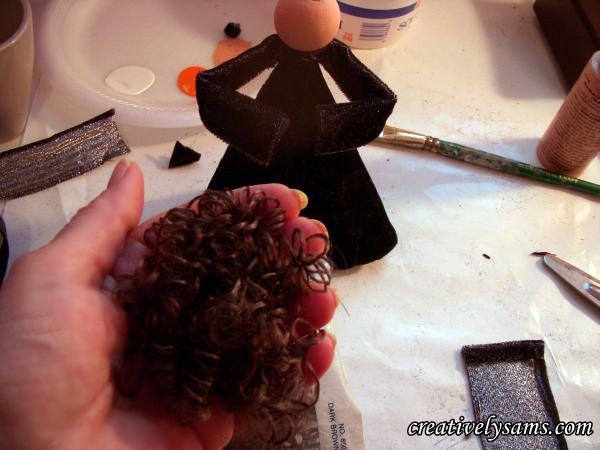
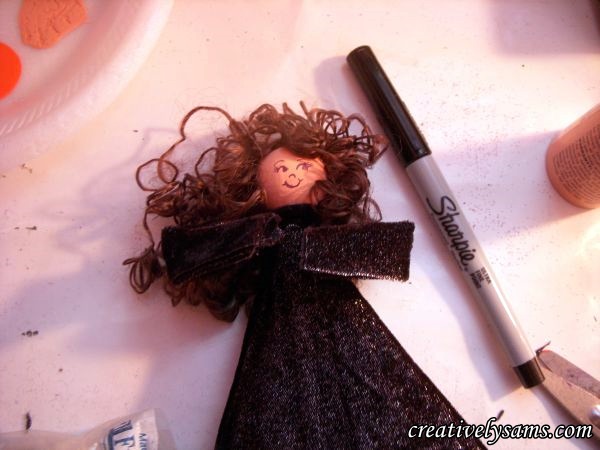
Put some hot glue on the top of the wooden bead and put the hair on the bead. Hold it in place until the glue holds the hair in place.
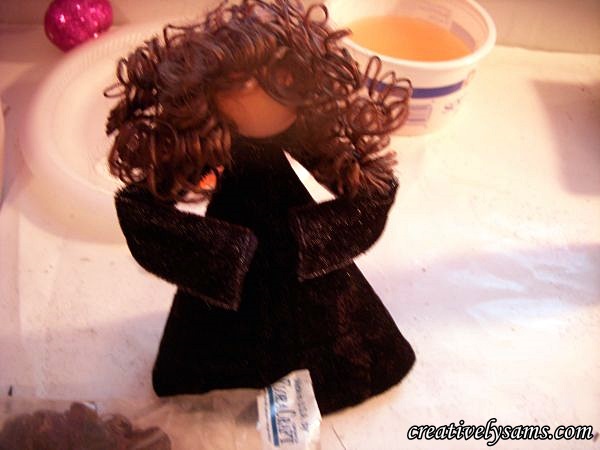
Now you want to give the little witch a face, and a hair cut if needed. I used a black Sharpie marker to give her eyes, eyelashes, eyebrows, nose & smiley mouth.
Add a hat & accessories. I had the hat on hand, (but you could make your own with some of the left over foam) and I was out of brooms, so I used a pumpkin shaped glitter scatter. I glued the hat and pumpkin in place with hot glue.
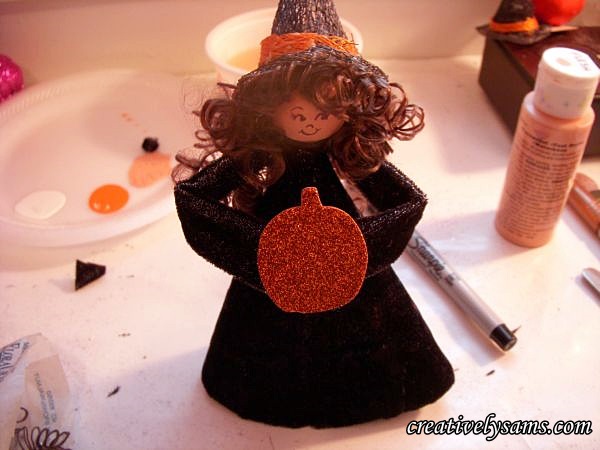
And she was ready to sit on top of the Halloween Tree.


I like the way she looks on the top of the tree.
Happy Creating everyone!
Pingback: Halloween TreeCreatively Sam's