
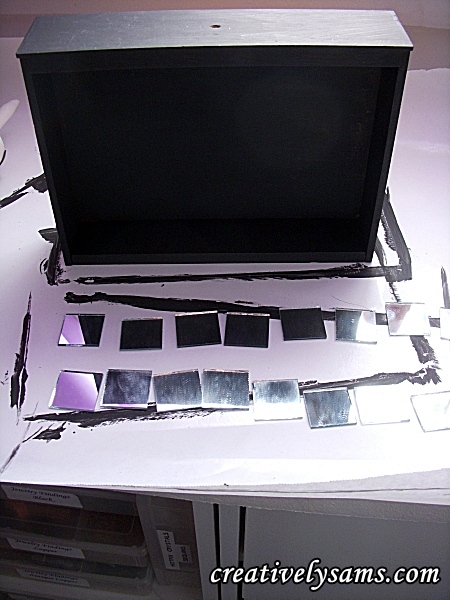
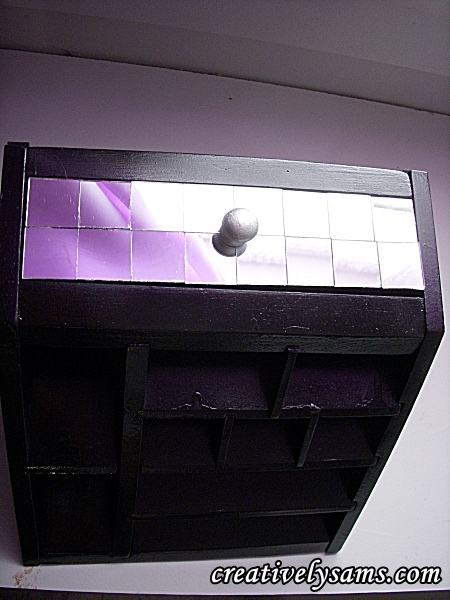
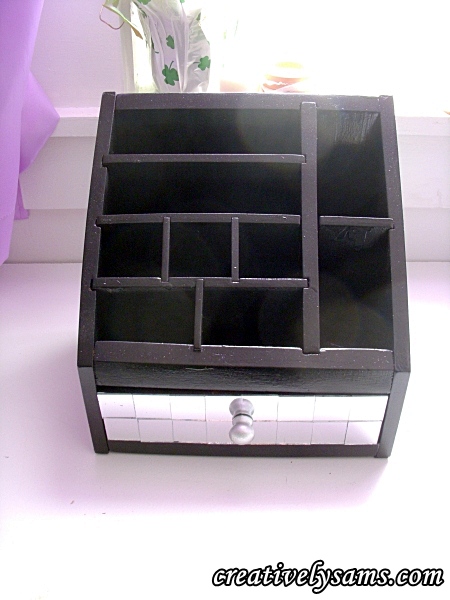
I found this little wooden desk organizer at the local thrift shop about 6 months ago. I put it on our bookcase, on our desk, in the craft room, & back on the bookcase. It just didn’t fit our decor. But what to do with it? I liked it, but brown wood just doesn’t fit in our home. It was sitting on my desk, and I was just staring at it. I knew it would come to me, eventually. Then it hit me. It needed painted…. and mirrors. This is the before & the after.

And this is how I did it:
I removed the little knob & lightly sanded the box on all sides. Then I wiped it down with a damp cloth to remove any dust.
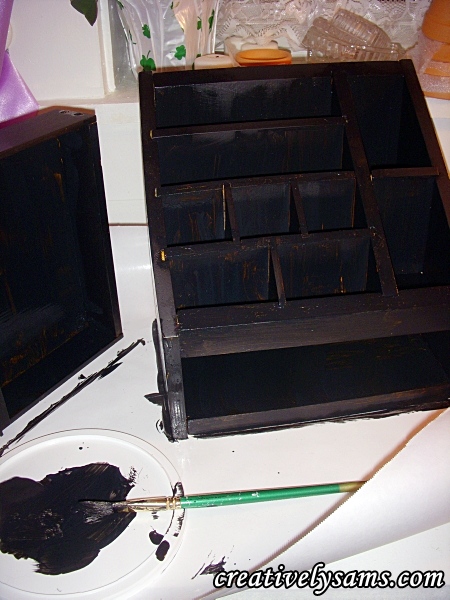
And then I got out the supplies. Freezer paper for under the box, shiny side up. (I like using freezer paper when I paint. The item doesn’t stick to it) A paint brush & black acrylic paint.

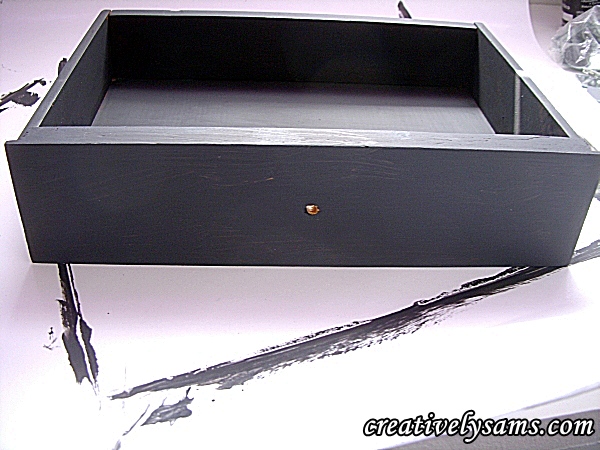
I started to base coat the entire box & drawer with the black paint.
After the paint dried, I flipped it over & painted the bottom of it.
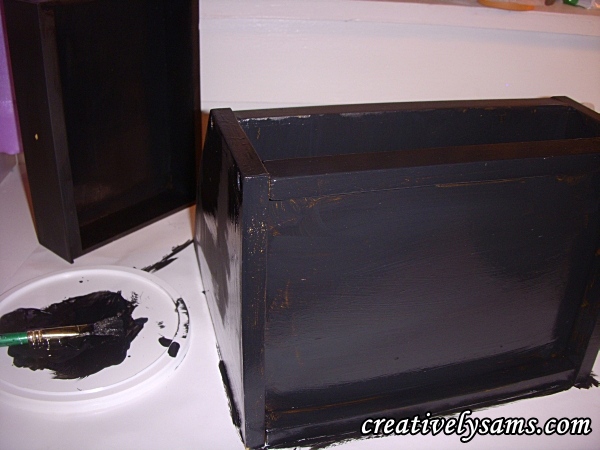
While it was in this position, I added a second coat of paint to the bottom. After the paint had dried, I flipped it back over & gave it a second coat of paint as well as a second coat to the drawer.
After the paint had dried, I took it outside & gave it a coat of “Krylon Triple- thick Clear Glaze”. I glazed the box, not the drawer, and did my best to not get any glaze in the drawer opening. Adding glaze adds thickness, and if you glaze the inside, where the drawer goes, you won’t be able to get the drawer back into its place.

While that was drying, I went back inside & started to play with mirrors. I have several sizes of mirrors & tried different ones on the drawer until I found the look I liked.
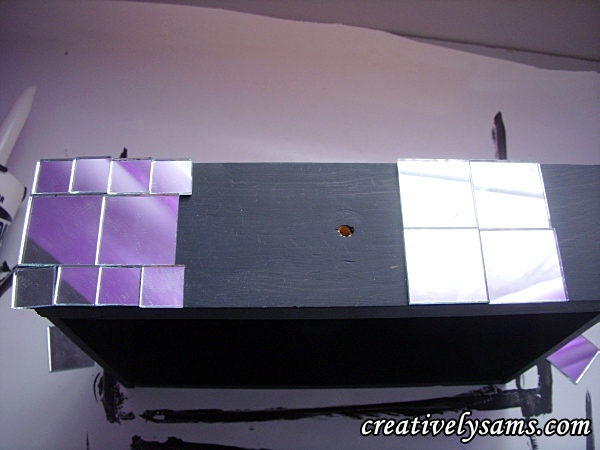
I decided on two rows of 1″ mirror squares. I took the mirrors off of the drawer front & laid them in the order that I wanted them. (the squares aren’t always exact in measurement)
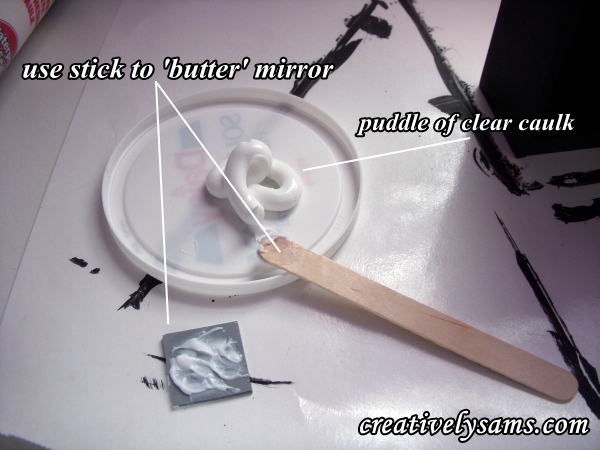
Then I got out one of my favorite ‘glues’. Kwik Seal Clear Caulk. This stuff seems to hold everything & anything.

I squeezed a puddle of the caulk onto a plastic lid, and with a wooden stick, I gently ‘buttered’ the back side of a mirror.
One by one, I placed the mirrors onto the drawer front. No matter how carefully you butter the mirrors, some caulk is going to ooze up between them. (don’t worry)
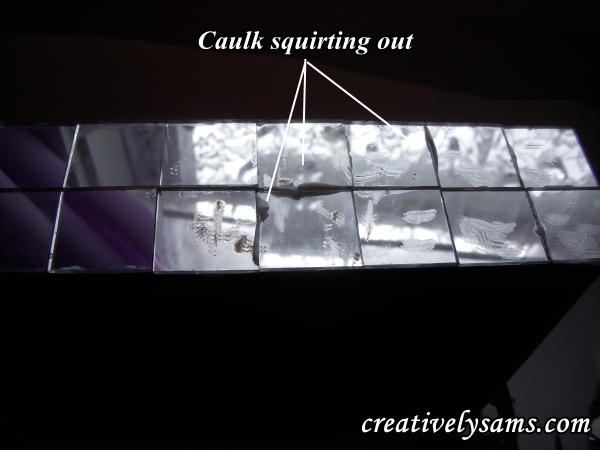
With a damp paper towel & holding the mirrors in place, gently wipe away the excess caulk. You will have to use several paper towels because you want a clean section each time you wipe the caulk away.

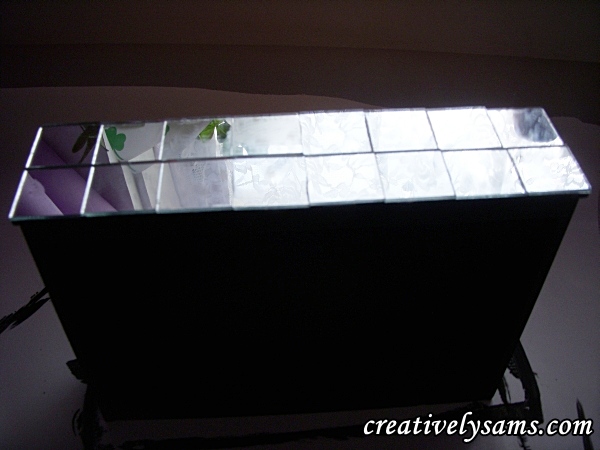
Then the fun part… waiting for it to dry. ahem.. I let it dry for several hours. Probably 5 or 6 hours. I wanted to make sure that the caulk had dried completely.
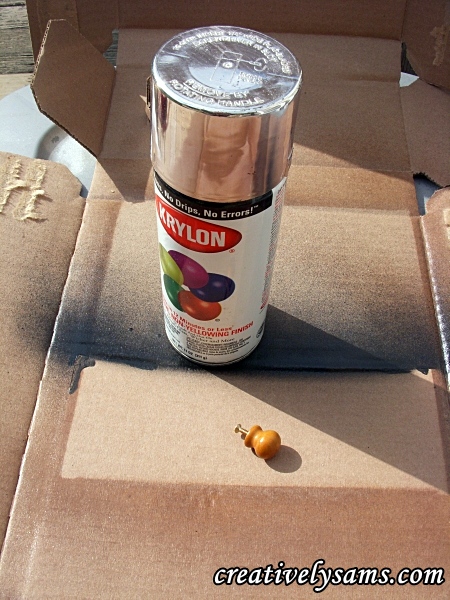
While I was waiting for the caulk to dry, I took the little wooden knob outside & spray painted it with silver paint.
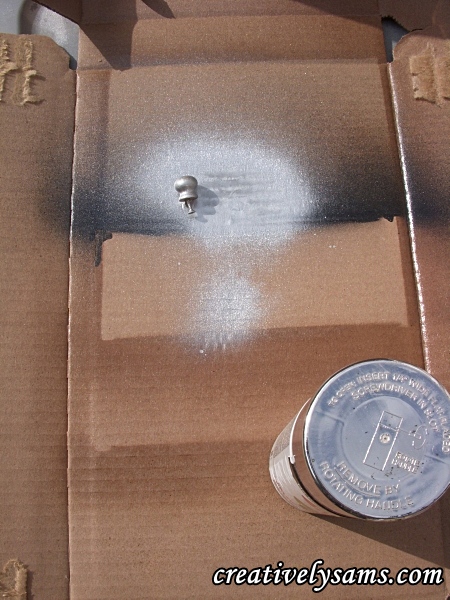
After the knob was painted and dried I brought it back inside. Once the caulk had dried, I got out the E-6000 (I love this stuff) and put some on the underside of the knob.
I gently pressed the knob in place & again, waited for it to dry.
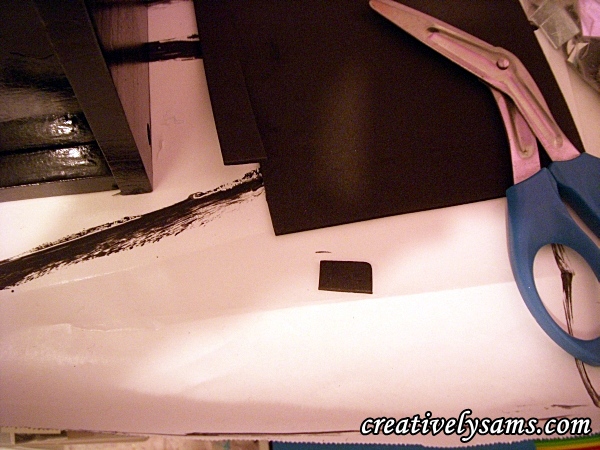
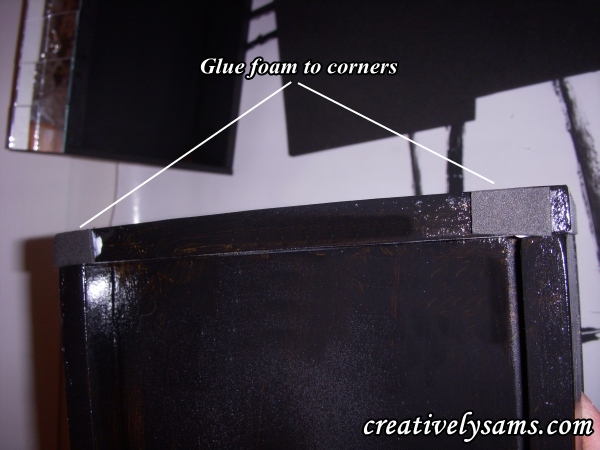
While the knob was drying, I cut out 4 little squares from black foam. Why did I use foam? Because that’s what I had on hand. If I’d have had felt, I would have used that. But they both serve the same purpose. To protect the surface of your furniture.
Glue the pieces on to the corners of the bottom of the box & let dry. (yes, I used the clear caulk here, too)
After everything has dried, replace the drawer & you’re done! The hardest thing about this project is waiting for everything to dry.
Add your stationary & pens & you’re little wooden desk organizer has gone from plain to unique!
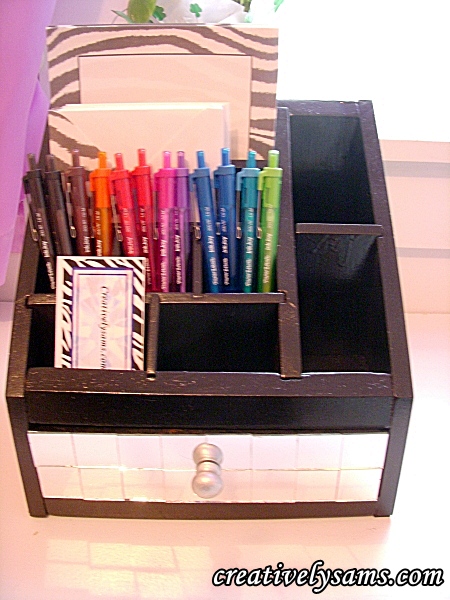
It’s not that hard to change something to match your home decor. A little paint, and something a little shiny & it looks totally different.
Happy Creating everyone!