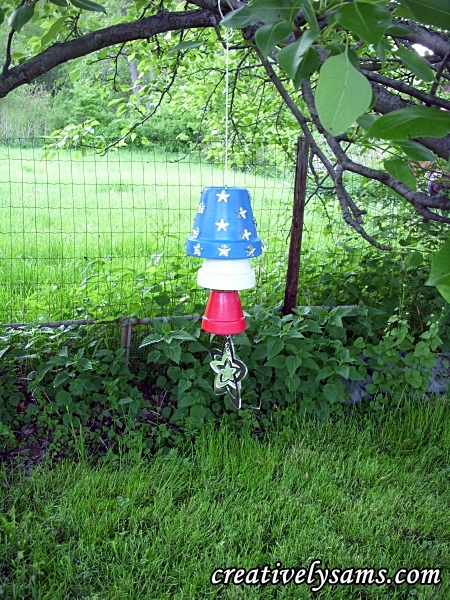
A Terra-cotta Chime, just in time for Armed Forces Day & Memorial Day.
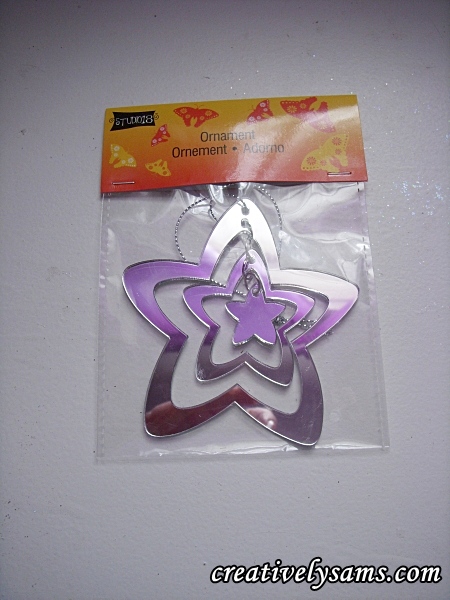
It’s hard to explain what triggers a creative idea for me. Something just clicks, and I’m off! This little outdoor chime was inspired by a walk through Michaels. I saw these plastic mirror stars and my mind started racing.
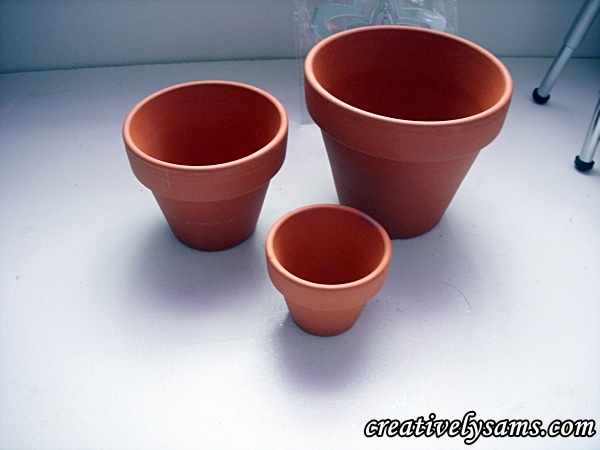
I picked up 3 different sized terra-cotta pots while I was at Michaels.
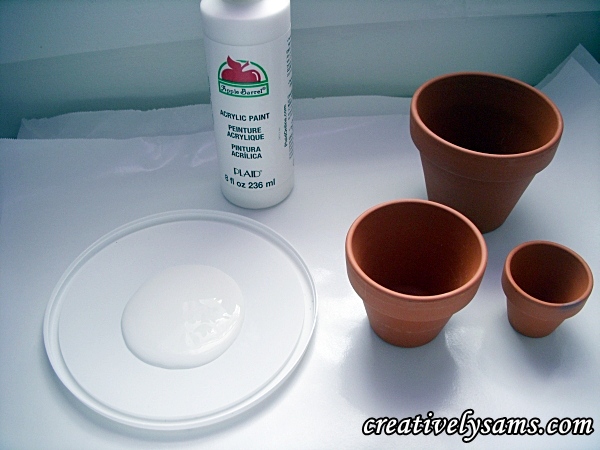
I got out my paints
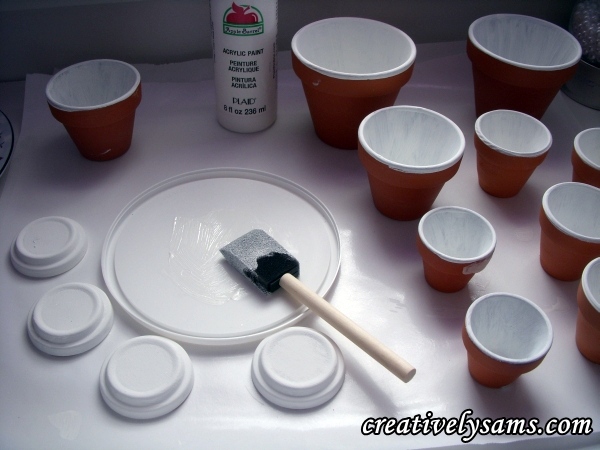
and started to base coat them. First on the inside
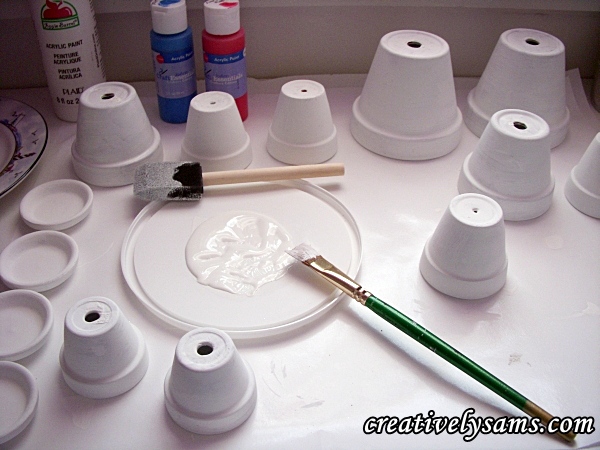
and when they had dried, I base coated the outside. (I guess you can see that I did a whole lot more than the 3 I needed.)
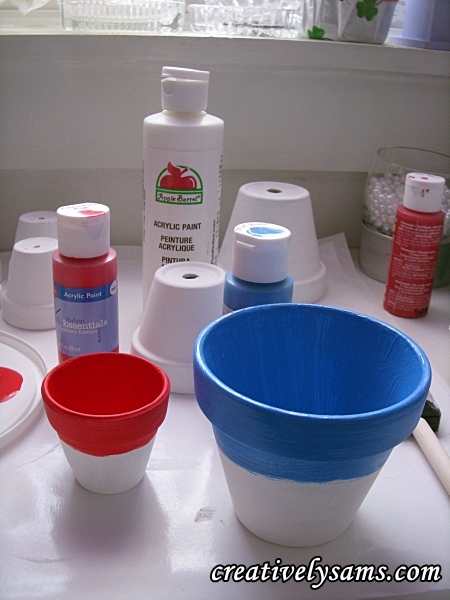
The reason that I base coat the pots in white first is so that the paint color that I’m using stays true. The blue & red would have an orange tone to them if I didn’t base coat in white.
Then I got out my red & blue paints & painted the insides of the pots. They needed 2 coats. (let them dry)
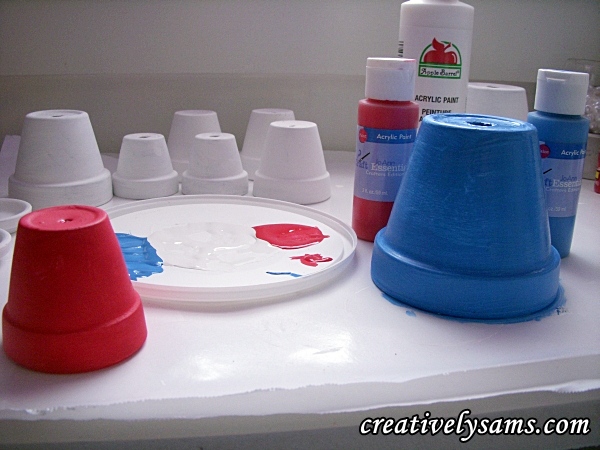
Then I painted the outside. (2 coats again)
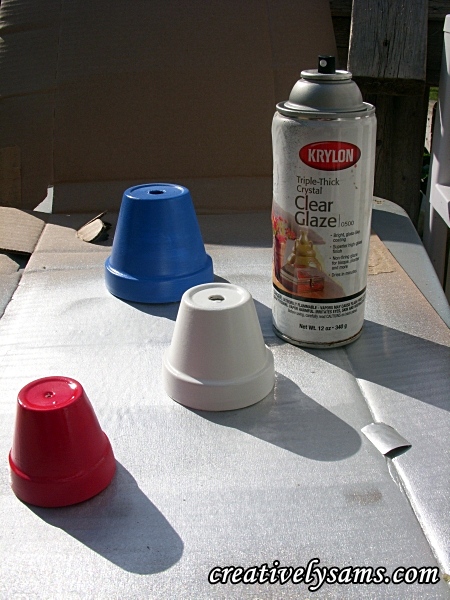
Once the paint had dried, I took them outside & gave them a couple of coats of Krylon Clear Coat. (again, let them dry) nothing like waiting for paint to dry. ahem…
When the clear coat had dried, I brought them back inside & started to assemble everything together.
I started by tying the string that was attached to the plastic mirror stars to a nylon cord, about 1 1/2 feet long, making the knot large enough so that it wouldn’t pull through the hole in the bottom of the smallest pot.
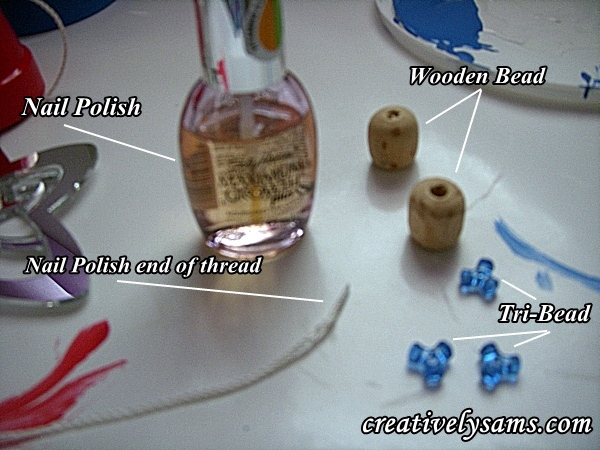
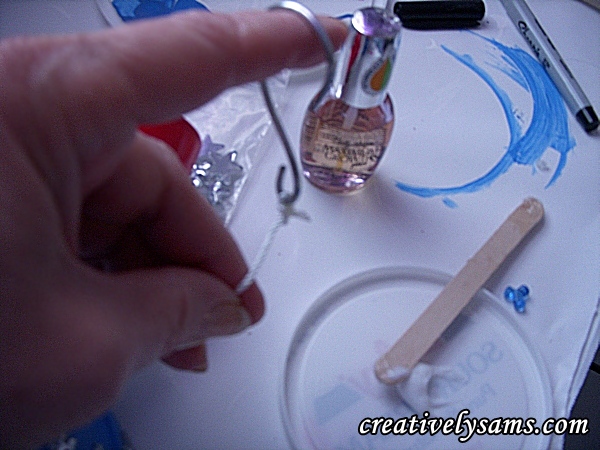
(I chose Nylon because it was going outside. I don’t have the original packaging to tell me what the size is, but it’s thin enough to go through the hole in the smallest pot and the beads that I was using.) Then I put nail polish on the other end of the cord & twisted it tightly & held it until it dried. This makes it easy to thread through the holes in the pots & the beads. (kind of like the end of shoe laces)
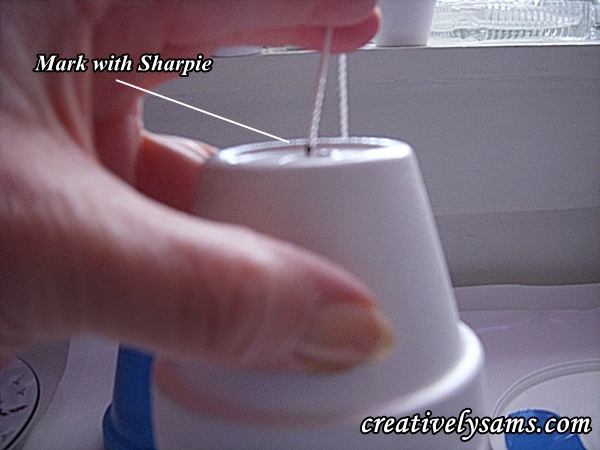
Slide the smallest pot onto the knot that you’ve just made. Then thread the second pot onto the cord and using a sharpie marker, mark the cord where you want the second knot to go.
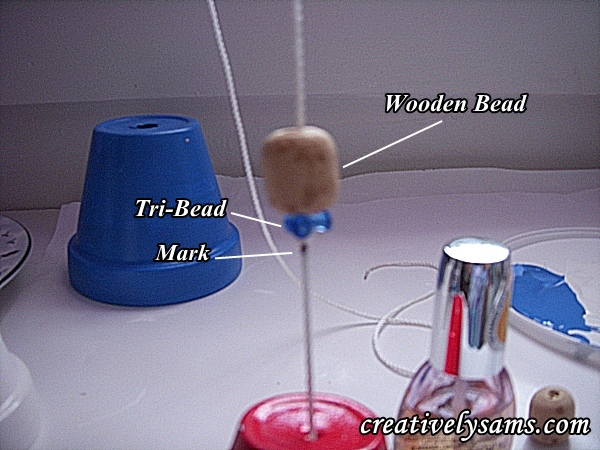
Pull the second pot back off & make a knot, then string on a tri-bead & a wooden bead. (this was the only way I could get the pots to stay in place without slipping through the hole in the bottom of the pot.)
Thread the cord through the second pot.
Next you’ll decorate the large pot
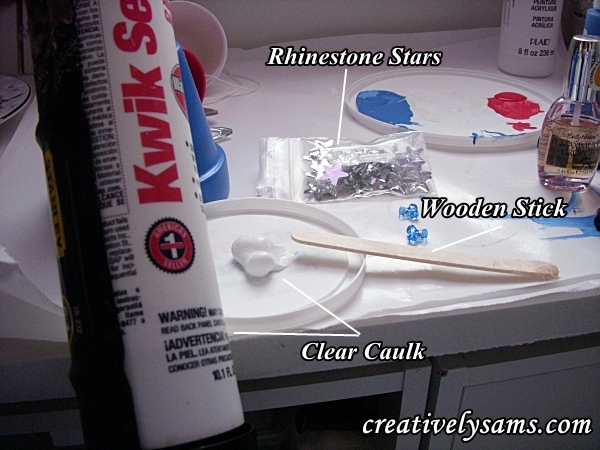
I did this the same way that I decorated the Patriotic Birdhouse Wind Chime. I used Kwik Seal Clear Caulk to adhere the rhinestone stars to the pot. It’s okay if some of the clear caulking shows through because it dries clear.
When the caulk dries, mark the cord for placement of the last pot, as before
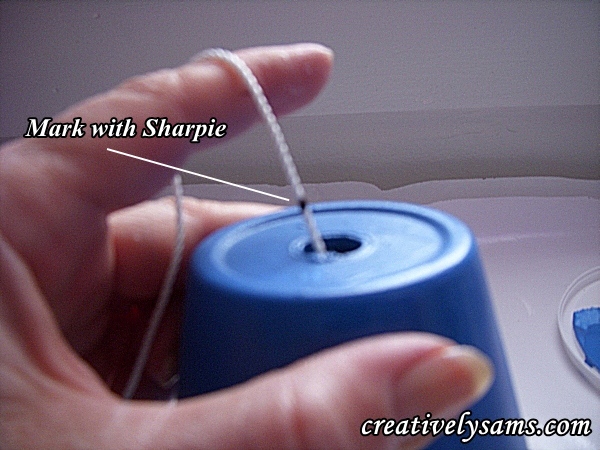 Pull the pot off, and knot the cord & add a tri-bead & a wooden bead & replace the largest/last pot.
Cut off any excess cording and add an “S” hook to the end of the cord for hanging
Take it outside & hang it! You’re done!
Happy Creating!




Pingback: 11 Ways to Repurpose a Terracotta Pot - Dukes & Duchesses
Pingback: My First Year as a BloggerCreatively Sam's