I can’t believe that I didn’t think of this sooner. I like to sew. (the sewing machine is never put away) But I usually just use a straight stitch, like when I’m making placemats.
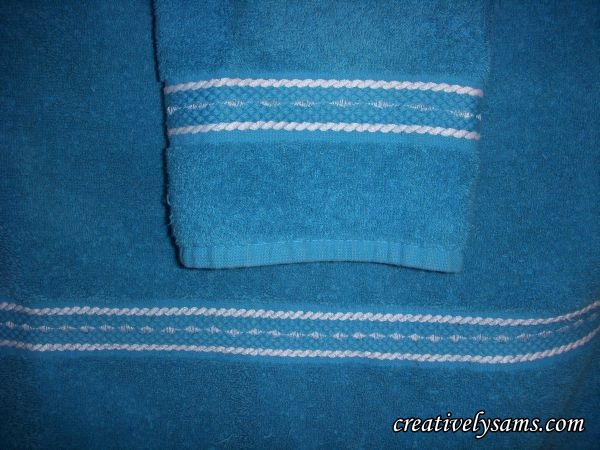
I’d made a stitch swatch for the larger more solid stitches years ago:
When I’m going to add an embellishment to a new set of towels, I can just look at the swatch & know exactly what it’s going to look like. I don’t have to experiment every time I want to sew. It’s right there in front of me. (Adding embellishments to inexpensive towels, gives them a more expensive look without the extra $$$)
But I never made one for the smaller decorative stitches.
I was making some new napkins for a tablescapes & wanted to embellish the edges with some decorative stitches. And I couldn’t decide which stitch I wanted to use by just looking at the pictures on my sewing machine.
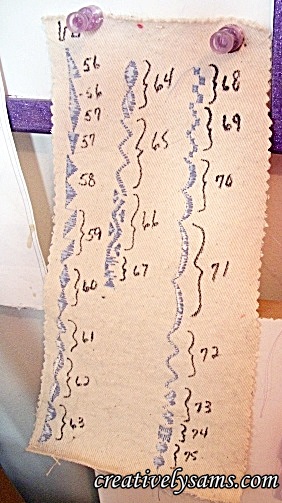
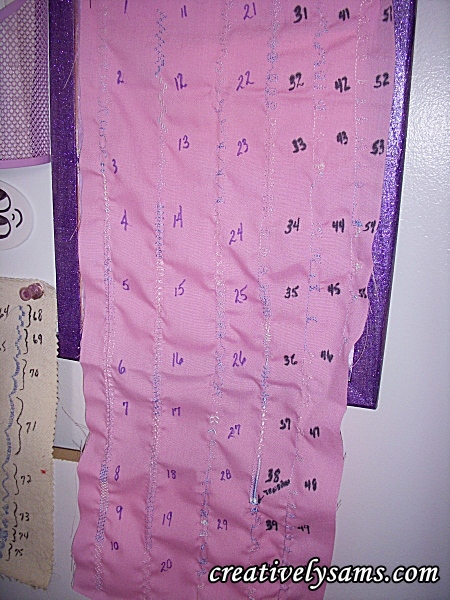
I got a long piece of cotton fabric and started to sew each stitch on the fabric. I marked the number of the stitch next to sewn stitch so I wouldn’t get confused later on. It also gave me the chance to mark which stitches need a little tweaking for the tension. I just marked it right on the swatch. (as you can see for #38)
Now that I’ve made it, I’ll have no trouble choosing which stitch to use when I’m in the mood to decorate something. This is how the napkins looked before I added the decorative stitches:

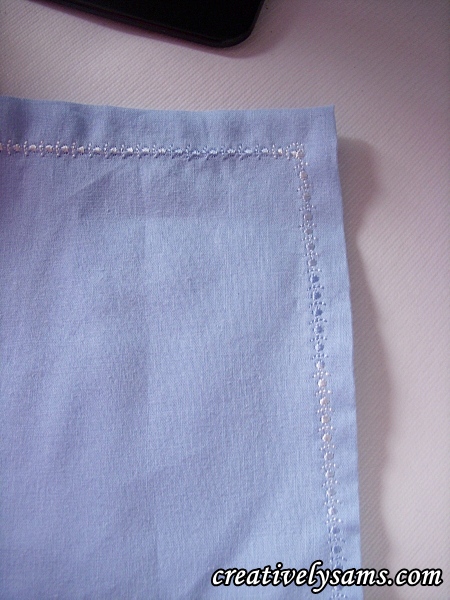
This is the stitch that I finally chose for my new napkins. I really like the way they turned out. I just may be adding a lot more embellishments to my napkins in the future, now that I can see how it will look!
I hope this gives you an idea or two to help you use the stitches that your sewing machine comes with. I know that I’ll be using them more often in the future.
Happy creating everyone!