
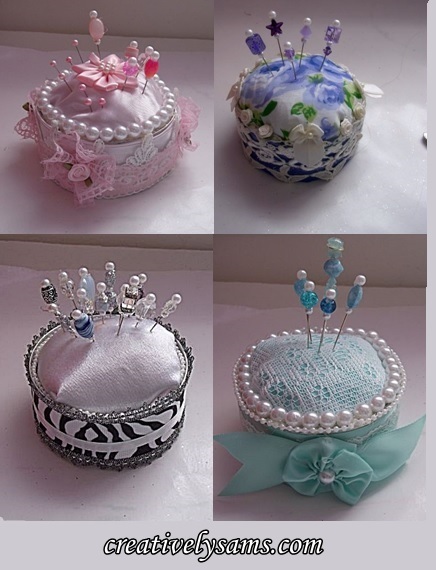
Pin cushions are a must in any sewing room. They can be very expensive if bought in a conventional store. But they’re very easy to make yourself. And when you make your own, you can customize them to the way you like them. They can be as fancy or streamlined as you choose. Shabby Chic, floral, animal prints, plain, it’s up to you! That’s the beauty of making your own.
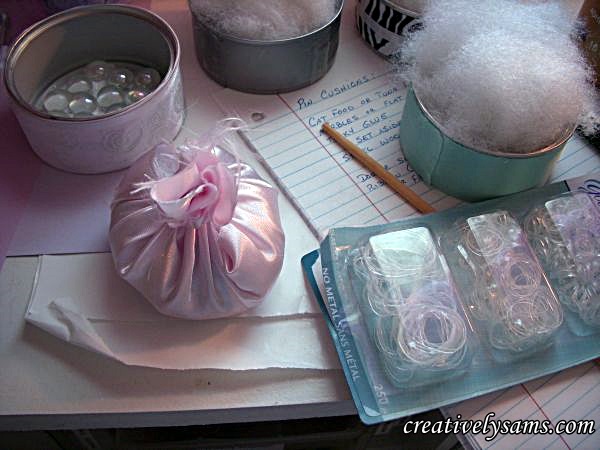
Here’s what you’ll need to make your own:

For the base:
Cat Food or Tuna Can (label removed, washed, dried)
Tacky Glue
Flat Backed Glass Scatter (this adds weight to the pin cushion)
Steel Wool (SOS/Brillo Pads) The steel wool sharpens the pins & the soap that’s in them makes the pins go through the fabric a little easier)
Polyester Fiber Fill
Small Rubber Band
Hot Glue Gun & Glue Sticks
Decorations:
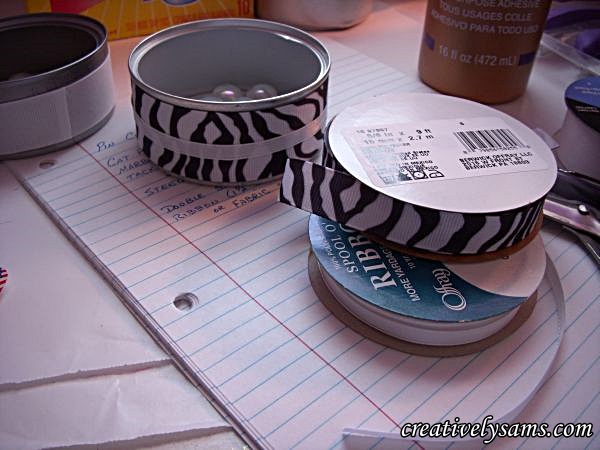
Ribbons
Lace Trims
Ribbon Roses
Pearl Strands
Fabric (I like the way pins go through satin, but a light weight cotton works too)
Double Sided Tape
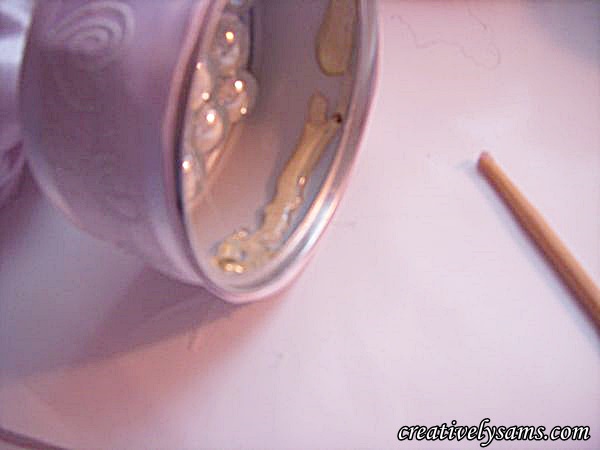
Put a layer of Tacky Glue in the bottom of the can. Add the glass scatter stones to cover the bottom. (I don’t suggest using hot glue for this part. It’s too easy to burn yourself while trying to make sure the stones are resting on the flat part)
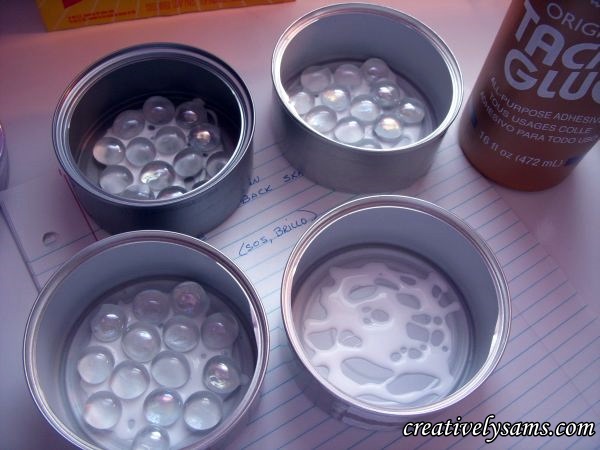
Set it aside to dry. (this takes awhile)
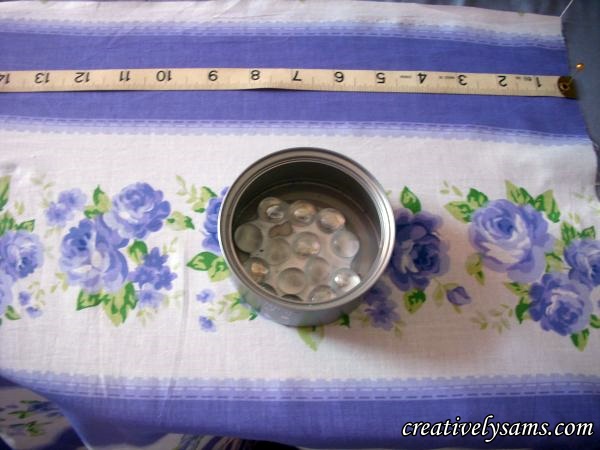
When the glue has dried, you want to measure the fabric you’ll need for the cover. I cut the fabric twice the size of the can.
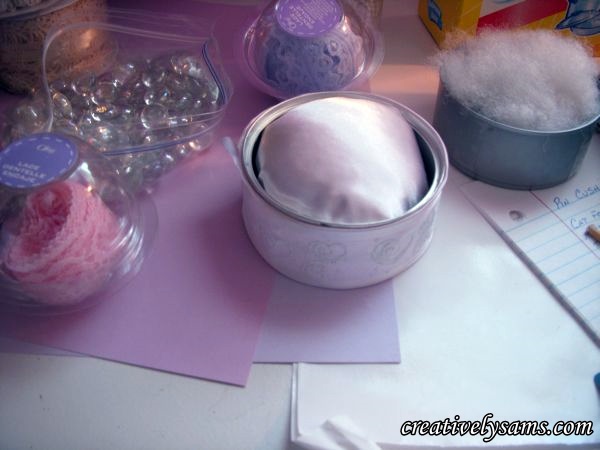
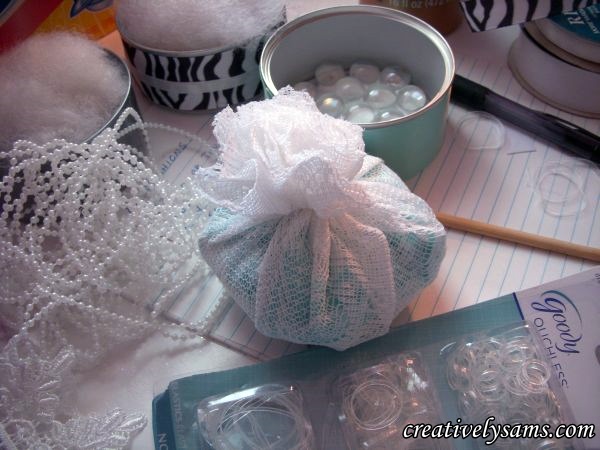
Put the fabric right side down, then add a hand full of polyester fiberfill & a steel wool pad.
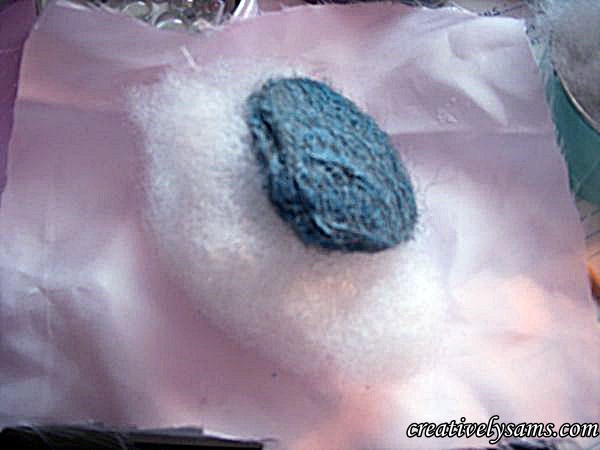
Gather up the edges of the fabric around the fill & steel wool. Secure tightly with a rubber band forming a little ‘pillow’.
Apply hot glue to the rim of the can:
And put the little pillow, rubber band side down, inside the can.
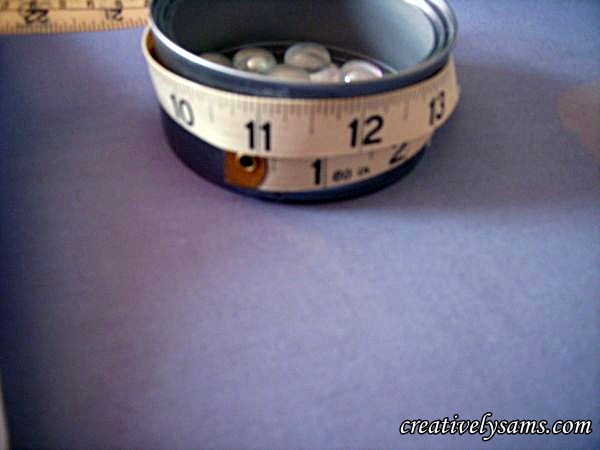
Measure the outside of the can so that you can cut the ribbons to fit.
Apply double sided tape to the ribbon to adhere the ribbon to the can. Hot glue can peel off and has a hard time sticking to the can.
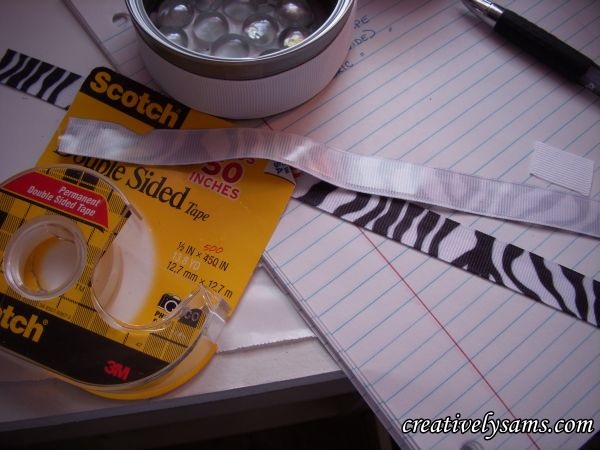
Apply ribbons & trim:
If you’re using fabric for the outside of the can, cut the fabric twice the height of the can so you can turn under the raw edges, iron.
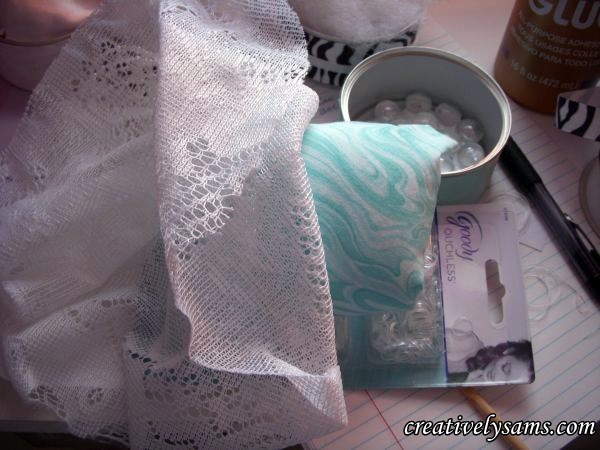
For the Aqua Pin Cushion embellishment:
The fabric was a little intense for the look I was going for, so I added a layer of lace to it to soften the look.
Finish the same way (rubber band) to make a pillow:

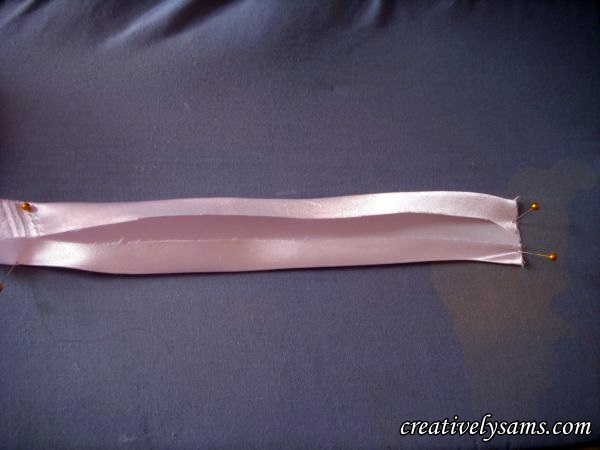
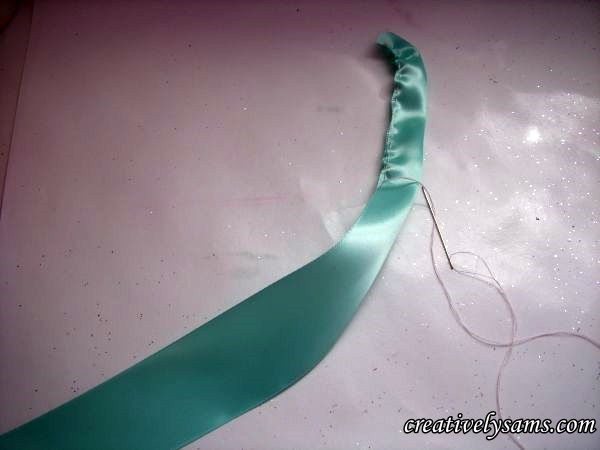
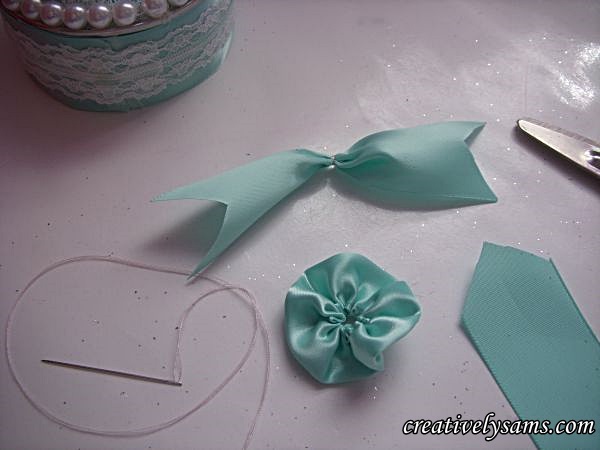
to make the yo yo, cut about 6″ of ribbon, fold it in half lengthwise, and hand stitch the edges together using a running stitch. Pull the thread tightly to form a circle & knot.
Cut a piece of ribbon a couple of inches long, (hold it up to the can and see what size you like) and cut a V into the ends of the ribbon. Wrap thread around the center to make tails. Knot the thread in place.
Apply a drop of glue on the side of the can & press the ‘tails’ into the glue. Add another drop of glue to the center of the ‘tails’ and press the Yo Yo on to the drop of glue.
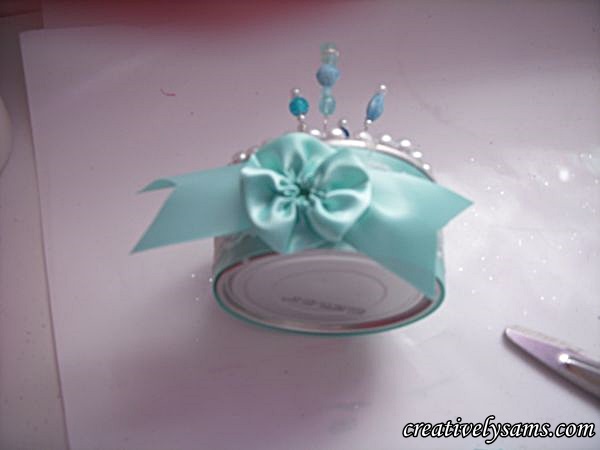
Put a drop of glue in the center of the Yo Yo and add a large pearl. (or bead, or charm)

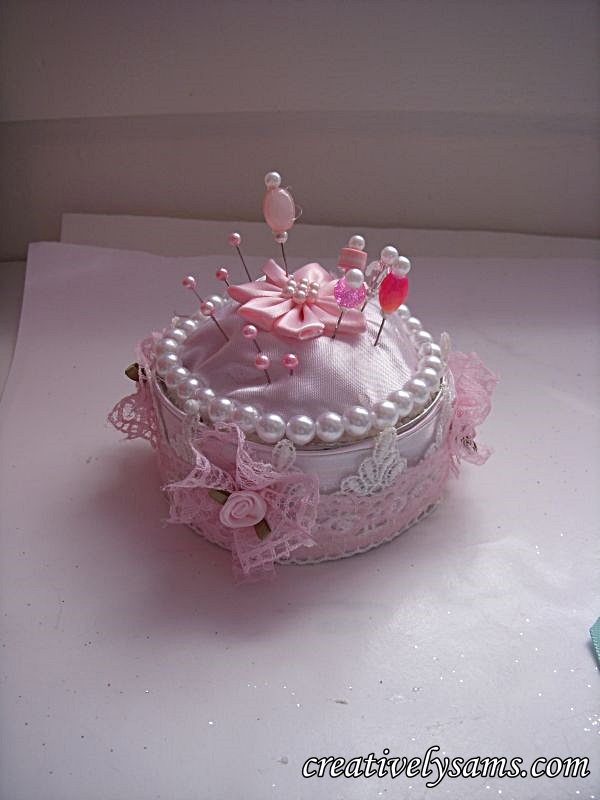
Pink:
I made a Yo Yo from lace trim & glued a ribbon rose to the center of it.
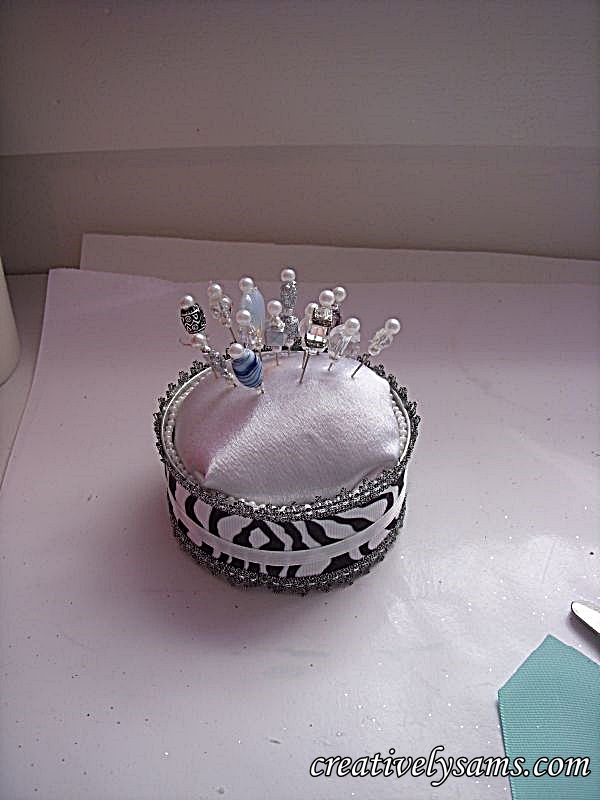
Zebra:
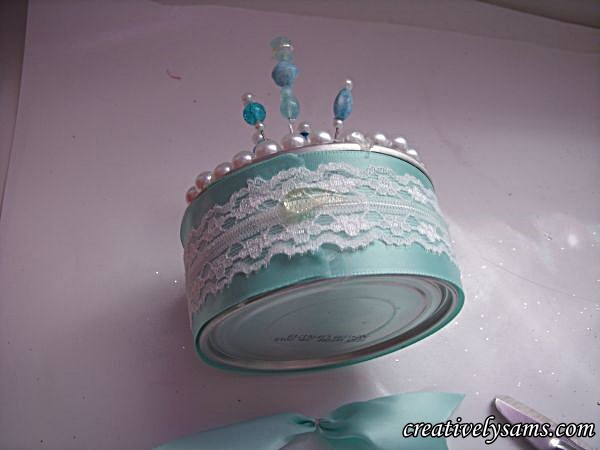
This one was kept on the plain side. With simple trims & a single strand of pearls to conceal the rim of the can.
As you can see, the color & design possibilities are endless. Give it a try using the colors that you love.
Happy Creating everyone!
Pingback: diy Hat Pins-tutorialCreatively Sam's