
These Glitter Ornaments are by far the most addictive craft that I’ve done in a very long time. I’m sure that the glitter has a lot to do with it. And they’re a little messy but so easy to do and you can customize them to any color you want!
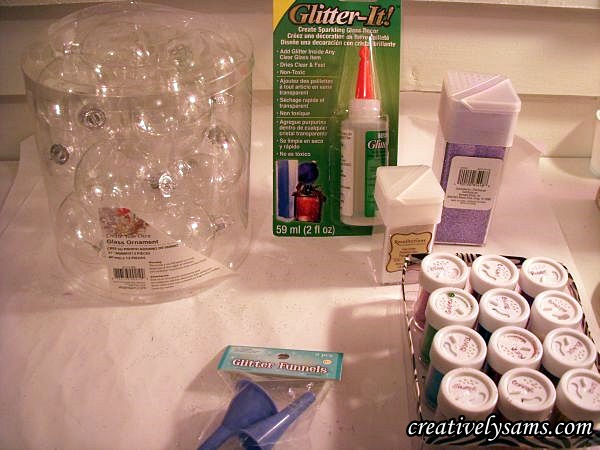
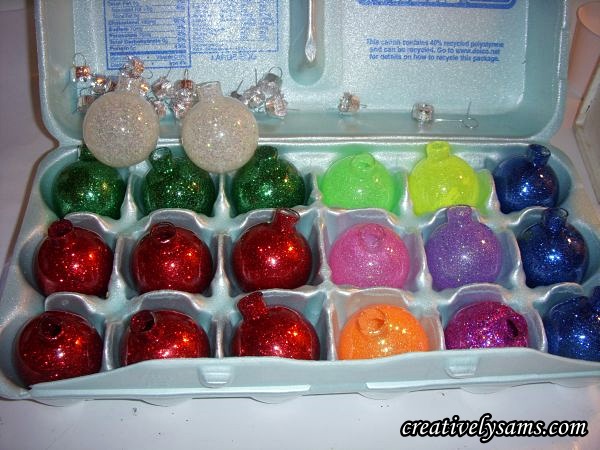
You don’t need much to create this project. Some Glitter-It, clear glass ornaments, and glitter! Lots & lots of glitter! (you can almost hear the giggles)
The instructions for the Glitter-It say to wash the clear ornaments with vinegar & water & let dry. I did, but when I watched the video on their YouTube channel, they never said anything about pre-washing. It also says to protect area with plastic, but I used my trusty freezer paper.
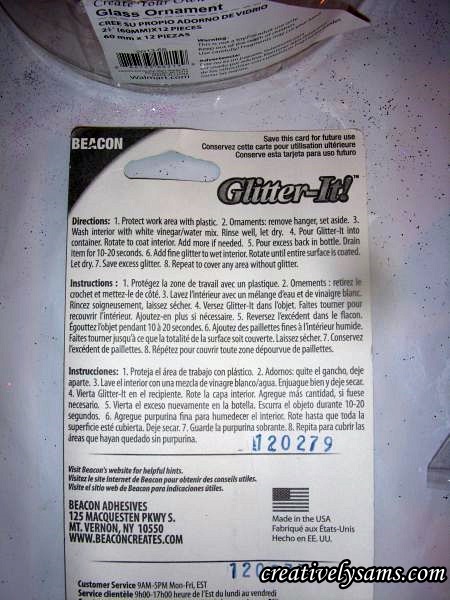
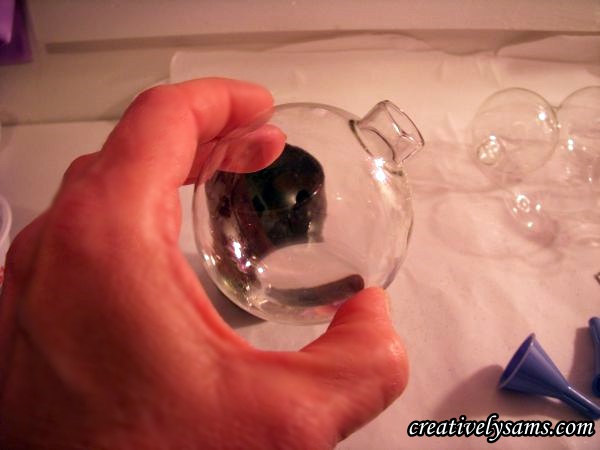
It also says to remove the hangers. When you remove the hanger/caps, gently open them up a little to get them back on when you’re done. Ask me how I found this out… ahem…
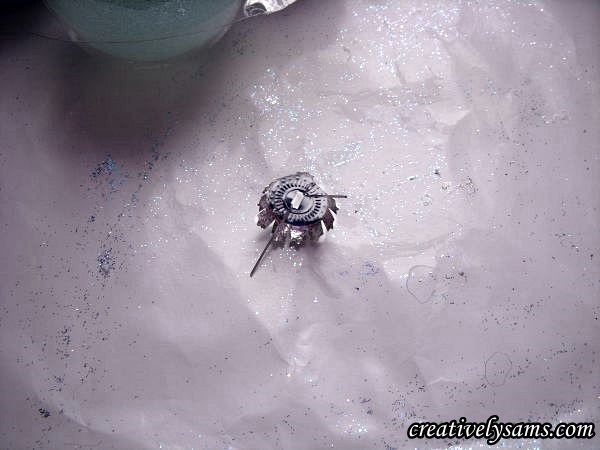
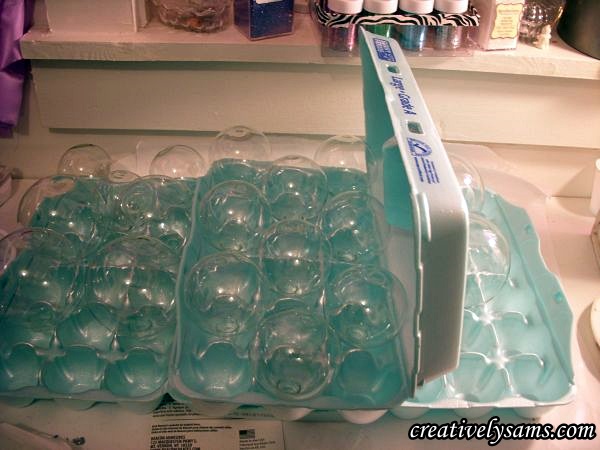
I washed them in the white vinegar water & turned them upside down to dry. Egg cartons worked just fine. I actually let them dry over night, but I’m sure it wouldn’t take that long.
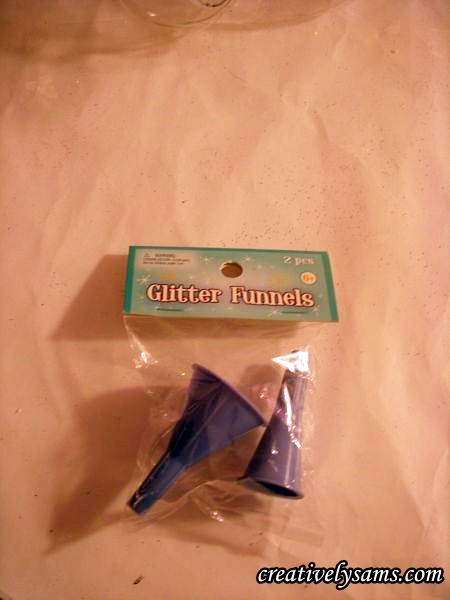
I also used glitter funnels. It made the glitter part so much easier.
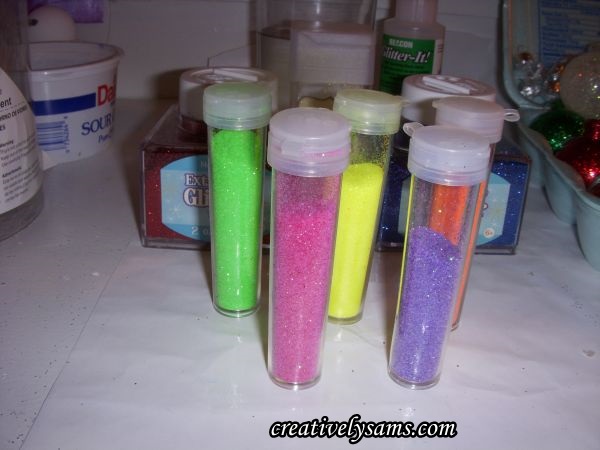
And you’ll need glitter, lots & lots of glitters. I’ve been itching to try the neon glitters that I found at Walmart. Now was my chance.
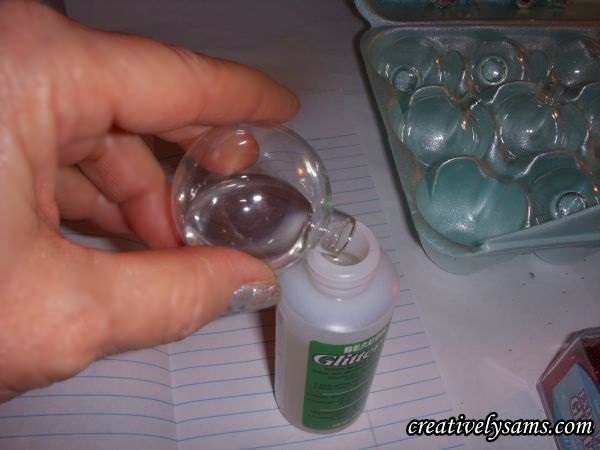
After the glass ornaments are dried, pour in some Glitter-It. I ended up taking the cap off of the bottle. It was easier in the long run.
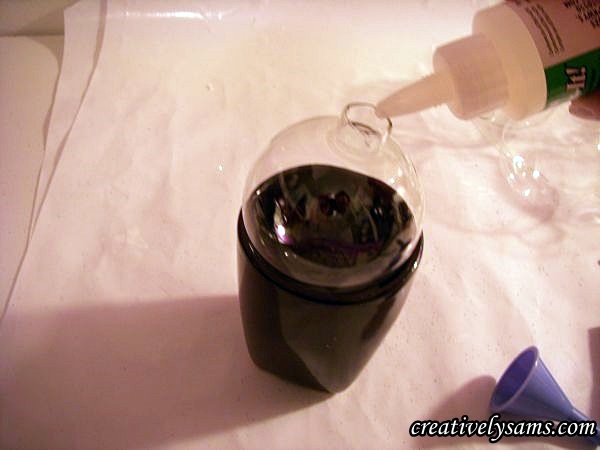
Then you want to swirl the Glitter-It inside the ornament. Don’t shake it, because you don’t want bubbles.
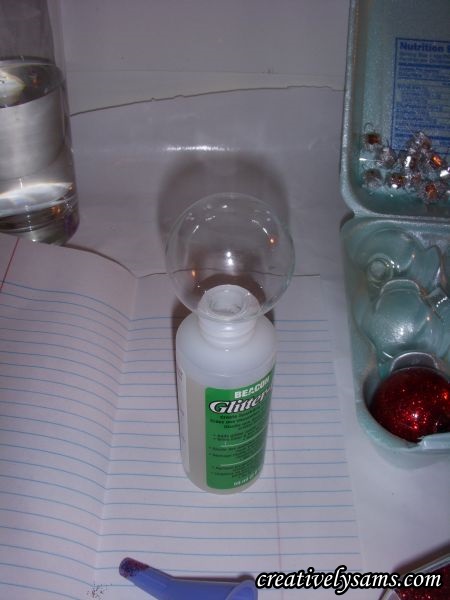
After you’ve completely covered the inside of the ornament, you’ll pour the excess back into the bottle.
Drain & wait for 10 to 20 seconds.
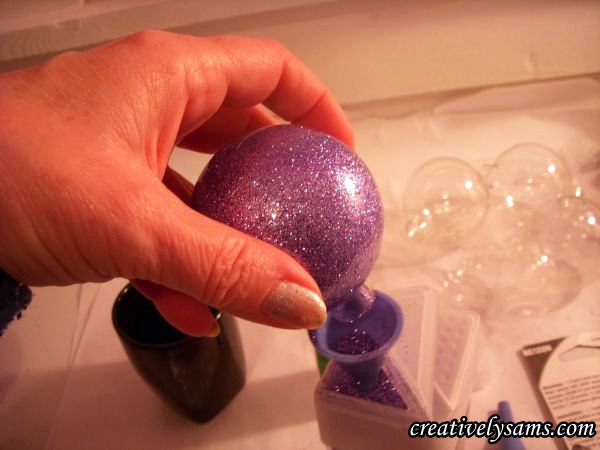
Next, you pour your chosen color of glitter into the clear ornament.

Turn the ornament to coat the entire inside of the ornament. Once the inside is covered, you’ll pour the excess glitter out & back into its container. Tapping the ornament helps with this step.
Set the ornament aside to dry.
I let it sit for about an hour, while I made more. Once the ornaments are dried, replace the hangers and gently close the hangers around the top.

Add an ornament hanger & you’re done!
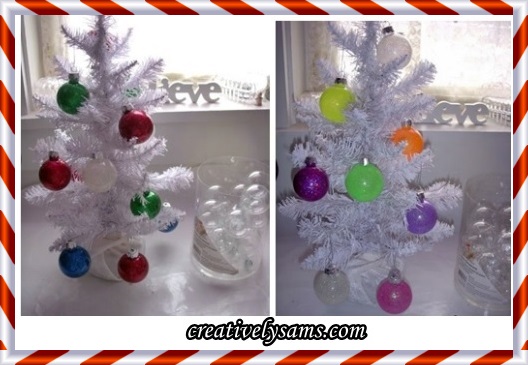
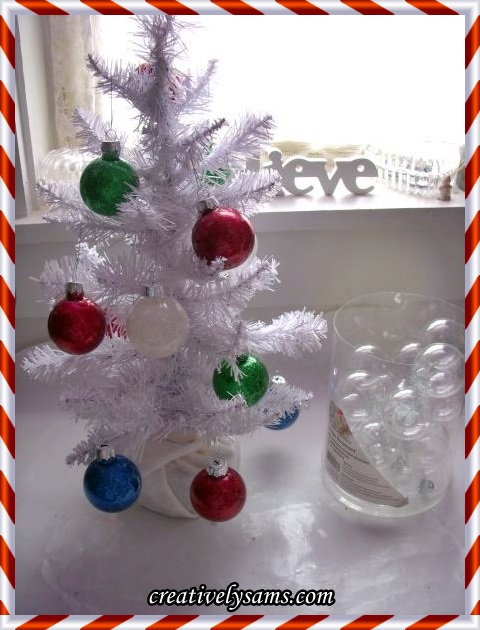
The jewel toned Glitter Ornaments
The Neon Glitter Ornaments
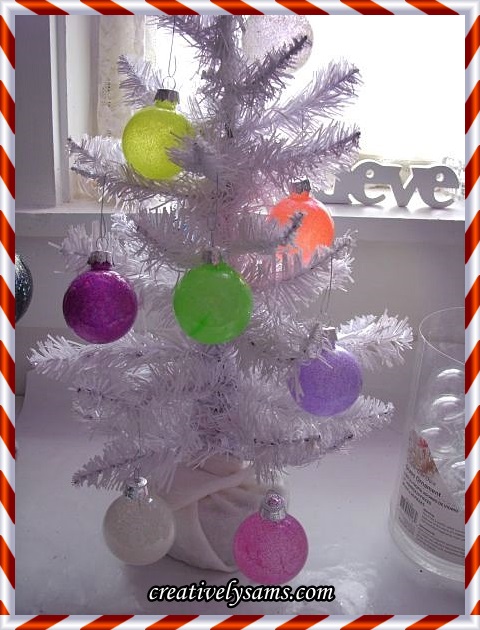
I have to wonder how these neon ornaments would look in an Easter display, or the orange ones used for Halloween decorating. Just paint a pumpkin face on it!
I had so much fun with these. They look like glitter, but there’s no glitter on the outside to fall off. (my dear husband & son are very happy about this) I’ll be in search for even more shades of glitter to use from now on.
Happy Creating everyone!
I’ll be joining:
Pingback: Project Inspire{d} Link Party: 15 Ornament DIYs
Pingback: Project Inspire{d} Link Party: 15 Ornament DIYs | Silly Pearl
Pingback: Jeweled Christmas OrnamentsCreatively Sam's
Pingback: Pink Shabby Chic CenterpieceCreatively Sam's
Pingback: Valentine Love TablescapeCreatively Sam's
Pingback: Black & White Christmas TreeCreatively Sam's