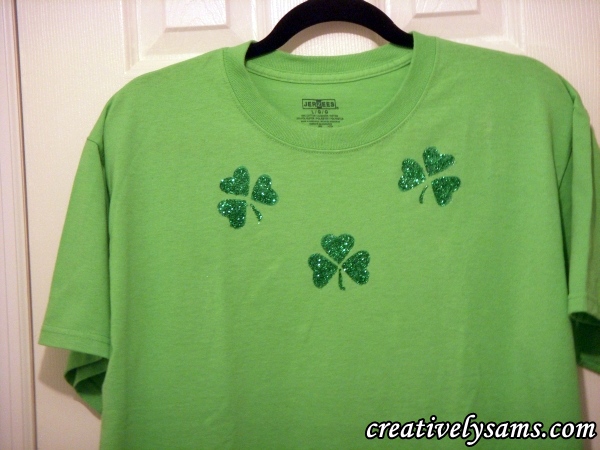
I’m so excited to share this. My dear friend followed the directions for the St. Patrick’s Day T-Shirt and made her first hand painted T-Shirt for her first granddaughter. She is on her way to being a crafter! I’m so happy that she was able to make this. Congratulations. “Grandma Terry”!
Tag Archives: Painted T-Shirt Tutorial
St. Patrick’s Day T-Shirt
Decorating a T-Shirt is easy when you do it like this. All you have to do is make a simple stencil & paint it in. You can make it anyway you want it. You’re only limited by your imagination.
I did this step by step tutorial for a very dear friend who wants to make a T-Shirt for her first granddaughter. (that’s why this tutorial is so packed with pictures) She’s still on the fence about becoming a crafter. Once she tries this, I’m sure she’ll go on to many more. (it really is that easy)
Easy diy Painted T-Shirt
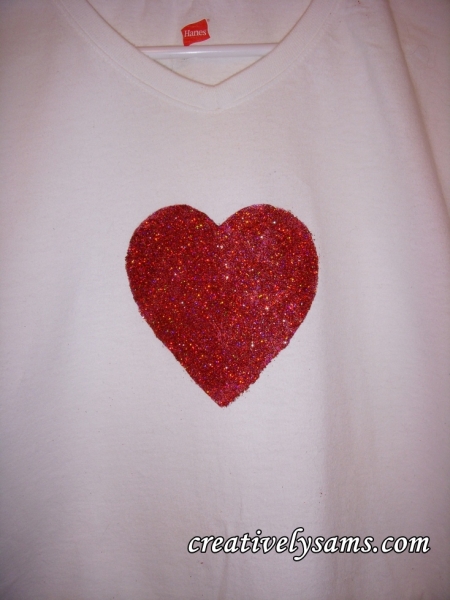
I love to create, paint & wear my own T-Shirt designs. They cost very little to make & are unique. That’s the beauty of hand-painted wearable art. They’re ‘one of a kinds’. They also make wonderful gifts. I’ll show you how to paint a Valentine Heart T-Shirt the easy way.
Here’s what you’ll need:
A washed & dried t-shirt. (do not add fabric softener)
Freezer Paper
Scissors
Red Fabric Paint (I used Tulip Soft in Berry Red Matte because that’s what I had)
Clear Glitter Fabric Paint (I used Scribbles Glittering Crystal Fabric Paint)
Fine Red Glitter
Paint Brush
Styrofoam Plate or Plastic Lid
Iron
Cardboard or Cutting Board covered with plastic wrap
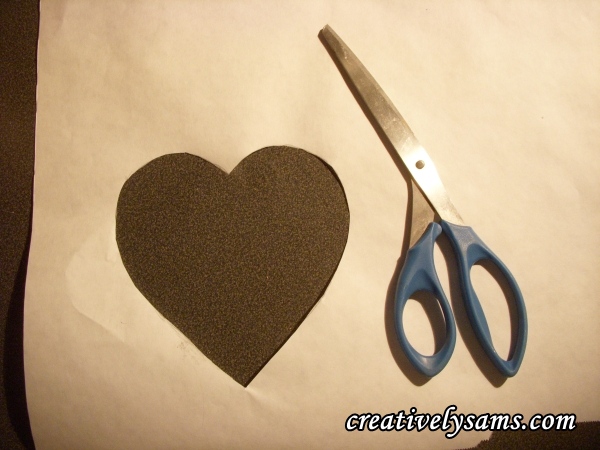
Making your Pattern is easy. Fold a piece of paper in half & cut out a heart shape from the paper, just like you did in grade school. When you get the size that you want to fit the size T-Shirt you’re going to use, trace the heart onto the freezer paper.
Then cut out your heart shape. This will now be used as the stencil.
Place the shiny side of the stencil on the t-shirt where you want it. Play around with the placement. This is your creation. Put it where you want it.
When you have the stencil where you want it, and the shiny side against the t-shirt, press it into place with a dry iron, making sure that the edges of the stencil are securely pressed to the fabric of the T-Shirt. Slide your cardboard or cutting board inside the t-shirt. (you need the cardboard/cutting board in between the front & back of the shirt so that the paint won’t go through to the back of the shirt).
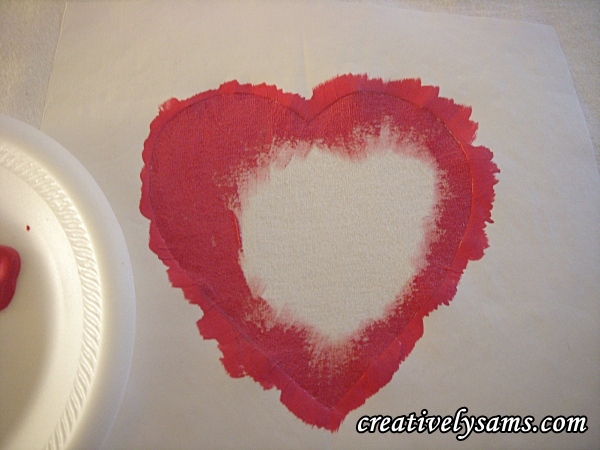
Pour some of the red paint on to the plate/lid. With the paint brush, start from the outside of the stencil, (freezer paper) bringing the paint in towards the center.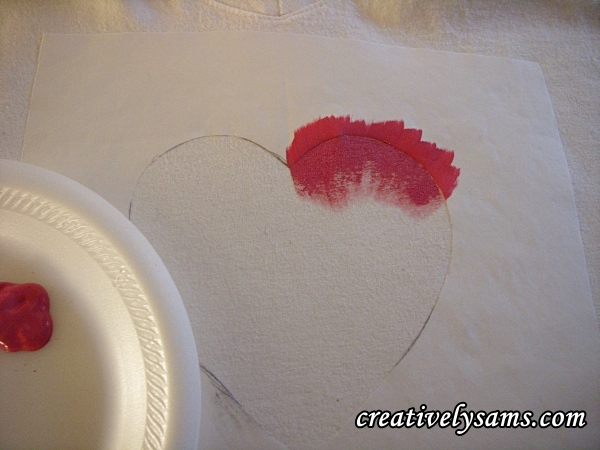
Continue around the entire edge.
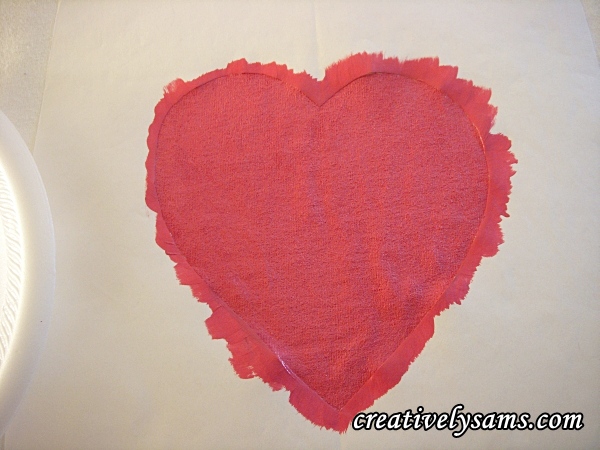
Fill in the rest of the stencil area.
Apply a second coat, touching up any areas that you might of missed.
When you’ve filled the heart in & there are no sparse areas, peel off the freezer paper.
Let the paint dry. You now have a painted t-shirt.
You can leave it this way, or add some glitter. (and anyone who knows me, knows that I can never have enough glitter.) So, let’s glitter it up! Continue reading


