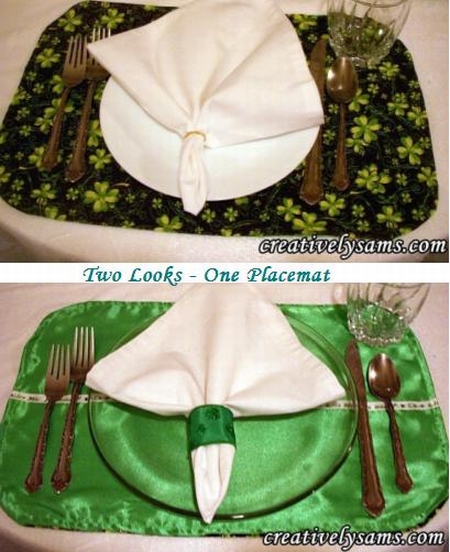
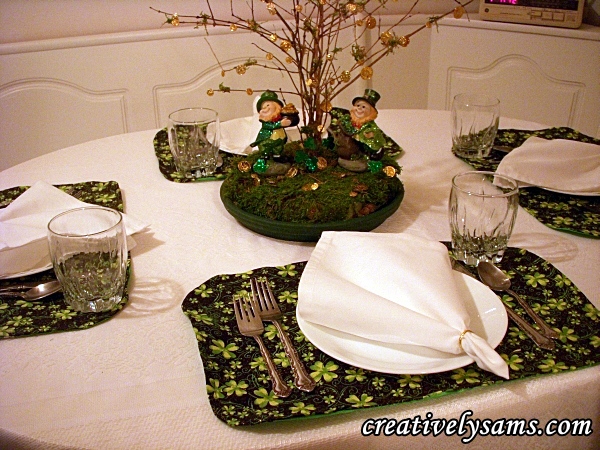
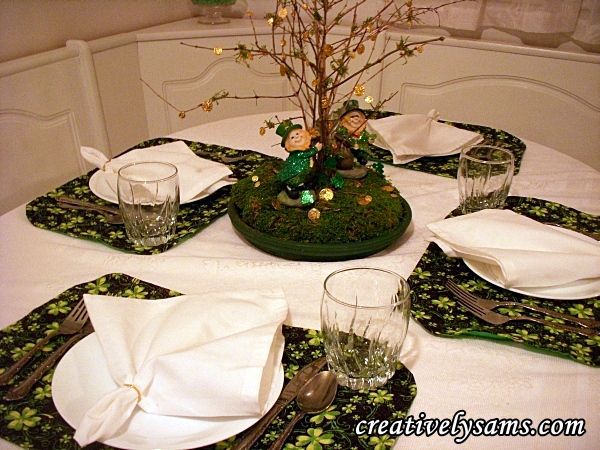
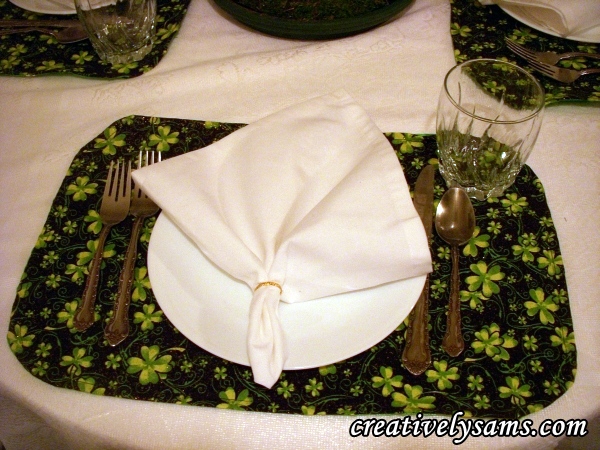
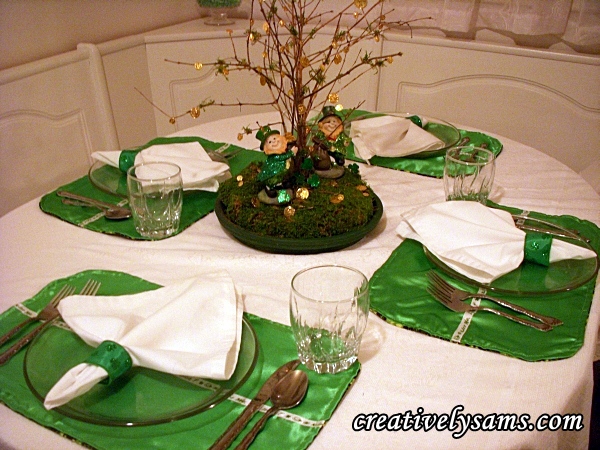
I don’t know of a better way to add color to a tablescape than by using placemats. I usually make my own because I can customize them to my tastes and they are almost always less expensive than store bought. Another reason that I like making reversible placemats is because it takes less room to store them. (store 4 instead of 8) It’s hard enough to organize your home as it is, especially when you don’t have that much room to begin with.
For this one I used the Oval Placemat Pattern from a previous post.
What you’ll need:
1 yard of patterned fabric
1 yard of solid fabric (I used costume satin. It’s easily washed & has intense color)
Matching thread
Sewing machine
Straight pins
Ribbon (optional) (I used 1 roll of 9′ long)
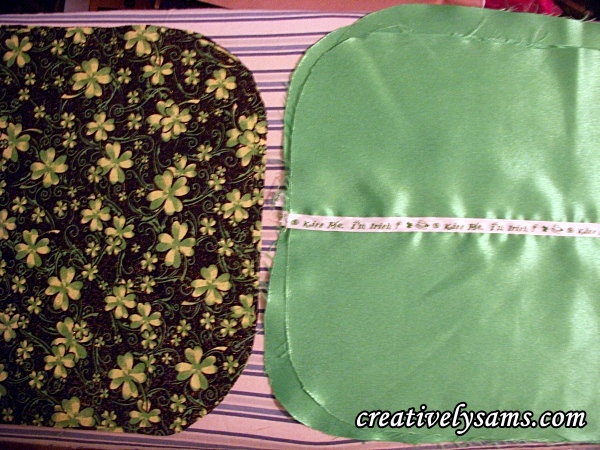
Pin the pattern to your fabric & cut 4 of the placemats from the patterned fabric & 4 from the solid fabric.
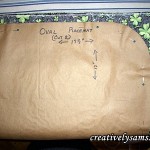
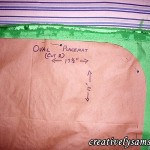
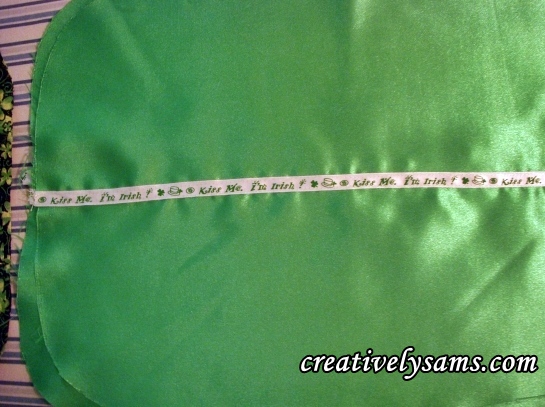
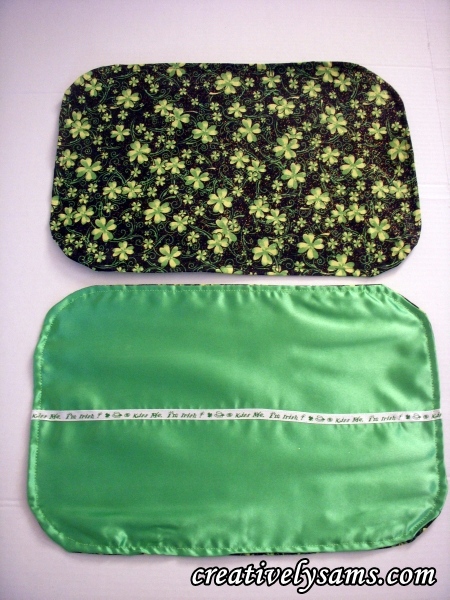
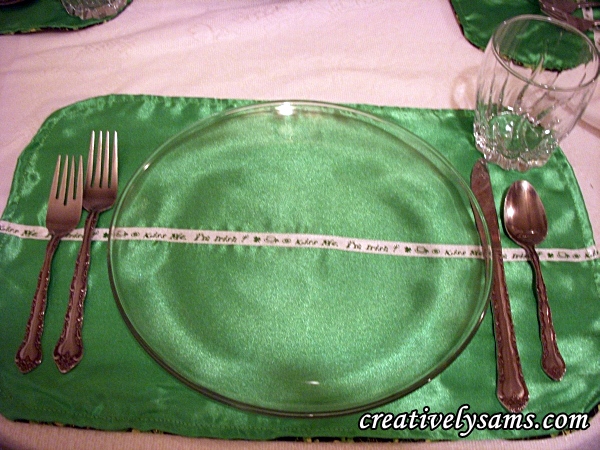
To mark the placement for the ribbon, I folded the pattern piece in half. Then I laid the pattern on the cut placemat piece & used the bottom of the fold as a guide. (I chose this because the ribbon was printed with words. I wanted to be able to read it through the plates) Pin the ribbon in place.
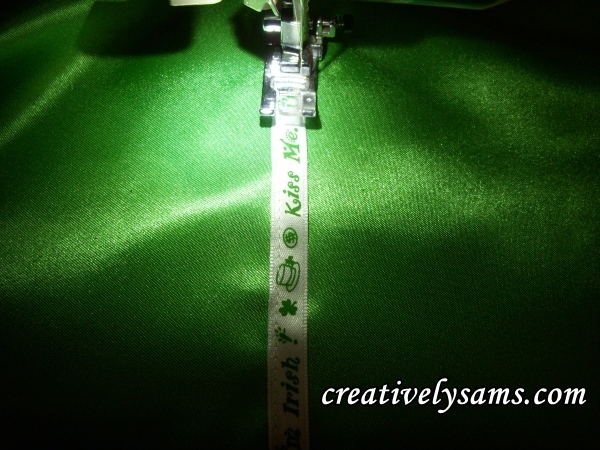
Sew the ribbon to the solid placemat fabric, stitching close to the edges.
Sew the ribbon to all of the solid placemat pieces.
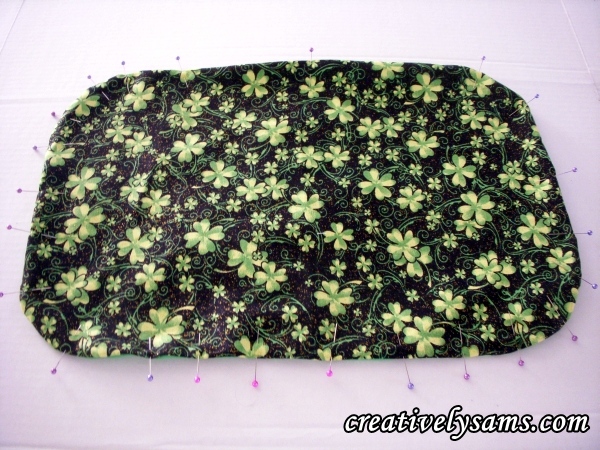
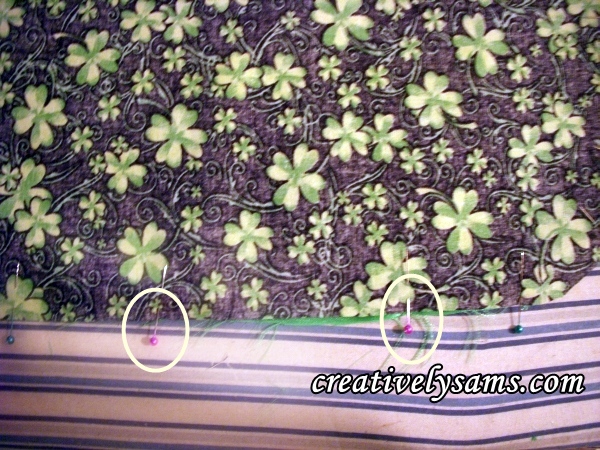
Place 1 solid placemat piece on top of 1 patterned piece, right sides together. Pin in place, leaving an opening for turning. Repeat for all 4.
A little trick that I learned a long time ago, is to use 2 pins to mark the place where I want to begin sewing & where to end sewing. You need to leave a space opened to be able to fit your hand inside to turn the placemats to the right side. There’s nothing more frustrating than to sew an item, only to realize that you’ve forgotten to leave an open space to turn it. It’s such a waste of time to have to rip out stitches.
Sew all the way around the placemats, starting at one ‘different colored pin’ & finishing at the other pin. (to leave the opening) I usually sew about 1/4″ from the edge. Turn the placemat, right side out. Pin the opening closed. Top stitch around the placemat, using matching color thread. Top stitching the placemat closes the opening & keeps the edges of the placemat crisp. Press lightly.
Use the fabrics that speak to you. These are for your home. Customizing your placemats is easy. Make them your own & have fun with this.


