It’s been a long winter, and it feels so good to throw open the windows and let the warm breeze come into the house. Starting the Spring house cleaning is always a chance to re-do some things, and that gets my creative juices flowing. The warmer weather has also been pulling my thoughts to the outdoors.
When I was browsing through Michaels & Joanne Fabrics, I saw some bird houses in all shapes & sizes. It got me thinking of how to decorate them & use them outside. This is the first in a series of birdhouses. The post is very long because it’s picture laden. But it really doesn’t take that long to do.
Here’s how I did it:
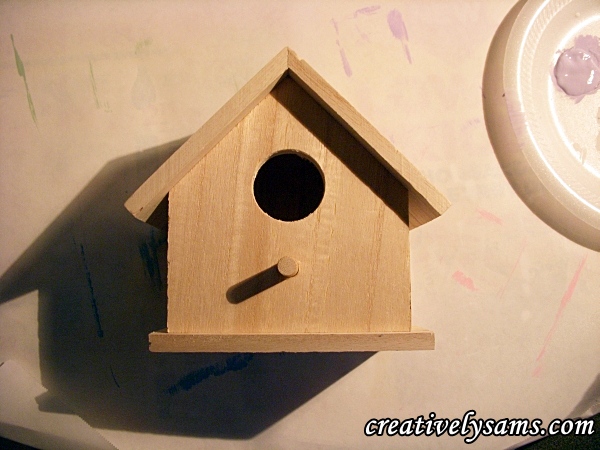
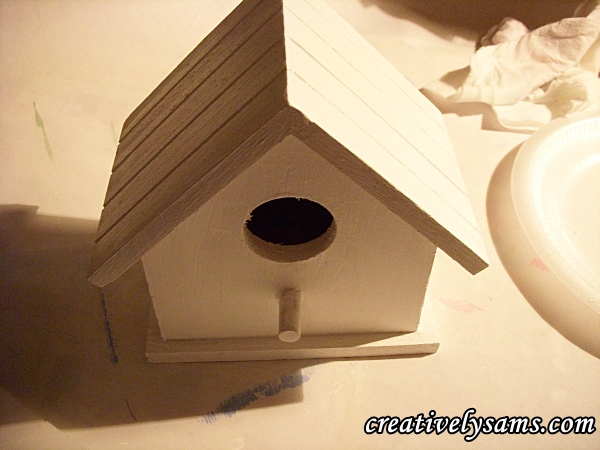
I found this bird house, and the roof of it just screamed stripes.
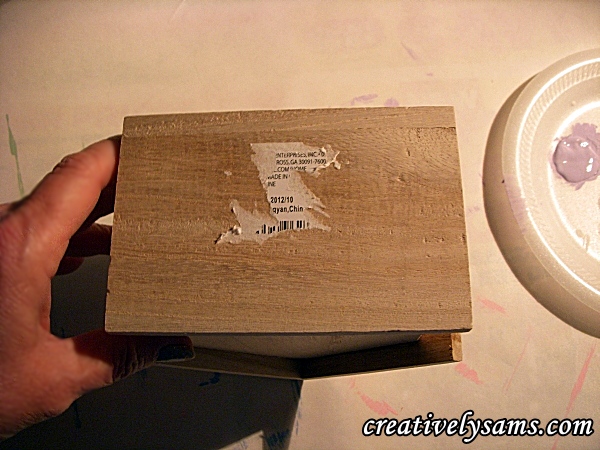
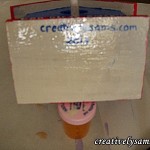
The first thing that I did was remove the sticker on the bottom. It didn’t want to come off easily.
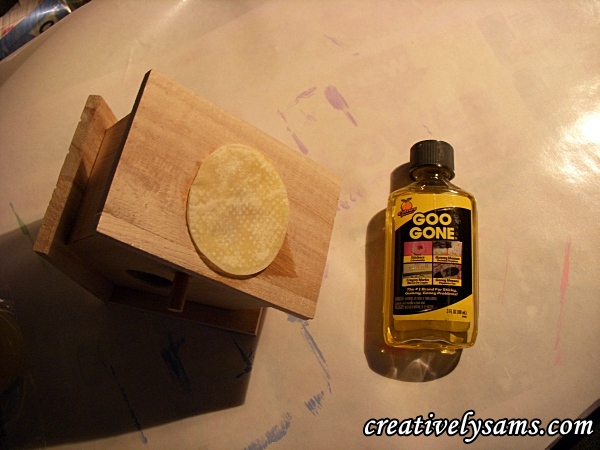
I used Goo Gone to do finish removing the stubborn part.
A little side note: I used a round cotton make up remover pad to ‘soak’ the sticker. Since there is so much Goo Gone left in the cotton pad, I keep them in a snack sized ZipLock bag. That way they’re ready to use anytime I need them & I don’t waste a lot of Goo Gone.
After the sticker had been removed, I base coated the bird house with white acrylic paint
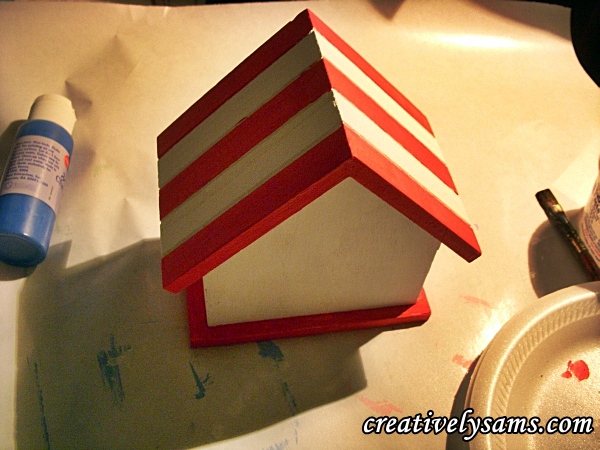
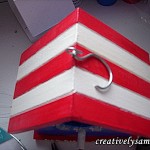
Then I started painting the stripes & trim with red acrylic paint
It needed a second coat of the red paint
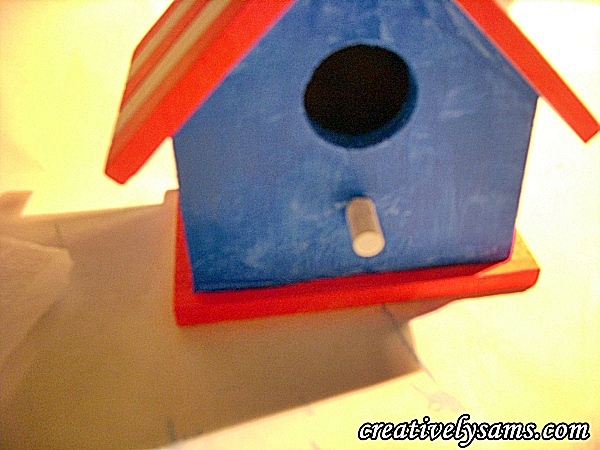
Then I started on the blue acrylic paint. I painted the entire body of the little bird house
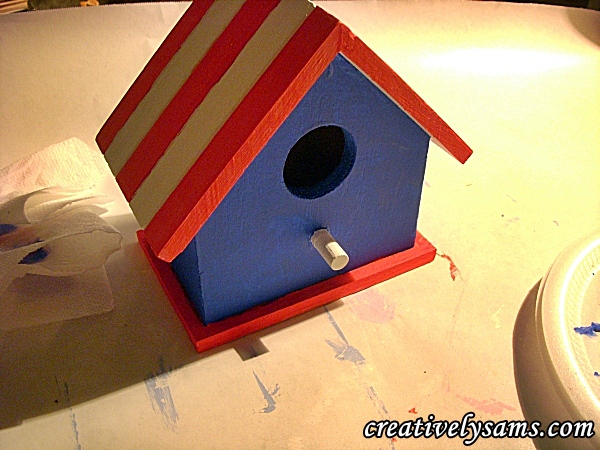
And then a second coat. When it dried, I touched up anything that needed touched up.
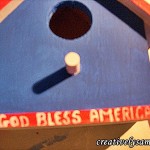
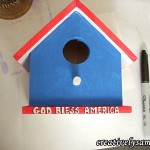
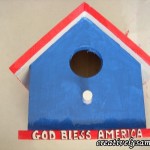
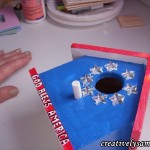
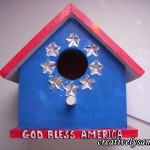
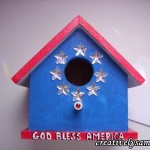
Since this has a patriotic theme, I added God Bless America to the base of the bird house. I filled in the lettering with a second coat after the first coat had dried
An artist told me once that you should always sign your work & date it. After you’ve signed your piece, add some detail to the lettering with a black sharpie. Touch up any areas of the lettering as needed.
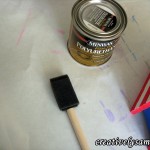
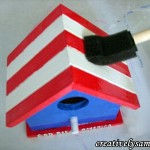
Using clear polyurethane and a 1″ sponge brush, give the bird house a good coat to weather proof it since it will be used outdoors. Let it dry. It says ‘fast drying’, but it takes 4 hours. When the roof & body of the bird house has dried, apply a coat to the bottom of the bird house.
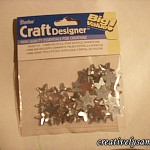
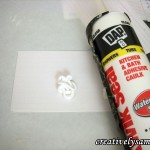
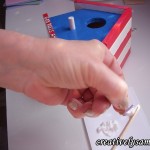
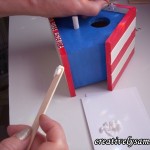
I wanted to add stars to the bird house, but I wanted them to show up, especially when the sun hit it. I could have painted them on, but I chose to use clear star shaped rhinestones. And since the birdhouse is going to be used outside, I needed something that would hold up to the rain. I used clear silicone caulk. I put a puddle of the caulk on an index card & using a Popsicle stick, I ‘buttered’ each star with the caulk.
Once you have a coat of the clear caulk on the rhinestone, apply it to the front of the birdhouse near the door. Don’t worry about the caulk oozing out from under the stars. It should do this.
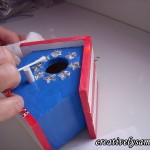
Using a wet cotton swab, remove the excess caulk from around the stars. There will still be some caulk showing, but it’s fine. You need some of the caulk to hold the stars to the birdhouse. I added a red rhinestone to the little perch of the birdhouse & set it aside to dry. You can tell when it’s dried when the caulk turns clear. I let it sit for an hour before I checked it again.
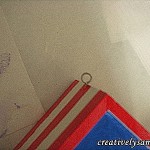
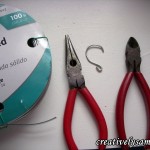
When the caulk dried, I used a drill & a thin drill bit to make a hole in the top of the bird house so I could add an eye hook for hanging. I added a little bit of wood glue to the eye hook to make sure it wouldn’t wiggle out of place. Then I used some wire to make an S Hook for hanging the birdhouse. Attach the S Hook to the eye hook.
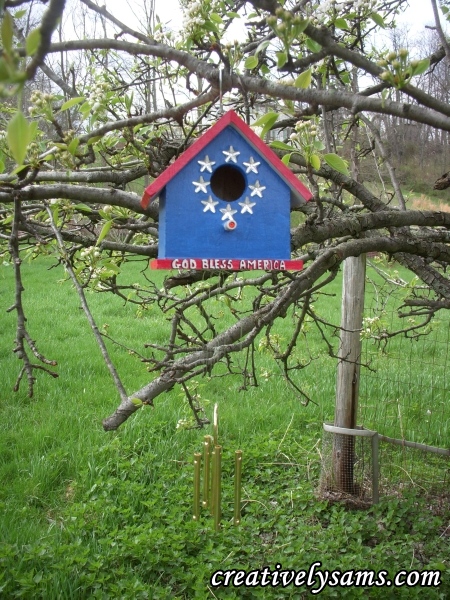
Your little bird house is finished…. unless you want to make it a wind chime.
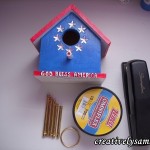
To make the birdhouse a wind chime, I marked the bottom of the birdhouse with a pencil. I marked 5 places. I used a wind chime kit, a brass ring, fishing line & staples. I cut 6 pieces of fishing line 14″ long.
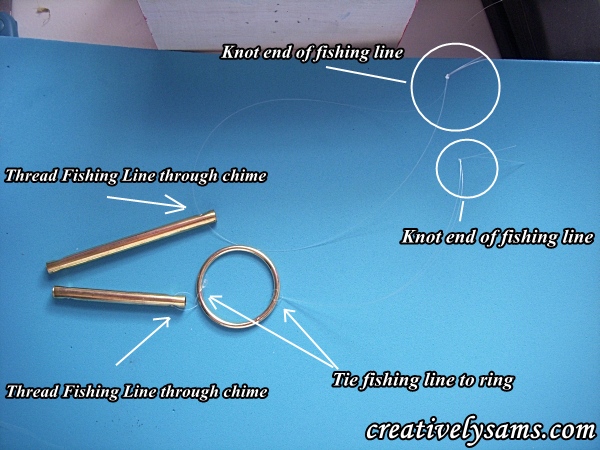
I assembled the center piece first. I looped a piece of the fishing line though the hole in the chime & then tied it to the brass ring. Then I tied another piece of fishing line to the other side of the brass ring. Center chime done. Then I threaded the fishing line through the chime for the remaining 4 chimes.
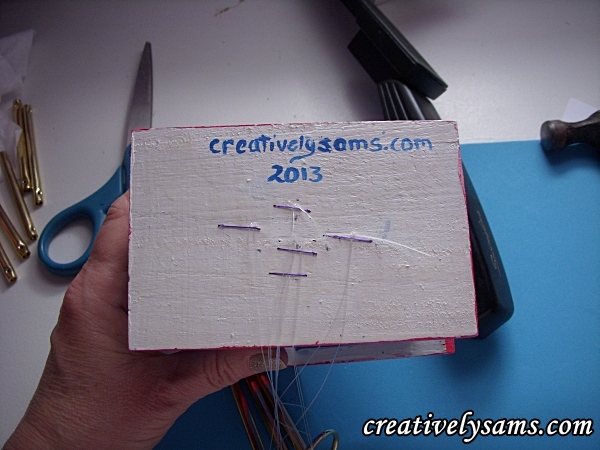
After all of the chimes had been threaded, I used a regular staple gun to staple the fishing line to the bottom of the birdhouse. The wood of the bird house is a soft wood, so you don’t need an upholstery staple gun. When stapling the fishing line to the birdhouse, the staple may not go all the way in, so I used a small hammer to get the staples to lay flat. Pull the line till the knot at the end is next to the staple.
Clip off the excess fishing line that sticks out from the staple. Just don’t cut the knot.
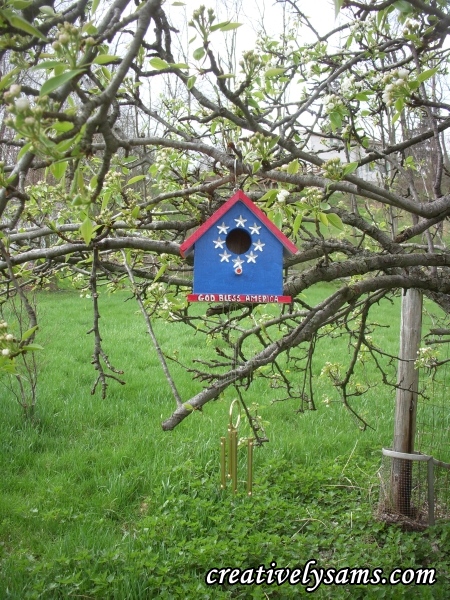
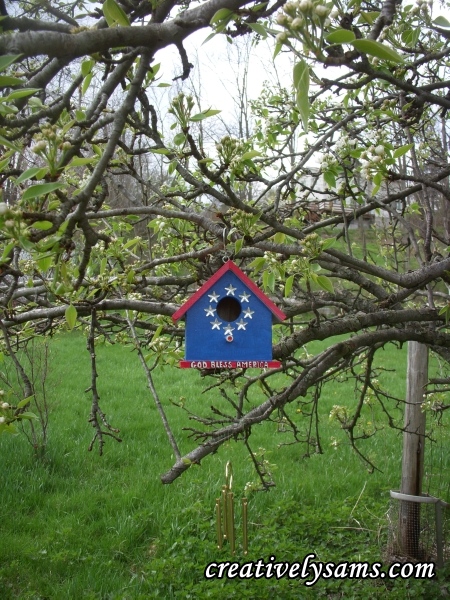
Once you’ve finished the little birdhouse, it’s now ready to be hung outside!
And the pear trees are in bloom!
It’s not that hard to add some music to your home. I hope you’ll give it a try. Happy Creating!





Pingback: Daisy Birdhouse Wind ChimeCreatively Sam's
Pingback: Terra Cotta Wind ChimeCreatively Sam's