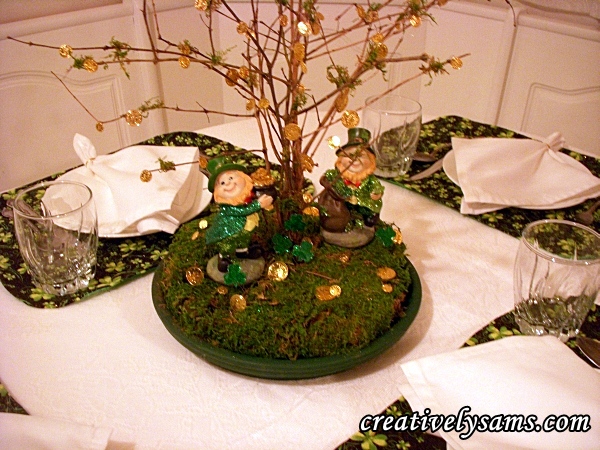
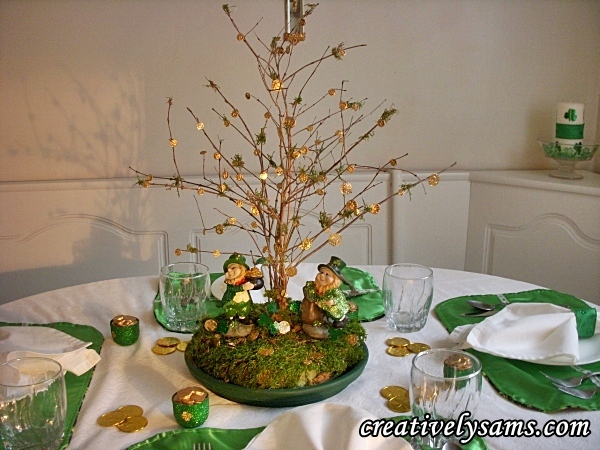
Have you ever wondered where the ‘Wee People’ get the gold to fill their pots? This was the idea that started this centerpiece. This centerpiece was a lot of fun for me to make, and my tablescape was decorated around it. It all started with walk in the woods with my husband, an idea and an adorable little Leprechaun with his Pot of Gold.
I found all of my supplies at Michaels Arts & Craft store
What you’ll need:
10″ terracotta plant saucer
hunter green acrylic paint
paint brush
Sahara foam (this is a dry foam used for artificial flowers & arrangements)
Bread Knife (it cuts through the foam easily)
Florist’s sticky clay
Florist’s tape (brown)
Floral Pins
Twigs (either bought or gathered on your own walk in the woods)
Sheet moss
glue gun & glue sticks
chop stick or wooden dowel (so you don’t burn your fingers)
Needle Nosed Pliers (so you don’t burn your fingers)
gold coins – assorted sizes (I found mine in the jewelry section)
Gold Holographic Glitter (optional) (I can never have enough glitter)
Green Floral Paddle Wire
Shamrock Glitter Stickers
Leprechaun with pot of gold
Leprechaun with pot of shamrocks
Here’s what you do:
Apply one even coat of the hunter green acrylic paint to the plant saucer. Apply a second coat if needed to cover any areas that you might have missed.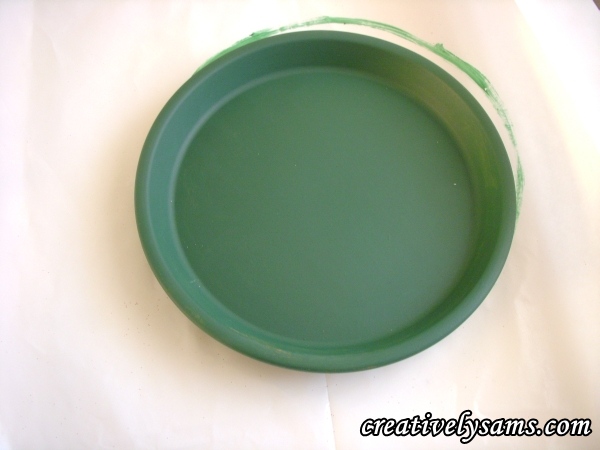
Gather your supplies together.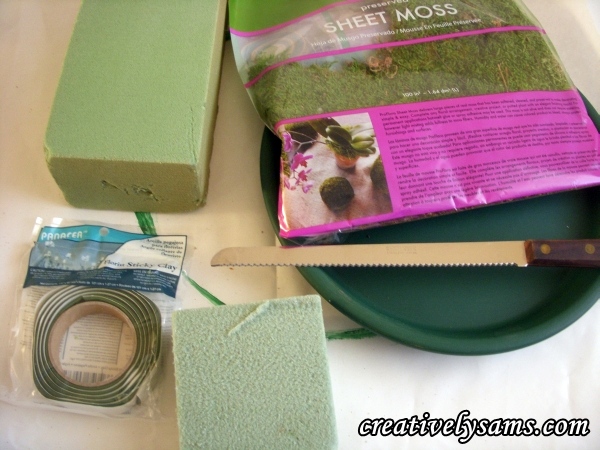
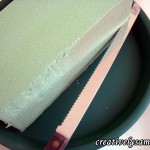
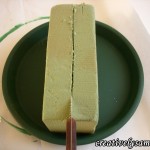
Place the foam in the saucer to judge how high you’ll need to cut it. Mark the foam using the knife. After you’ve marked the height of the saucer on the foam, you’ll want to add about 1″.
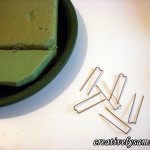
Add some strips of floral clay to the saucer. This will help to anchor the foam to the saucer. I also ran a bead of hot glue between the strips of clay to make sure it’s not going anywhere. Continue to cut pieces of foam to fill the saucer. Use the floral pins to hold the pieces together.
Making your little tree:
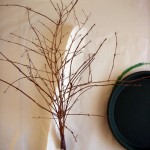
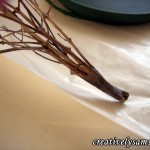
Gather branch twigs together, turning them to form a ‘tree’ shape. When you like the way you’ve arranged them, use the floral tape to hold them together & form the ‘trunk’ of the tree.
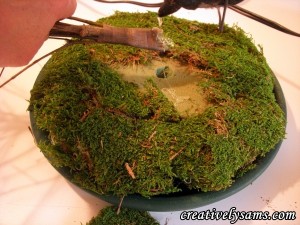
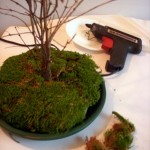
Make a small hole in the center of the foam to put you ‘tree’ in. Start putting the sheet moss over the foam. Leave the center open for now. Apply hot glue to the base of your little tree. Put your little tree into the hole. Hold it upright until the glue dries. This only takes a second or two.
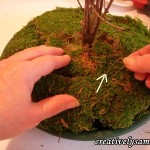
Apply the moss to the rest of the foam, using floral pins where needed. (the floral pins will have to be put in at an angle.) Apply moss to cover the ‘trunk’ of the tree. This will conceal the floral tape.
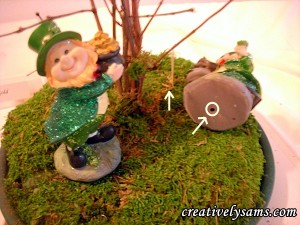
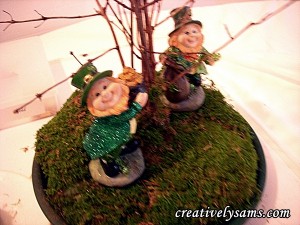
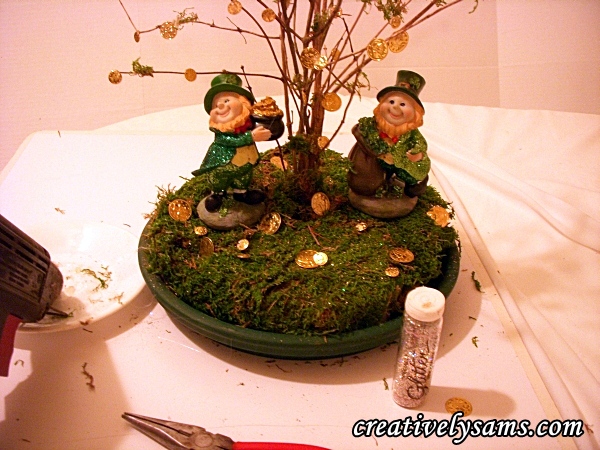
Place your Leprechaun figurines where you want them. The figurines have a small hole in the bottom. Since I want to be able to use them for other things later, I wanted them to be anchored, but not permanent. Remove the Leprechauns & glue a toothpick into the foam. Place the figurines on top of the toothpicks.
Place the figurines on top of the toothpicks.
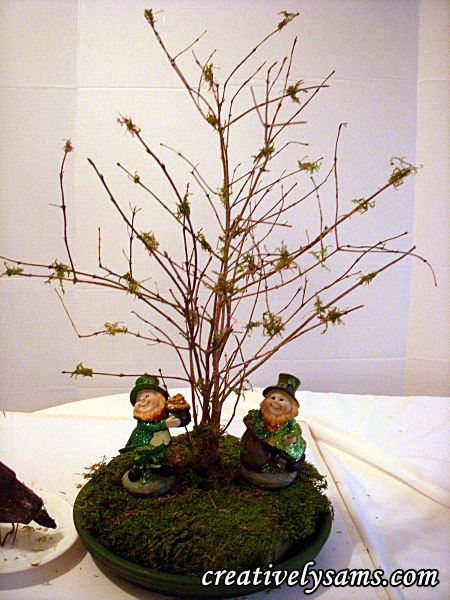
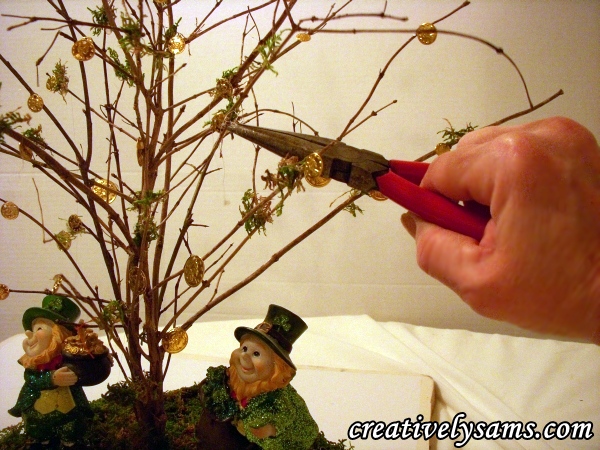
Glue some small bits of moss on to the branches to give it an ‘alive’ feeling. You might want to use the needle nose pliers for this. (hot glue is HOT!)
Using the needle nose pliers (please, the glue is really Hot) put hot glue on the backs of the coins & hold a coin on a branch until it dries/cools. This only takes a second or two. Repeat until you’re satisfied.
When I liked the finished ‘tree’, I added some gold holographic glitter. It’s not really necessary, but I can never have enough glitter. There is no glue needed for this. Glitter sticks to the moss like crazy! (as well as to everything else, just ask my husband)
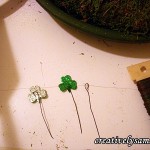
Cut some short pieces of the green paddle wire. Make a loop on one end of the piece. Press a shamrock sticker onto the wire loops.
Press the ends of the sticker wire into the foam, close to the tree base.
There you have it! A St. Patrick’s Day Centerpiece that tells a story of where the Wee People get their pots of gold.


