St. Patrick’s Day Candle

In the St. Patrick’s Day Tablescape you may have noticed a small candle in the background.

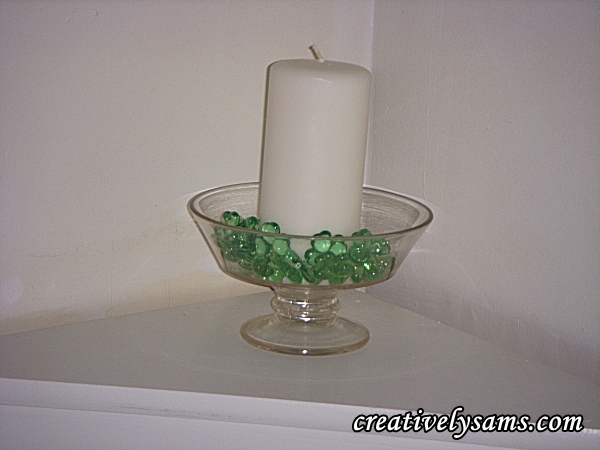
I used my Grandmother’s ‘depression’ bowl with a plain white pillar candle & some shamrock ‘scatter’.   It brought a pop of color into an empty corner.  And it worked for the tablescape with the patterned placemats. It was simple enough that it didn’t compete with the busyness of the placemats.

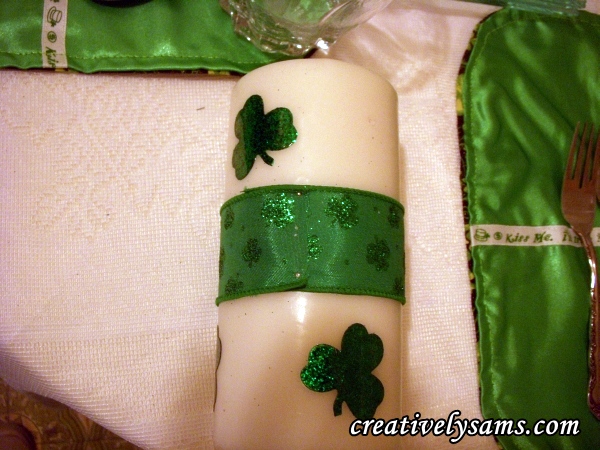
But, I just can’t leave well enough alone.  It just disappeared when I used the plain/solid sided placemats.  Plain white just wouldn’t do for me.  I had to add ‘more’. I used some wire edged shamrock ribbon and some glitter stickers to add color.

I measured the ribbon around the candle. Added about an inch to it.  I cut the ribbon and folded the end under, over lapping the raw edge.  Using two straight pins, I anchored the ribbon to the candle.  But that still wasn’t enough.  So I added some glitter shamrock stickers above and below the ribbon.  That was all it needed.  Now it really adds a pop of color to the plain, boring corner of the room.

It’s now strong enough that it doesn’t disappear anymore.

I love an easy project!  This could be used for any decor, as an accent piece or a centerpiece.  You can use this idea anytime.  Whether it’s for everyday or a holiday.  Just change up the ribbon to go with what ever you’re decorating for!  You can have so much fun with this one! Continue reading

St. Patrick’s Day Reversible Placemats

I don’t know of a better way to add color to a tablescape than by using placemats.  I usually make my own because I can customize them to my tastes and they are almost always less expensive than store bought.  Another reason that I like making reversible placemats is because it takes less room to store them. (store 4 instead of 8)  It’s hard enough to organize your home as it is, especially when you don’t have that much room to begin with.

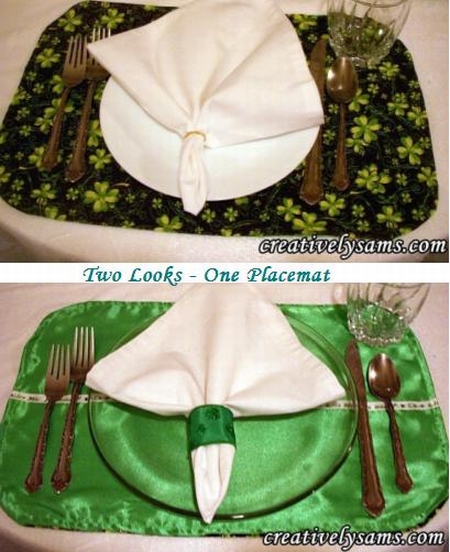
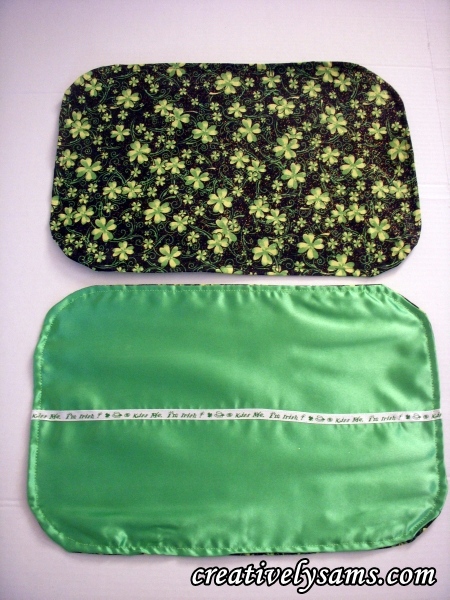
St. Patrick's Day Reversible Placemat

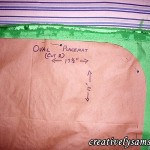
For this one I used the Oval Placemat Pattern from a previous post.

What you’ll need:

1 yard of patterned fabric

1 yard of solid fabric (I used costume satin.  It’s easily washed & has intense color)

Matching thread

Sewing machine

Straight pins 

Ribbon (optional) (I used 1 roll of 9′ long)

Pin the pattern to your fabric & cut 4 of the placemats from the patterned fabric & 4 from the solid fabric.


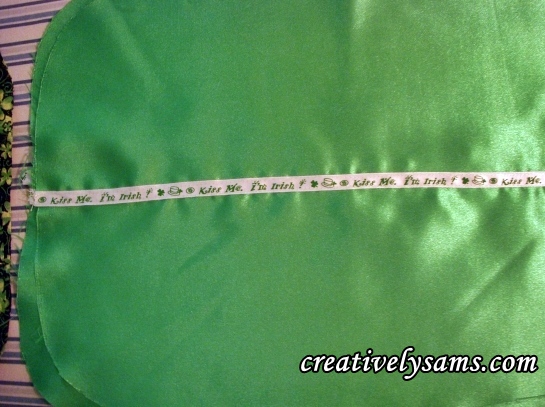
To mark the placement for the ribbon, I folded the pattern piece in half. Then I laid the pattern on the cut placemat piece & used the bottom of the fold as a guide.  (I chose this because the ribbon was printed with words. I wanted to be able to read it through the plates)  Pin the ribbon in place.

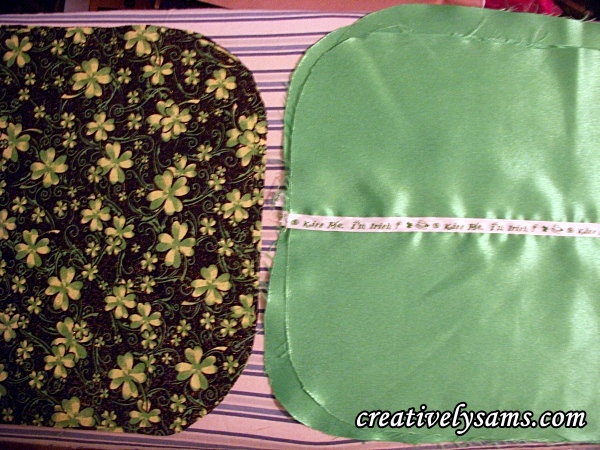
Sew the ribbon to the solid placemat fabric, stitching close to the edges.

Sew the ribbon to all of the solid placemat pieces.

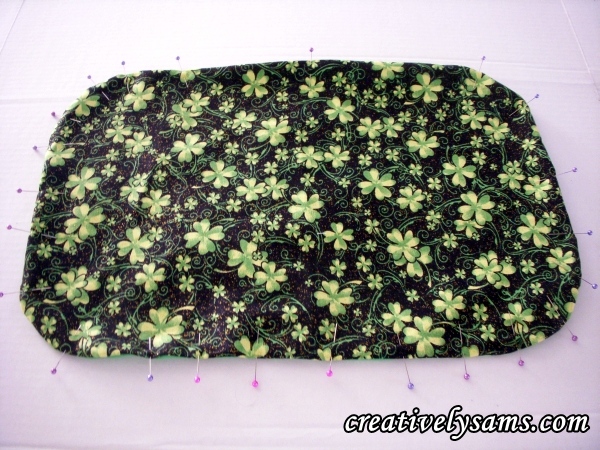
Place 1 solid placemat piece on top of 1 patterned piece, right sides together.  Pin in place, leaving an opening for turning.  Repeat for all 4.

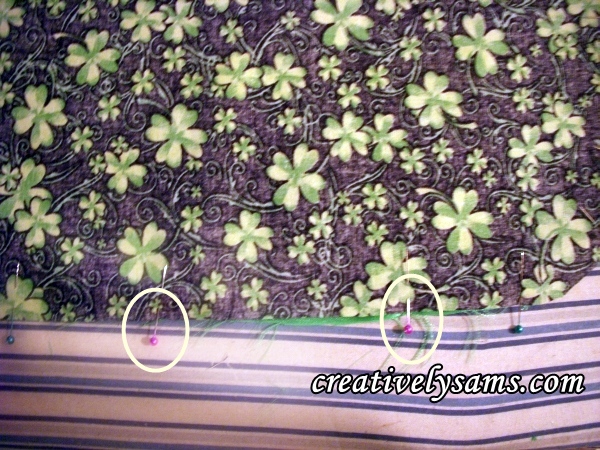
A little trick that I learned a long time ago, is to use 2 pins to mark the place where I want to begin sewing & where to end sewing.  You need to leave a space opened to be able to fit your hand inside to turn the placemats to the right side.  There’s nothing more frustrating than to sew an item, only to realize that you’ve forgotten to leave an open space to turn it. It’s such a waste of time to have to rip out stitches.

Sew all the way around the placemats, starting at one ‘different colored pin’ & finishing at the other pin.   (to leave the opening)  I usually sew about 1/4″ from the edge.  Turn the placemat, right side out.  Pin the opening closed.  Top stitch around the placemat, using matching color thread.  Top stitching the placemat closes the opening & keeps the edges of the placemat crisp.  Press lightly.

Finished St. Patrick's Day Placemats

Use the fabrics that speak to you.  These are for your home.  Customizing your placemats is easy.  Make them your own & have fun with this.

Winter Emergency Kit

When I made this Emergency Kit for my car, my son laughed at me.  He wasn’t laughing when he broke down in 7 degree weather and his car had no power for heat.  At 21 years old, boys men think they’re invincible.  It could never happen to them. It was going to take AAA 3 hours to get to him.  Luckily, his Dad made it in 20 minutes.  By the time his Dad got to him, he was already seeing his breath in front of him. Organization is key to your Winter Emergency Kit…. I’m making one for him.

Winter Emergency Kit for the Car

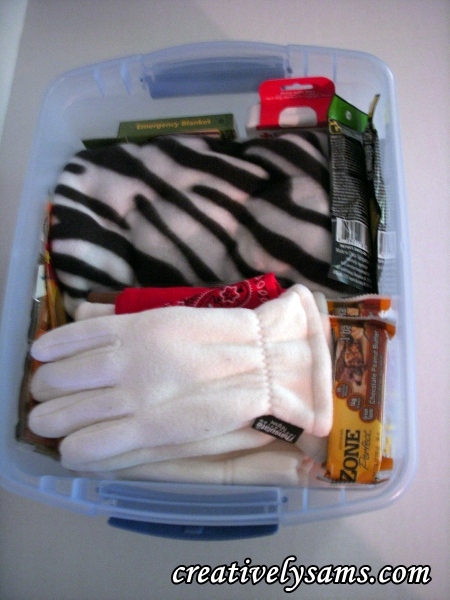
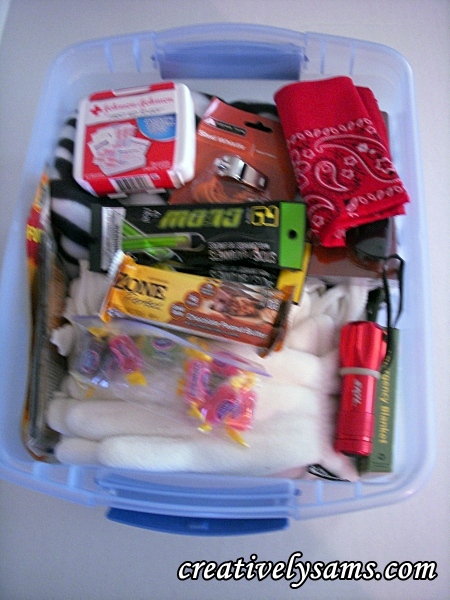
Winter Emergency Kit

This box stays behind  the driver’s seat, on the seat, so it is easily accessible.  There is also a universal cell phone charger kept in the glove compartment.

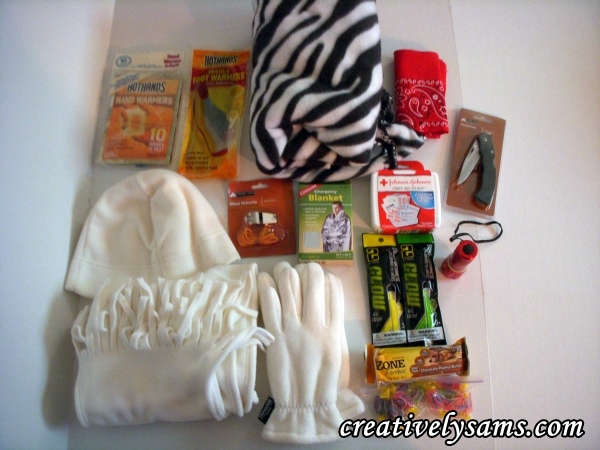
This is what I put into my kit:

Plastic Tote (to put everything in)

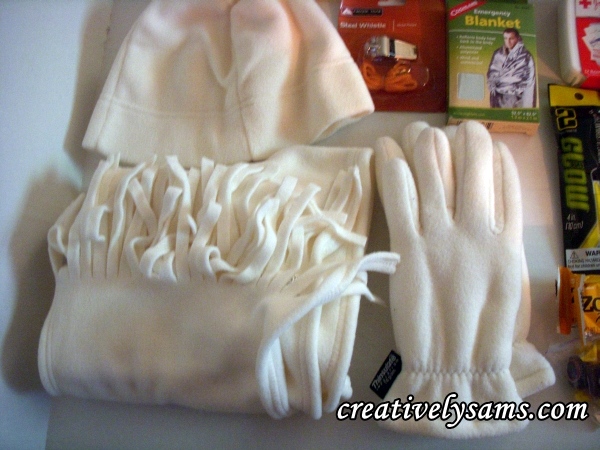
Hat, Gloves, Scarf

Fleece Blanket

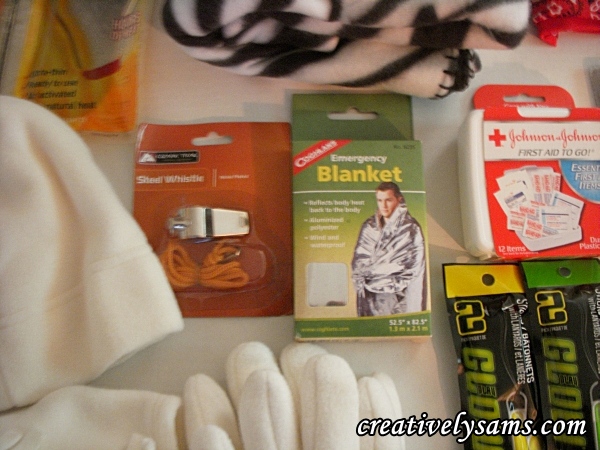
Mylar Emergency Blanket (keeps the warmth in & the cold out)

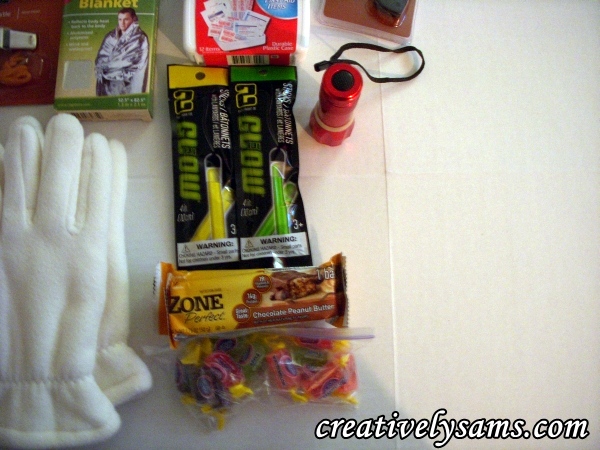
Flashlight, Glow Sticks (in case the batteries die out)

Whistle (to alert passerby’s if the car can’t be seen)

Hot Hands & Hot Hands Foot Warmers

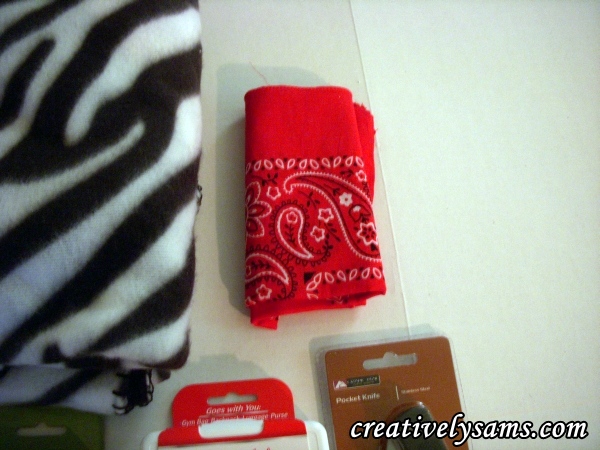
Red Bandana (to tie to outside of car)

Knife (God forbid that the seat belt gets stuck)

Hard Candy & Power Bars (to keep energy up)

(we always carry a bottle of water with us when we travel anywhere)

The supplies for the Winter Emergency Kit

Close up of extra scarf, hat & gloves

More of the supplies used for Emergency Kit

Blanket & Bandana for the Winter Emergency Kit

Hot Hands & foot warmers

Whistle, Blanket, First Aid Kit for Winter Emergency Kit

Completed & Organized Winter Emergency Kit

The one that I’m making for my son will be in a back pack. A tote isn’t as ‘manly’ as he would like.

I also have a small Emergency Kit for the trunk, which I will post tomorrow.

Snow is beautiful to look at & walk in, but winter can be very scary & deadly.  Stay safe out there & be prepared.

I’m joining:

We Heart Organizing